


Good morning friends….
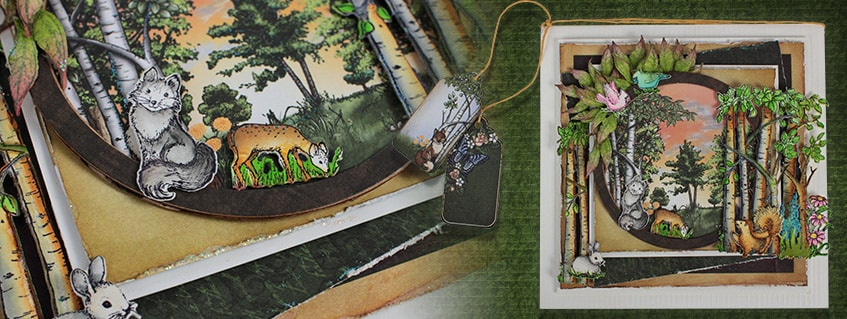
Hope you all had a fun-filled and enjoyable Christmas with your friends and family. I am back again with Wednesday inspiration using Woodsy Wonderland Collection.
Products from Heartfelt Creations:
Designer Dries Clear Adhesive, 159723
Deluxe Flower Shaping Kit, HCST1-401
Gift Box and Mini Snowflakes Die, HCD1-7109
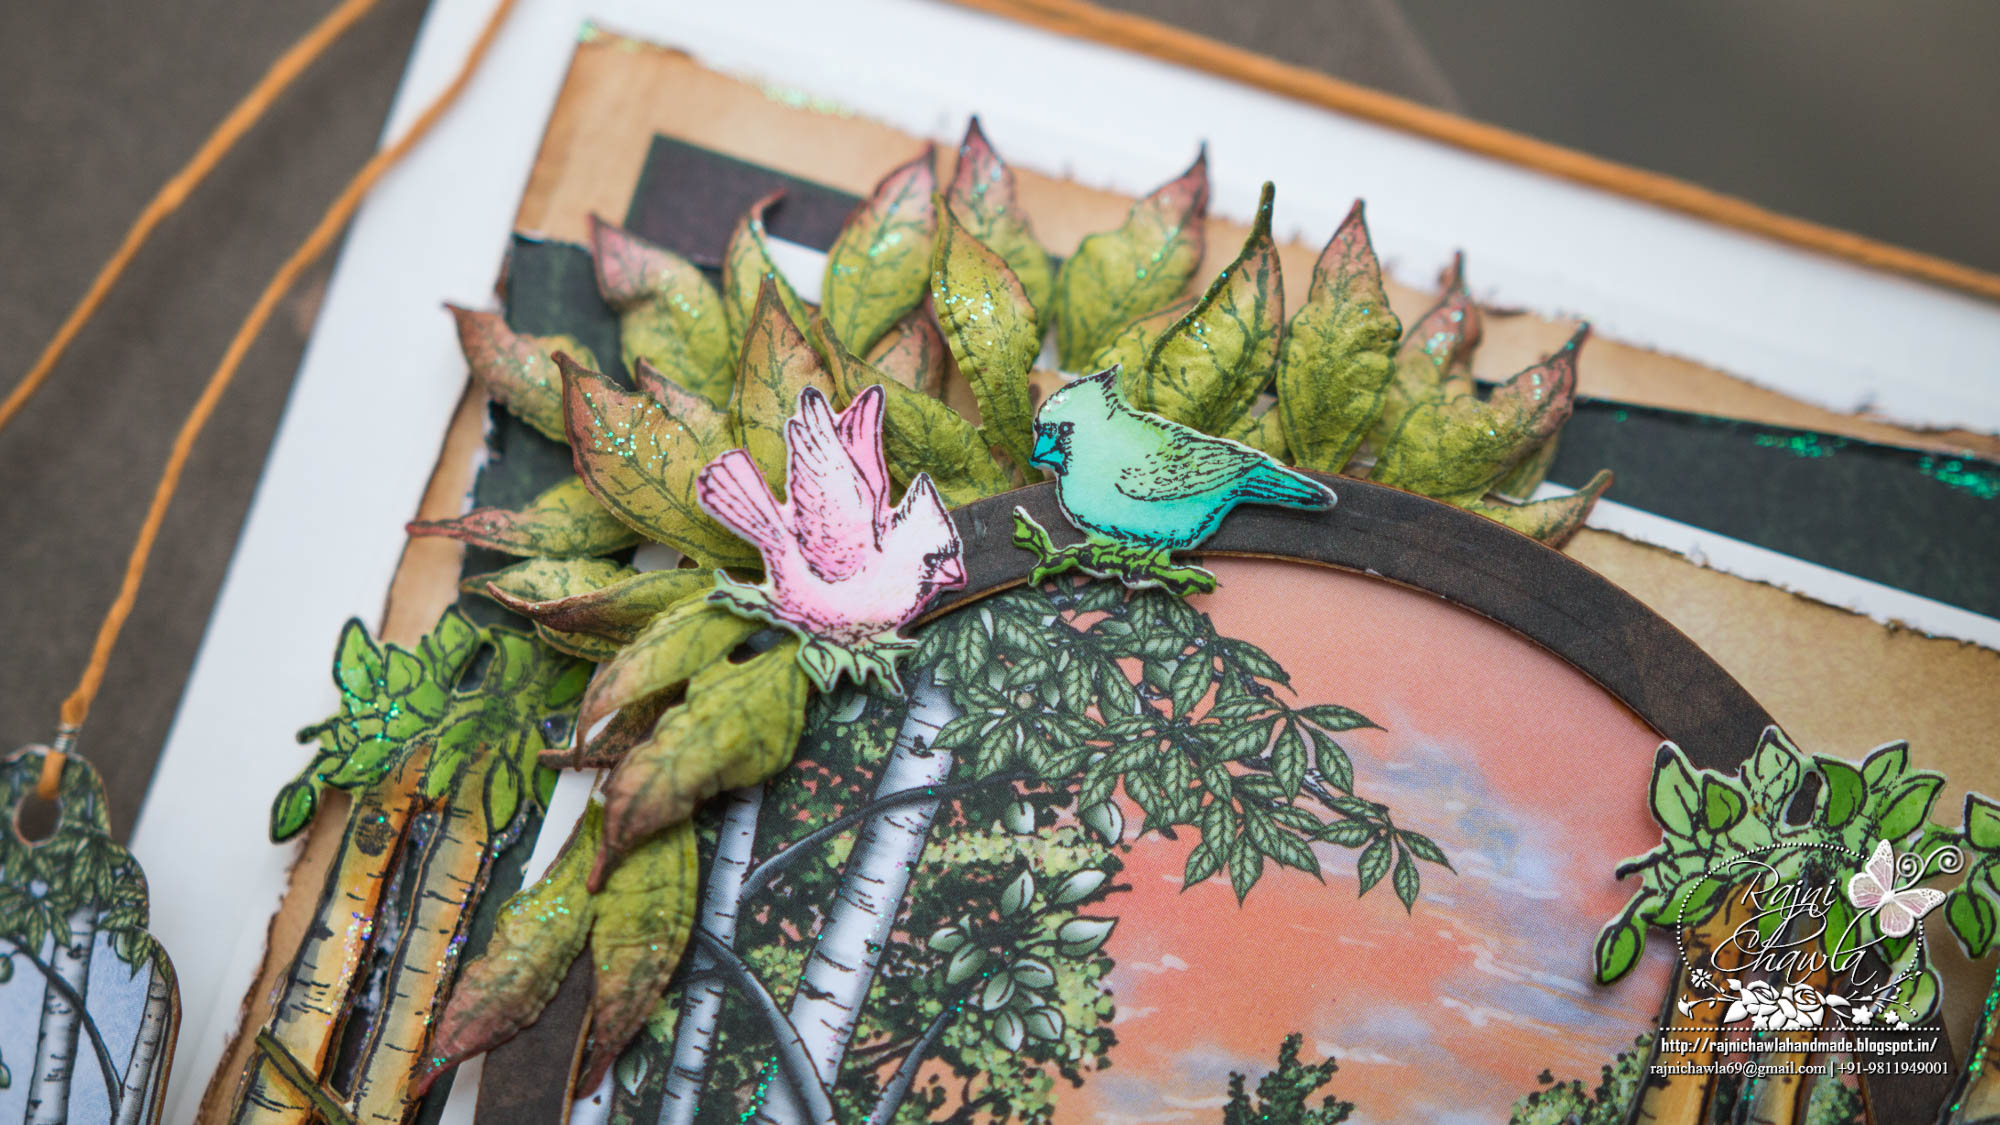
Woodsy Treescape Cling Stamp Set, HCPC-3766
Woodsy Critters Cling Stamp Set, HCPC-3768
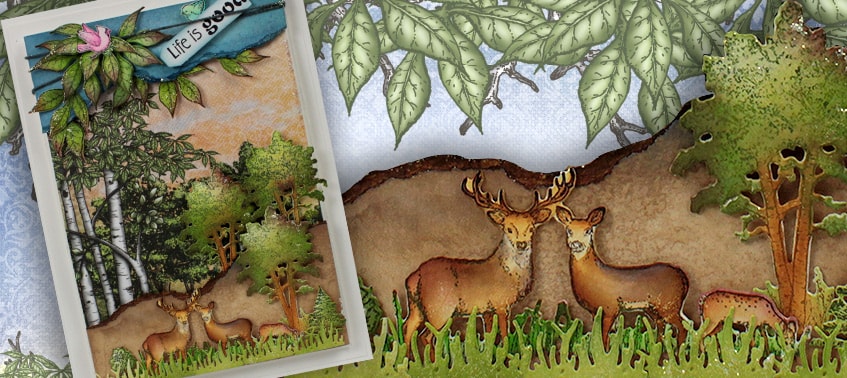
Woodsy Landscape Die, HCD1-7122
Woodsy Critters Die, HCD1-7124
Woodsy Wonderland Paper Collection, HCDP1-273
Other Products: Smooth white cardstock Score Board, Peeled Paint, Vintage Photo, Walnut Stain, Mowed Lawn Distress iNK, Zig Clean Clear Brush markers: 067, 069, 072, 031, 032, 037,031, 032, 036, 025, 027 Foam tapes, Twine, Spellbinders Grand Circle die.
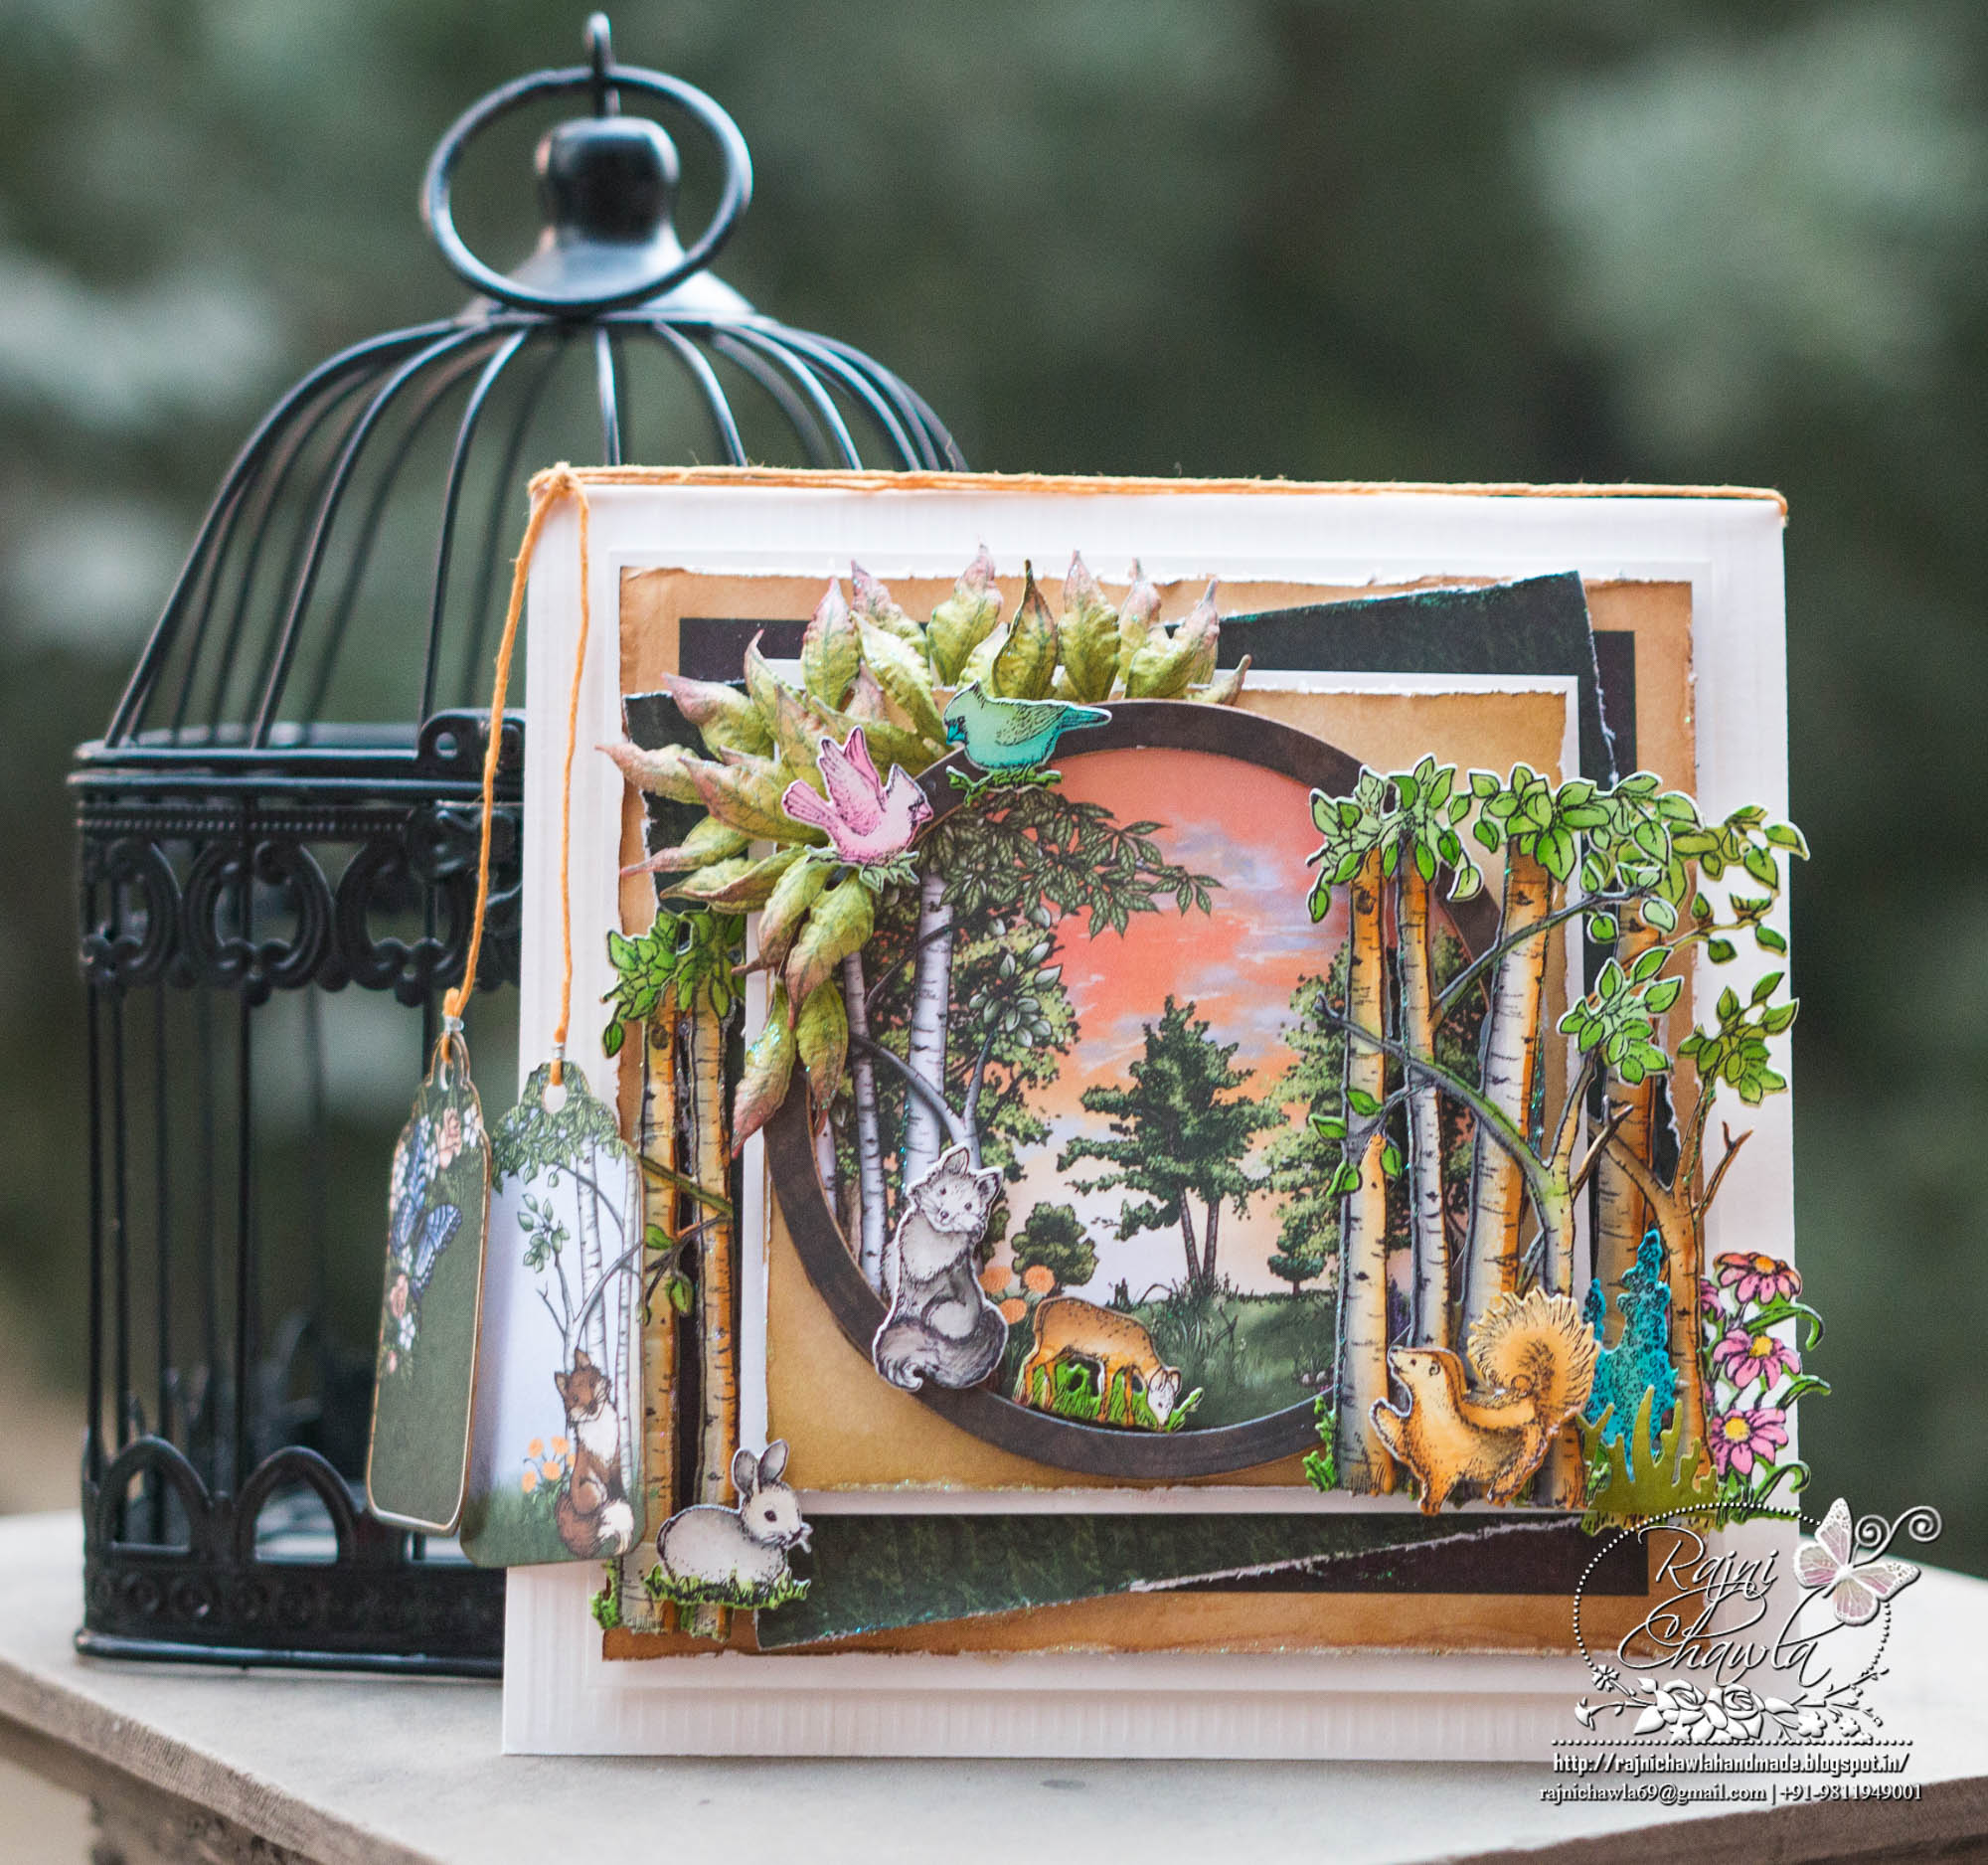
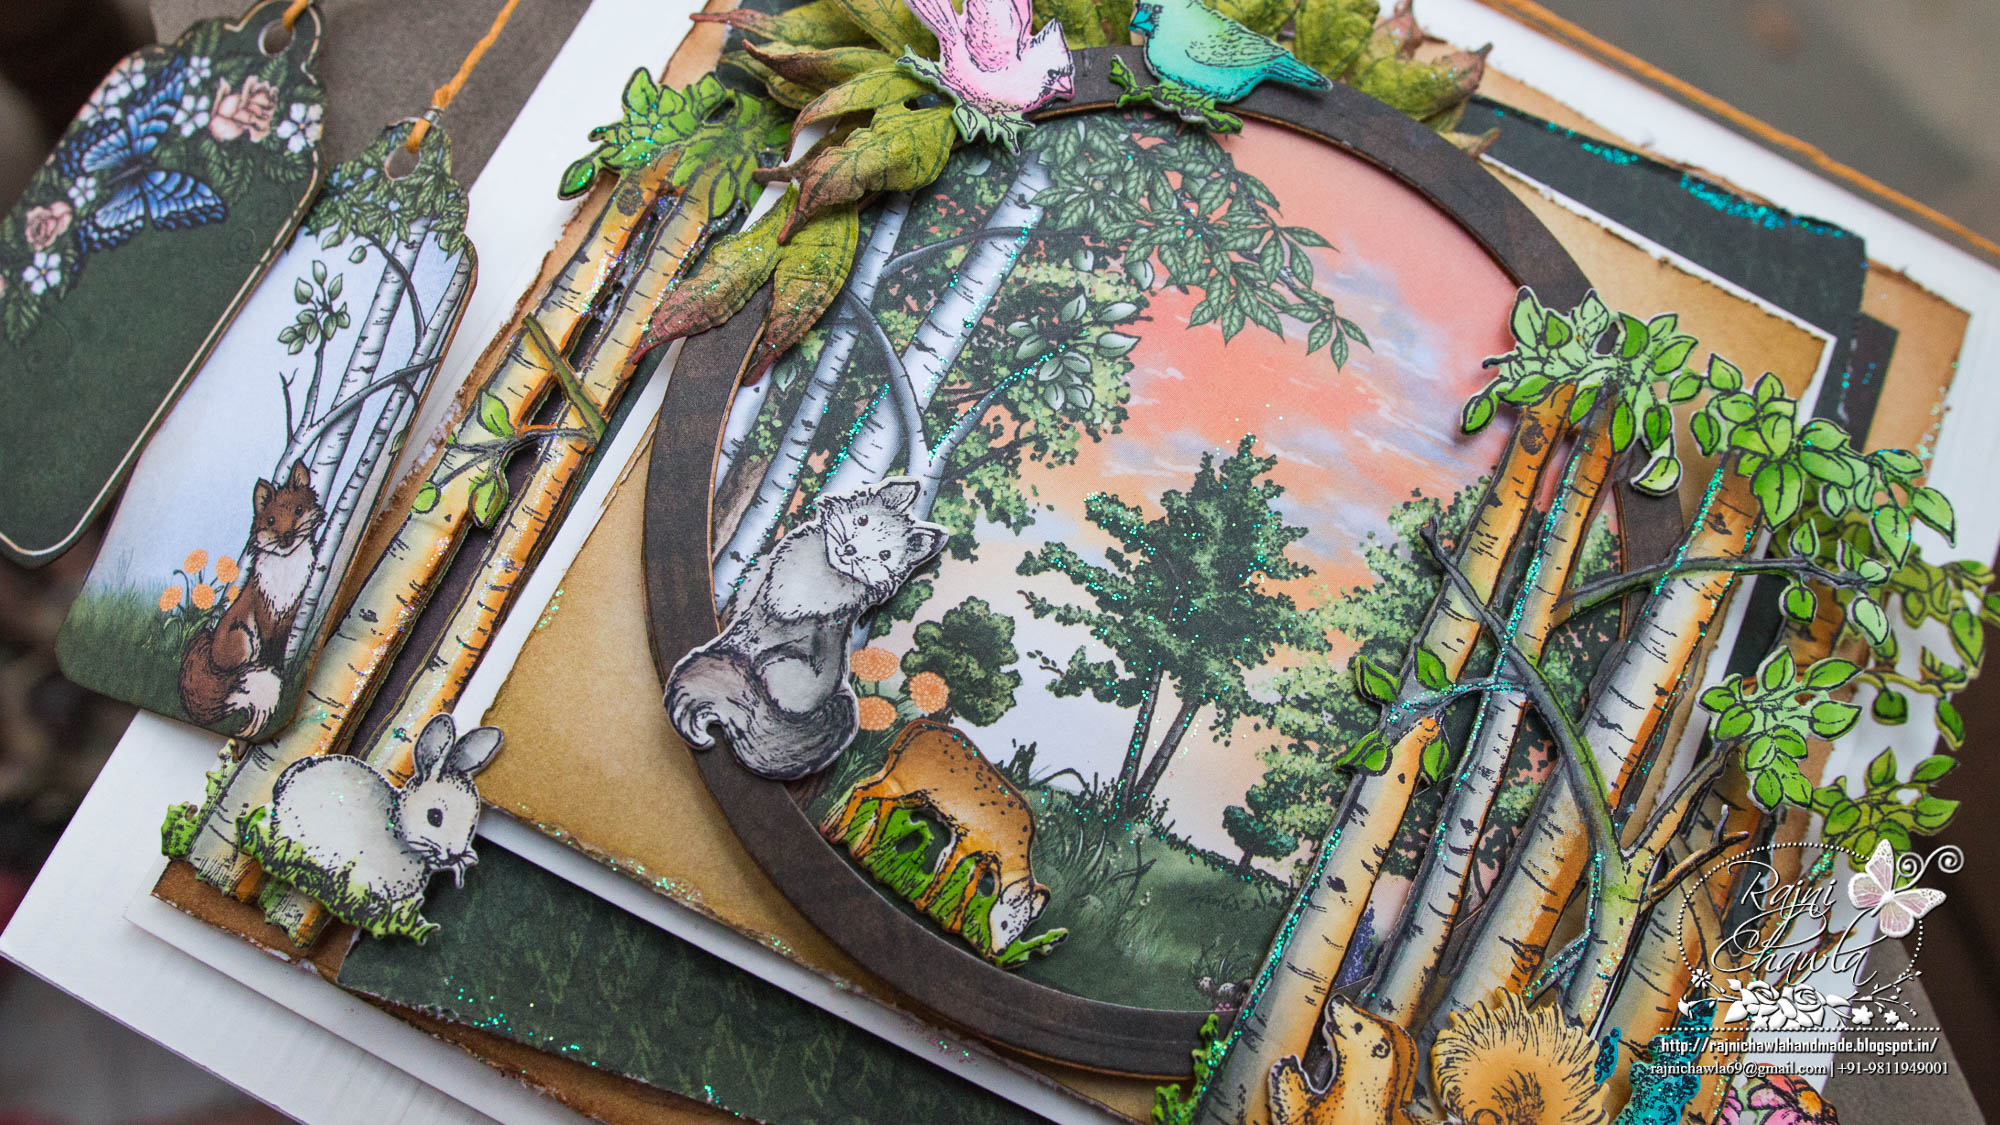
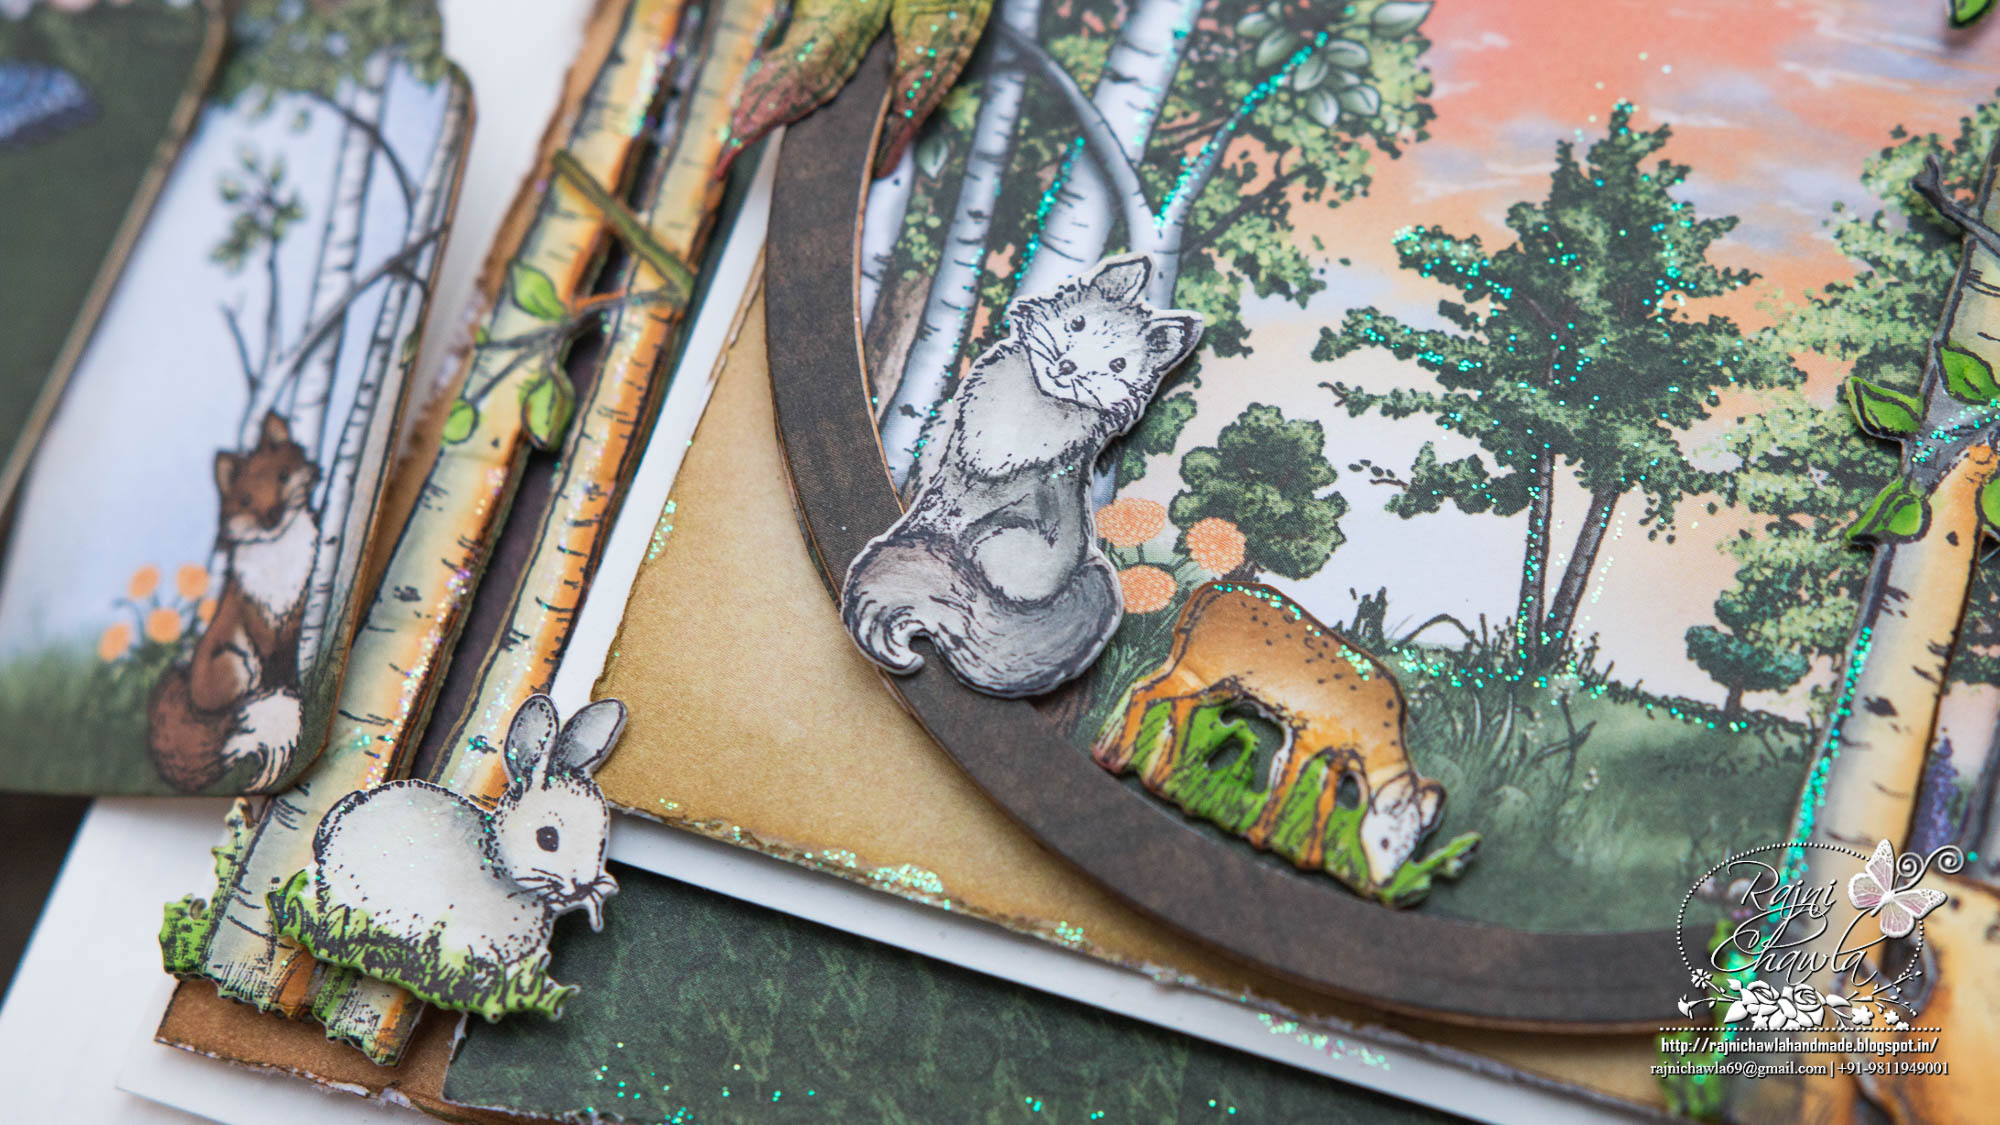
Instructions: To start with, the ready card is top folding and measures 7″ X 7″. The card front is all scored at 1/8th of an inch. The first mat is from smooth white cardstock and is half an inch smaller on all sides. The second mat is from the lightest shade of designer paper and is distressed using Vintage Photo and Walnut Stain Distress ink. Cut 4 pcs of 6′ by 6′ of different dark shades from the same paper collection and distress the edges using any scissors or Tim Holtz distress tool. Choose a scenic pattern from the designer paper and create a window using Spellbinder’s grand circle die. I have used the first smallest die for the same. All the critters, leaves, and birds are stamped with black archival ink and painted with Zig clean clear brush markers. Once all the elements are ready, start forming the layers giving them dimensions using double sided foam tape. Further, enhance the card with little glitter and hang the fussy cut tags with twine as shown.
Lovely scene!! 🙂
Beautiful scene……
Very ideal to teach kids… 💖💖💖
Beautiful card!
Absolutely breathtaking!!!!