


Good Morning Friends!!
Happy 2022 and happy first Wednesday of the year!!
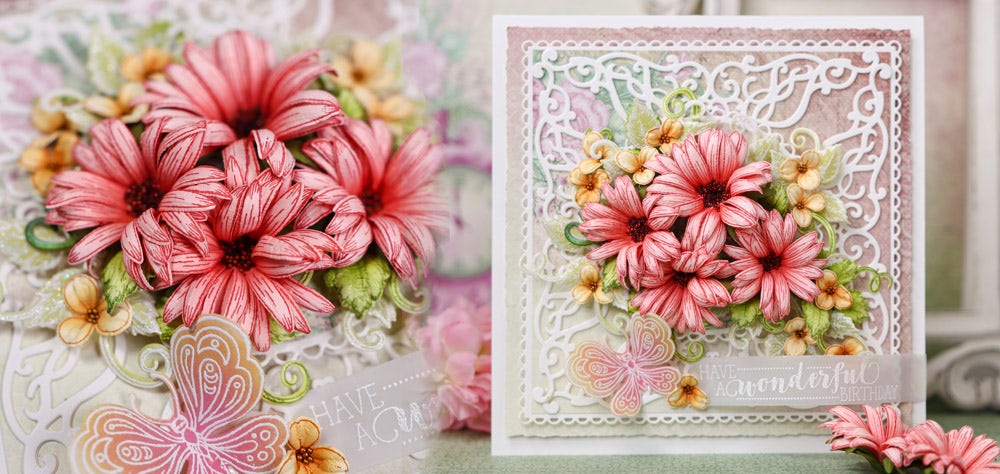
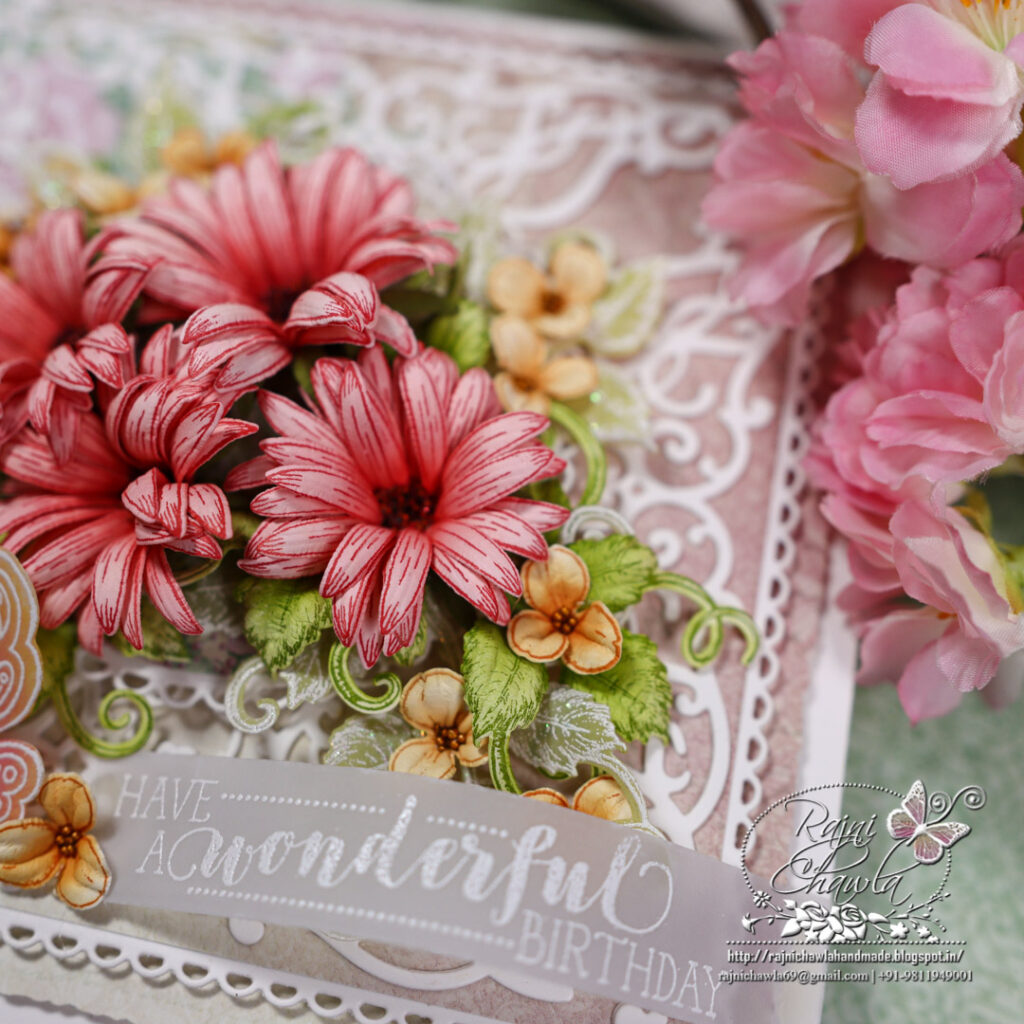
If you look the right way, you can see that the whole world is a garden. When I design any card that has everything ….Bouquet ….it has to be Asters!! Asters have always been my very first go when it comes to handmade flowers. Nature has created some really wonderful shades of Asters. For my today’s weekly inspiration for Heartfelt Creations, I have a card with Red Asters to share.
Supplies from Heartfelt Creations:
HCD1-7281 Stairway Gardens Die
HCD1-7263 Swirly Accent Spray Die
HCD1-7257 Wild Aster Die
HCPC-3888 Wild Aster Spray Cling Stamp Set
HCPC-3911 Wisteria Petals Cling Stamp Set
HCD1-7295 Wisteria Petals Die
HCPC-3952 Floral Butterfly Accents Cling Stamp Set
HCPC-3952 Floral Butterfly Accents Cling Stamp Set
HCPC-3843 Special Birthday Sentiments Cling Stamp Set
HCPP1-475 Deluxe Flower Shaping Paper Pack of 50 – White
18002 Rajni Chawla’s Vellum Flowerite – 10 Sheets
RACP436 Ranger Archival Ink Pad – Leaf Green
RACP482 Ranger Archival Ink Pad – Olive
RACP993 Ranger Archival Ink Pad – Red Geranium
RACP487 Ranger Archival Ink Pad – Bright Tangelo
EP100 Opaque Embossing Powder – White
RAHT Heat It Craft Tool
Other Products Used: Smooth White Cardstock, Die-cutting machine, Score Board, Sharp Scissors, Double-sided tape, Hero Arts White Pigment Ink, Flower Seed Beads, Distress Oxides: Rusty Hinge, Carved Pumpkin
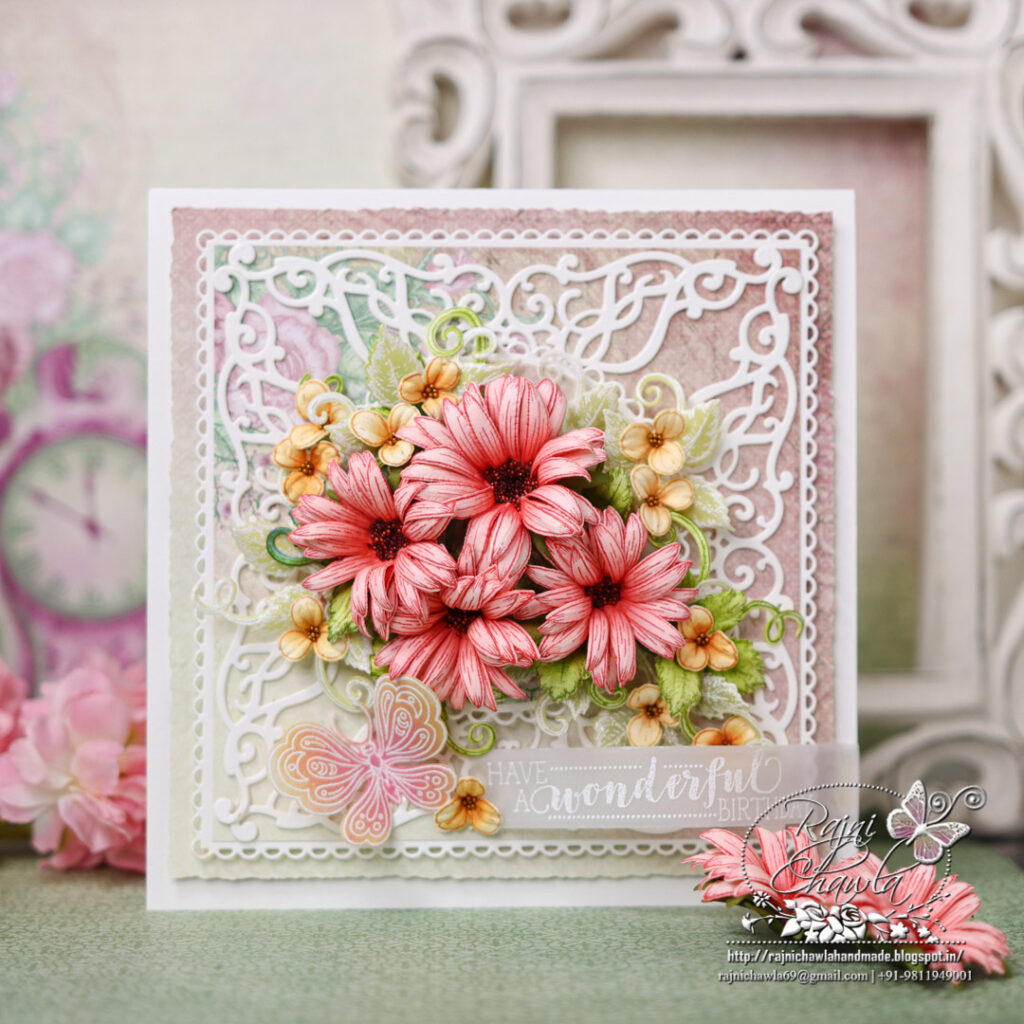
Instructions: The ready top fold card measures, 7″ X 7″. For making the card base you will need two pieces of cardstock measuring 7″ X 7″ and 7 1/2″ X 7″. Score the second piece on 1/2″ and crease well using a bone folder, making a hinge. Add glue on the hinge and secure the first piece on top.
Choose the pattern paper from the Floral Banners Paper Collection and chop it to 6 1/2″ X 6 1/2″ using a deckled edge paper trimmer and layer it on the card front using double-sided tape.
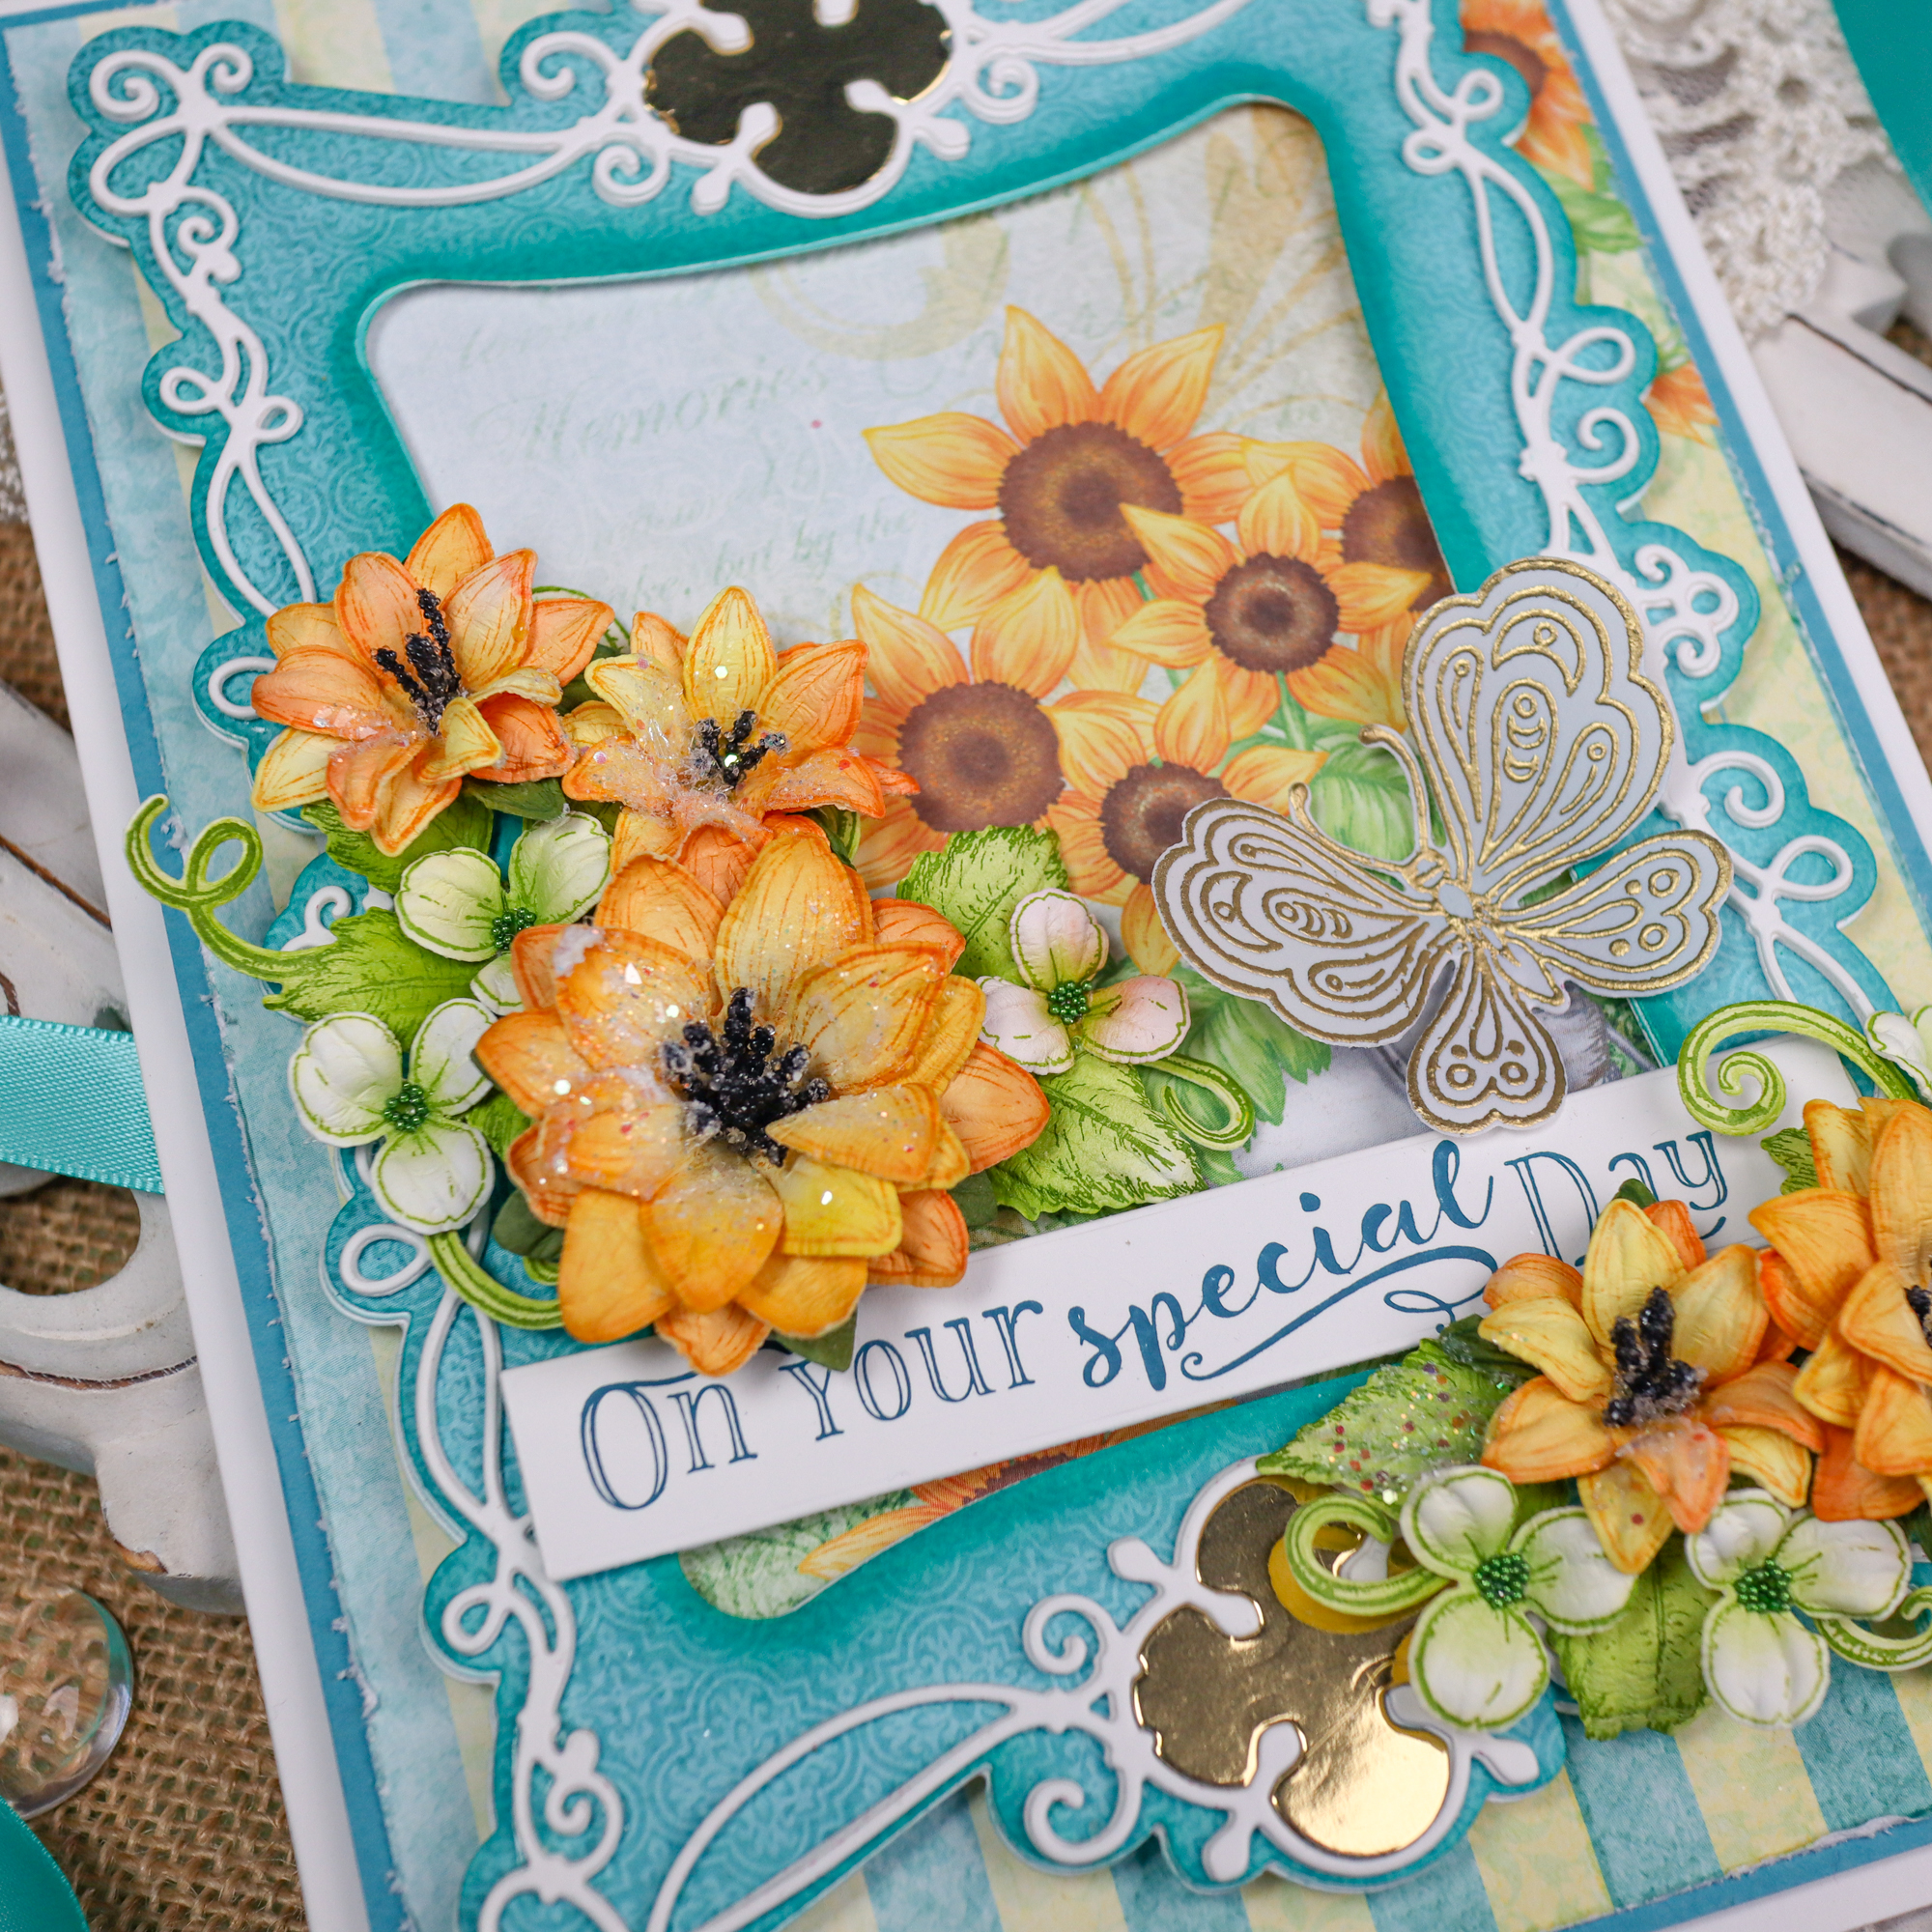
Cut a white die cut using HCD1-7281 Stairway Gardens Die and layer it as shown. Cut a coordinating paper from the same collection, a little smaller to the die-cut so that the white edge pops out from the bottom colorful paper. Cut four die cuts from smooth white cardstock using HCD1-7263 Swirly Accent Spray Die and adhere them, placing one each on all four sides as shown.
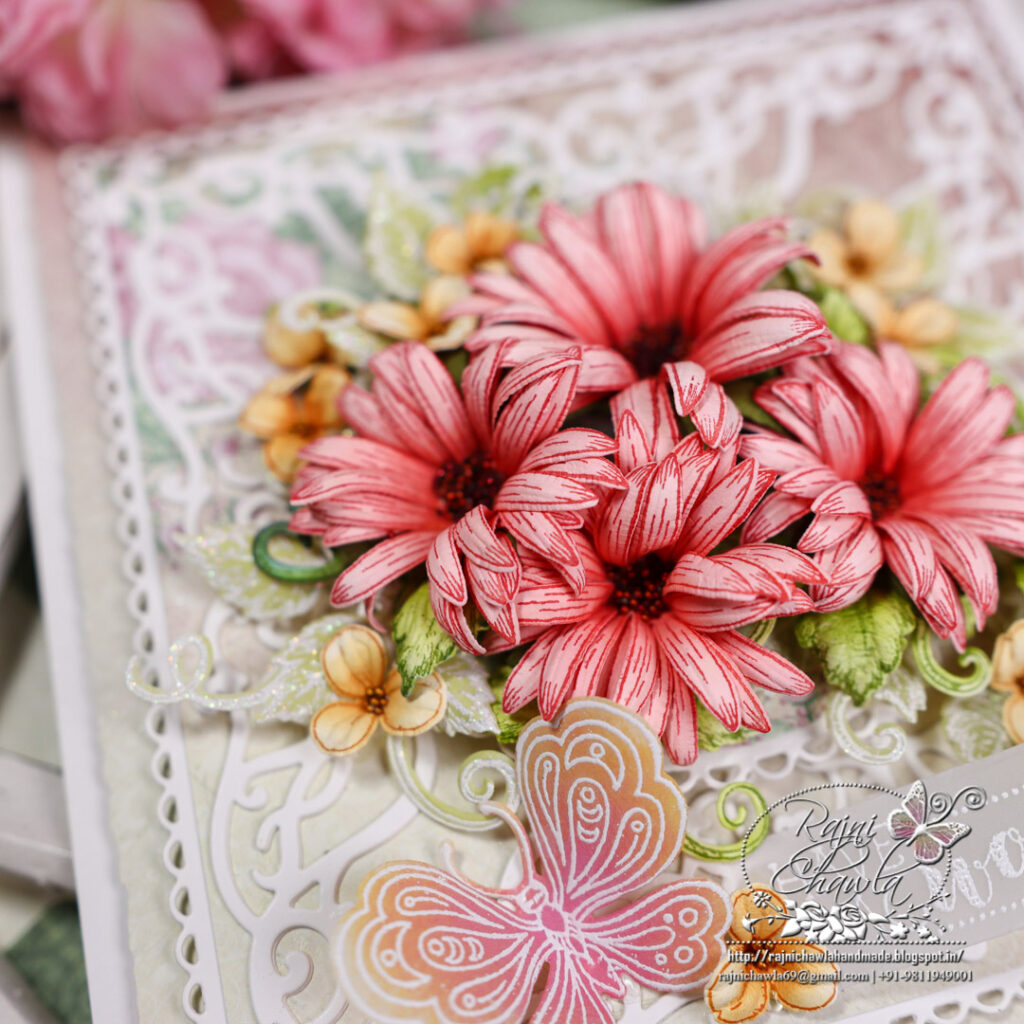
For Red Asters, Stamp a couple of petals from Wild Aster Cling Stamp Set using Ranger Archival Ink Pad – Red Geranium Archival Ink and cut them using its coordinating die. Color the petals using the same ink and shape them using golf groove tools. Create 3 medium-sized Asters. Complete the flowers by adding matching seed beads in the centers.
Stamp, cut, and color a few wisteria flowers using Bright Tangelo and shape them using a flower shaping kit. Add flower seed beads using a glossy accent and use these flowers as fillers.
Stamp 2 sets of leaves using Leafy Accent stamp and Olive Green Archival ink and cut them using its coordinating die. Color the leaves using the same inks and shape them using a deluxe flower shaping kit.
Stamp the butterfly image from Floral Butterfly Accents Cling Stamp Set with Versafine on Rajni Chawla’s Vellum Flowerite and sprinkle white heat embossing powder. Dust extras and heat set the image using a heat tool. Cut the butterfly using its coordinating die. Color the butterfly using distress oxides. Also, white heat emboss a few pieces of foliage using Leafy Accent Stamp and die cut them using its coordinating die set.
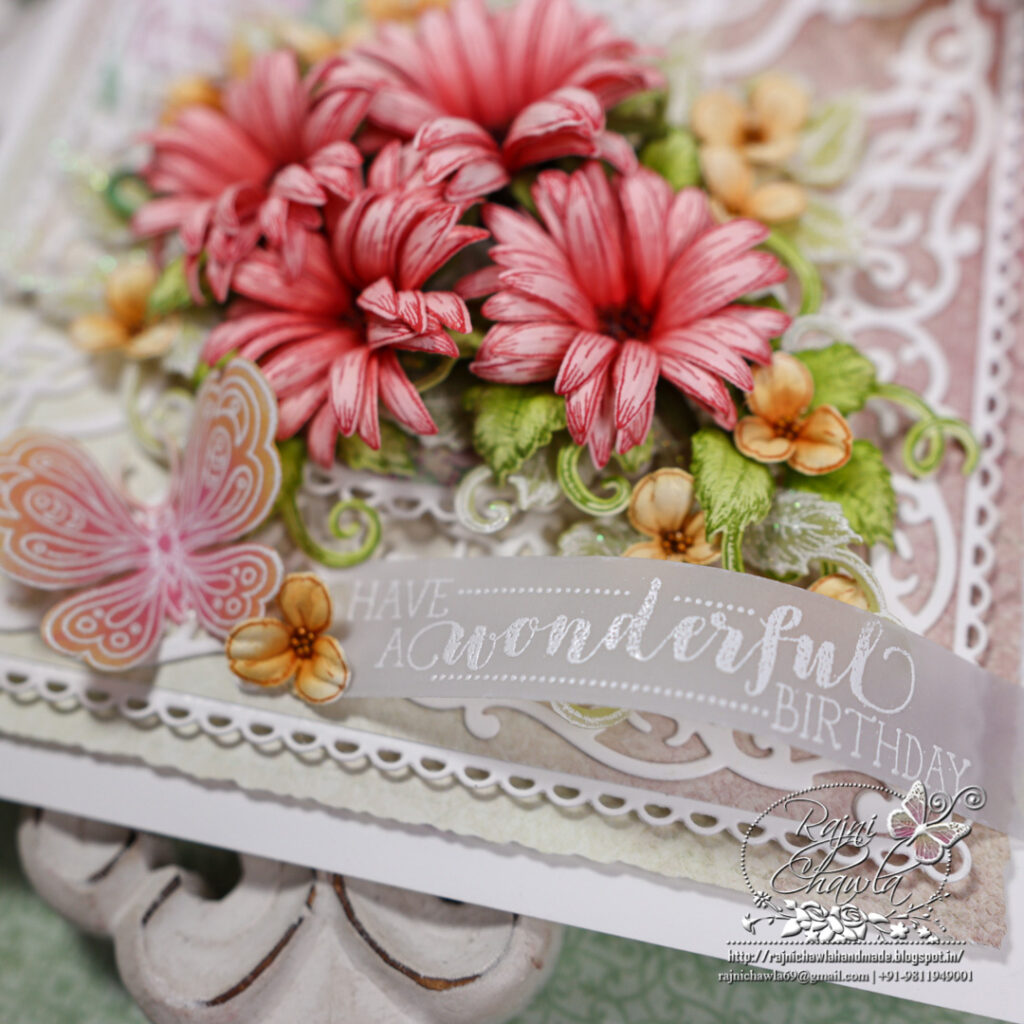
White heat emboss the sentiment from HCPC-3843 Special Birthday Sentiments Cling Stamp Set on a stripe of Rajni Chawla’s Vellum cardstock and shape a little with your fingers. Adhere it on the right side bottom corner.
Once all the elements are ready, assemble a small bouquet of flowers in the center and complete the card with white heat embossed vellum sentiment.
Absolutely gorgeous card as always my friend. I love making the asters too!