


Hello, all!!
Thank you for dropping my blog again.
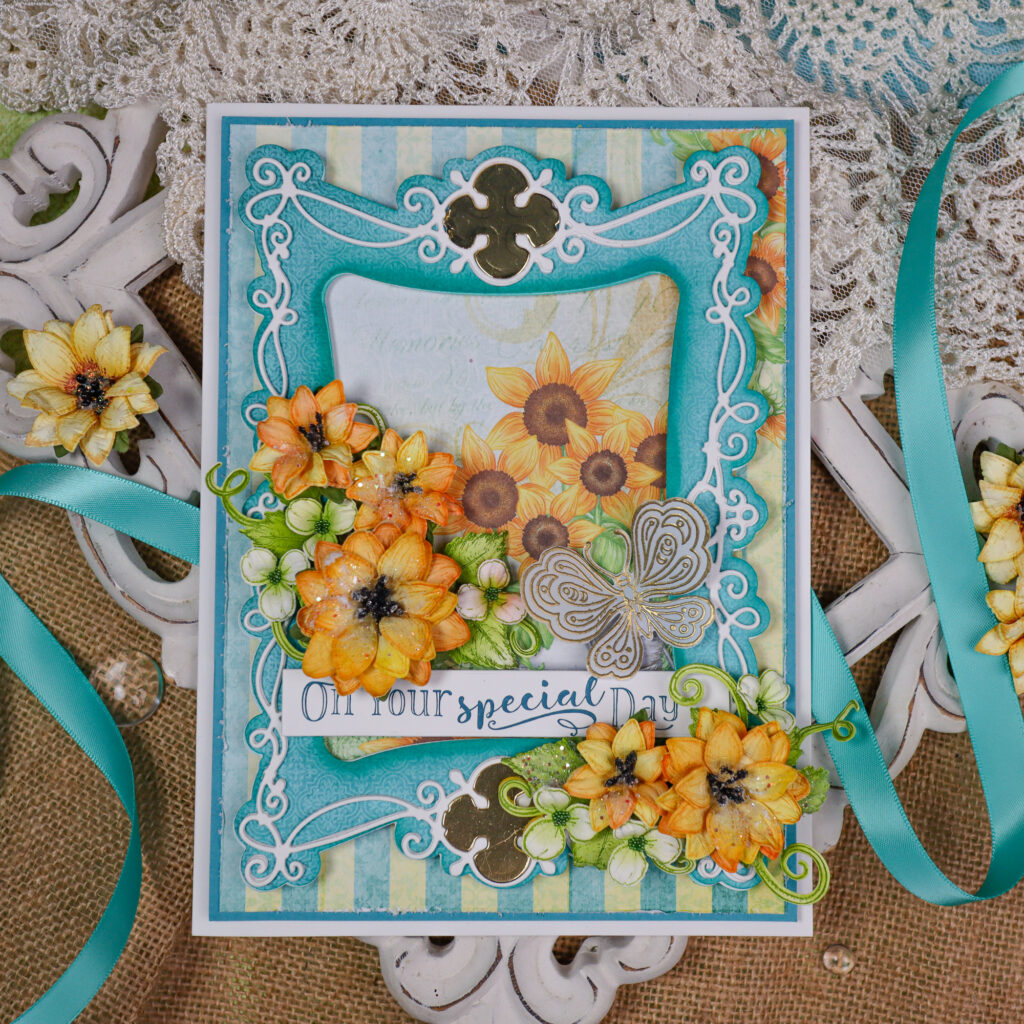
Can you believe we are so close to the end of 2021? As we come to close 2021, I am excited to share this classically Framed sunflower card as a weekly inspiration for Heartfelt Creations.


Supplies From Heartfelt Creations
HCD2-7383 Simply Classic Rectangle Frame Die
HCD1-7364 Rustic Sunflower Die
HCPC-3962 Rustic Sunflower Cling Stamp Set
HCDP1-2131 Rustic Sunflower Paper Collection
HCD1-7193 Leafy Accents Die
HCPC-3835 Leafy Accents Cling Stamp Set
HCPC-3911 Wisteria Petals Cling Stamp Set
HCD1-7295 Wisteria Petals Die
HCPC-3952 Floral Butterfly Accents Cling Stamp Set
HCPC-3952 Floral Butterfly Accents Cling Stamp Set
HCPC-3847 Celebrate Love Sentiments Cling Stamp Set
HCGP1-488 Luxe Gold Cardstock
HCS1-459-4 Rock Candy Stamens-Small
HCPP1-475 Deluxe Flower Shaping Paper Pack of 50 – White
18002 Rajni Chawla’s Vellum Flowerite – 10 Sheets
RACP436 Ranger Archival Ink Pad – Leaf Green
RACP482 Ranger Archival Ink Pad – Olive
RACP487 Ranger Archival Ink Pad – Bright Tangelo
RACP005 Ranger Archival Ink Pad – Sunflower
RACP468 Ranger Archival Ink Pad – Jet Black
409311 Color In Watercolor Brush – Fine
PGM15015 Rajni Chawla’s Crystal Clear
Other Supplies Used: Smooth white cardstock, Die Cutting machine, Score Board, Glossy Accent , Sharp pair of Scissors
Instructions: The ready top fold card measures 8″ by 6″. To prepare the white card base, cut one piece measuring 8″ by 6″ and the second piece 8 1/2″ by 6″. Score the second piece at 1/2″ on the longer side and glue the first piece on top. For the topmost layer, choose a teal color cardstock matching to the designer paper collection and cut 71/4″ by 5 1/4″. Next, cut a coordinating paper from the designer paper collection, 1/16″ smaller on all the sides and layer it on the card front using foam tapes.
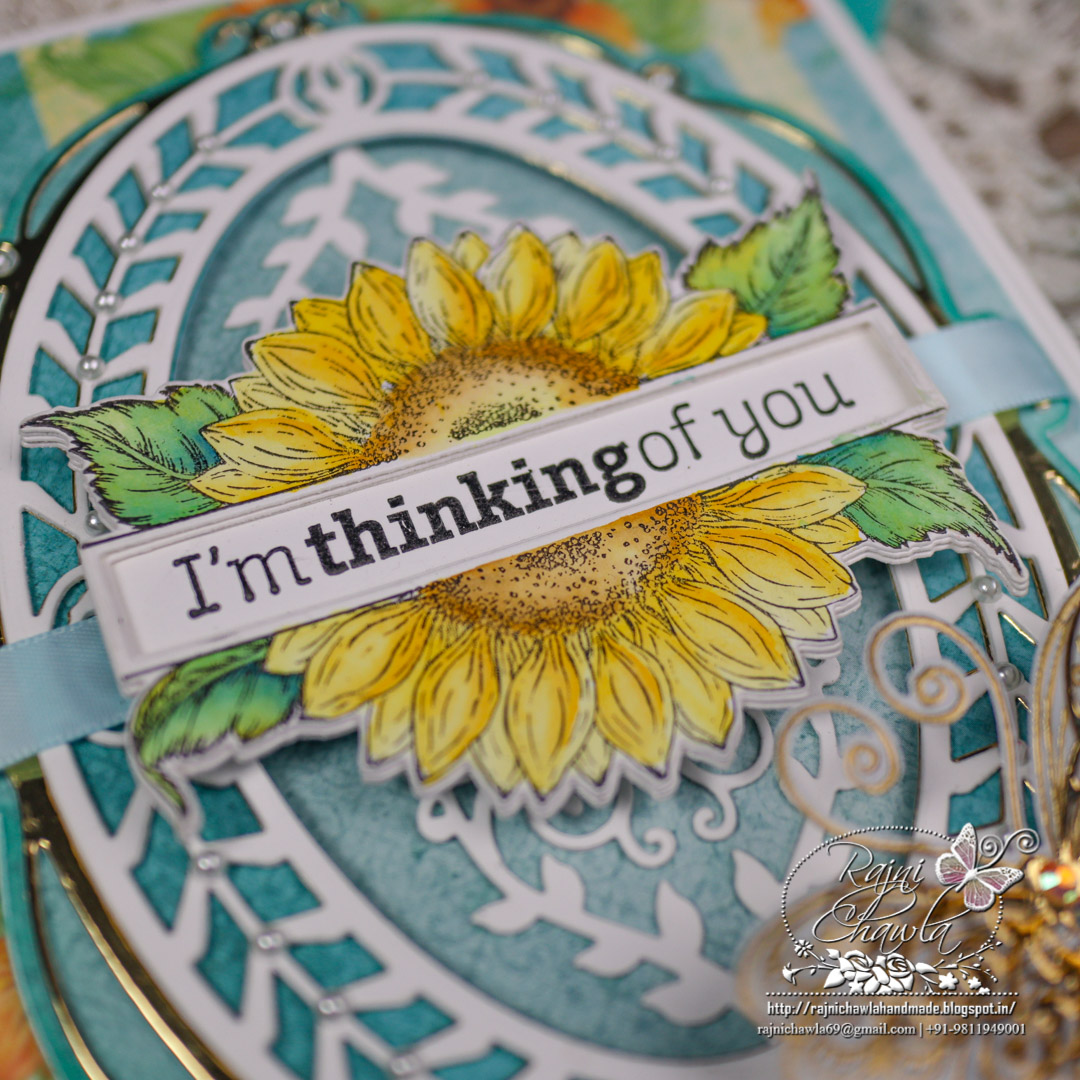
Cut 2 pieces of delicate frame one from white cardstock using Simply Classic Rectangle Frame Die and glue them together to add strength. Adhere the ready frame on the solid cover die-cut, cut using the same die from white cardstock which is distressed using teal color distress ink. Inlay the leftover gold die cuts from your left previous project back into the frame for the extra accent.
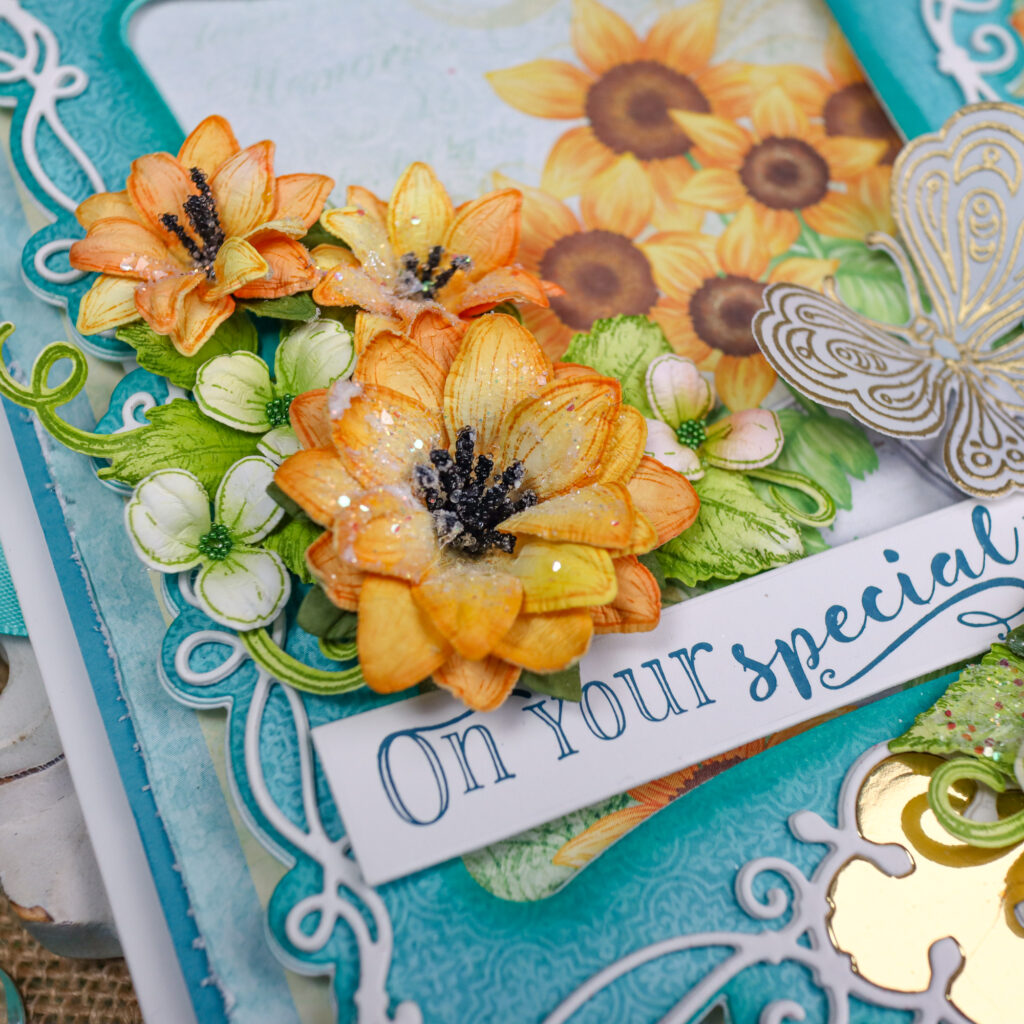
For Sunflowers, stamp multiple images of flower petals using Sunflower Archival ink and cut these using its coordinating dies. Paint the flower petals using Sunflower ink and Orange Tangelo Archival inks and shape them using a Deluxe flower shaping kit. Prepare 2 large and 4 medium-sized flowers. Prick the holes in the center and secure the pollens with a heat tool. Stamp one size smaller petal from the same set using Library green/ Cobalt Blue archival ink on green color cardstock and cut them using coordinating dies. Using the crushing technique, create calyx and complete the flower by securing them behind each flower for the complete flower look.
Stamp 3-4 sets of leaves using Leafy Accent stamp and Olive Green Archival ink and cut them using its coordinating die. Color the leaves using the same inks and shape them using a deluxe flower shaping kit.
Stamp, color and cut few wisteria flowers using Leaf GreenFlower Archival ink and shape them using a flower shaping kit. Add flower pollens using a glossy accent and use these flowers as fillers.
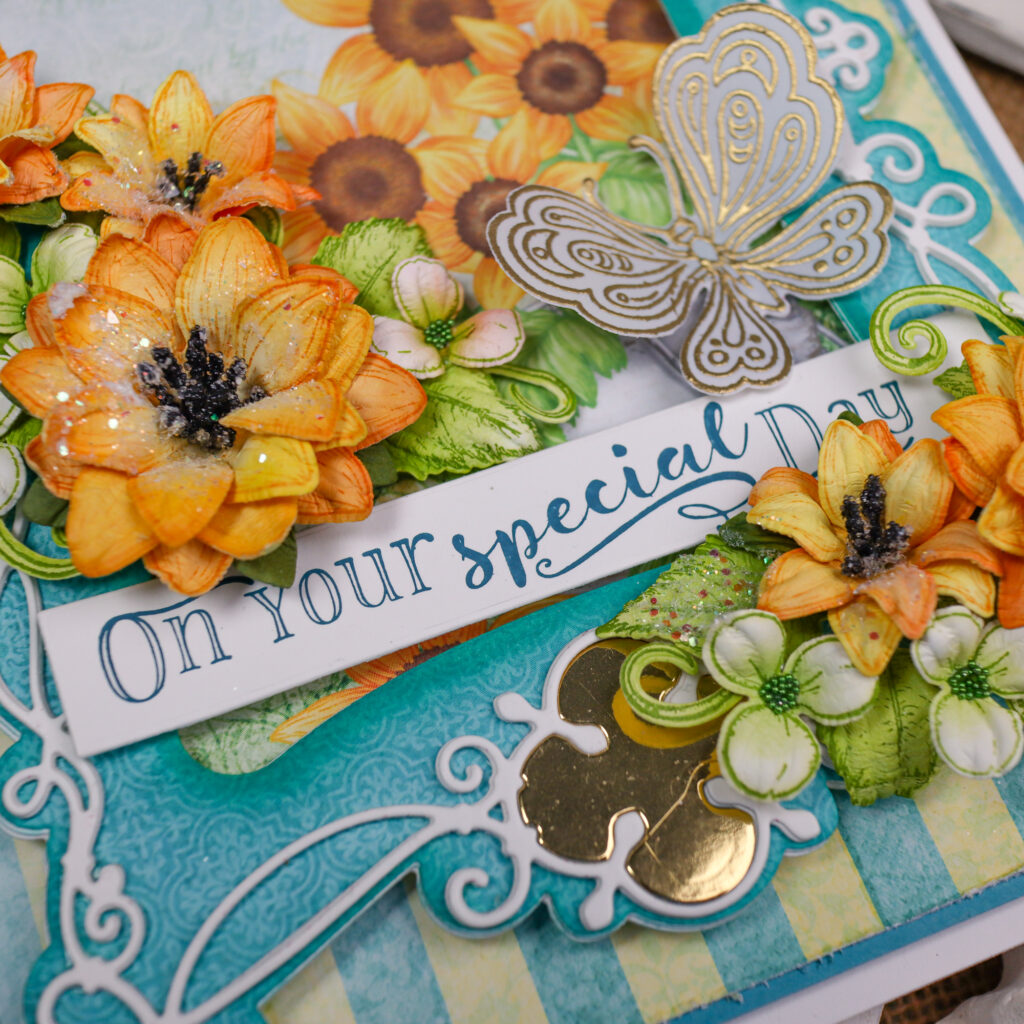
Stamp the butterfly image from Floral Butterfly Accents Cling Stamp Set with Versafine on Rajni Chawla’s Vellum Flowerite and sprinkle gold heat embossing powder. Dust extras and heat set the image using a heat tool. Cut the butterfly using its coordinating die. Shape the butterfly with your hands.
Once, all the elements are ready, assemble the card as shown and complete the card by adding a sentiment from Special Birthday Sentiments Cling Stamp Set.
Beautiful card as always, my friend!