Happy Wednesday!! It’s an inspiration Wednesday for Heartfelt Creations. Continuing with Wild Poppy Collection I have this card to inspire you. It was so much fun creating bright and cheerful cards using Wild Poppies.
HCD1-7405 Wild Poppy Accents Die
HCD1-7406 Wild Poppy Bouquet Die
HCPC-3986 Wild Poppy Cling Stamp Set
HCPC-3987 Wild Poppy Accents Cling Stamp Set
HCPC-3988 Wild Poppy Bouquet Cling Stamp Set
HCDP1-2139 Wild Poppy Paper Collection
HCD2-7307 Royal Elegance Frames Die
HCD1-7353 Floral Butterfly Accents Die
HCPC-3952 Floral Butterfly Accents Cling Stamp Set
18002 Rajni Chawla’s Vellum Flowerite – 10 Sheets
478594 Zig Clean Color Real Brush Markers – 48 Pack
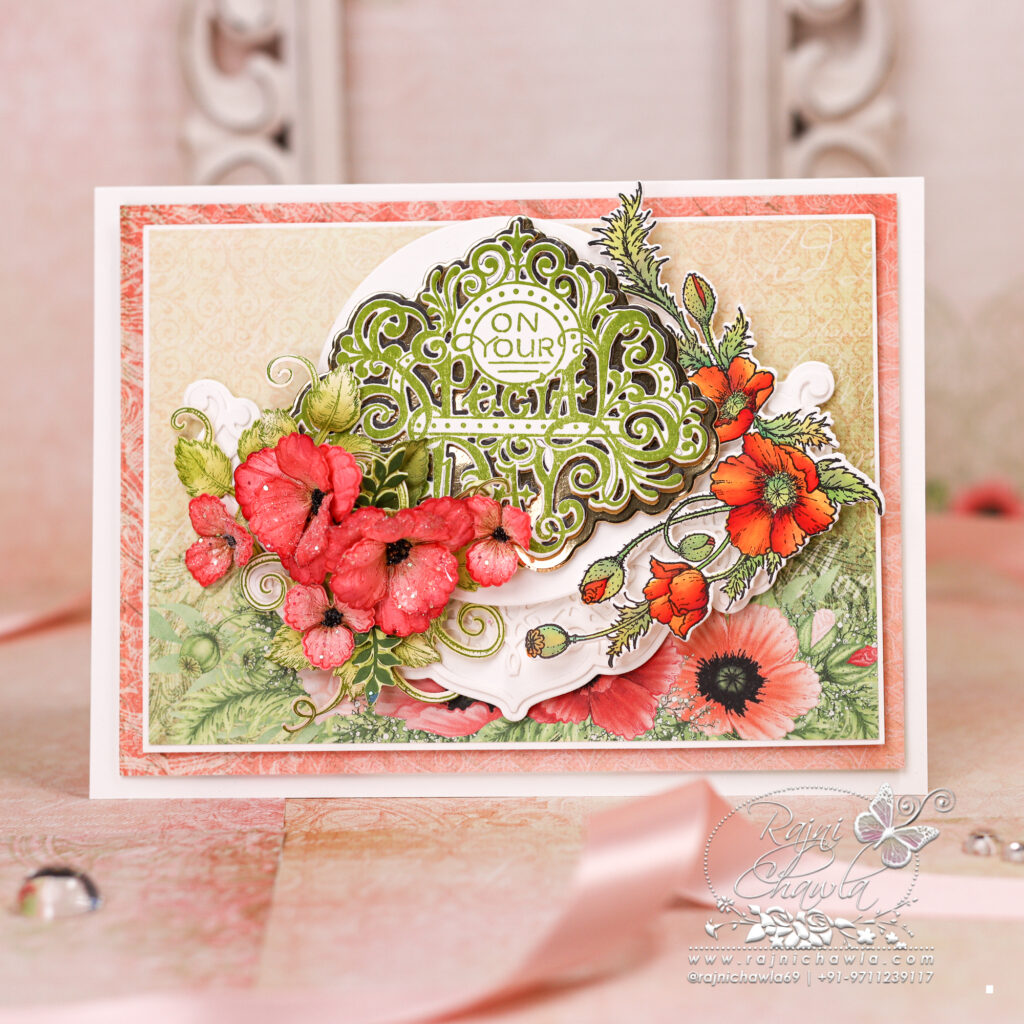
The top fold card from the smooth white cardstock measures 5 1/2″ by 7 1/2″. Choose the pattern papers from the designer paper collection and create 3-dimensional layers keeping a white cardstock layer in between.
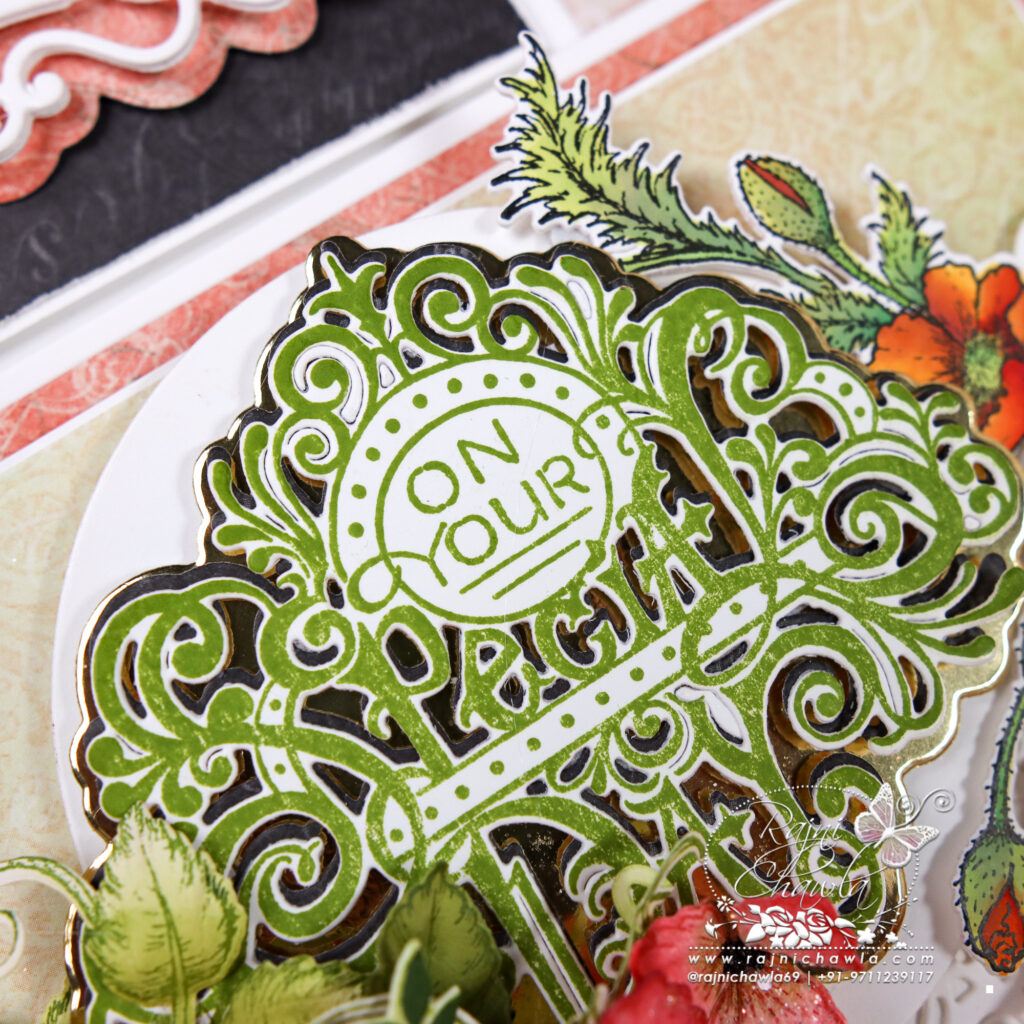
Cut 2 pieces of die cuts using Swirly Accent Spray Die set from white cardstock and stack them together. Glue the ready set of die cuts on its coordinating base and layer it in the center of the card as shown. Cut a circle from white cardstock using the Eyelet circle die and layer it as shown.
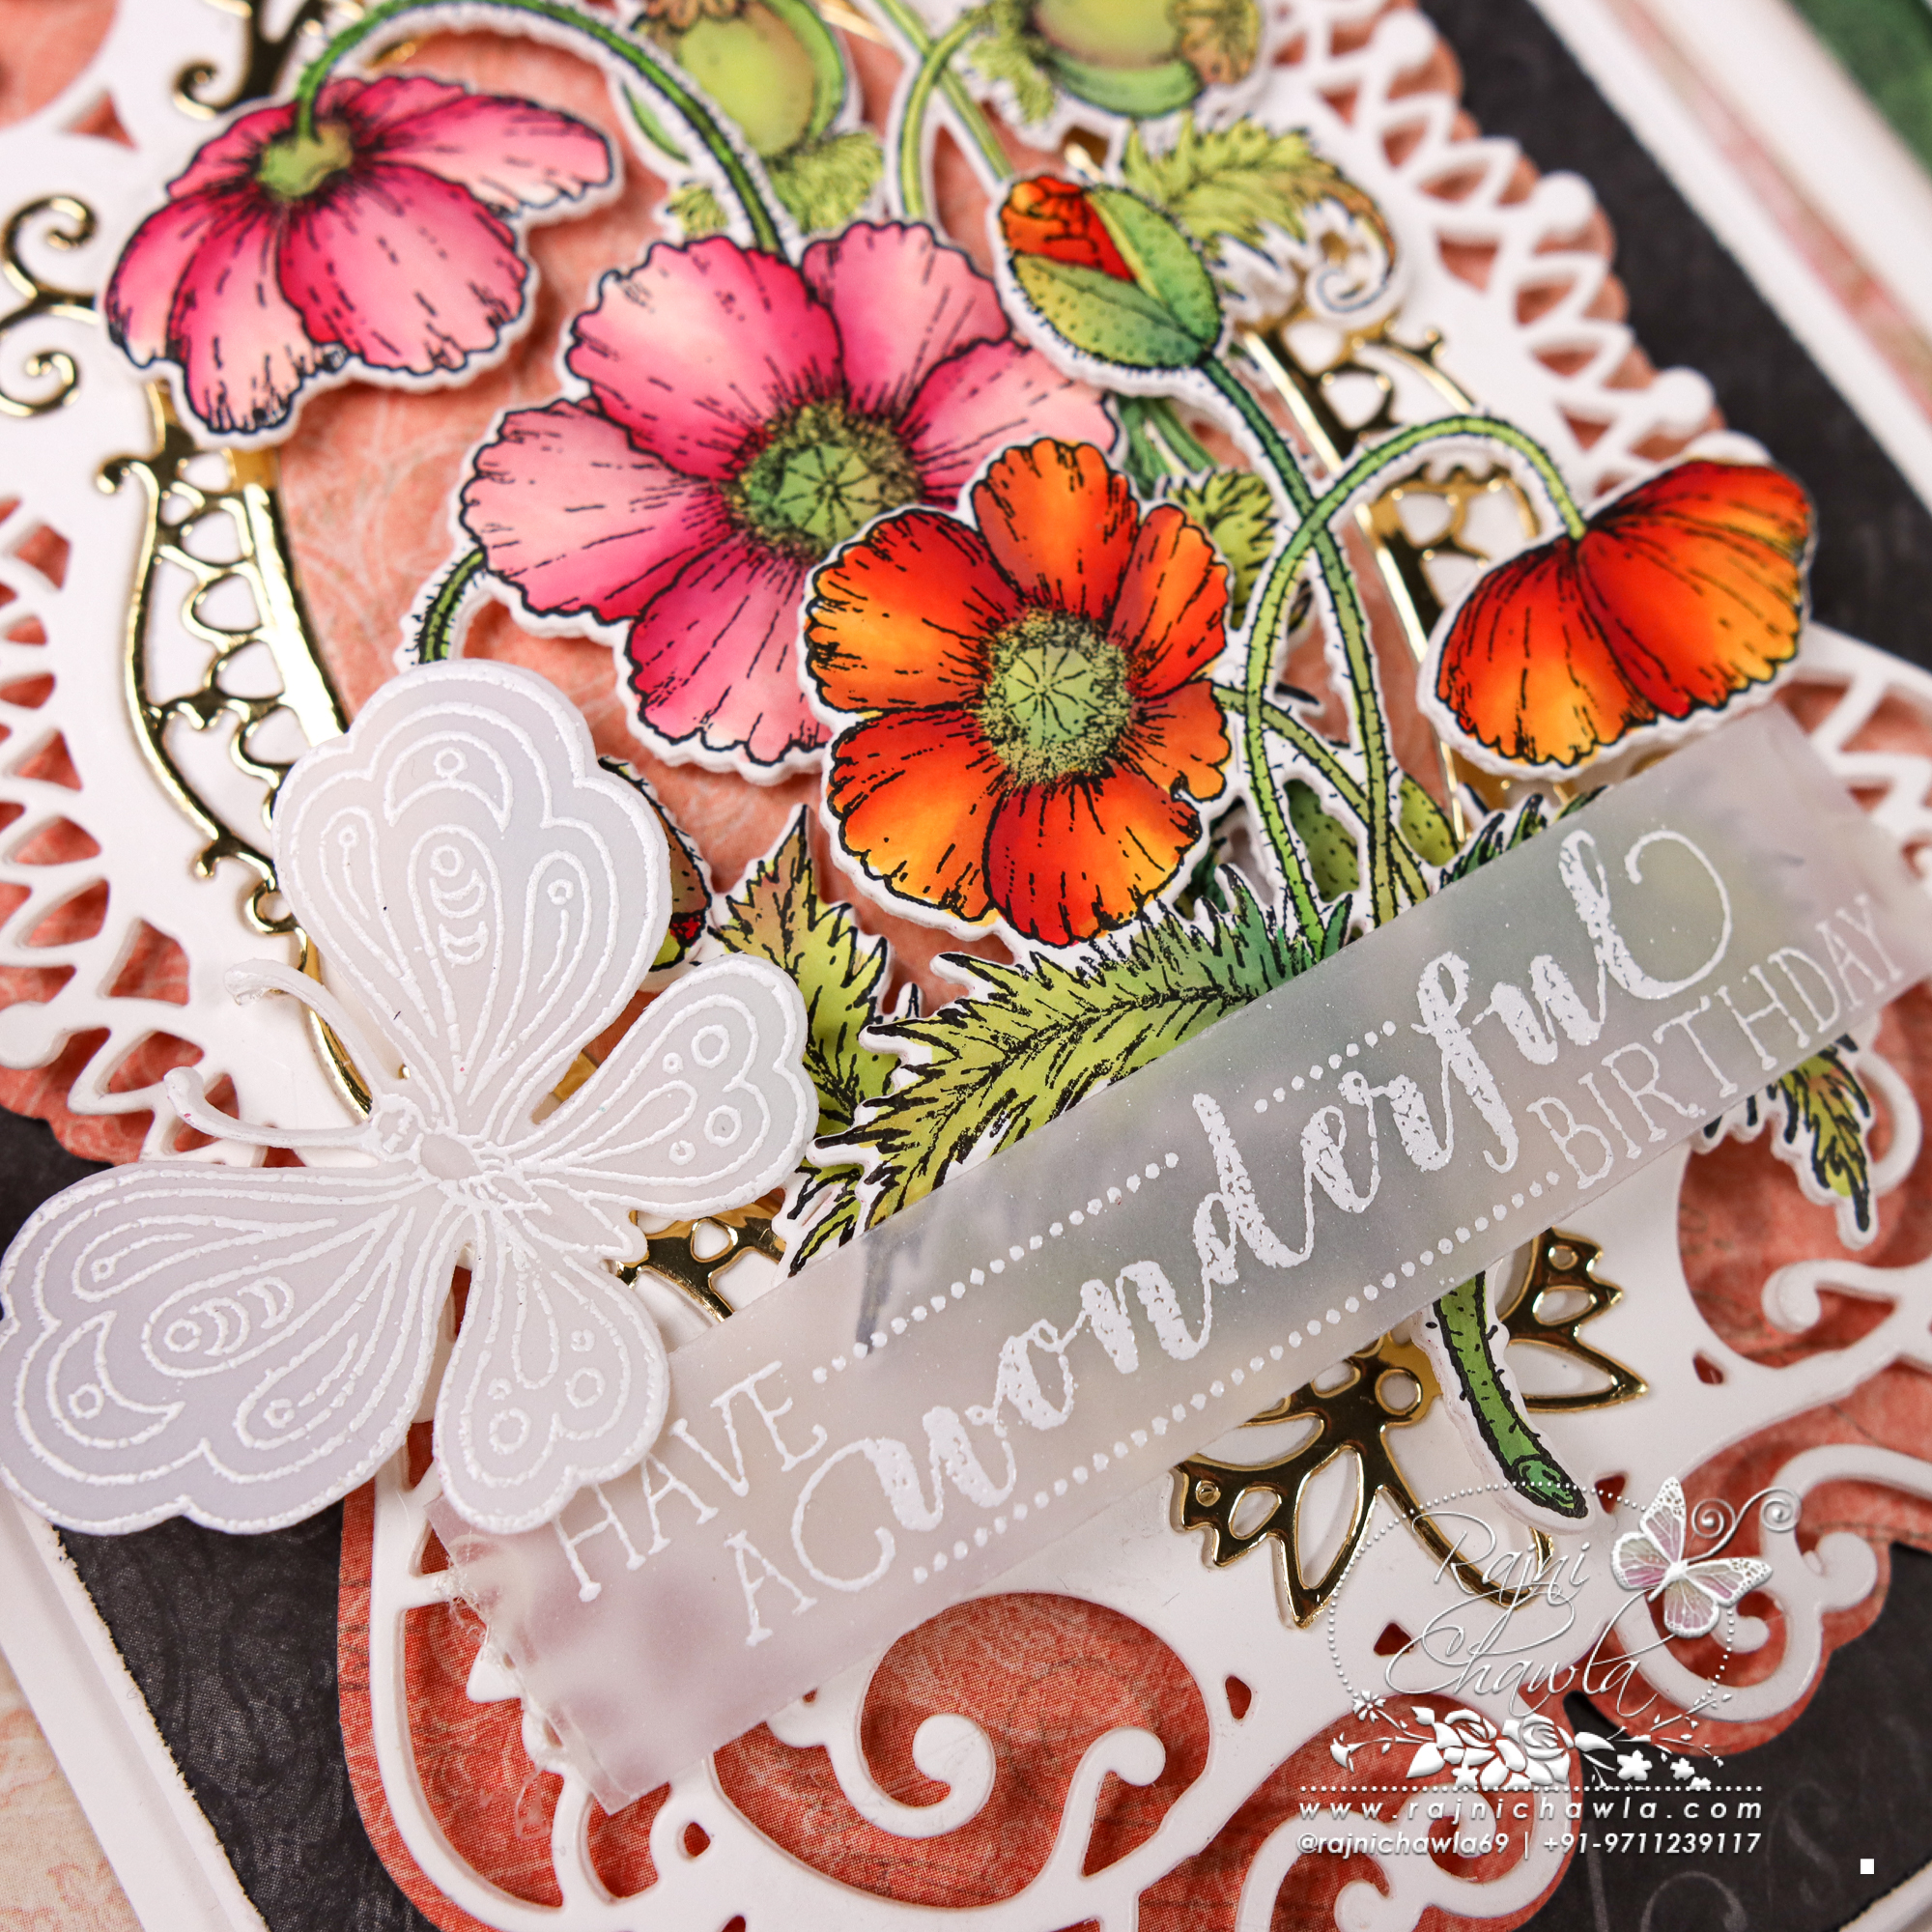
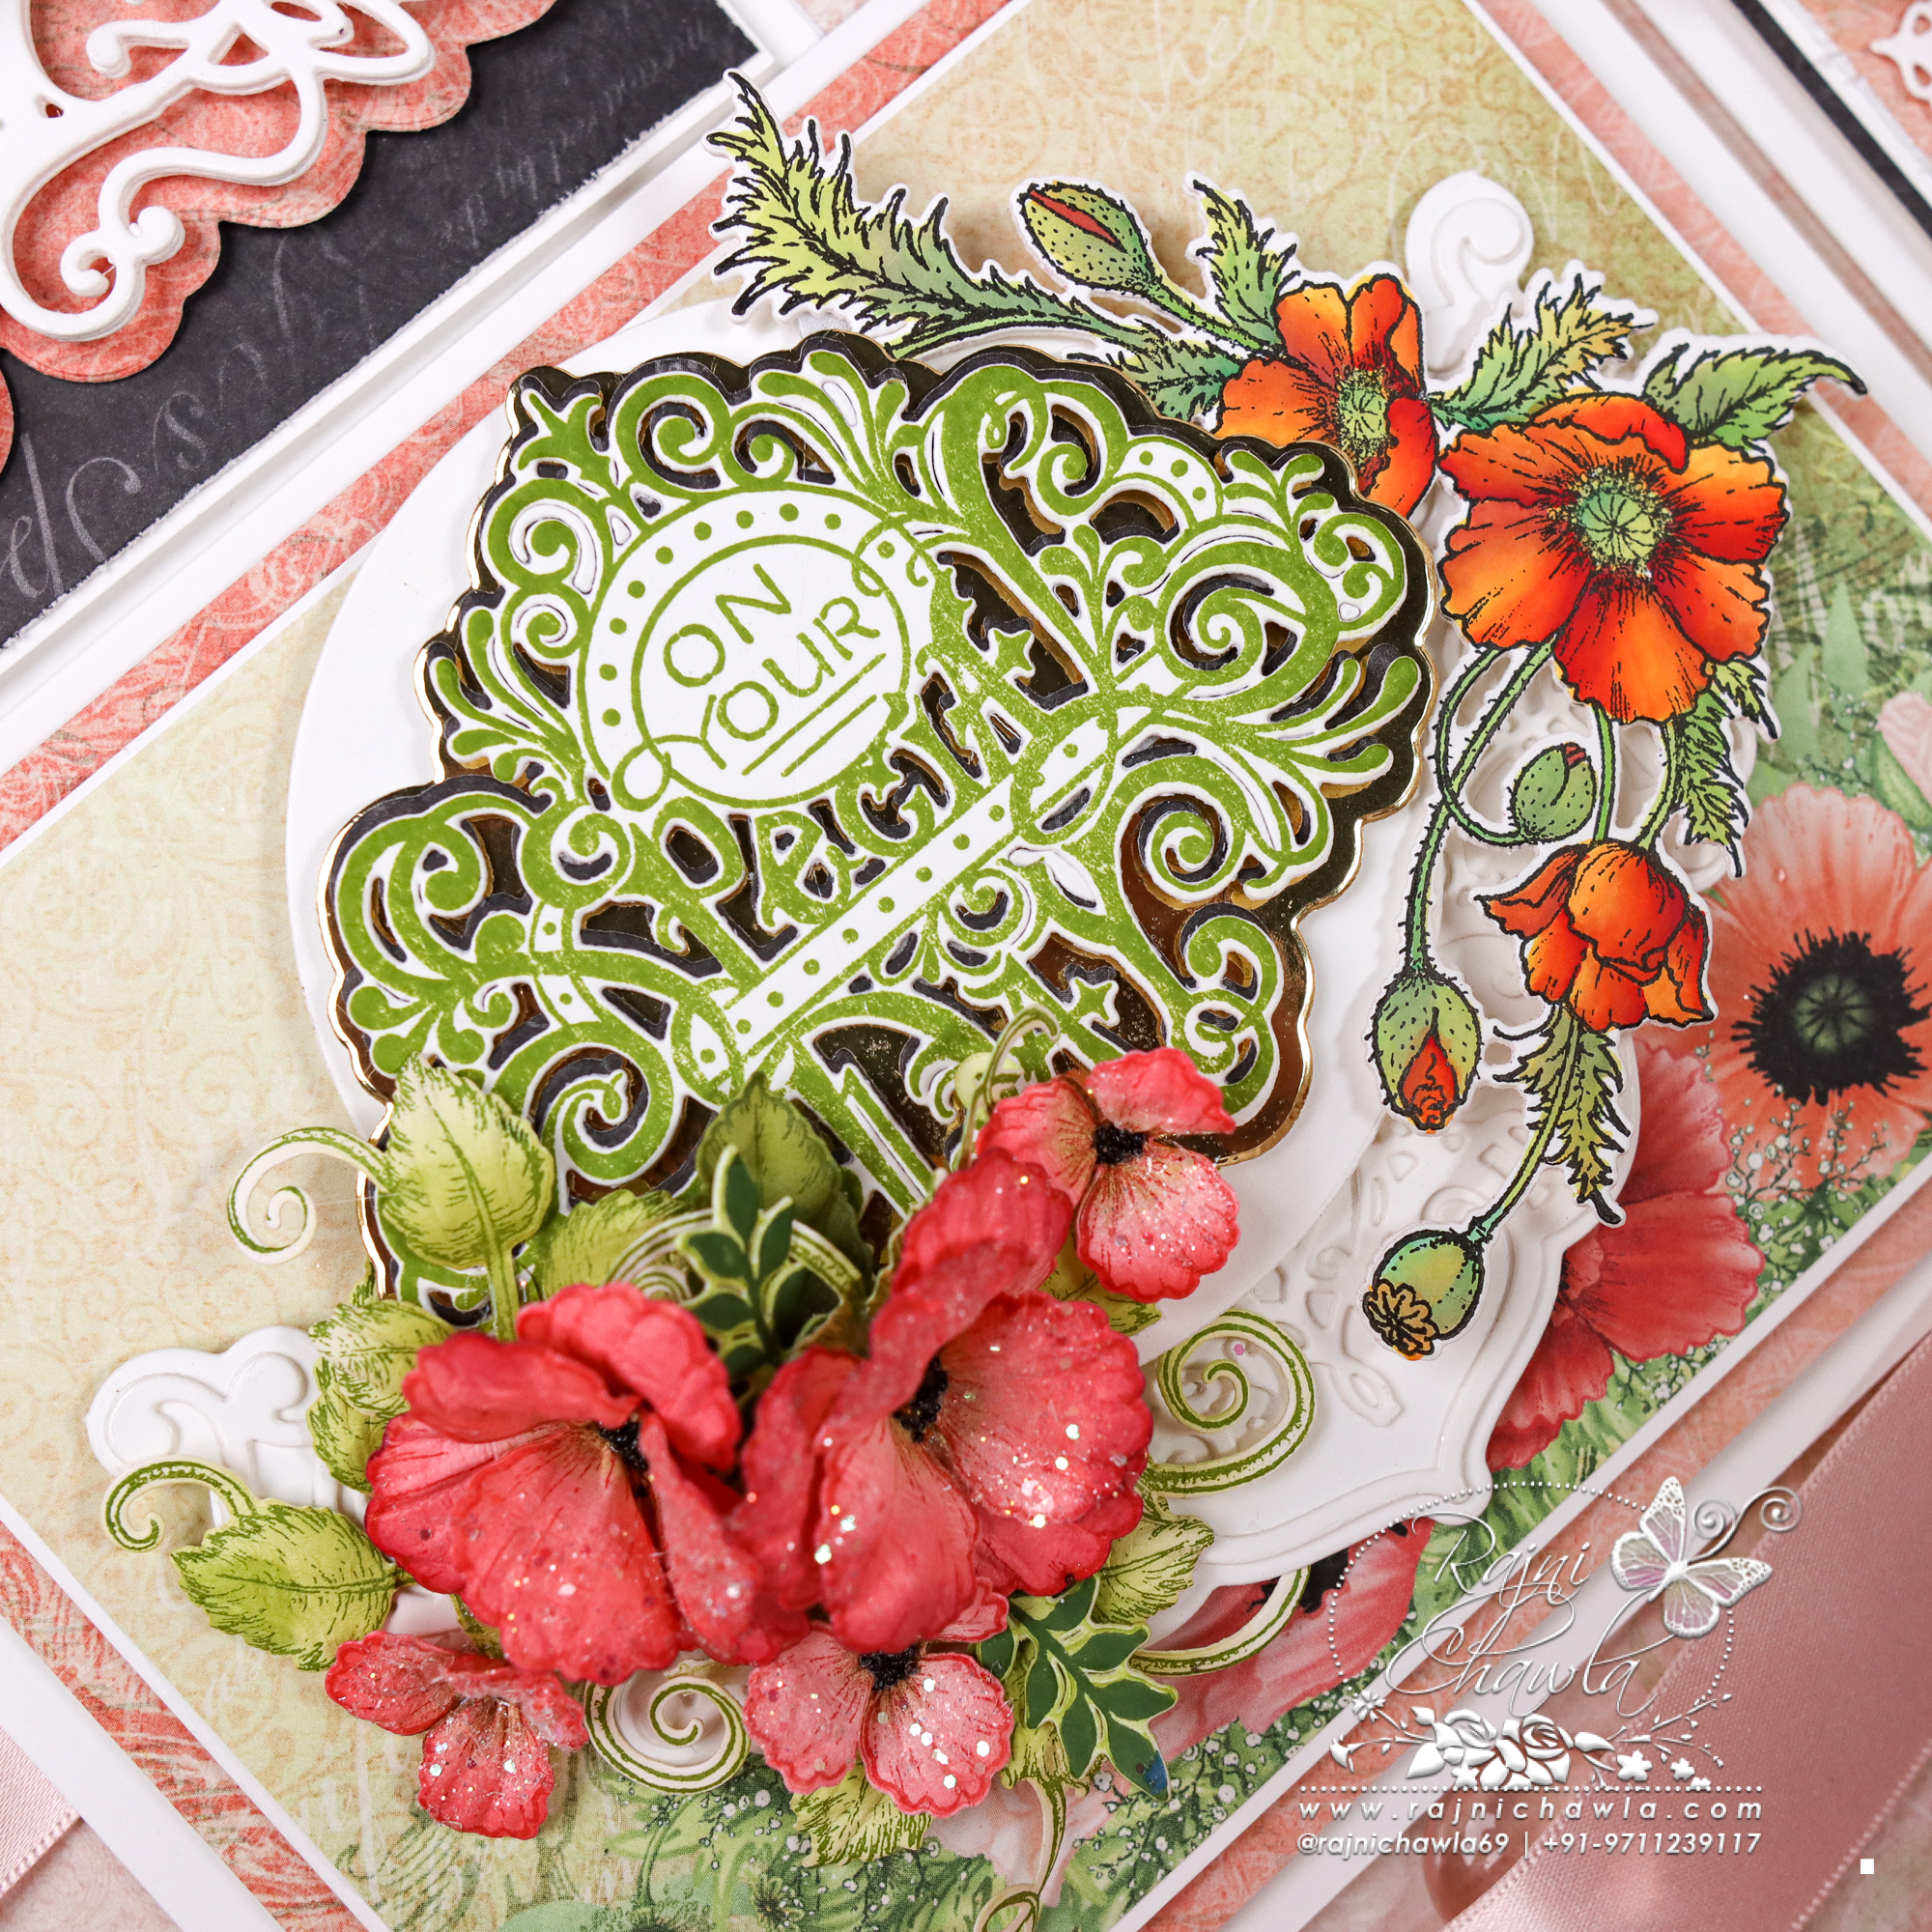
The image from the Wild Poppy Accents Cling Stamp Set is stamped in jet black ink and then painted with Zig Clean Clear Brush Markers. The image is then cut using its coordinating die set.
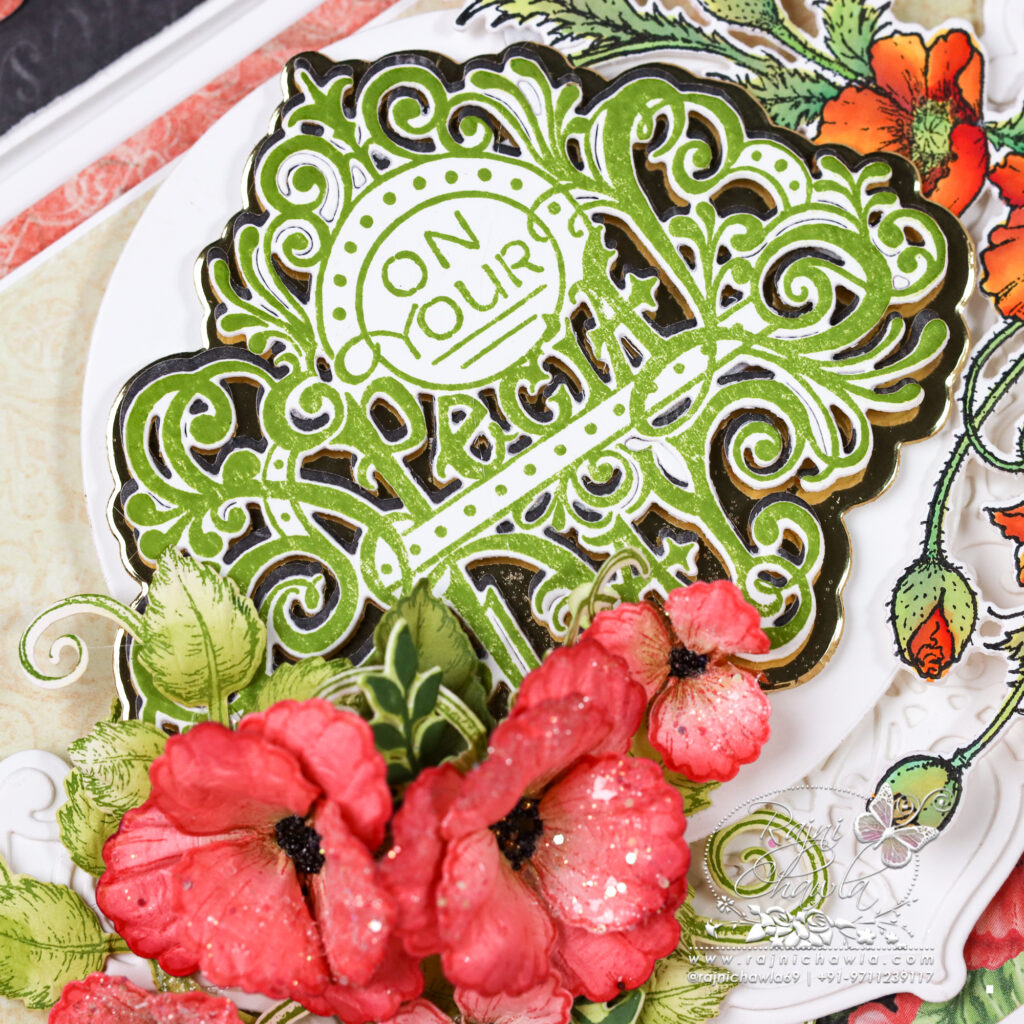
The sentiment from the Fancy Special Day sentiment stamp set is stamped with Olive Green and then cut using its coordinating die. The sentiment creates the main focal image for the card.
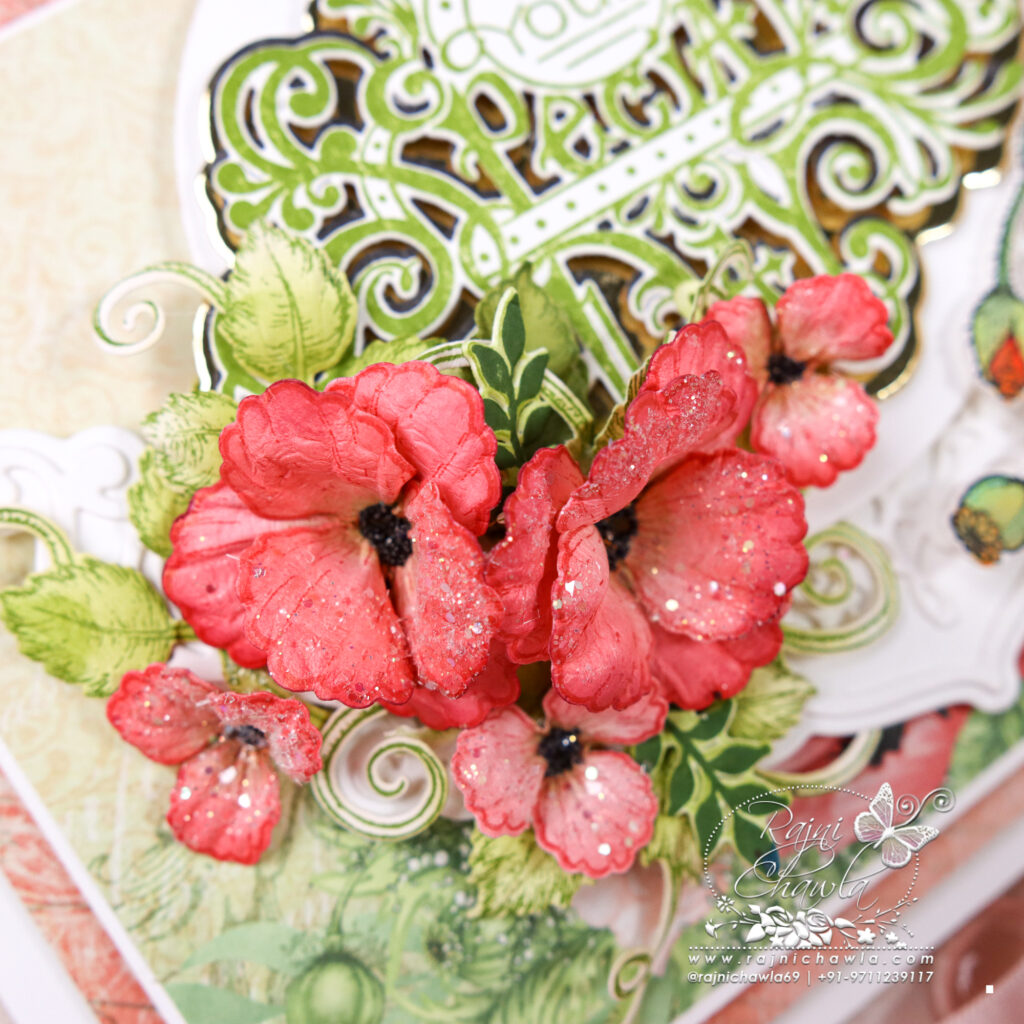
For Poppies, stamp multiple images from the Poppy stamp set using Carnation red archival ink on Deluxe Flower shaping paper. Cut the images using its coordinating dies. Paint the flowers using Geranium red and highlight the petals using Mulberry ink. Shape the flowers using the Deluxe flower shaping kit. Prick the centers and add Rock Candy pollens. Glitter the flowers with Rajni Chawl’s Crystal Clear powder.
Once all the elements are ready, layer the painted image on the right side and create a small bouquet as shown. Finish the card by adding glitters to the flowers.