Hey Friend!
Happy Wednesday, how is your week going? Do you find yourself stuck and your creative mojo has taken a hike or maybe you need some cheery inspiration that gets you inspired for your next project….. regardless of where you find yourself today, take some time to be inspired for your next project!

List OfSupplies From Heartfelt Creations:
HCD2-7427 Filigree Accents Die
HCD1-7110 Classic Rose Die
HCPC-3752 Classic Rose Cling Stamp Set
HCFB1-462 3D Rose Shaping Mold
HCD1-7193 Leafy Accents Die
HCPC-3835 Leafy Accents Cling Stamp Set
HCST1-401 Deluxe Flower Shaping Kit
HCPP1-475 Deluxe Flower Shaping Paper Pack of 50 – White
HCGP1-49HCPC-3911 Wisteria Petals Cling Stamp Set
HCGP1-488 Luxe Gold Cardstock
18002 Rajni Chawla’s Vellum Flowerite – 10 Sheets
PGM15015 Rajni Chawla’s Crystal Clear
RACP468 Ranger Archival Ink Pad – Jet Black
RACP614 Ranger Archival Ink Pad – Magenta Hue
RACP436 Ranger Archival Ink Pad – Leaf Green
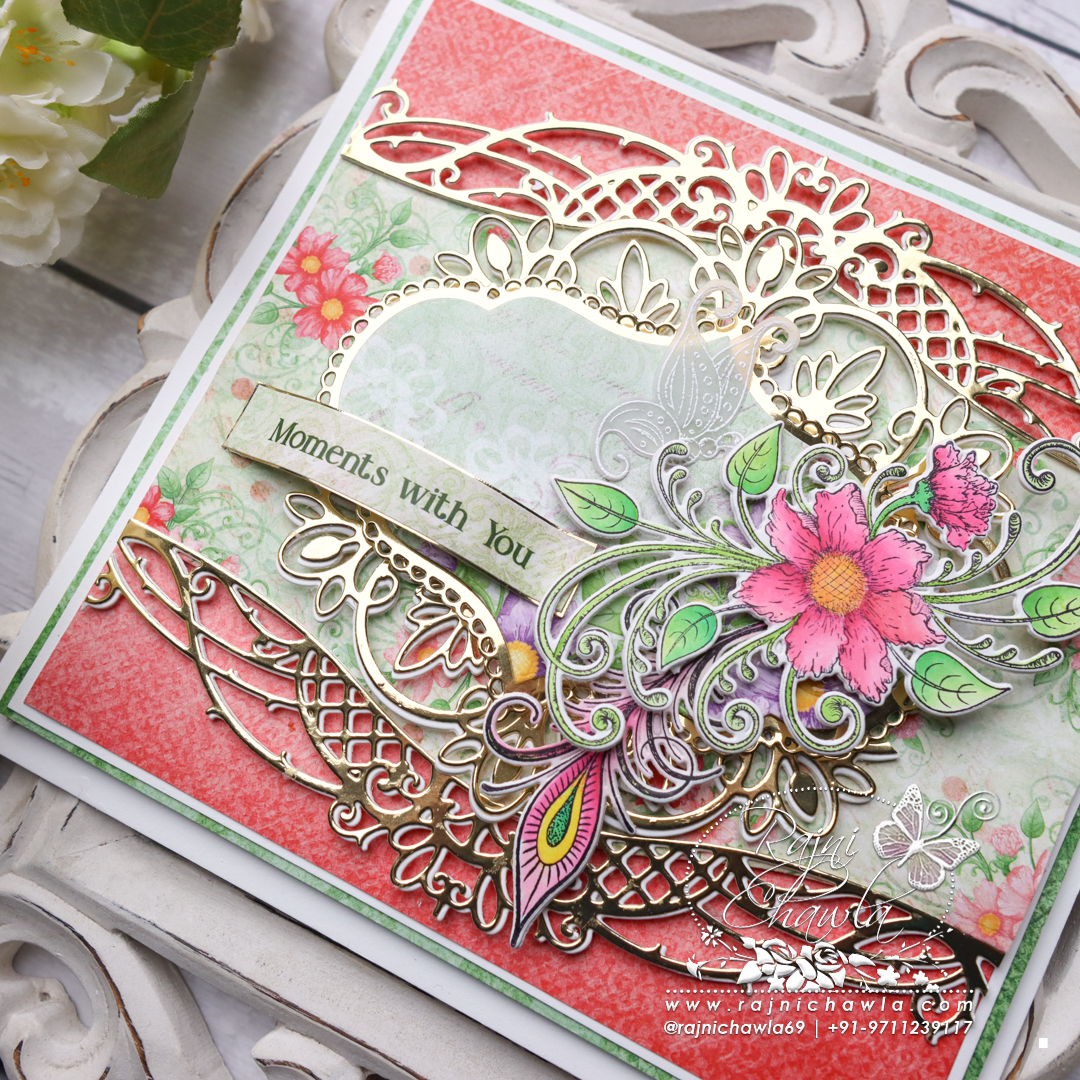
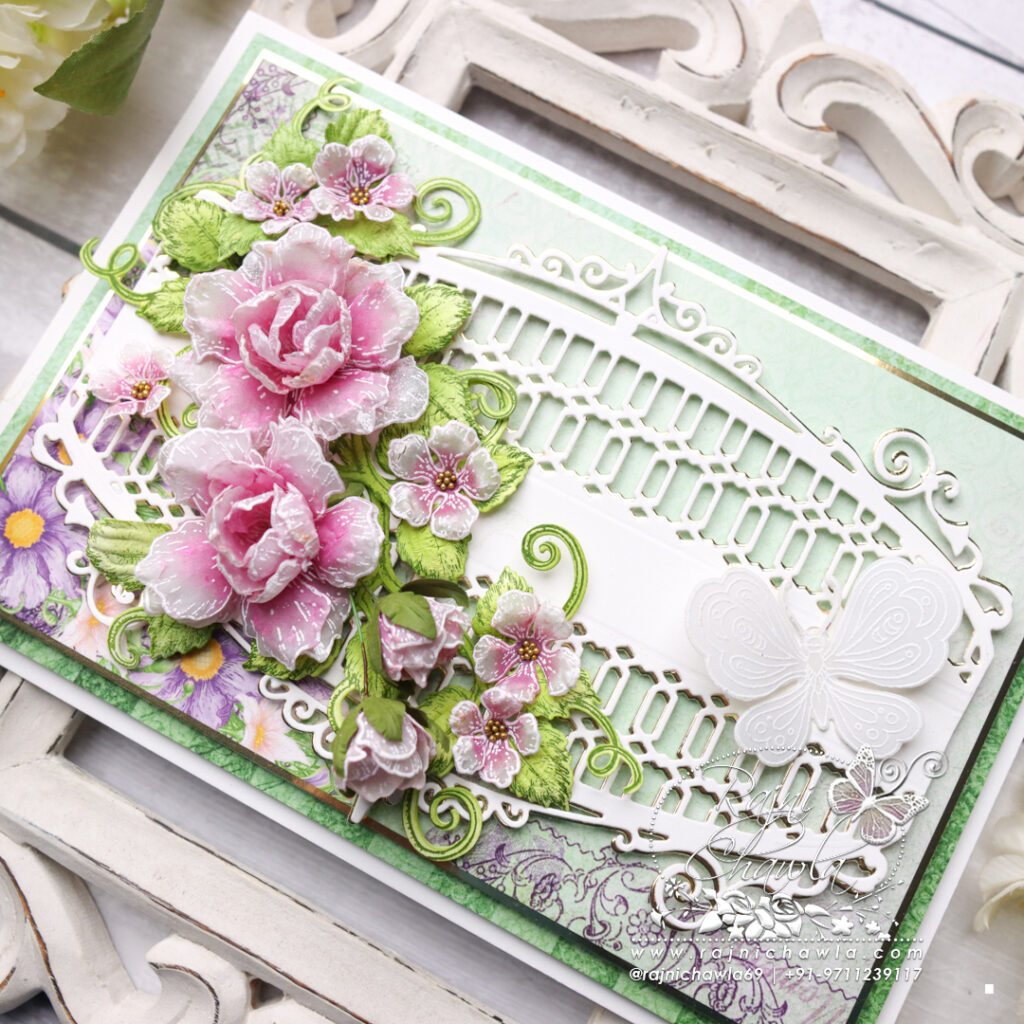
Instructions: The ready top-fold slimline card from smooth cardstock measures 8 1/2″ by 4 1/2″. To prepare the card base, cut the paper measuring 8 1/2″ by 9 ” and score at 4 1/2″ on 9″ length and crease well.
For the card front, choose the pattern paper from the Feathery Florals collection and cut measuring 8″ by 4″ and frame it by adding a golden panel cut from Luxe gold cardstock, creating a border of 1/16″ on all the sides. Layer the panel on the card front using glue dots or dimensional tape.
Next, cut the Filigree Accents Die twice, back to back on smooth white cardstock glue gold die cut on the bottom a little off-center to create the shadow. Layer this die cut on the card front using foam dots.
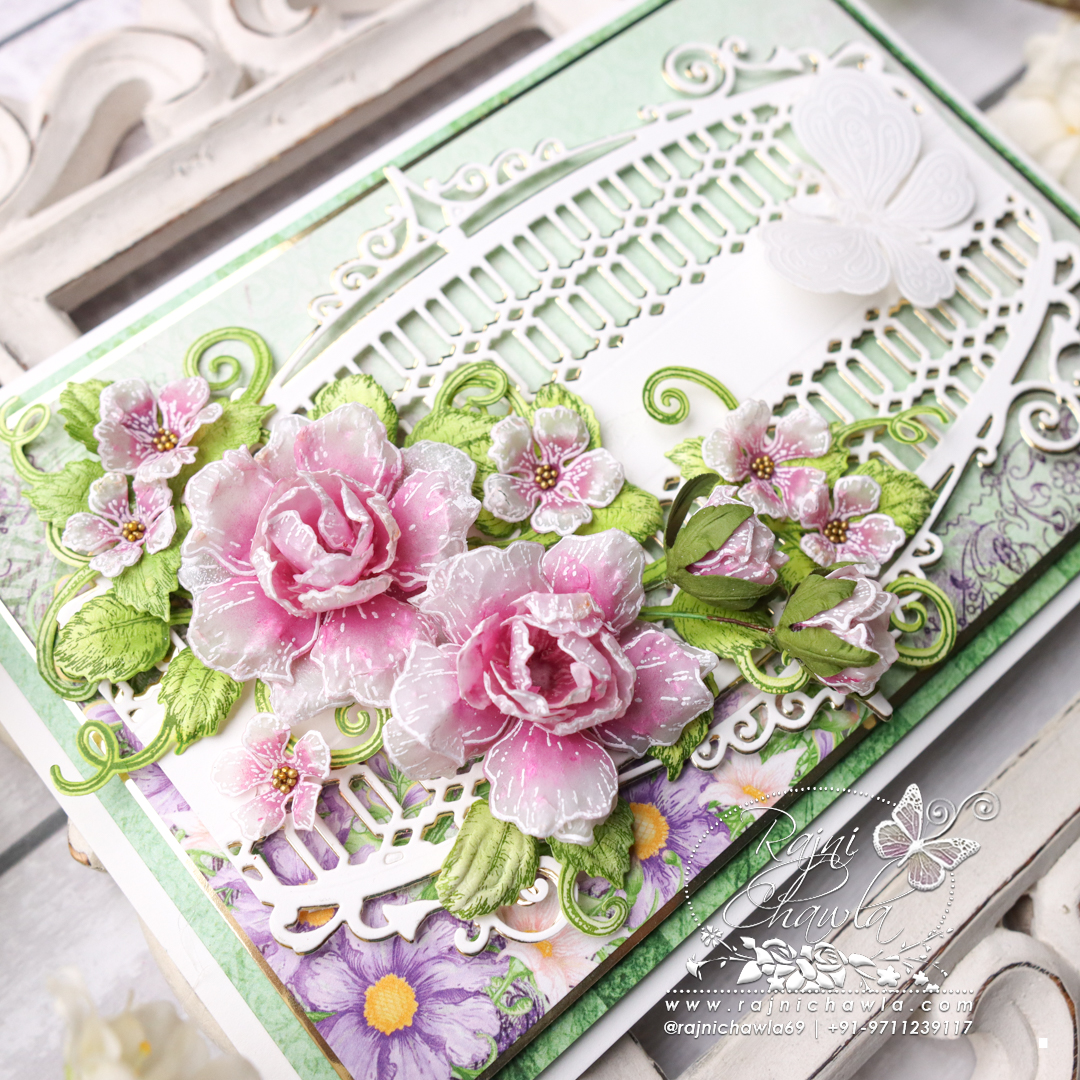
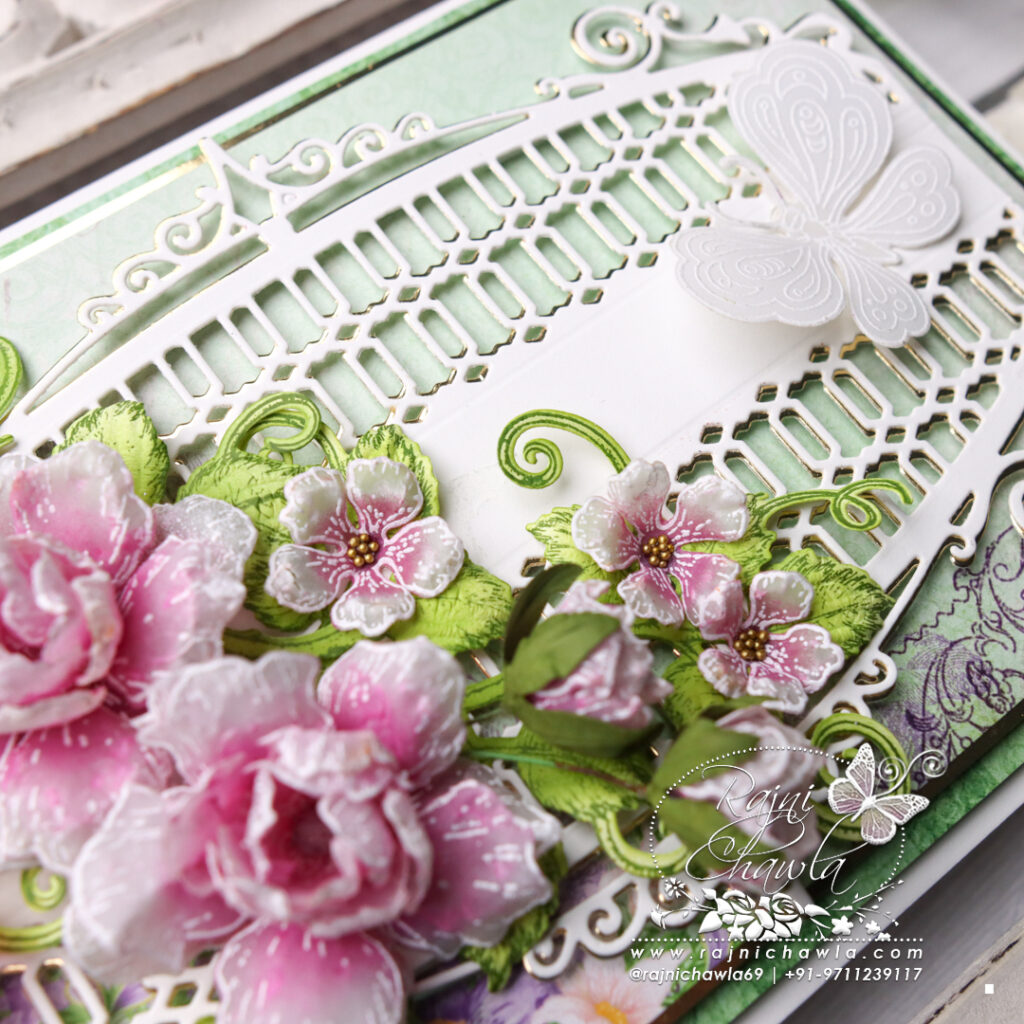
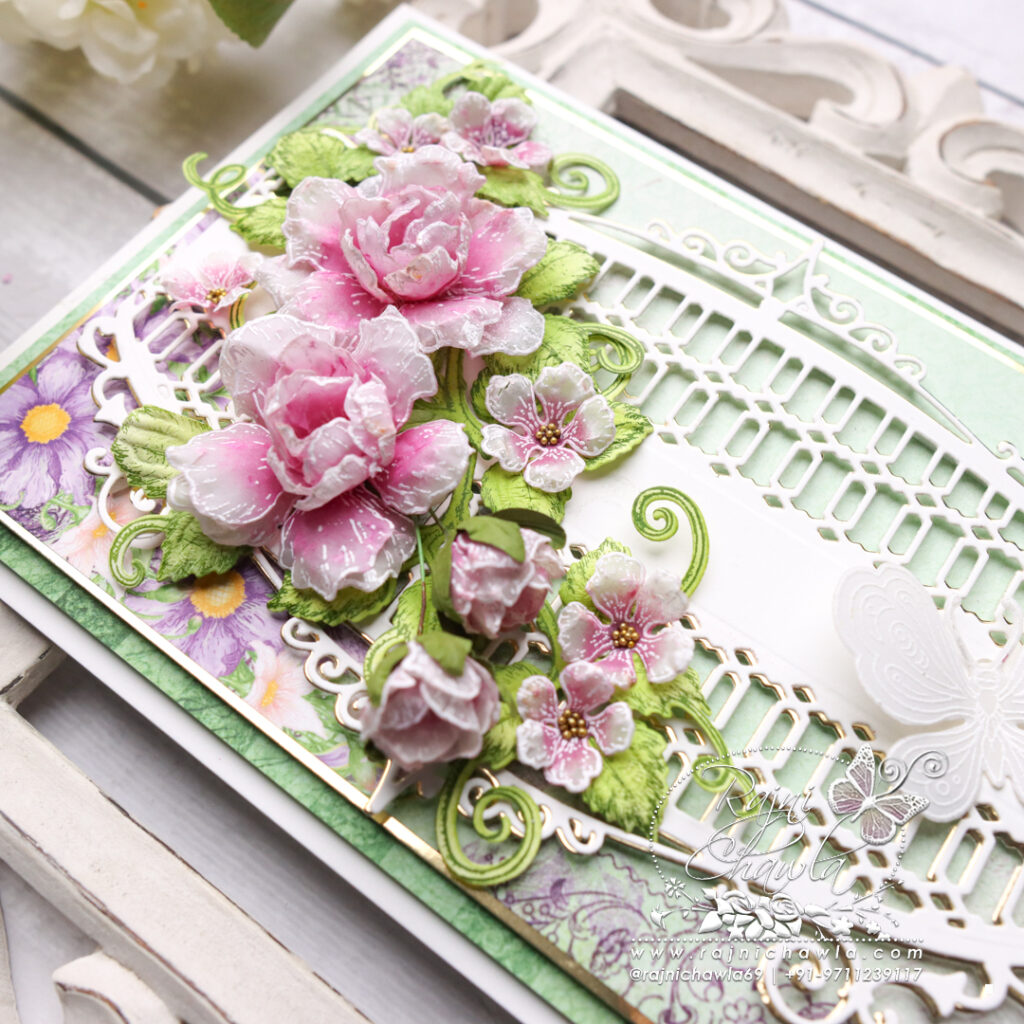
Stamp a couple of petals with Hero Arts white pigment ink on Vellum Flowerette cardstock using the Classic Rose Stamp set and sprinkle white heat embossing powder. Dust extras and heat set them using a heat tool. Cut the petals using their coordinating die set. Color the petals using Seedless Preserves Distress Oxide ink. spray some water, put the petals in the flower mold, and run them through the die-cutting machine. Shape them a little with flower-shaping tools and form 2 large roses and one medium rose. Also, create a few filler flowers with a single petal.
Stamp 3 leafy vines using Olive Green archival ink on Deluxe Flower Shaping Paper, color them using Leaf Green, and cut them using its coordinating die. Next, shape them using its coordinating mold.
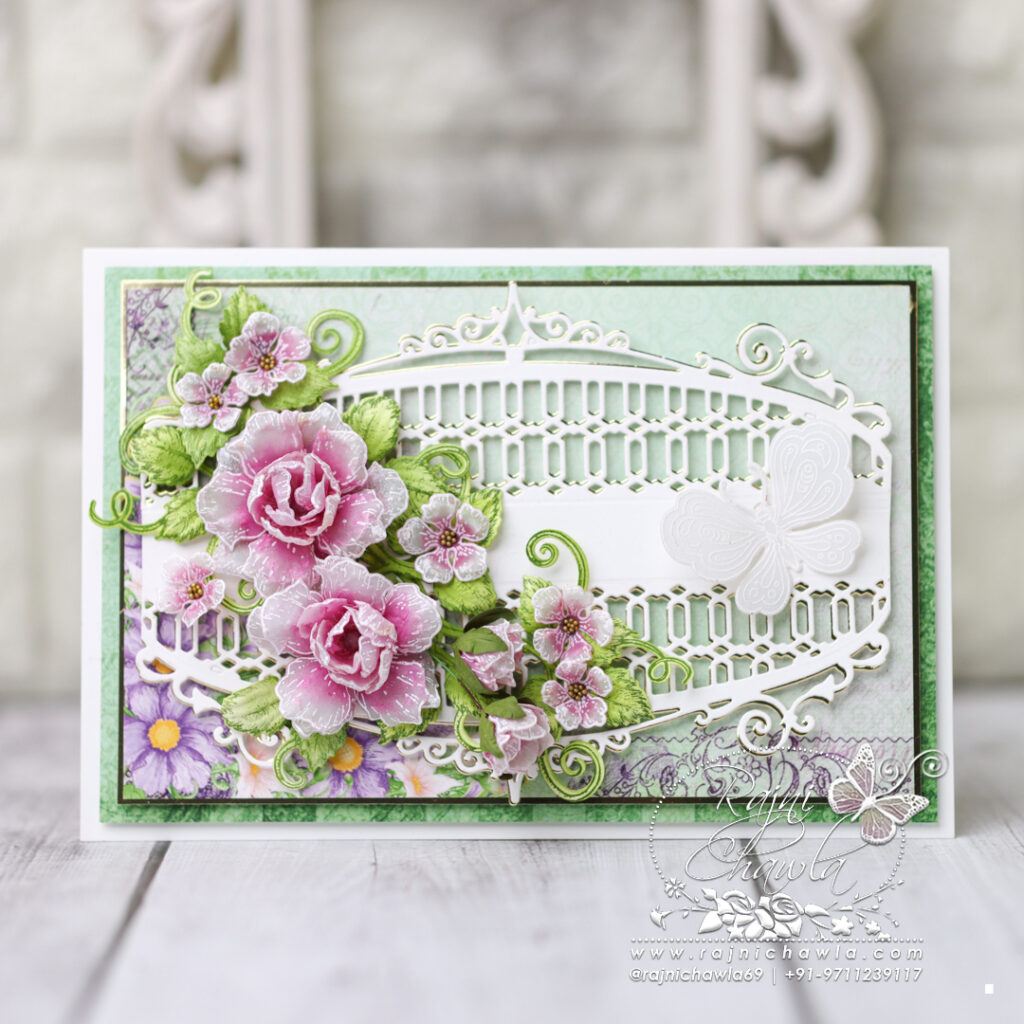
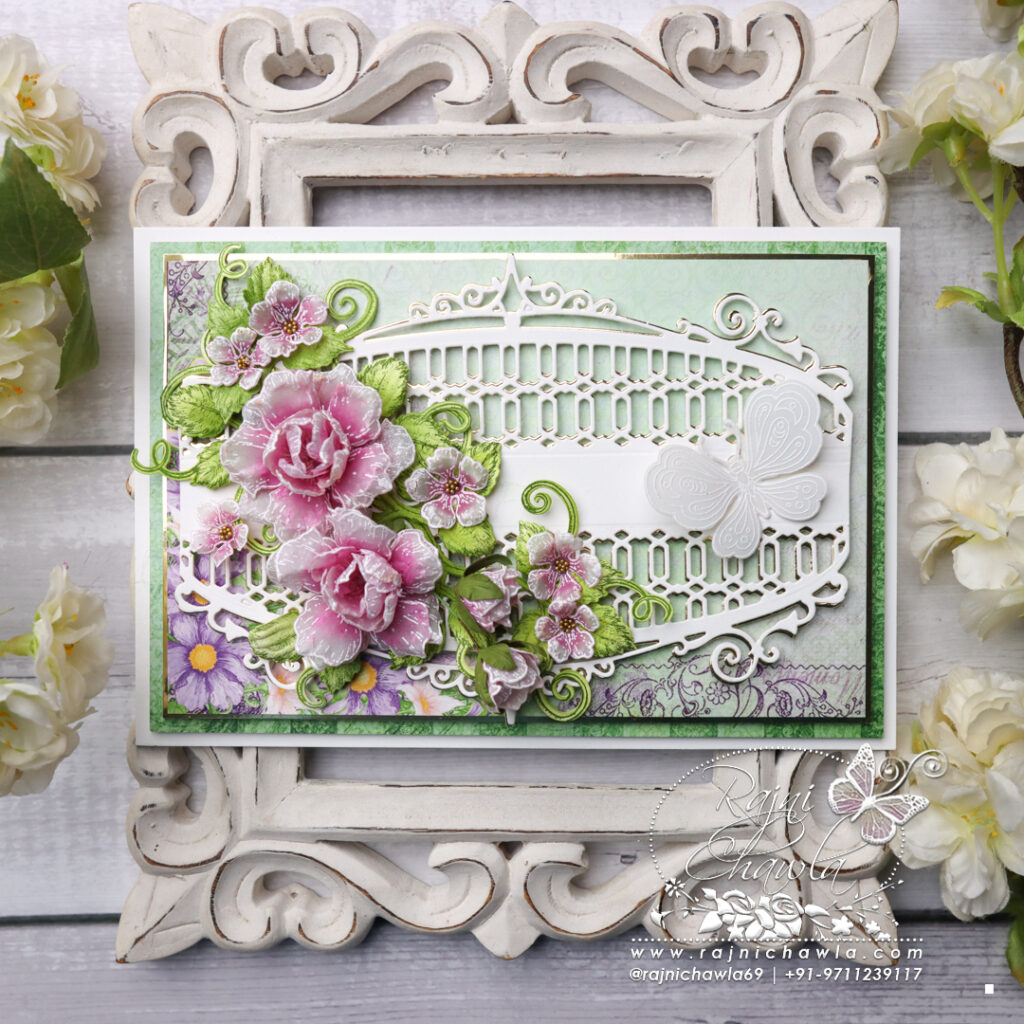
Once all the elements are ready, assemble the flower bouquet on the left side of the card and finish the card by adding a white heat-embossed vellum butterfly.