Good morning, friends,
Welcome back to my blog. Today, I have 2 cards to share as a weekly inspiration for Heartfelt Creations. Second card you’ll see in my next blog post.
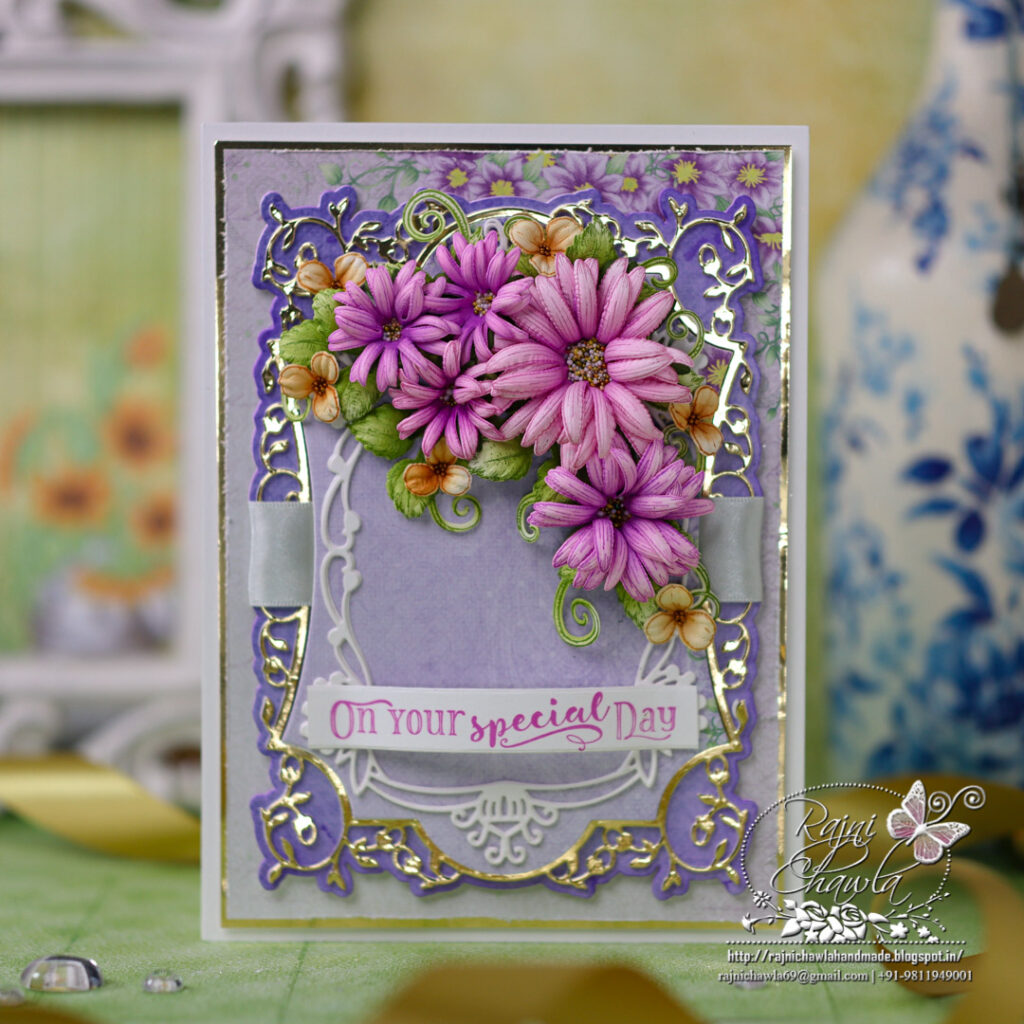
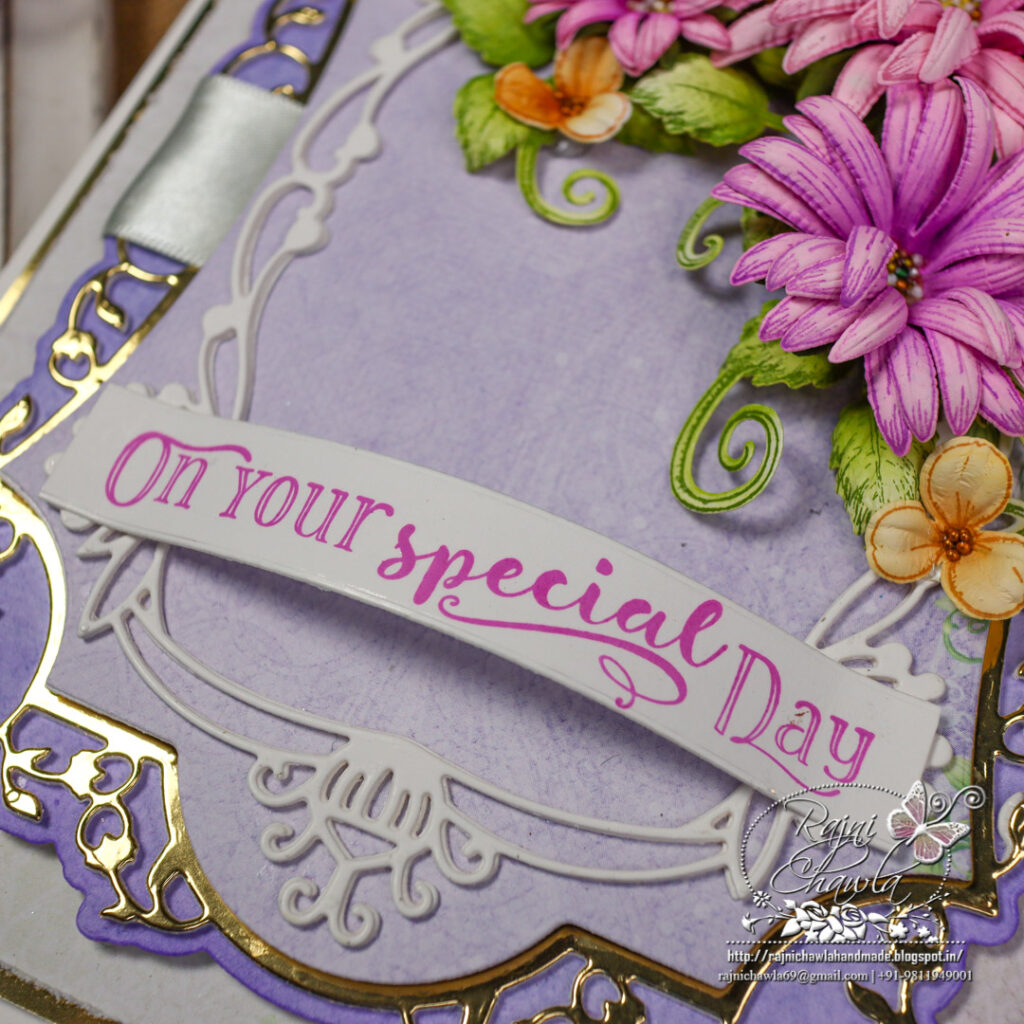
Here is my first card, that I created using new Black Friday dies from Heartfelt Creations.

Supplies from Heartfelt Creations:
HCD2-7384 Fancy Classic Rectangle Frame Die
HCDP1-2128 Climbing Clematis Paper Collection
HCPC-3847 Celebrate Love Sentiments Cling Stamp Set
HCPC-3887 Wild Aster Cling Stamp Set
HCD1-7257 Wild Aster Die
HCD1-7295 Wisteria Petals Die
HCPC-3911 Wisteria Petals Cling Stamp Set
HCD1-7193 Leafy Accents Die
HCPC-3835 Leafy Accents Cling Stamp Set
ANC804 Heart of Gold Prills
RACP985 Ranger Archival Ink Pad – Cactus Flower
DMCT4185 Groove Golf Tool Set
HCST1-401 Deluxe Flower Shaping Kit
RACP436 Ranger Archival Ink Pad – Leaf Green
RACP482 Ranger Archival Ink Pad – Olive
The ready card base from smooth white cardstock measures, 5 1/2″ by 8 1/2″. Choose the designer paper from Climbing Clematis Paper Collection and cut to size measuring 4 3/4″ by 7 3/4″ and glue it on the white cardstock creating a sleek border of 1/16″ on all the sides. Further mat the panel on Gold cardstock, again making a delicate border of 1/16″ on all sides. Layer the panel on the ready card base using double-sided tapes.
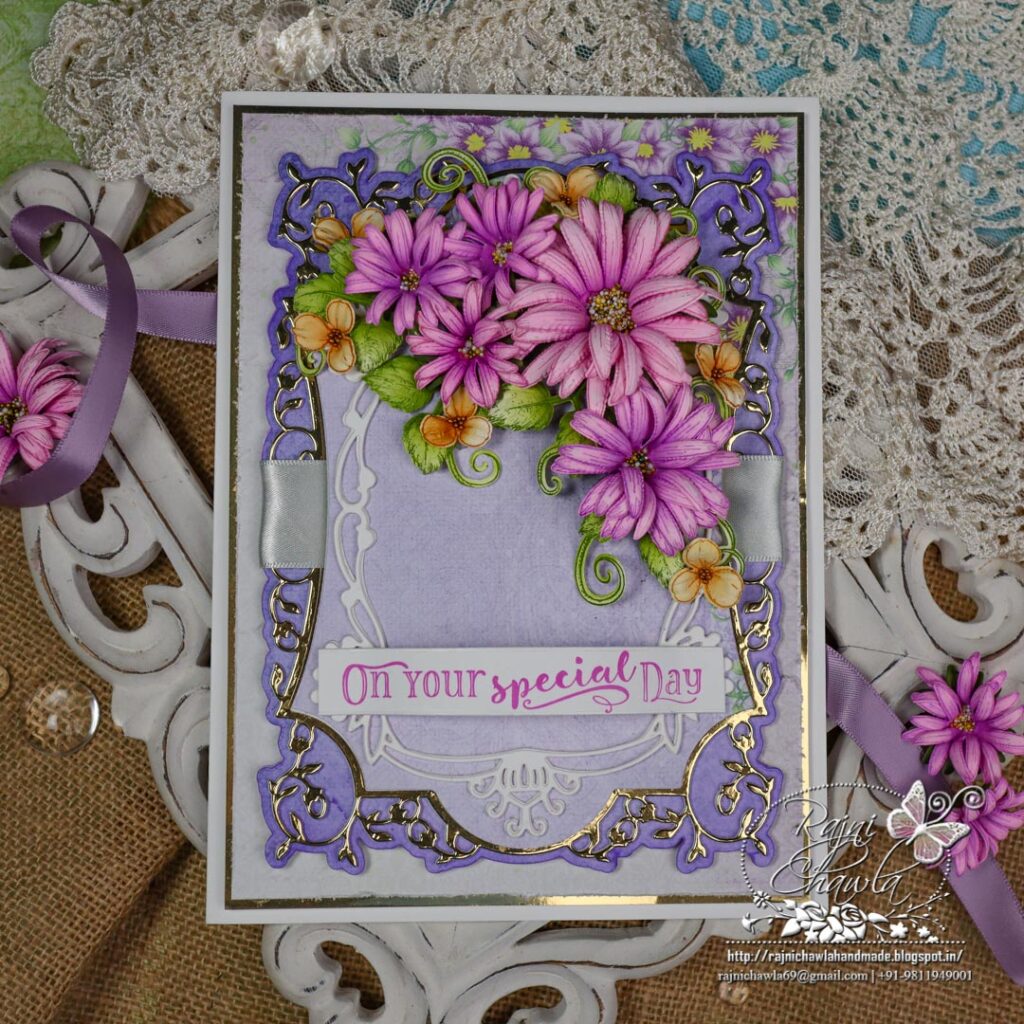
Choose a dark color plainer paper from the designer paper collection and cut a solid cover for the frame using Fancy Classic Rectangle Frame Die. Cut fancy frame 1 piece each from gold and white card stock and glue them together keeping gold on the top and glue the frame on the solid cover using glue that dries clear. Wrap 1′ satin ribbon around the panel and secure it on the back using tacky glue.
Next, cut the inner solid piece from the coordinating paper and glue the second white die cut frame as shown. Layer this panel on the previously created panel using glue dots.
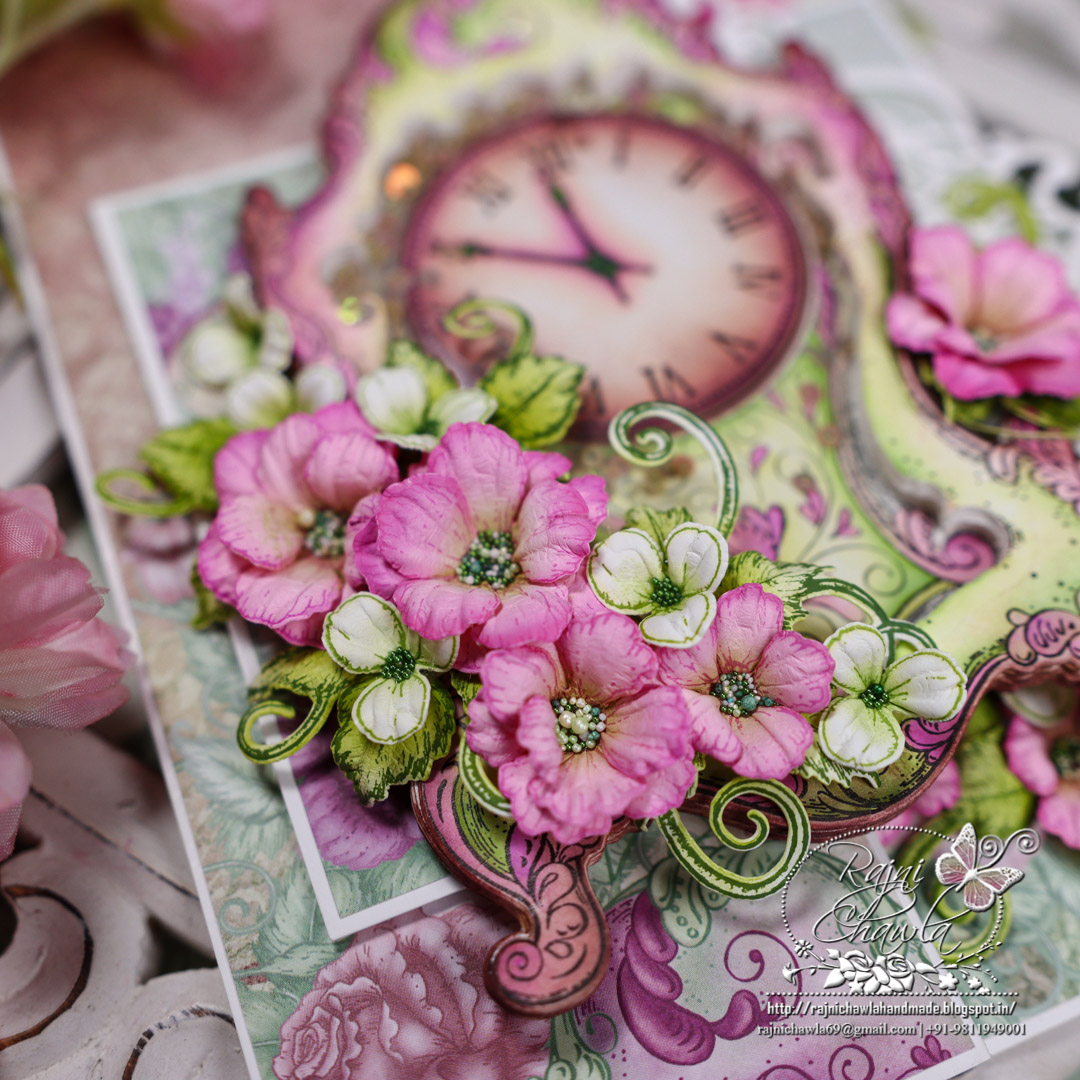
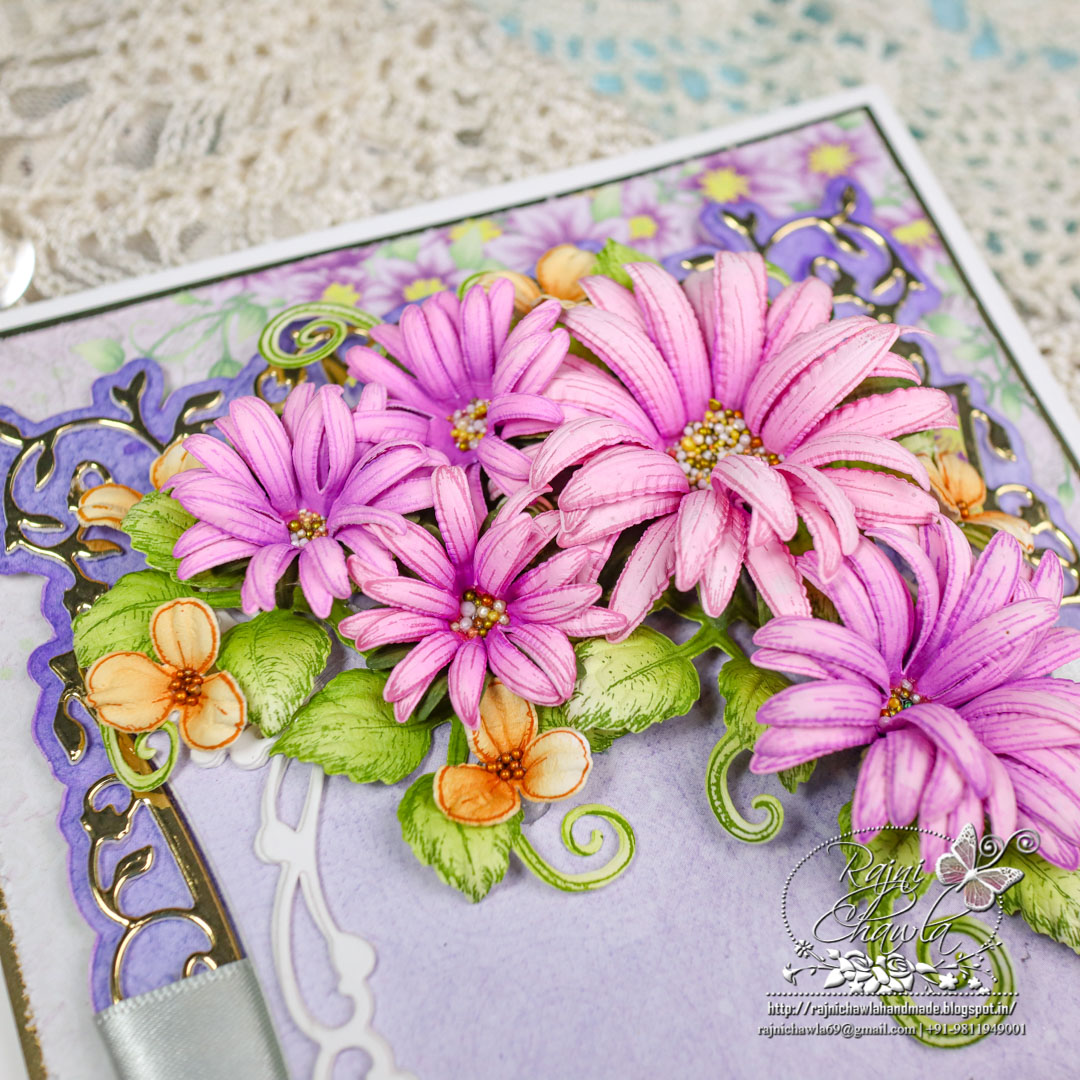
For the flowers, Stamp multiple images of mixed florals from Wild Aster Cling Stamp Set on Deluxe flower shaping paper using Plum Archival Ink and cut them using their coordinating dies. Color the flowers using Cactus Flower Archival Ink and shape them using Deluxe Flower Shaping Kit. Prepare 2 large and 3 medium flowers. Also stamp, color, and shape a few Wisteria flowers. Complete all the flowers by adding prills in the centers.
Stamp 3 leafy vines using Olive Green archival ink on Deluxe Flower Shaping Paper, color them using Leaf Green and cut them using its coordinating die. Next, shape them using its coordinating mold.
Once all the elements are ready, assemble the flower bouquet on the right side top corner of the card and finish the card by adding stamped sentiment using Celebrate Love Sentiments Cling Stamp Set.