Happy Wednesday!!
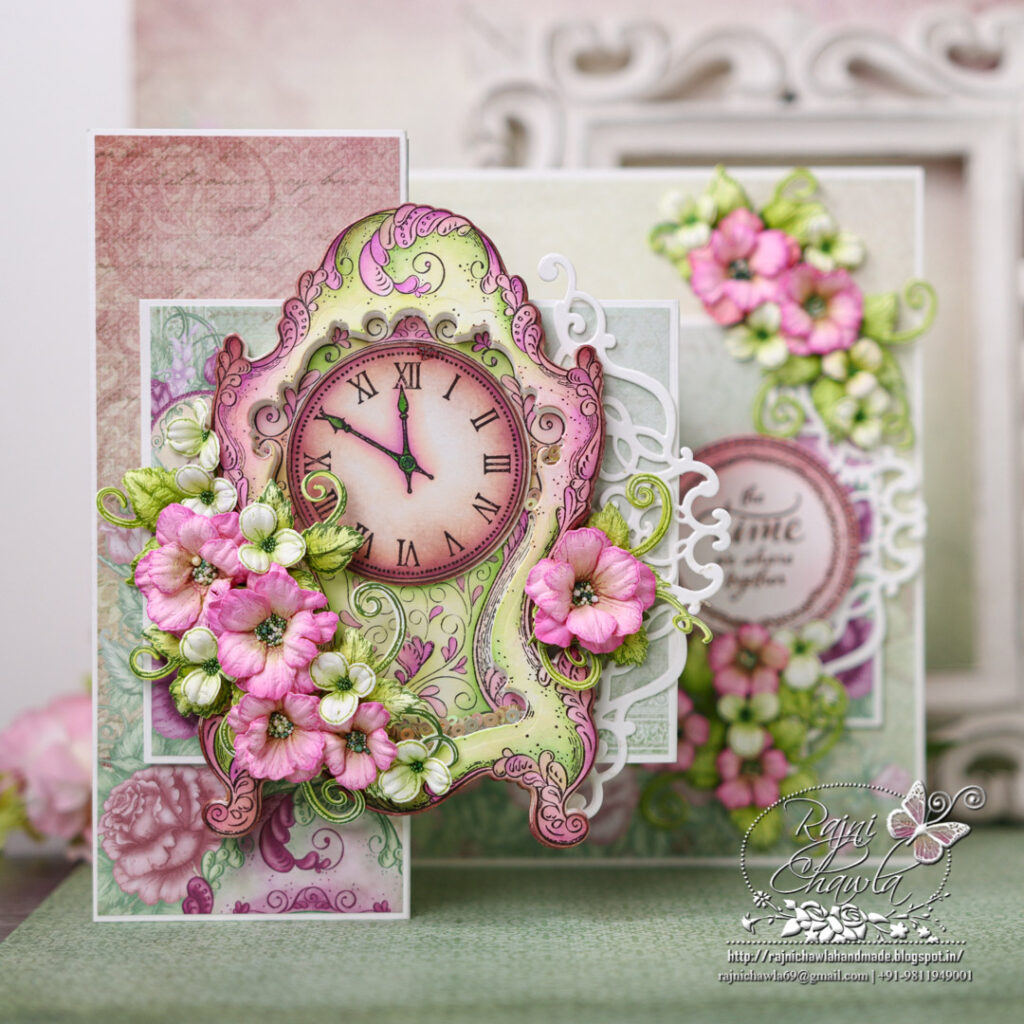
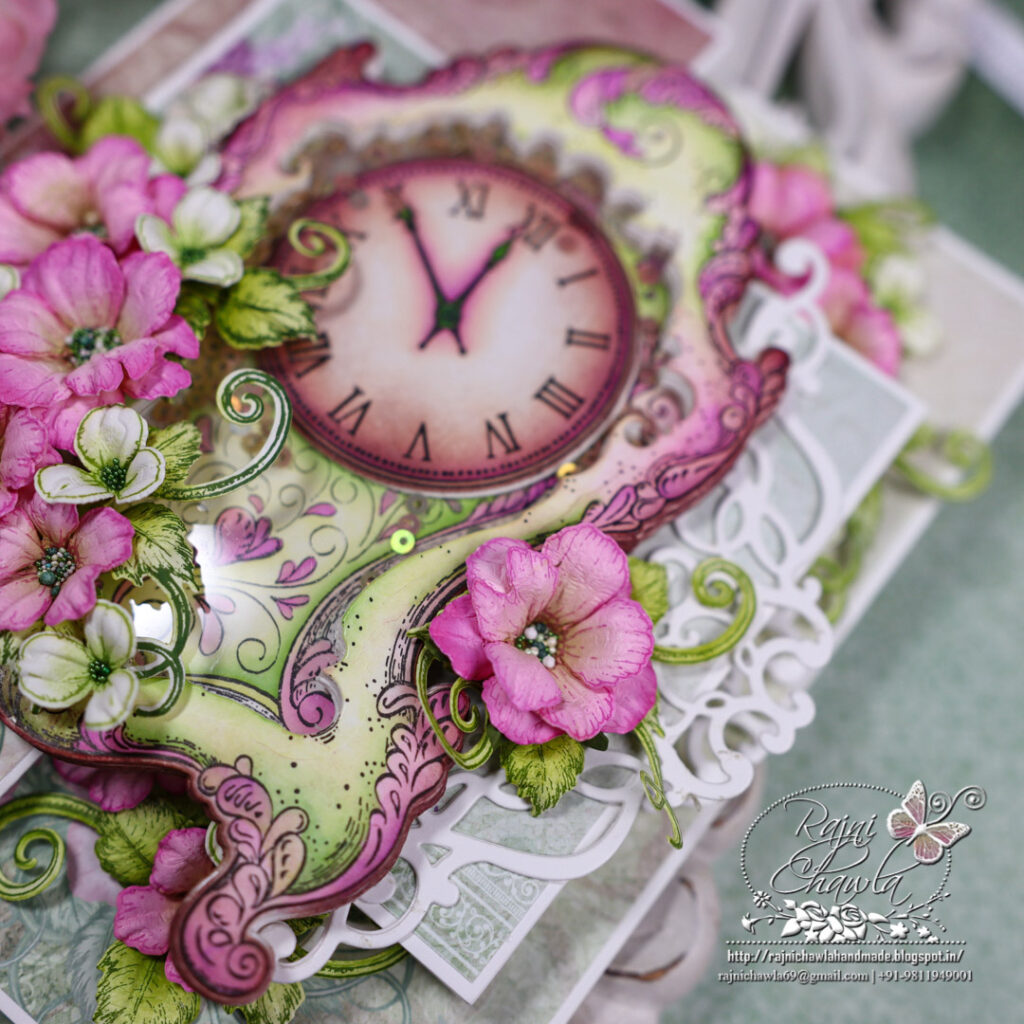
The beautiful Moments in collection by Heartfelt Creations is so perfect for big shaker celements. Again I made the shaker element and used it as a focal element to create a Z fold card.
HCD1-7379 Elegant Moments Timepiece Die
HCPC-3971 Elegant Moments Timepiece Cling Stamp Set
HCPC-3973 Timepiece Sentiments Cling Stamp Set
HCDP1-2134 Moments in Time Paper Collection
HCPC-3911 Wisteria Petals Cling Stamp Set
HCD1-7295 Wisteria Petals Die
HCPC-3907 Small Wild Rose Cling Stamp Set
HCD1-7290 Small Wild Rose Die
HCPC-3835 Leafy Accents Cling Stamp Set
HCD1-7193 Leafy Accents Die
HCD1-7213 Elegant Pocket Accents Die
Zig Clean Color Real Brush Markers – 48 Pack
ANC828 Go Green Prills
ANC809 Lemon Chiffon Prills
HCPP1-475 Deluxe Flower Shaping Paper Pack of 50 – White
RACP614 Ranger Archival Ink Pad – Magenta Hue
RACP482 Ranger Archival Ink Pad – Olive
RACP468 Ranger Archival Ink Pad – Jet Black
PGM15015 Rajni Chawla’s Crystal Clear
HCDA2-450 Stack and Store Daubers-Pack of 30
RACP436 Ranger Archival Ink Pad – Leaf Green
The ready Z Fold card from white card stock measures 6″ by 7 1/2″. To prepare the card base, cut a smooth white cardstock measuring 12″ by 7 1/2″. Score the longer side first at 3″ and next at 6″. Crease and fold the card neatly. Choose the papers from the designer paper collection and chop the paper panels for all front and back panels. Make sure the panels are 1/16″ smaller so that it creates a delicate border all around the card base. The second Z – fold measures 4 1/2″ by 11″., scored first at 5″ and then at 8″. Crease the panel and adhere to it as shown. Choose the pattern papers and cover all the panels like the previous one making a delicate border on all sides by 1/16″.
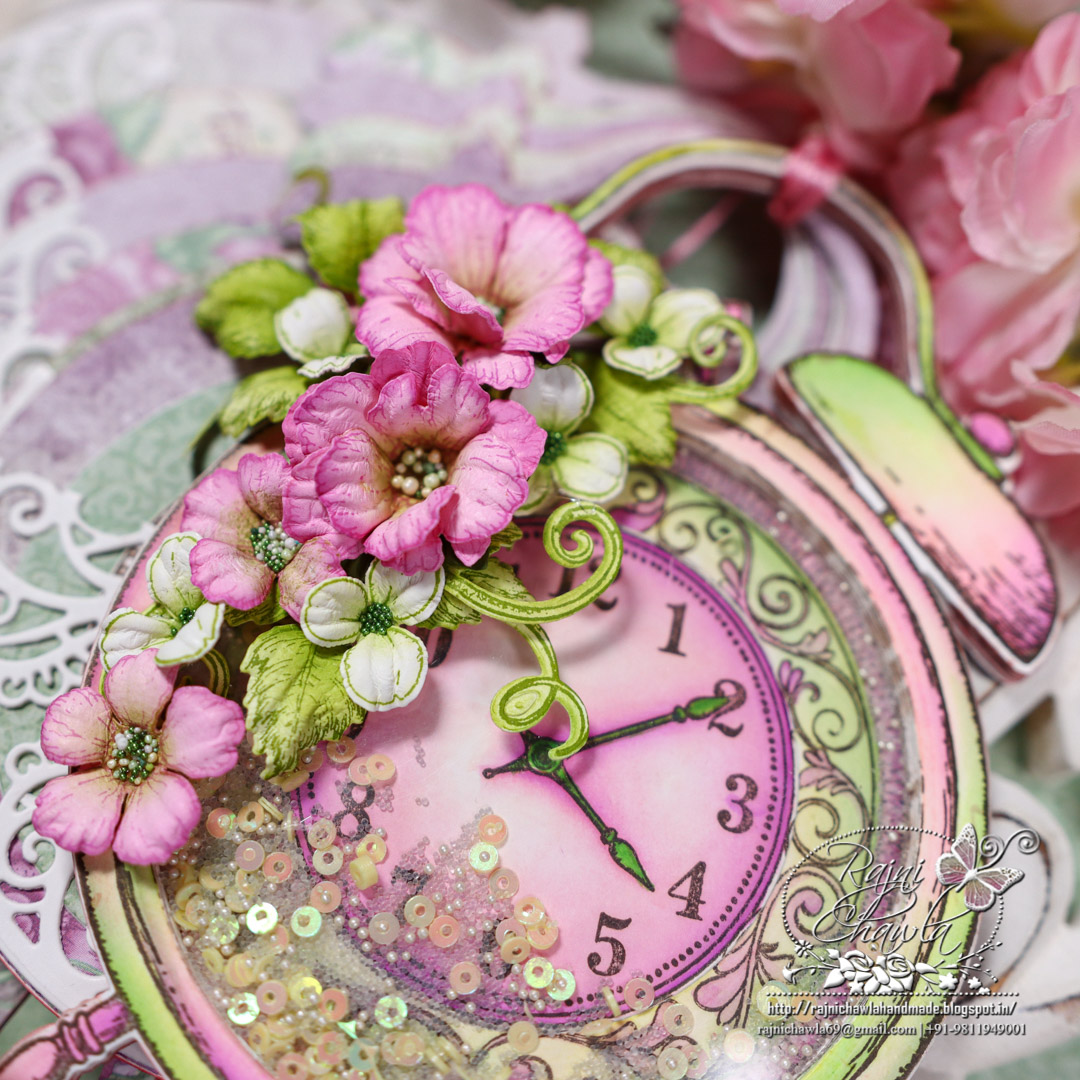
To build the front shaker window of the booklet, stamp one main image of Elegant Moments Timepiece Stamp Set with black and cut open the center window as shown using its coordinating die set. Color the outer image and the center image separately using Zig Clean Clear Brush Markers. Glue the acetate sheet from behind. Cut 6-8 die-cuts without stamping and stack them together using glue. Glue the colored image and build the shaker window. To close the window, cut one solid die-cut and glue the center-colored image in the center. Fill shaker elements and close the window by gluing the solid die cut at the back.
Once the shaker is ready, layer it on the front panel as shown keeping a white die cut from the Elegant Pocket and Accent die set. To the inside panel, adhere a stamped sentiment from Timepiece Sentiment Stamp Set.
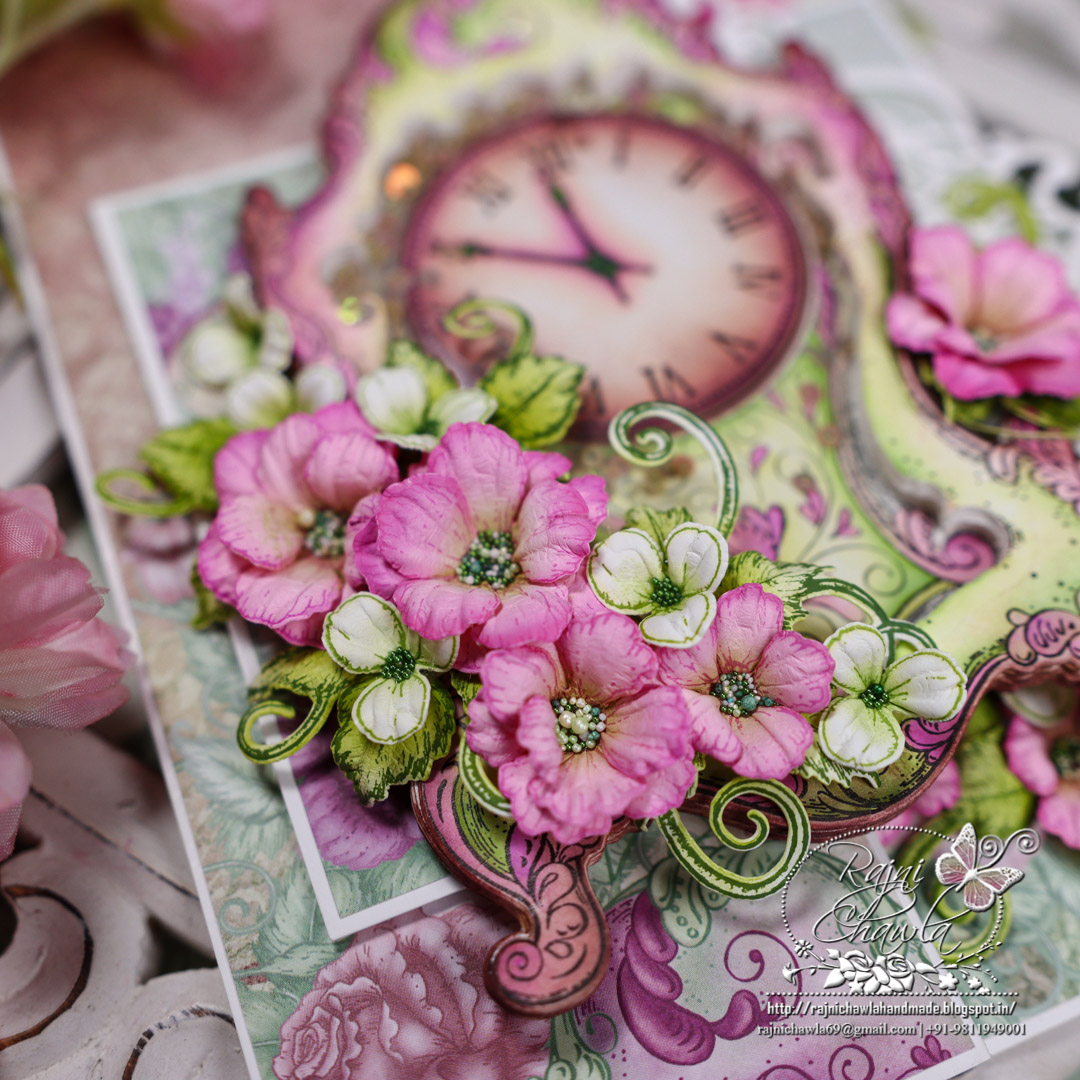
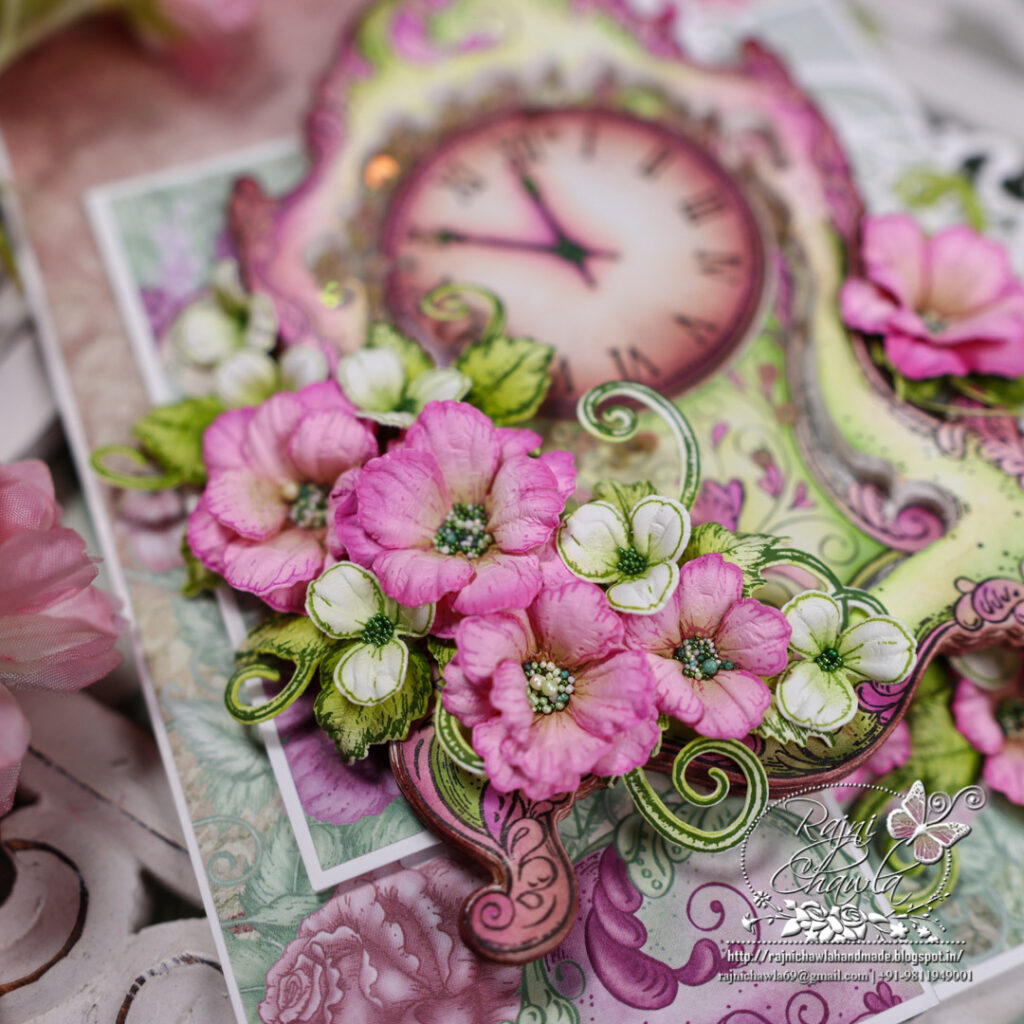
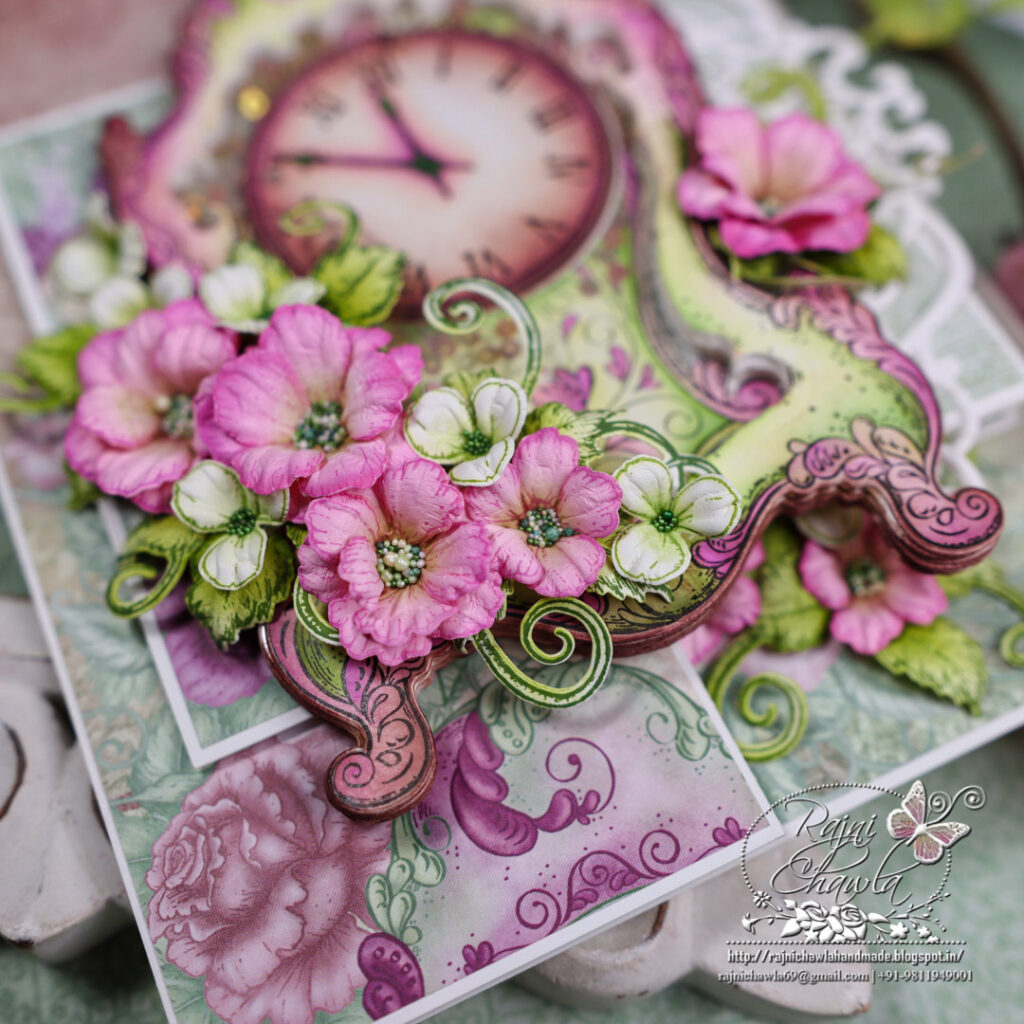
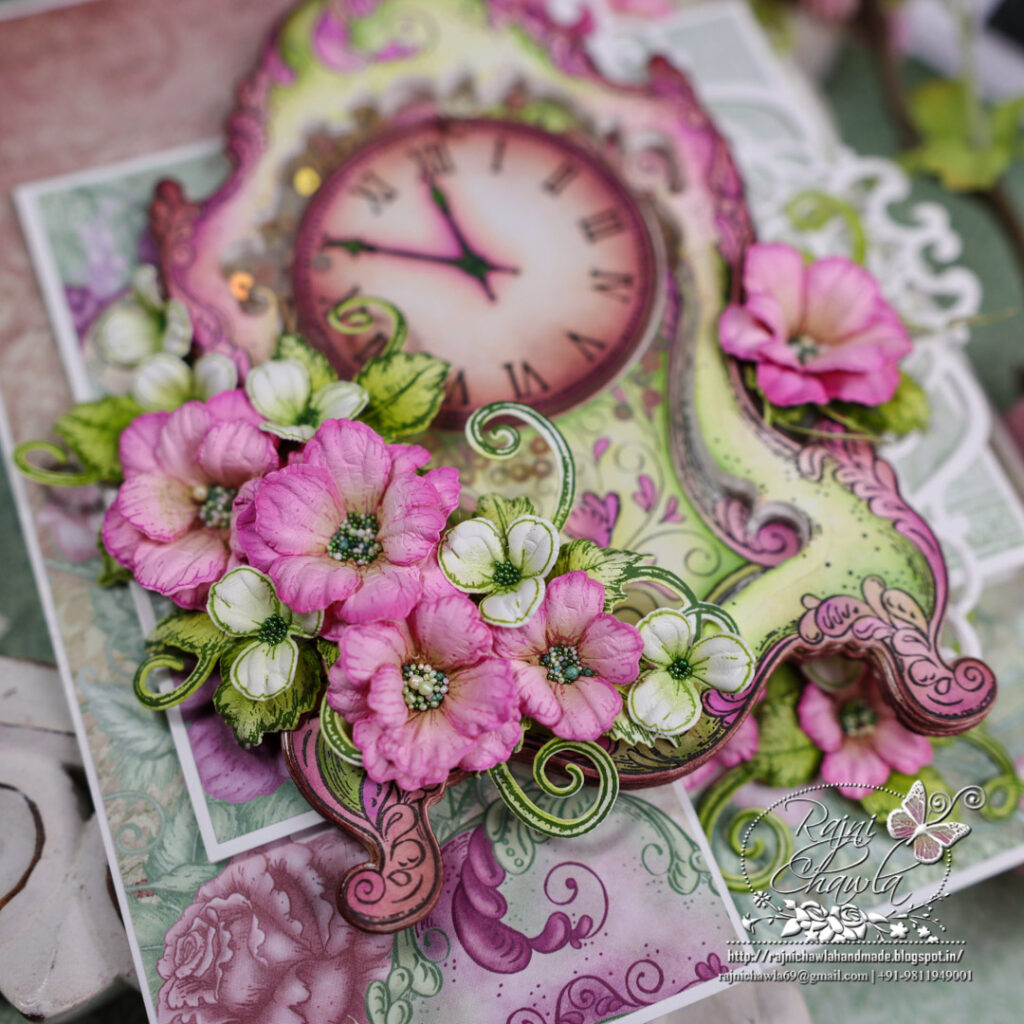
For the wild roses, stamp the flower petals using Vibrant Fuschia Archival ink and Small Wild Rose Stamp set and cut them using its coordinating dies. Ink the flowers using Vibrant Fuschia and Leaf green and shape them it’s coordinating mold. Once the shaping is done, further add little detailing with ball tools and assemble a few flowers using tools from the shaping kit and add prills to the flower centers.
For the leaves, stamp the leaves from the Leafy Accent Cling Stamp Set using Olive green Archival ink on Deluxe Flower Shaping Paper, paint them using Leaf Green and Olive Green, and cut them using its coordinating die set. Shape the leaves using Golf Groove Tools.
Stamp, color and cut few wisteria flowers using Leaf GreenFlower Archival ink and shape them using a flower shaping kit. Add flower pollens using a glossy accent and use these flowers as fillers.
Once all elements are ready, assemble a small bouquet of flowers around the focal image without disturbing the opening of the panels.