Good Morning!!
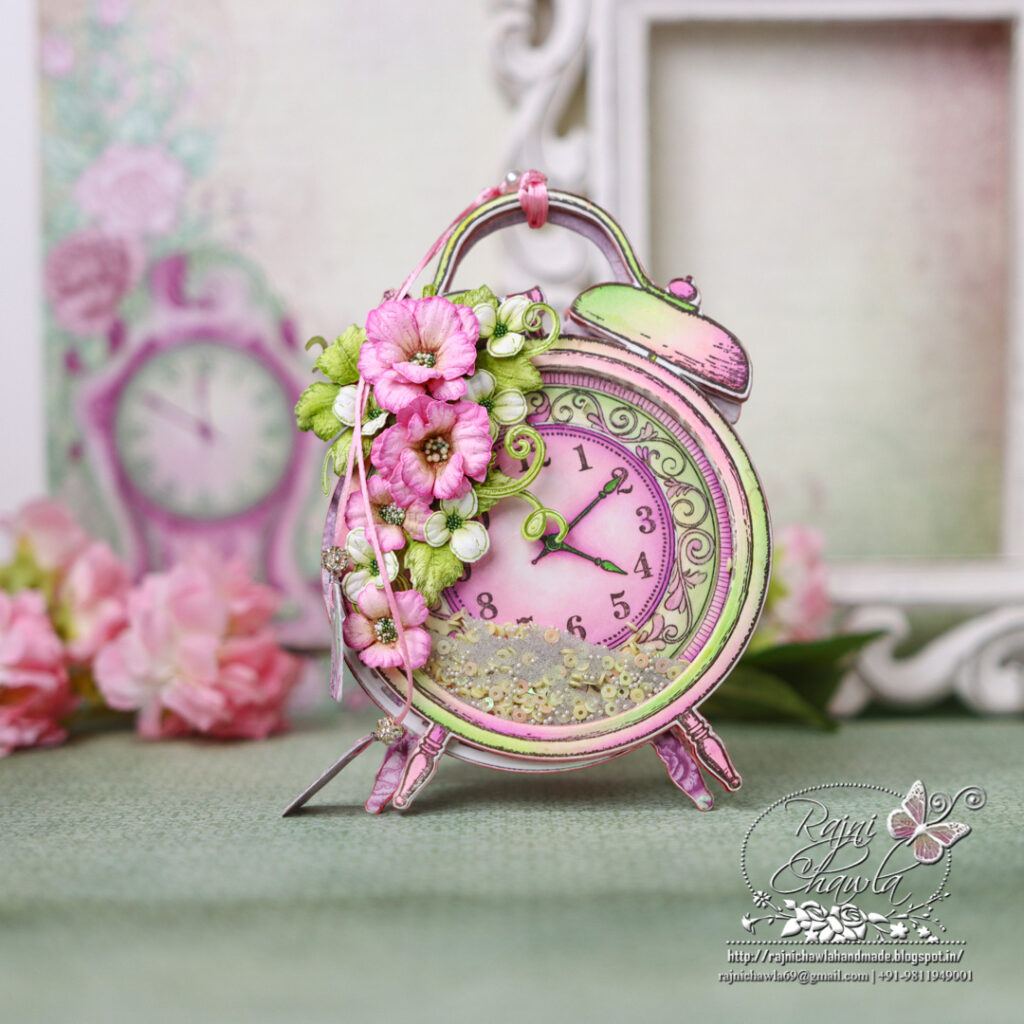
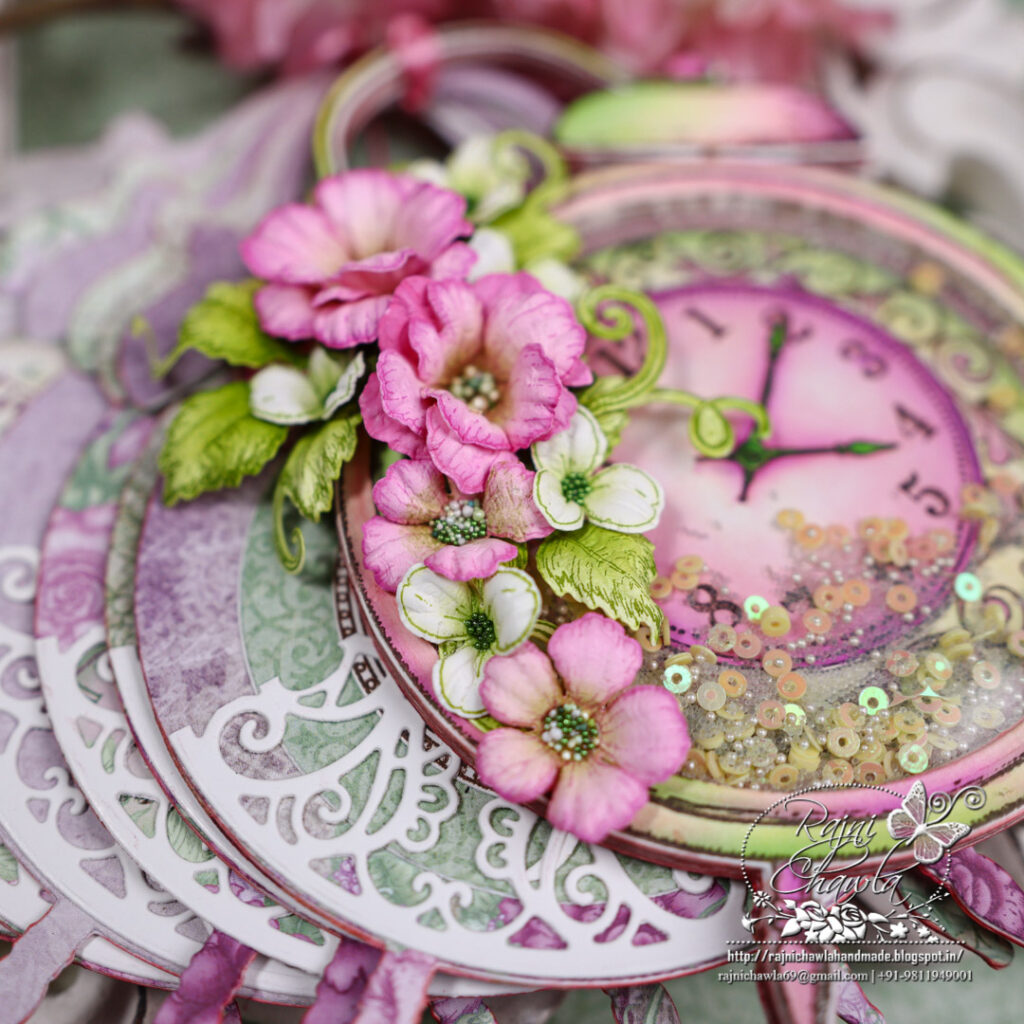
It’s time for the last monthly collection launch for the year, 2021. The Moments in Time Collection is on shelves for sale. Here are my takes on this beautiful collection. I have 2 projects in 2 separate blog posts to inspire you. The first one is a big-time shaker picture booklet to share.
HCD1-7380 Simple Moments Timepiece Die
HCPC-3972 Simple Moments Timepiece Cling Stamp Set
HCPC-3973 Timepiece Sentiments Cling Stamp Set
HCDP1-2134 Moments in Time Paper Collection
HCPC-3911 Wisteria Petals Cling Stamp Set
HCD1-7295 Wisteria Petals Die
HCPC-3907 Small Wild Rose Cling Stamp Set
HCD1-7290 Small Wild Rose Die
HCPC-3835 Leafy Accents Cling Stamp Set
HCD1-7193 Leafy Accents Die
HCD1-7283 Courtyard Elegance Die
HCD1-7202 Album Tags and Accents Die
Zig Clean Color Real Brush Markers – 48 Pack
ANC828 Go Green Prills
ANC809 Lemon Chiffon Prills
HCPP1-475 Deluxe Flower Shaping Paper Pack of 50 – White
RACP614 Ranger Archival Ink Pad – Magenta Hue
RACP482 Ranger Archival Ink Pad – Olive
RACP468 Ranger Archival Ink Pad – Jet Black
PGM15015 Rajni Chawla’s Crystal Clear
HCDA2-450 Stack and Store Daubers-Pack of 30
RACP436 Ranger Archival Ink Pad – Leaf Green
Other Supplies Used: Satin Thread, Shaker Elements, Acetate Sheet, White cardstock, Score Board, Diecutting Machine, Scissors, Glue, Glossy Accent, Thin wire.
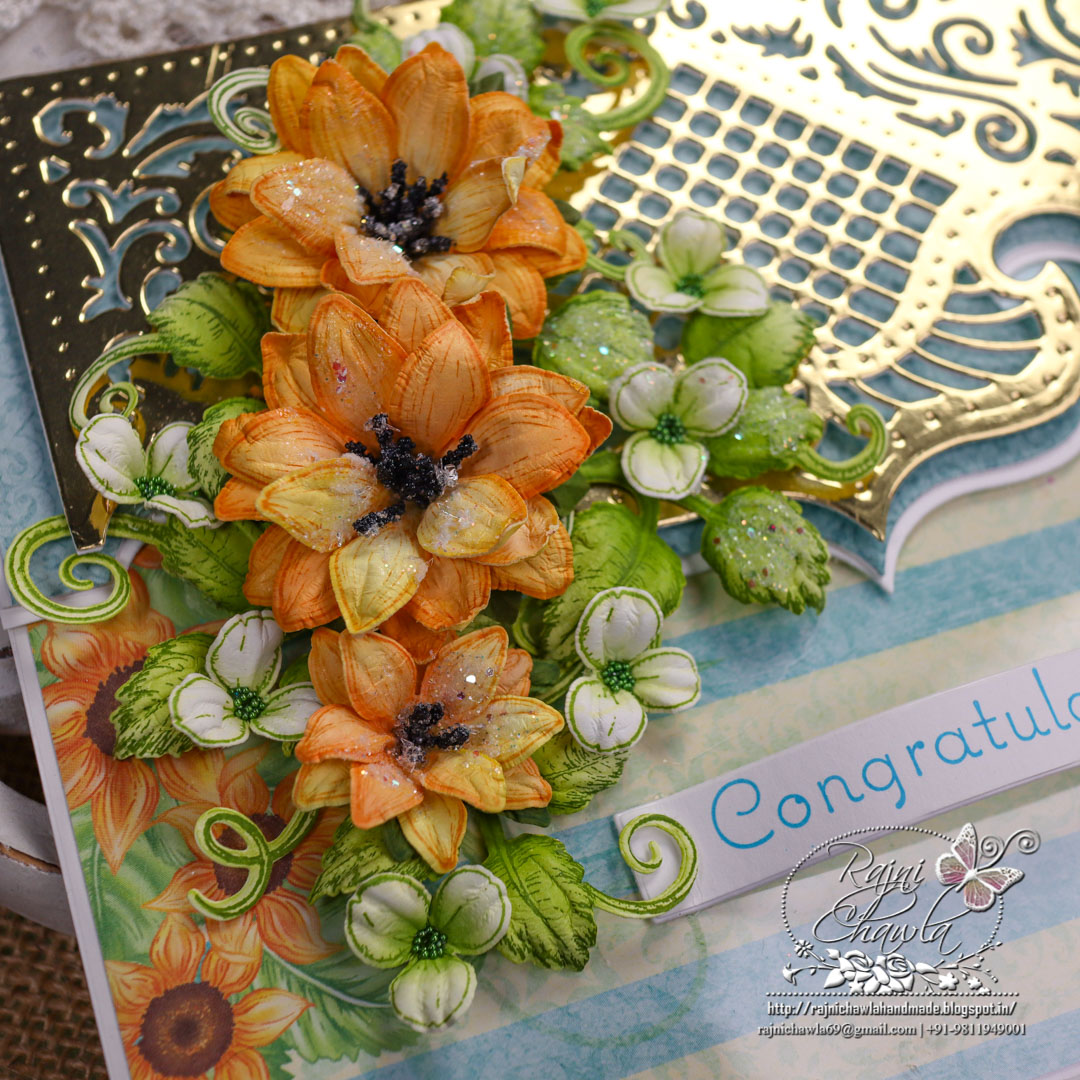
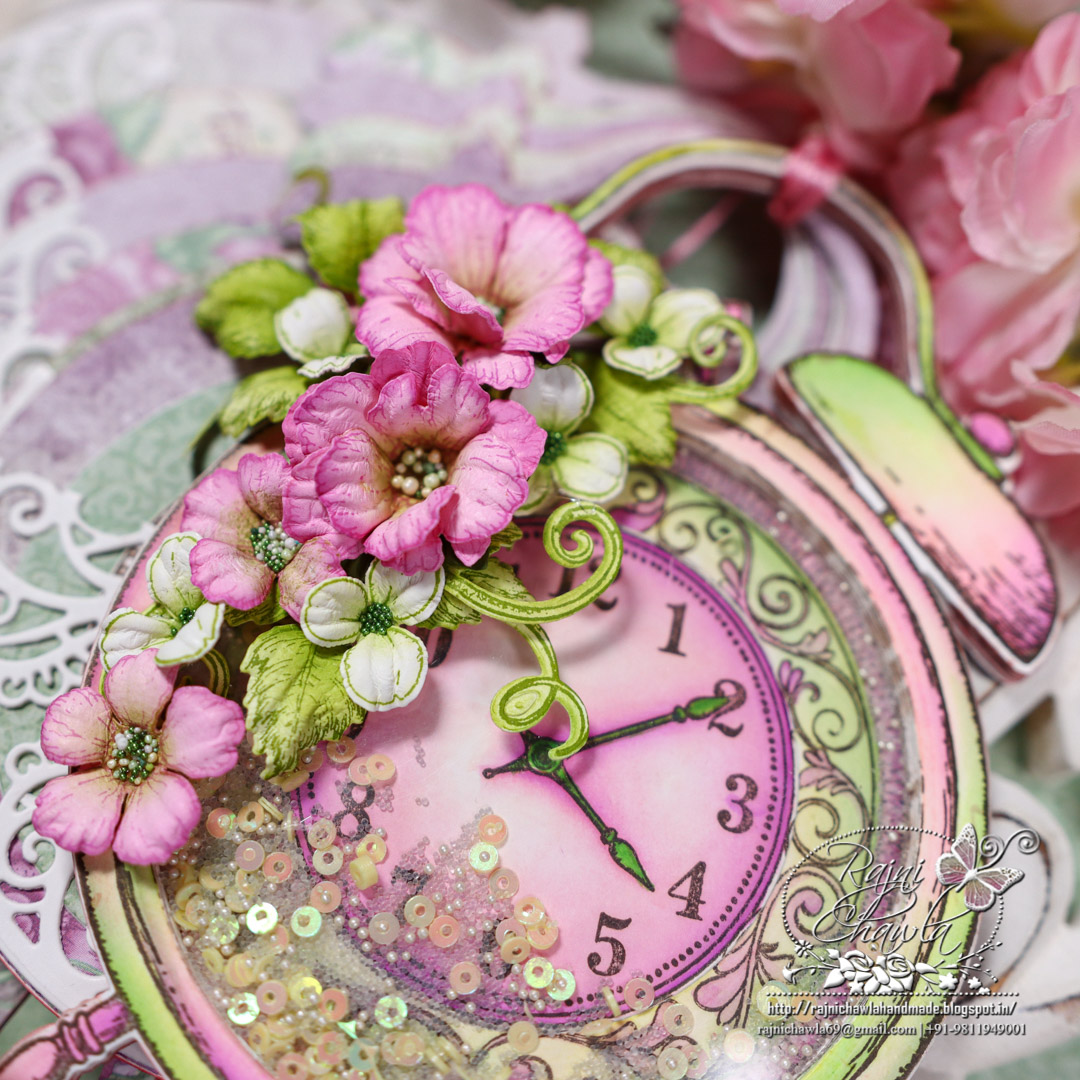
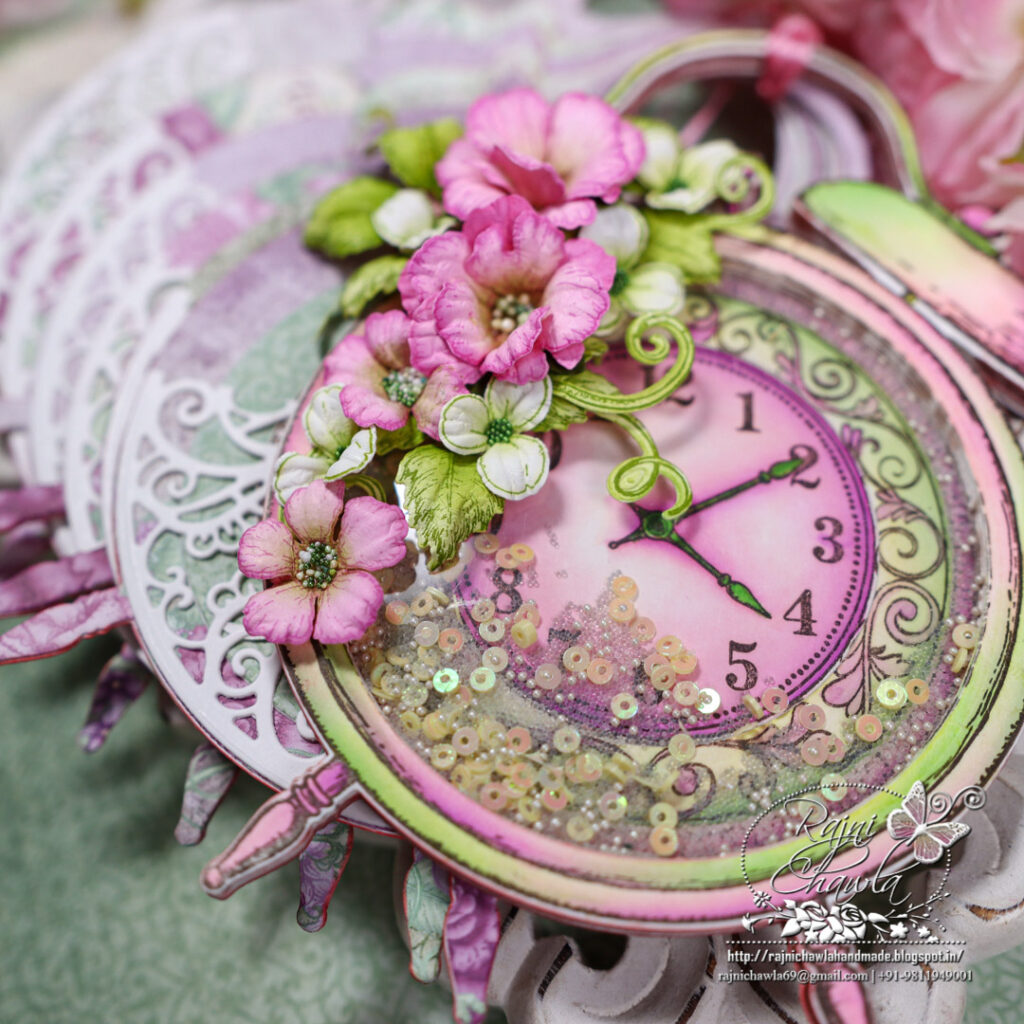
Instructions: To build the front shaker window of the booklet, stamp one main image of Simple Moments Stamp with black and cut open the center window as shown using its coordinating die set. Color the outer image and the center image separately using Zig Clean Clear Brush Markers. Glue the acetate sheet from behind. Cut 6-8 die-cuts without stamping and stack them together using glue. Glue the colored image and build the shaker window. To close the window, cut one solid die-cut and glue the center-colored image in the center. Fill shaker elements and close the window by gluing the solid die cut at the back.
Cut 6 solid die cuts using the Simple Moment die. Choose the pattern papers from the paper collection and adhere them to the front and the back panel. Cut three circle windows from white cardstock using Courtyard Elegance Die and chop them into half. Adhere them on each tag, keeping the top side open to slide sentiment tags.
Next, Stamp the sentiments from Timepiece Sentiments Cling Stamp Set with coffee Archival ink on white cardstock and cut them using its coordinating die set. Prepare the sentiment tag for each panel.
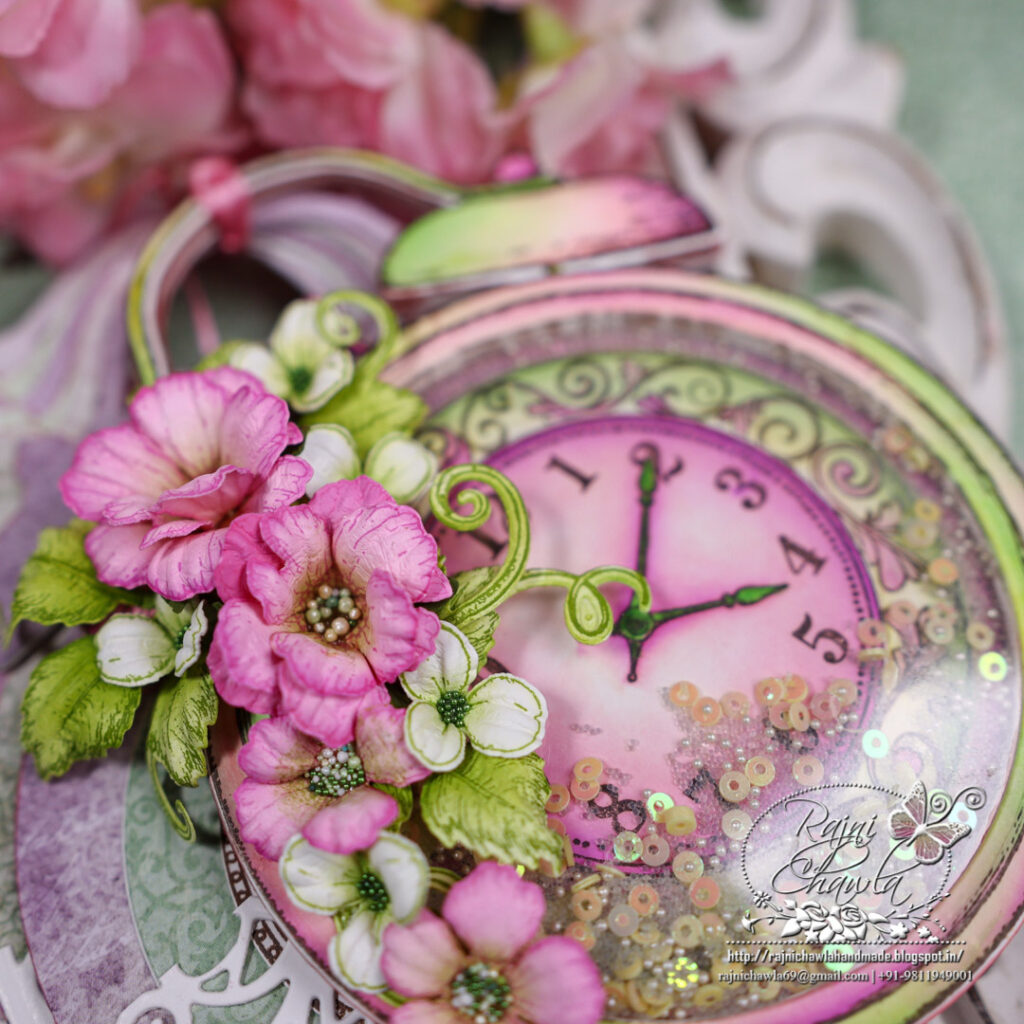
For the wild roses, stamp the flower petals using Vibrant Fuschia Archival ink and Small Wild Rose Stamp set and cut them using its coordinating dies. Ink the flowers using Vibrant Fuschia and Leaf green and shape them it’s coordinating mold. Once the shaping is done, further add little detailing with ball tools and assemble a few flowers using tools from the shaping kit and add prills to the flower centers.
For the leaves, stamp the leaves from the Leafy Accent Cling Stamp Set using Olive green Archival ink on Deluxe Flower Shaping Paper, paint them using Leaf Green and Olive Green, and cut them using its coordinating die set. Shape the leaves using Golf Groove Tools.
Stamp, color and cut few wisteria flowers using Leaf GreenFlower Archival ink and shape them using a flower shaping kit. Add flower pollens using a glossy accent and use these flowers as fillers.
Once, all the elements are ready, assemble the booklet as shown. Tie all the tags with satin thread, keeping the shaker tag on the front. Secure tiny tags on the ends of the satin thread and add pearls as an extra accent.