


Good Morning Friends…
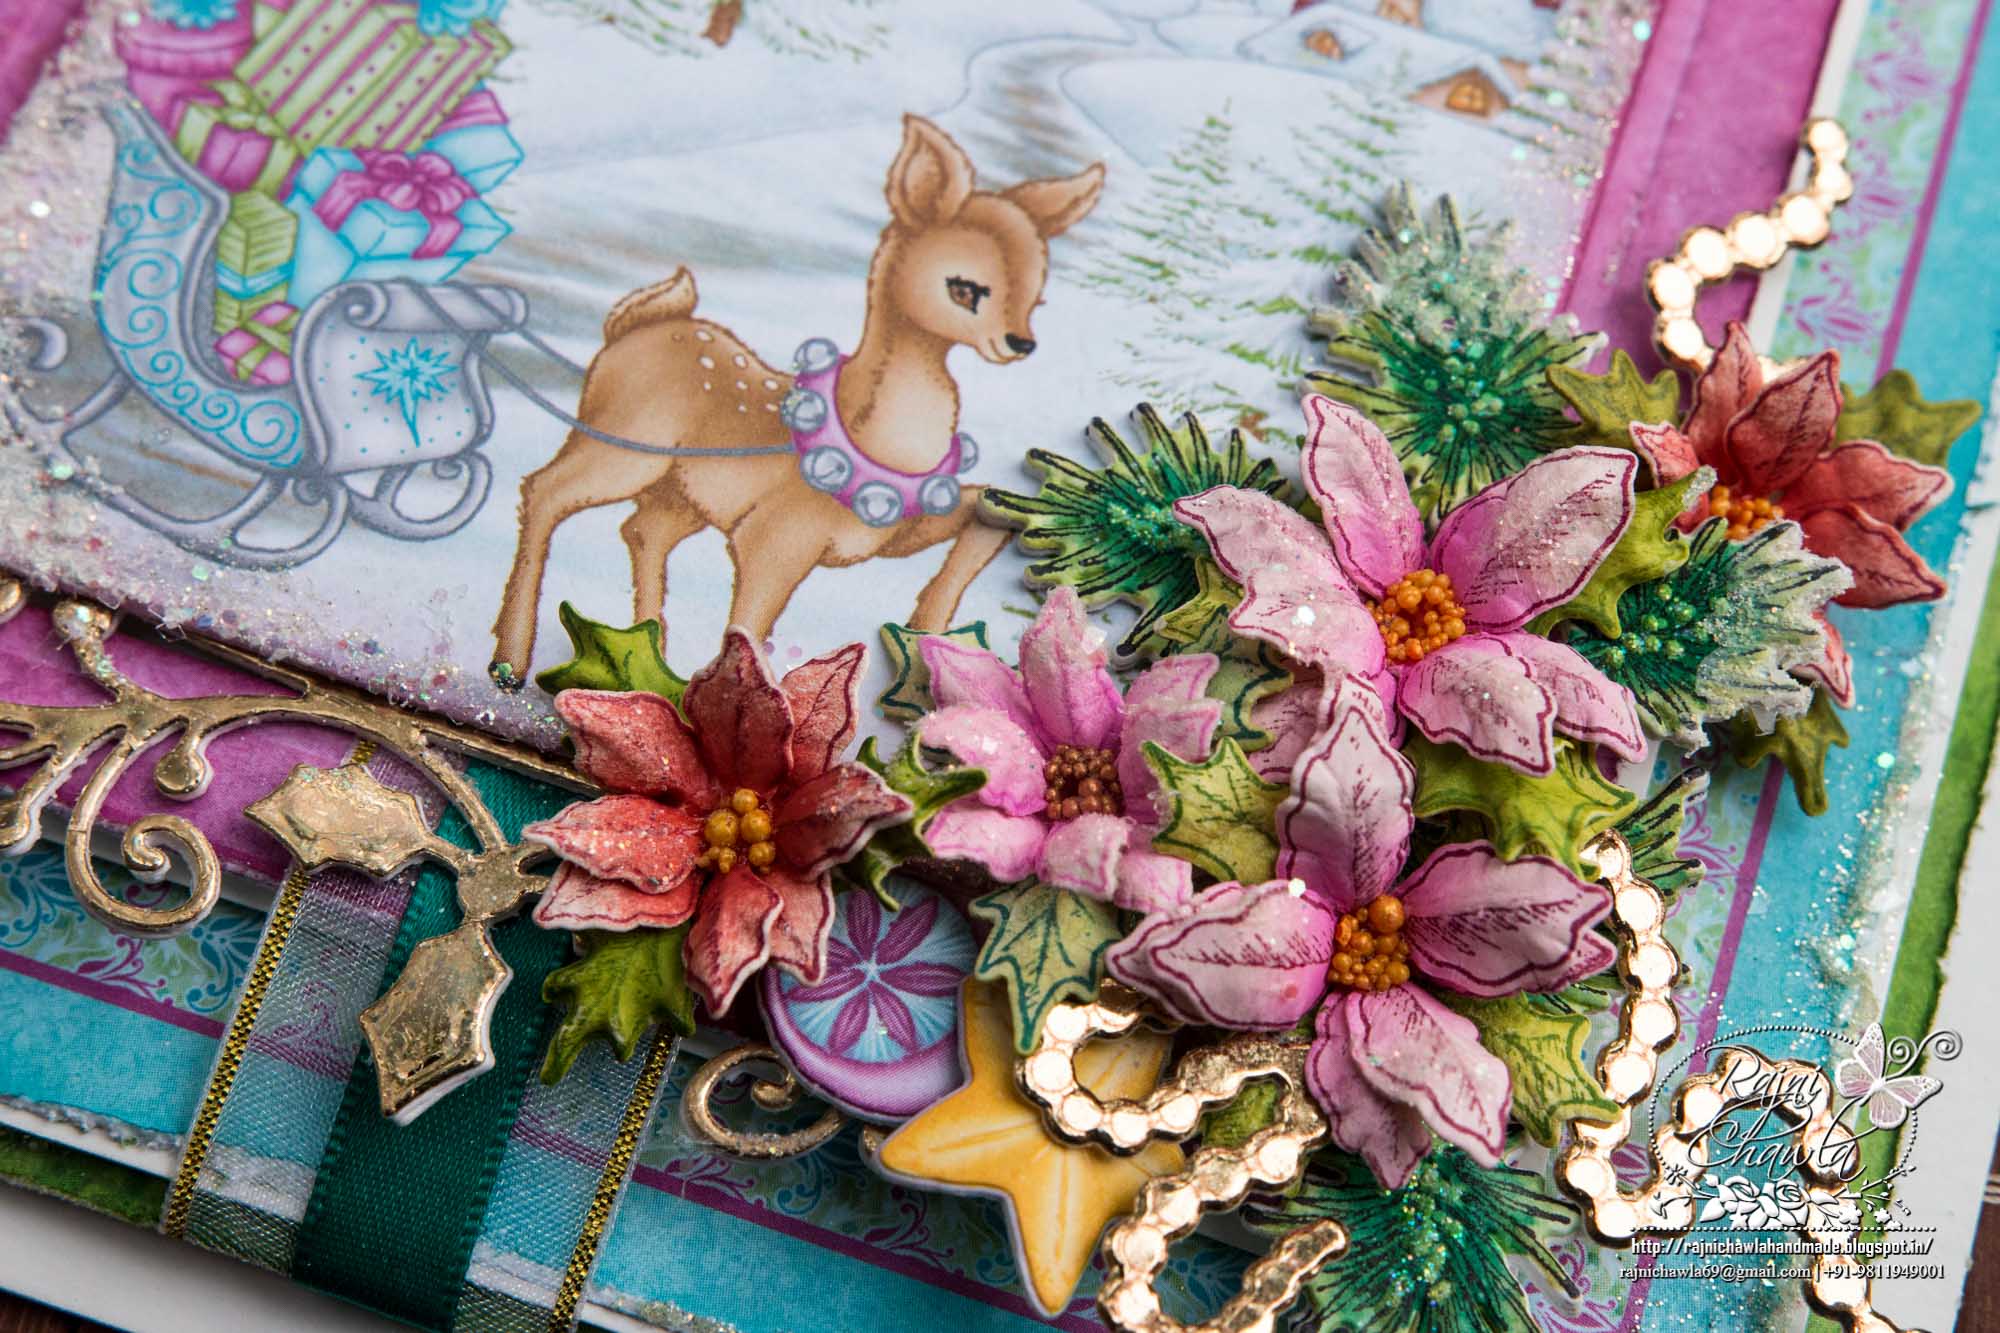
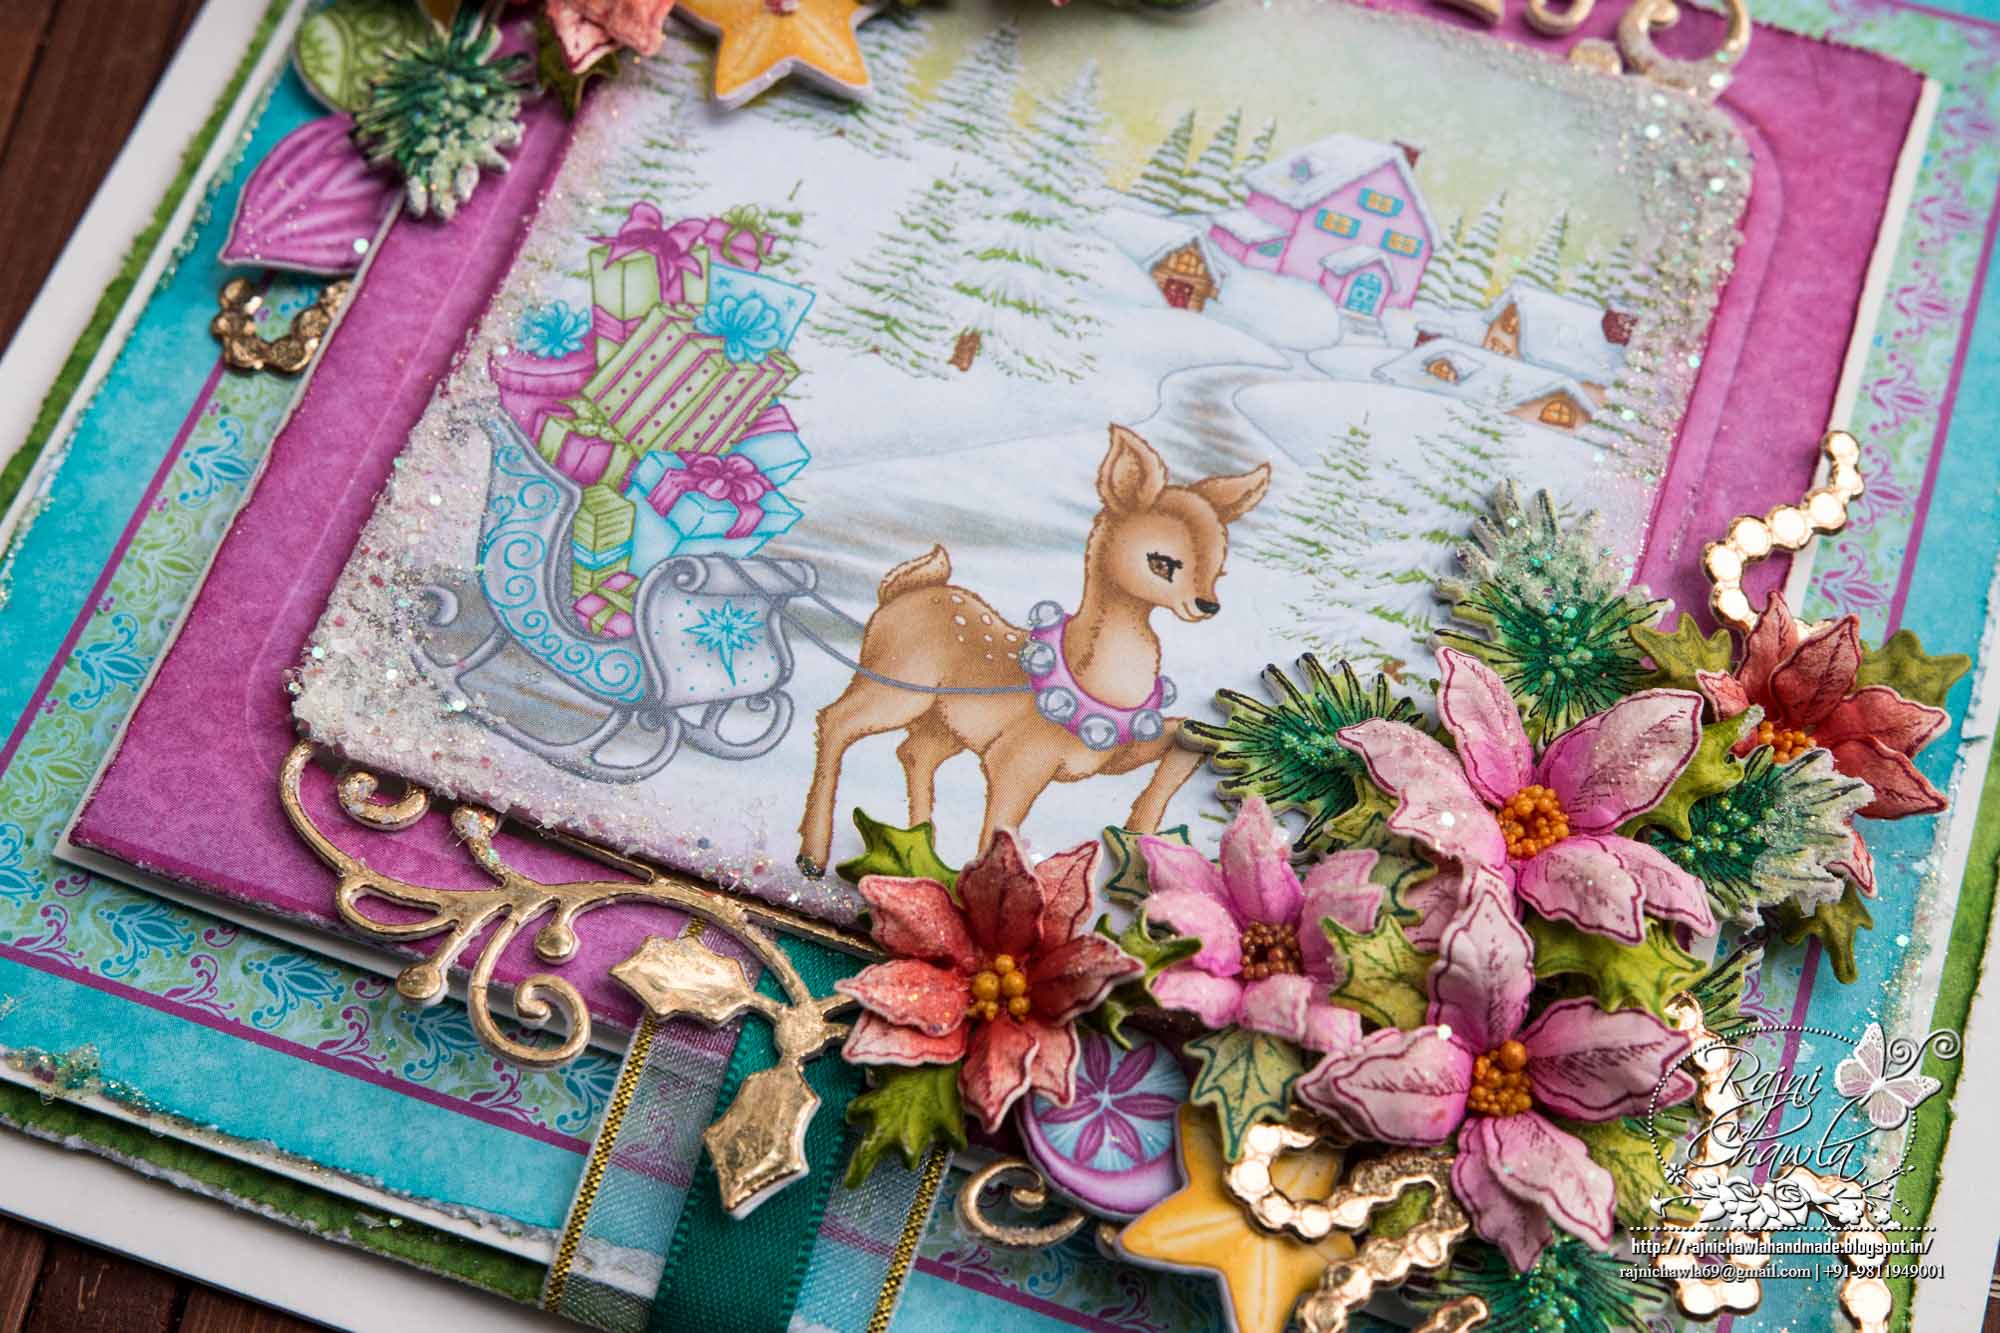
Once again back with Christmas inspiration. I have a card showing snowy sleigh ride, using Merry and Bright Collection by Heartfelt.

Supplies From Heartfelt Creations:
HCD1-7188 Noel Ornament Die
HCD1-7196 Merry and Bright Accents Die
HCPC-3838 Merry and Bright Accents Cling Stamp Set
HCDP1-293 Merry and Bright Paper Collection
HCD1-7195 Snowy Pine Village Die
HCPC-3837 Snowy Pine Village Cling Stamp Set
HCD1-745 Luggage and Tags Die
HCD1-7176 Poinsettia & Holly Clusters Die
HCPC-3822 Poinsettia & Holly Clusters Cling Stamp Set
HCFB1-463 3D Poinsettia Shaping Mold
HCD2-751 Cut Mat Create 2A Die
RACP499 Ranger Archival Ink Pad – Plum
RACP436 Ranger Archival Ink Pad – Leaf Green
RACP962 Ranger Archival Ink Pad – Fern Green
RACP614 Ranger Archival Ink Pad – Magenta Hue
RACP468 Ranger Archival Ink Pad – Jet Black
RACP461 Ranger Archival Ink Pad – Vermillion
PGM15016 Rajni Chawla’s Frosting Powder
PGM15015 Rajni Chawla’s Crystal Clear
HCDA2-450 Stack and Store Daubers-Pack of 30
ANC818 Go Man Go Prills
159723 Designer Dries Clear Adhesive
HCST1-401 Deluxe Flower Shaping Kit
Other Products Used: Smooth white cardstock, foam tape, Golden Mirror Sheet, Ribbons.
Videos Referred: For more tips on creating with the flower shaping molds, watch the tutorial at https://youtu.be/FSdPL7nXvQE.
Instructions: The ready top fold card measures, 7 1/2′ by 7 1/2′. To create the top panel, choose a 6″ by 6″ panel from the paper collection. Cut the center panel and mat it on a white cardstock measuring 1/16th of an inch larger on all sides. Cut apart the window using Cut Mat Create 2A Die. Cut a piece of golden ornament and slit it from the center. Adhere both the fancy edges on top and bottom of the window and layer the scenic panel on the same place using foam dots.
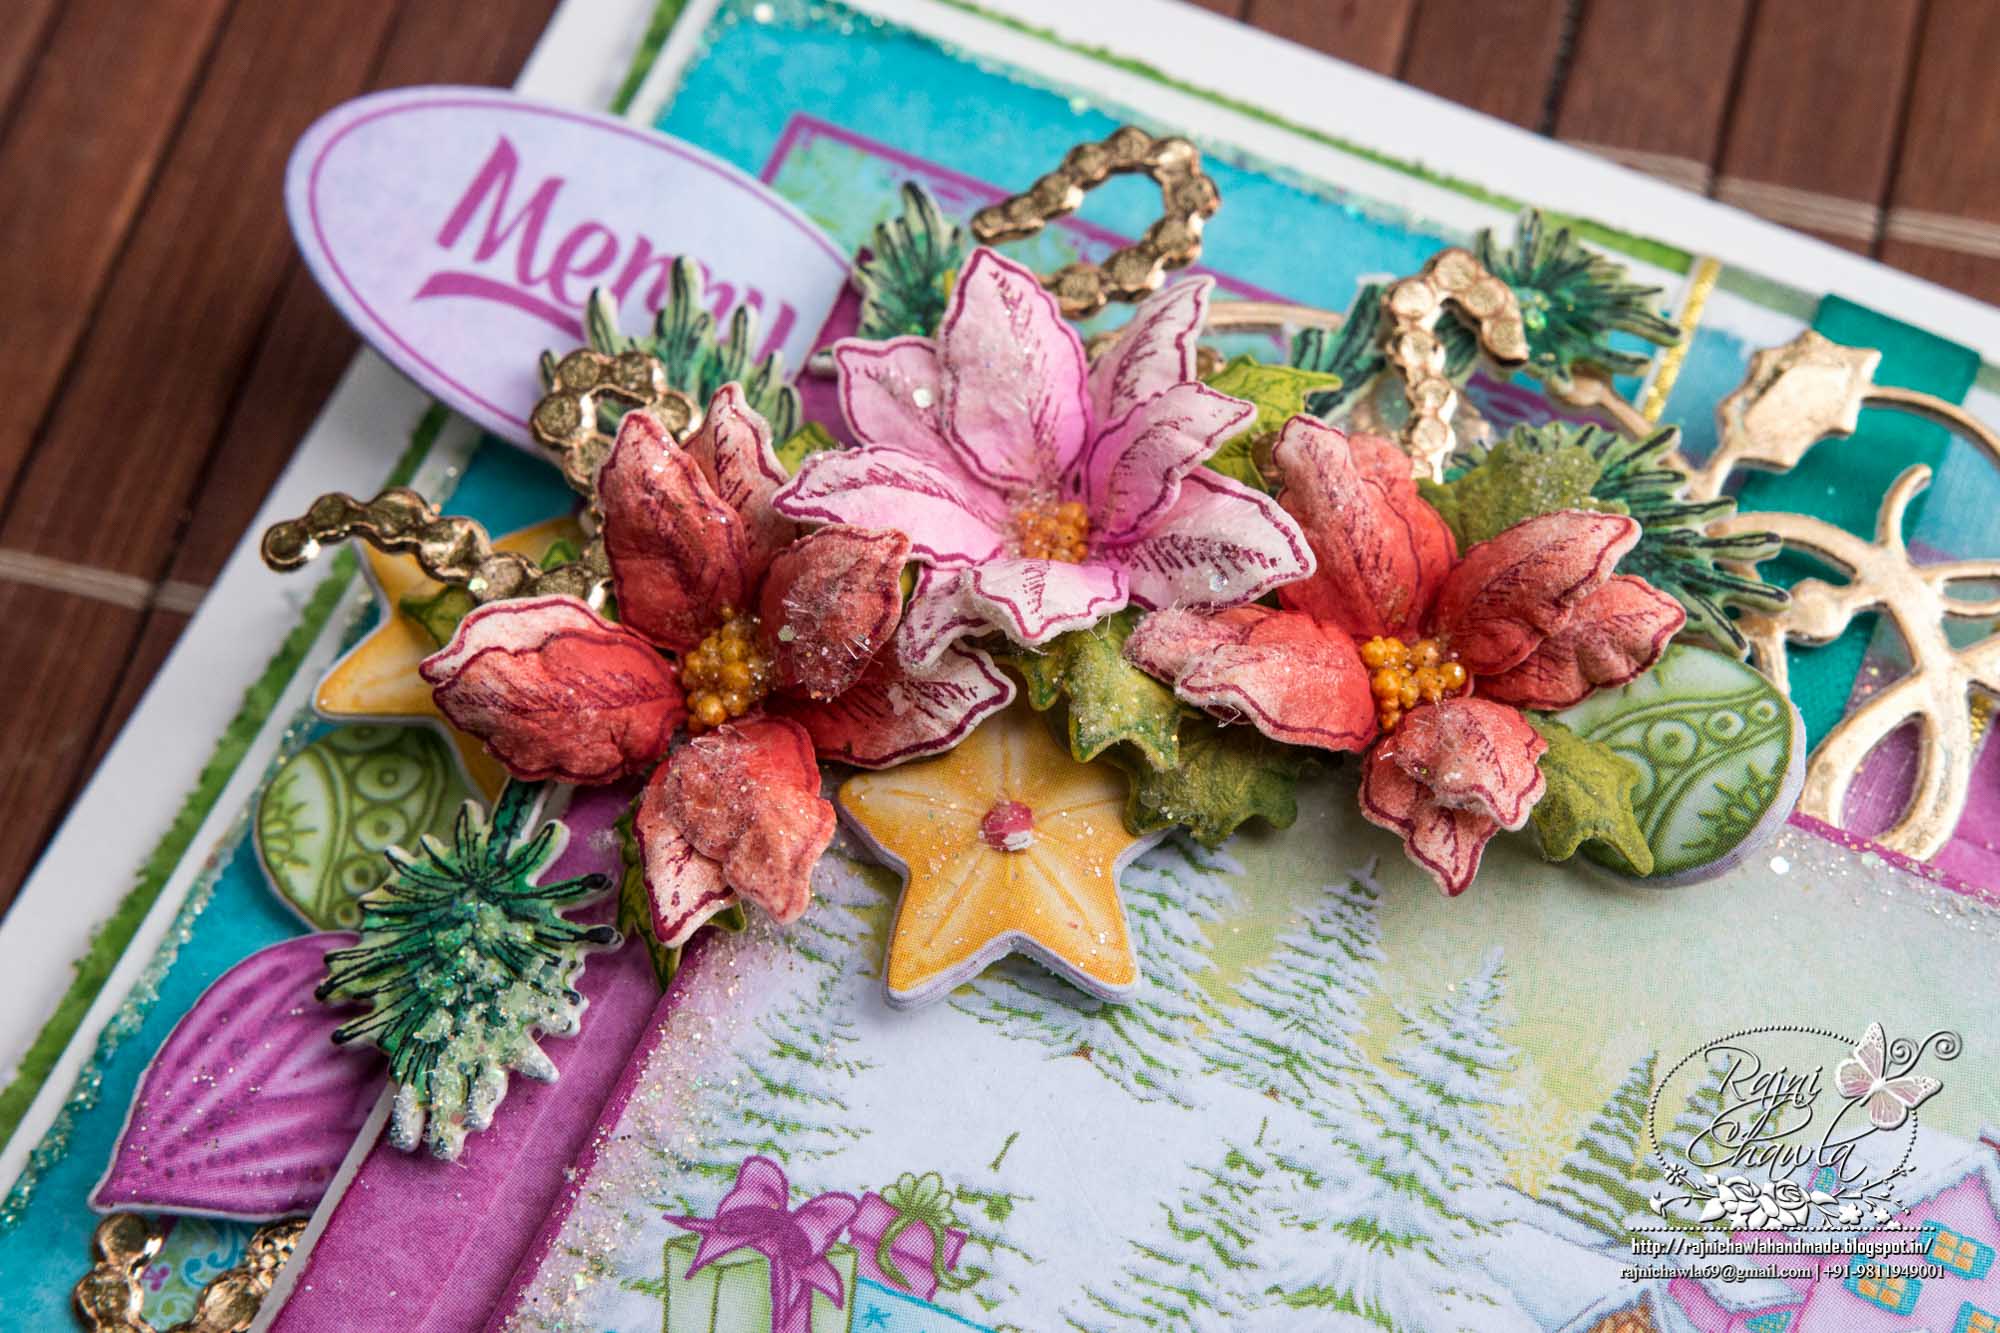
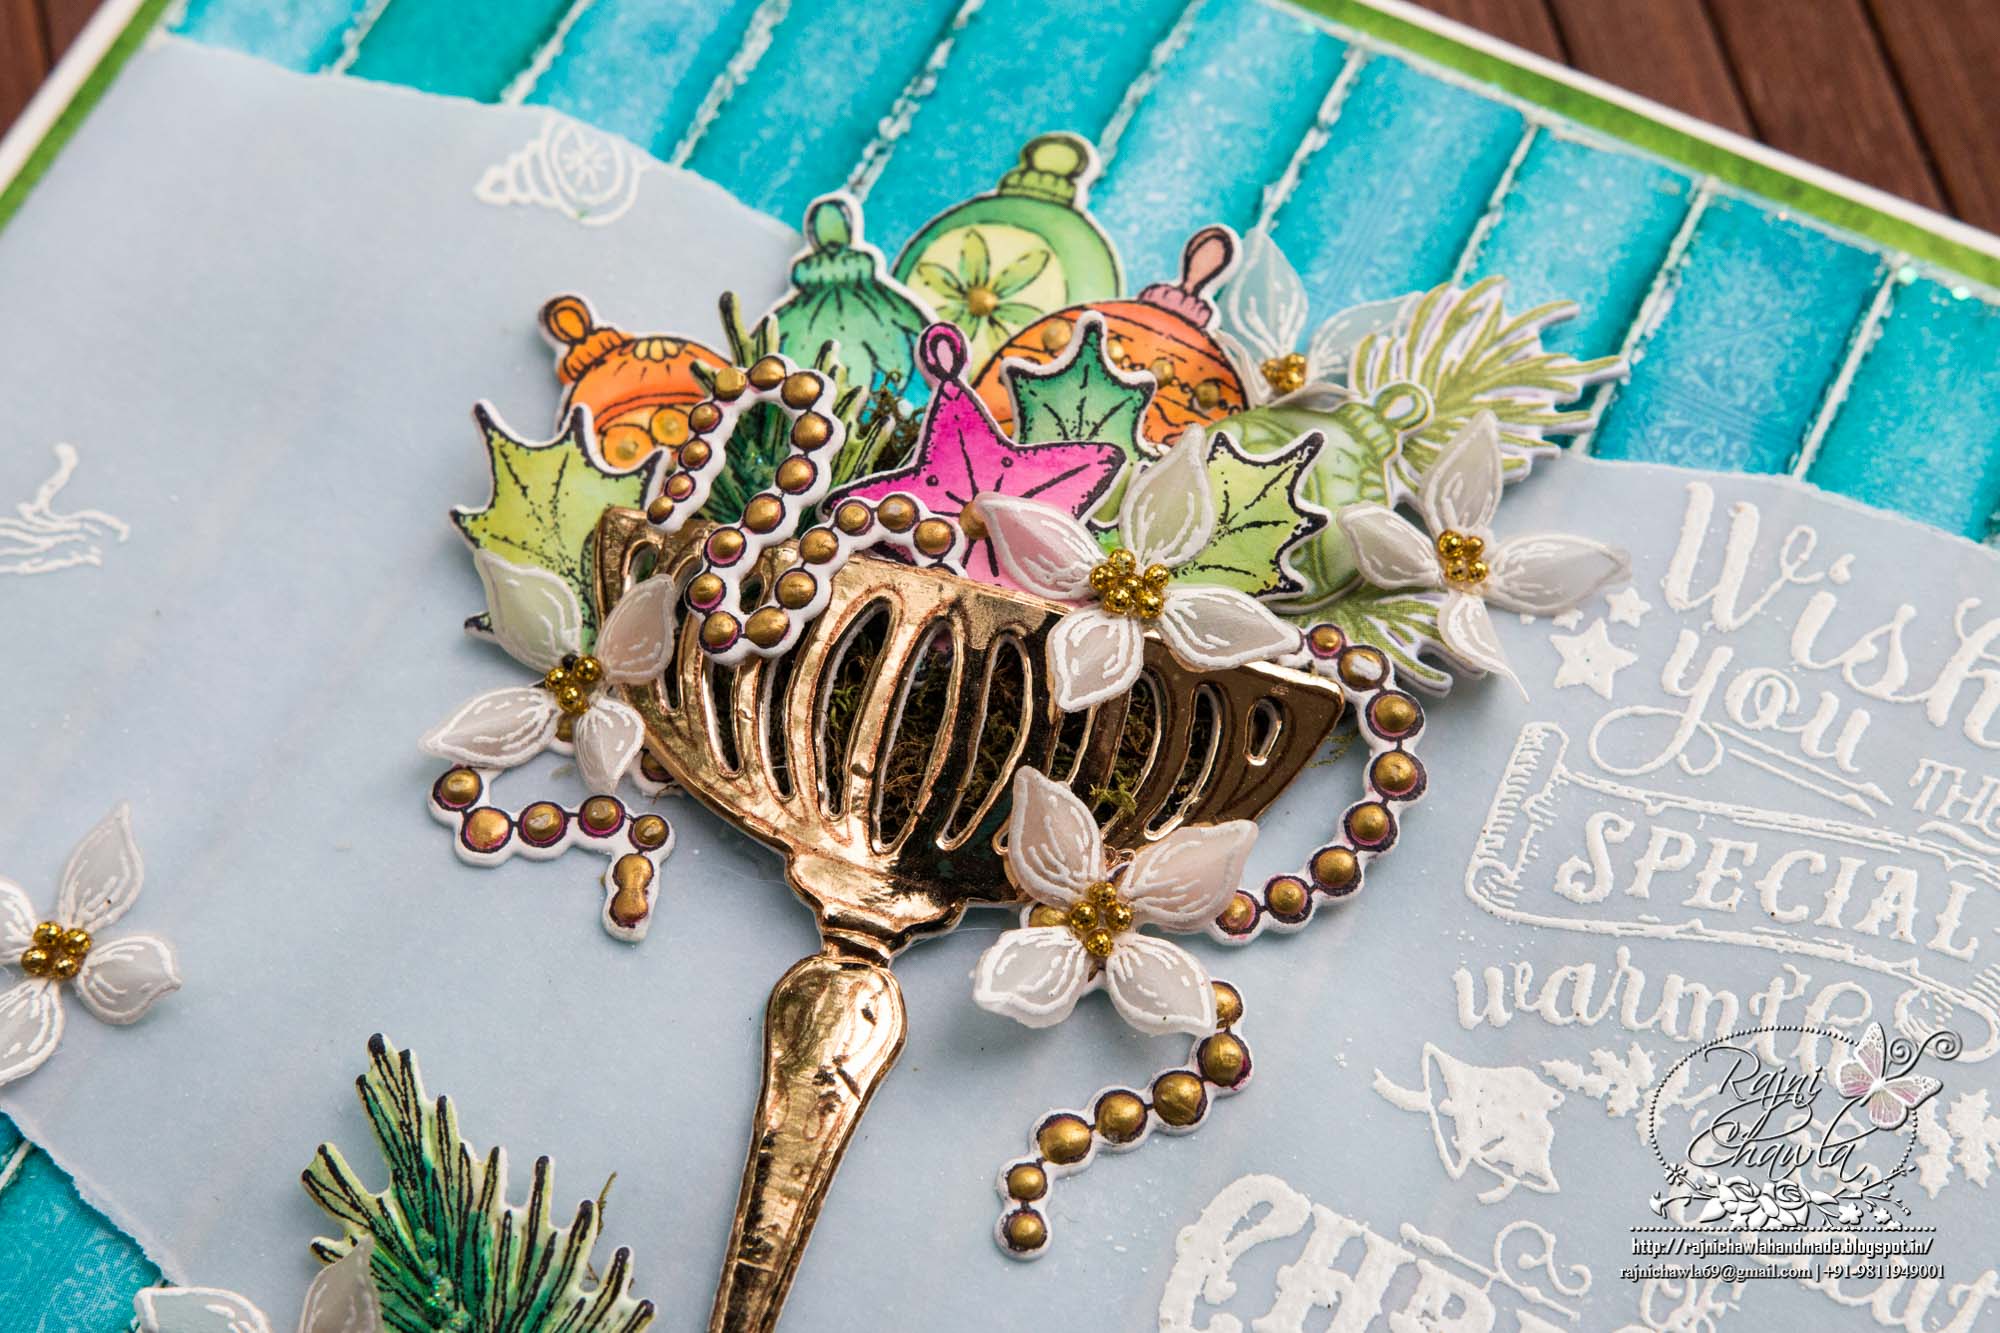
Using rest of the left out panel, create more layers as shown, keeping white and green mat respectively. Do distress all the edges with distressing tool. Tie a ribbon around the panel between both the mats. Finally, layer them on the card base. Also, cut a few ornaments from the element sheet and shape them with the hands.
For Poinsettias, stamp the images from Poinsettia & Holly Clusters Cling Stamp Set, using Plum Archival, color them using Magenta Hue and Vermillion and cut them using their coordinating dies. Once cut and painted, shape them using Poinsettia Shaping Mold and add prills to their centers. The pine leaves are stamped with Archival Fern Green and painted with Leaf Green archival ink. Once all the elements are ready assemble the card as shown and glitter the edges randomly to add an extra accent to the card.
This is so gorgeous Rajni!
very beautiful card.