


Good Morning Peeps…
Welcome to my blog today.
Hope you all enjoyed and had great fun hopping along all design team members blog last week. We are all thankful for making the blog hop a big success!!.The winner of the blog hop is from Angelica’s blog and is Diana Joy. Hop on to Heartfelt Creation’s blog for more information.
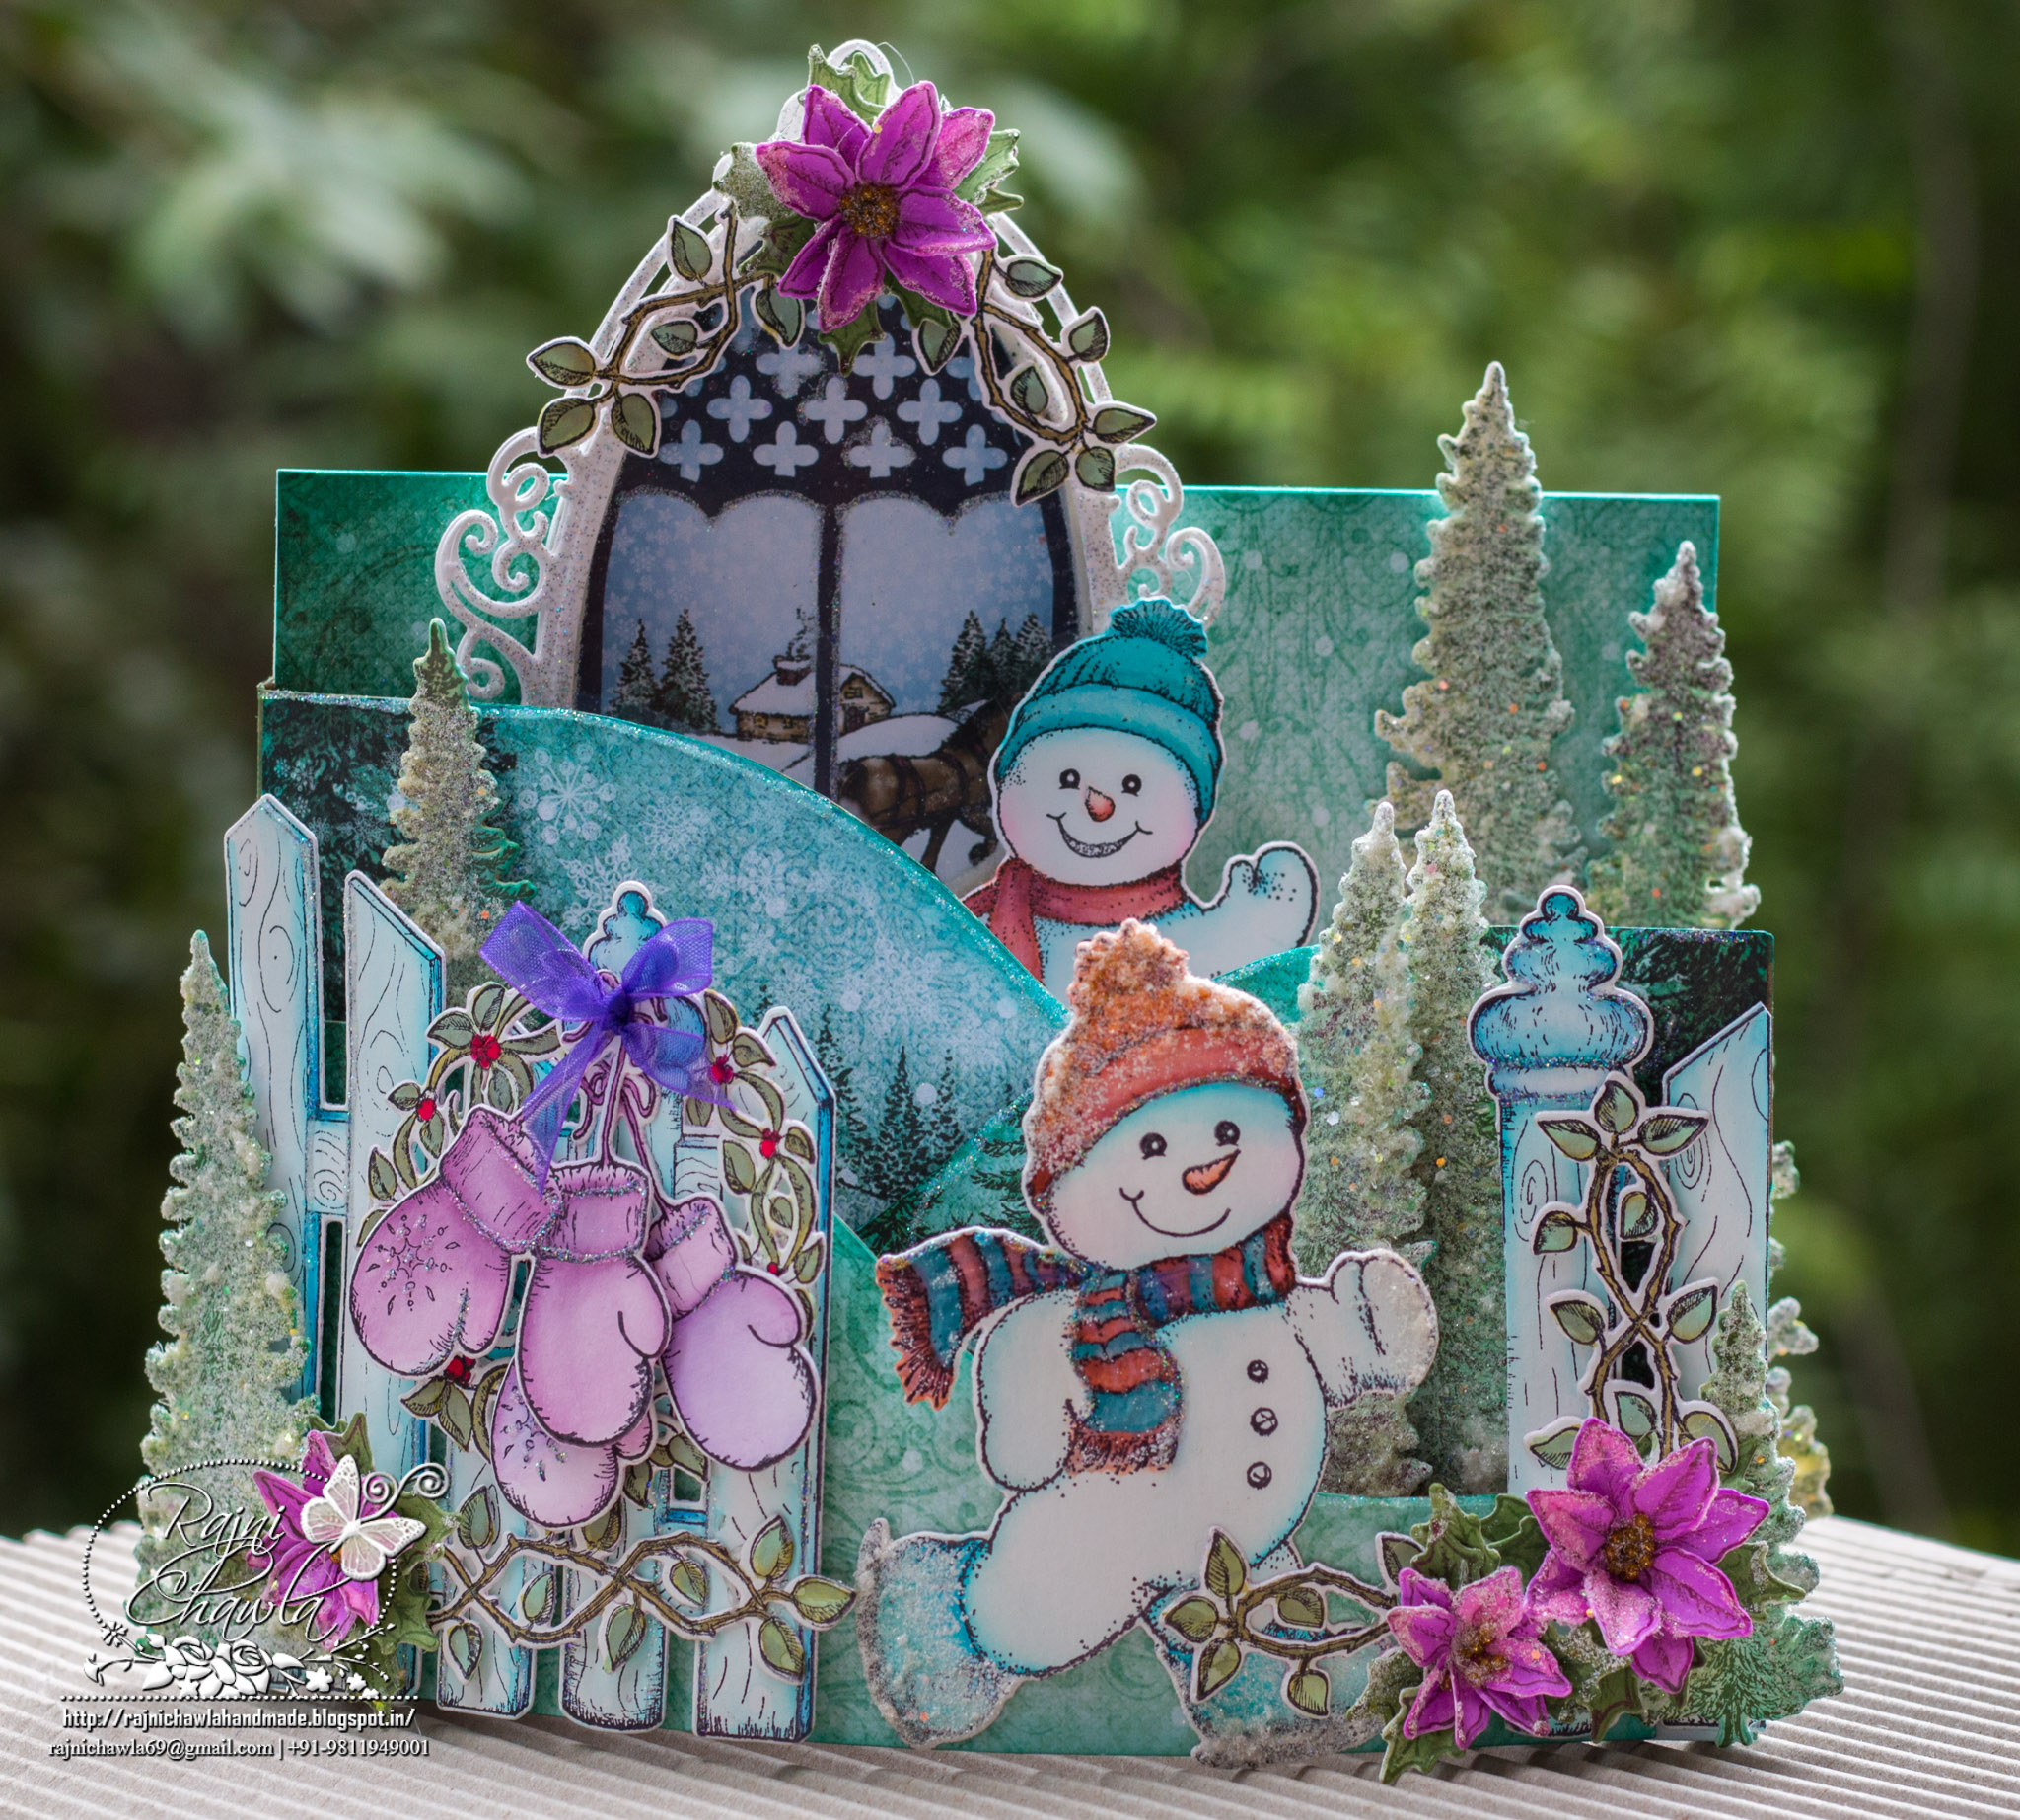
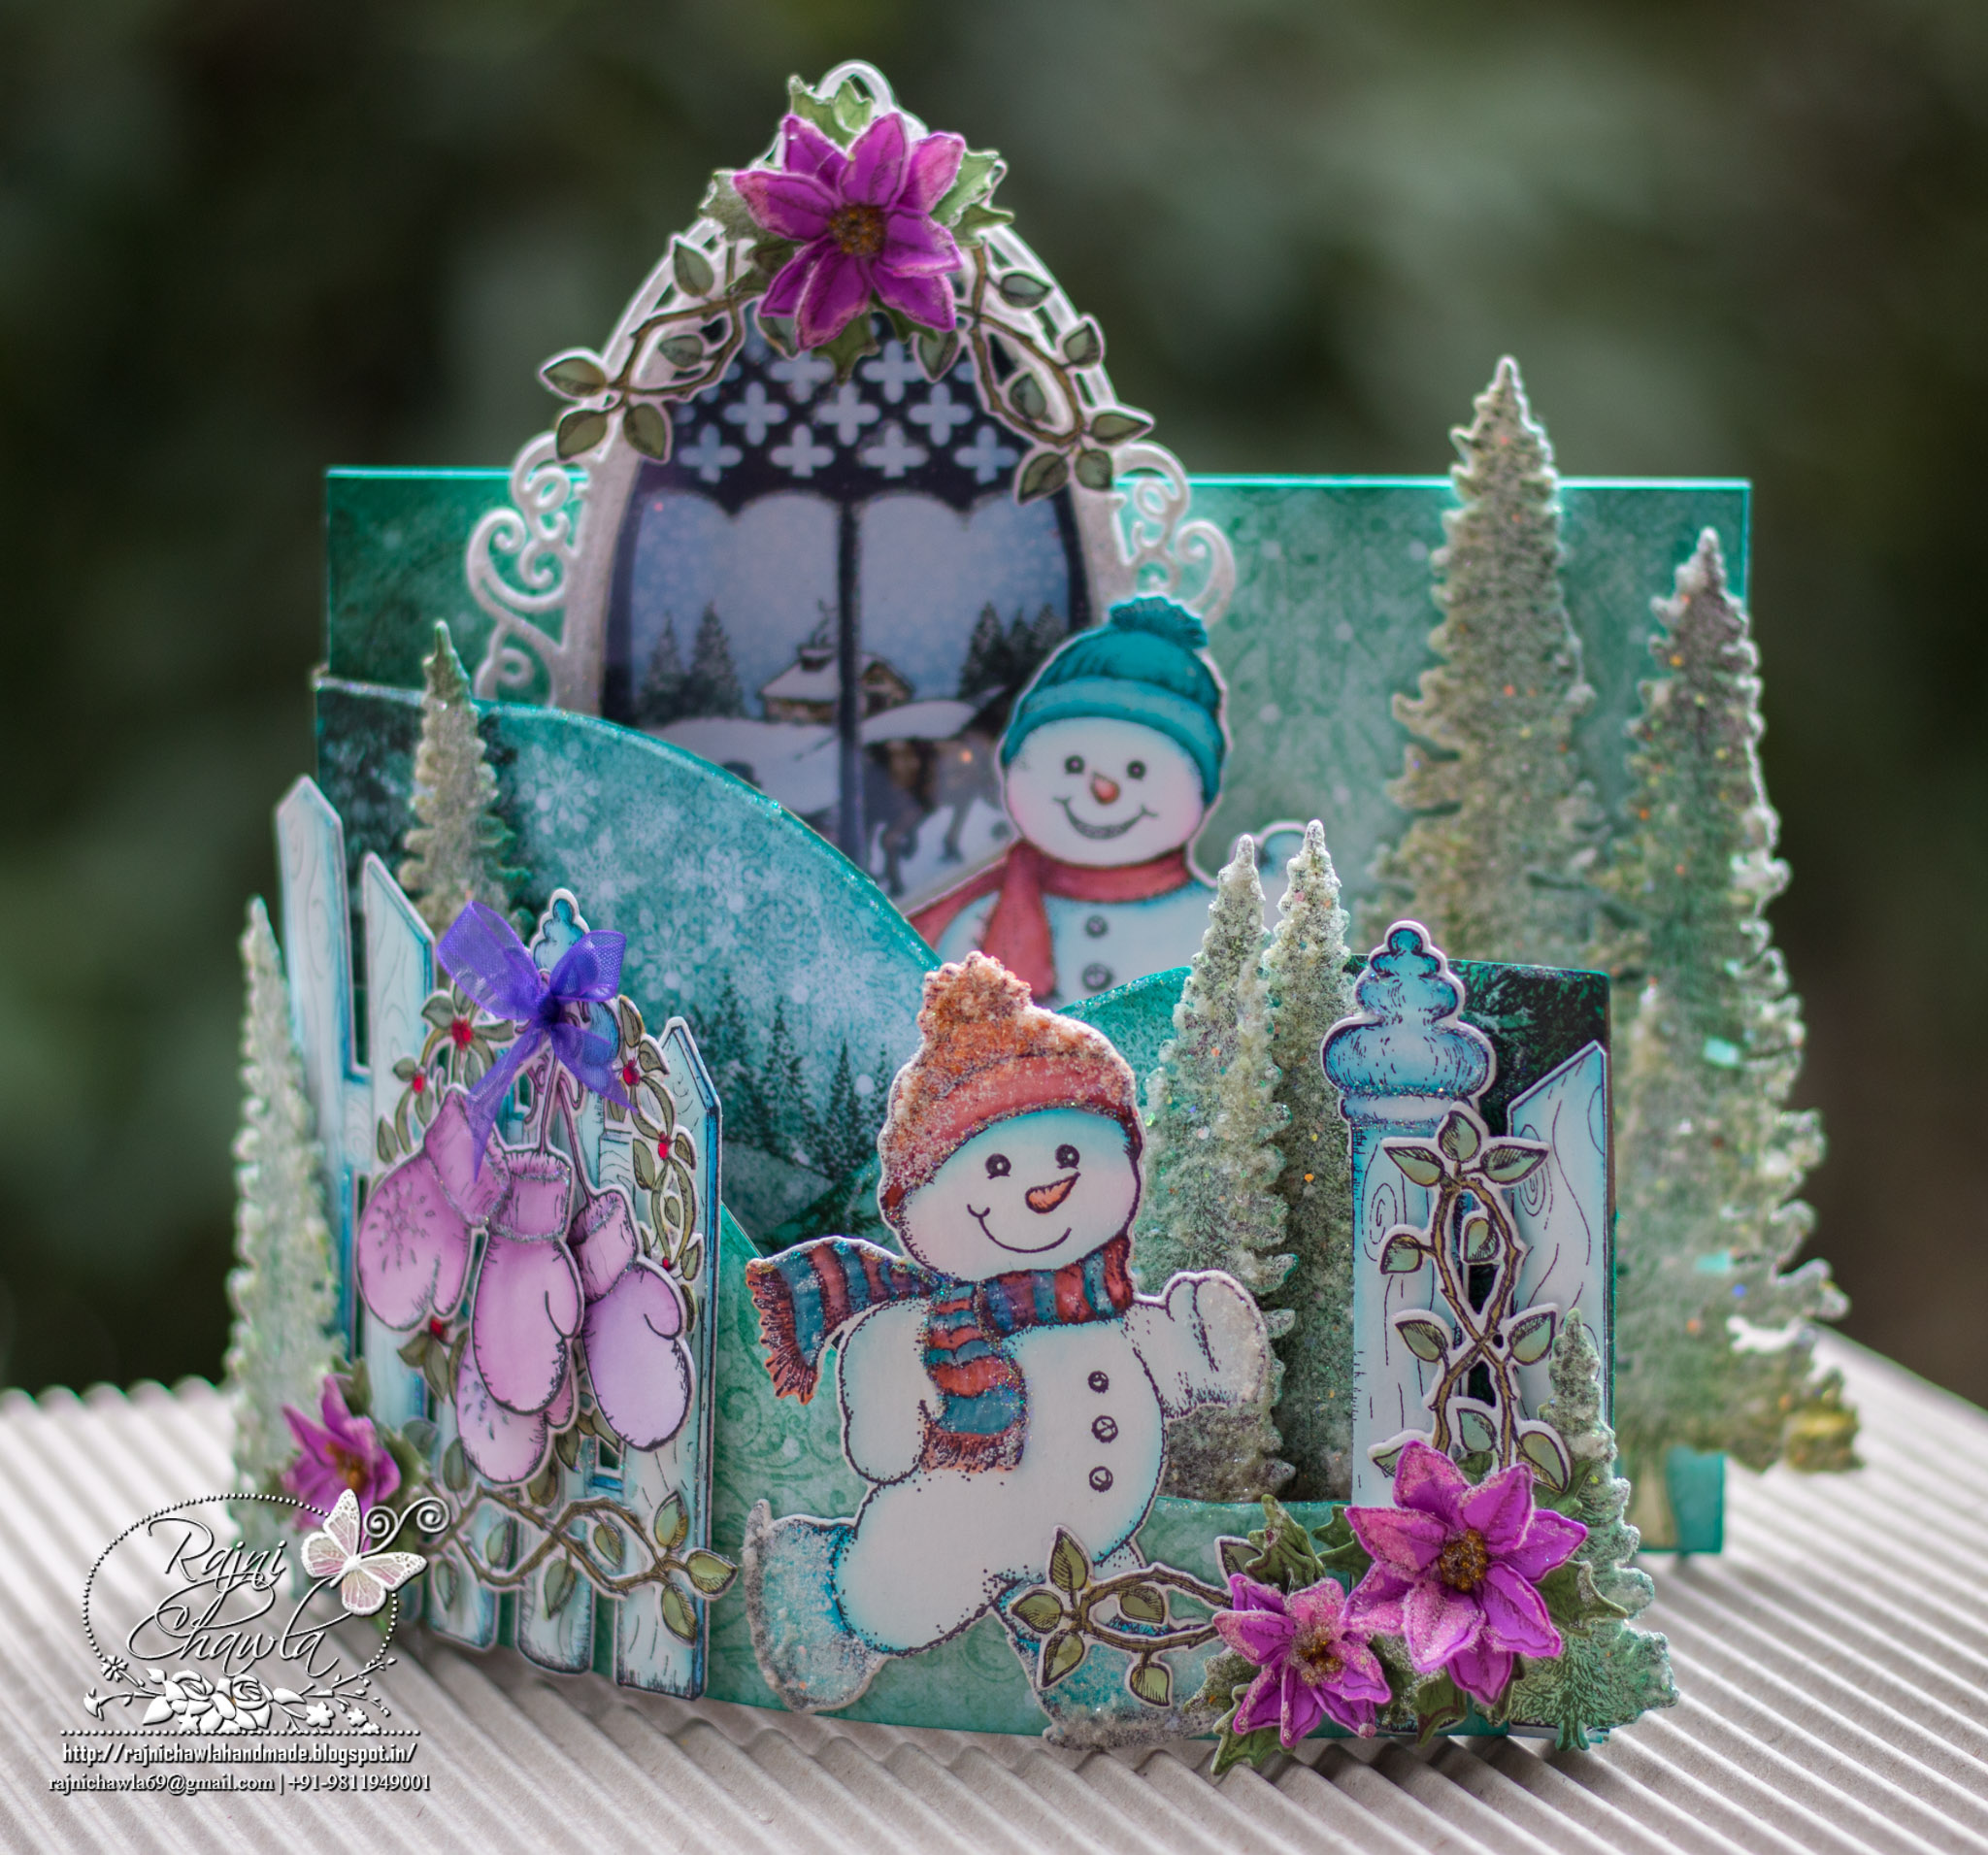
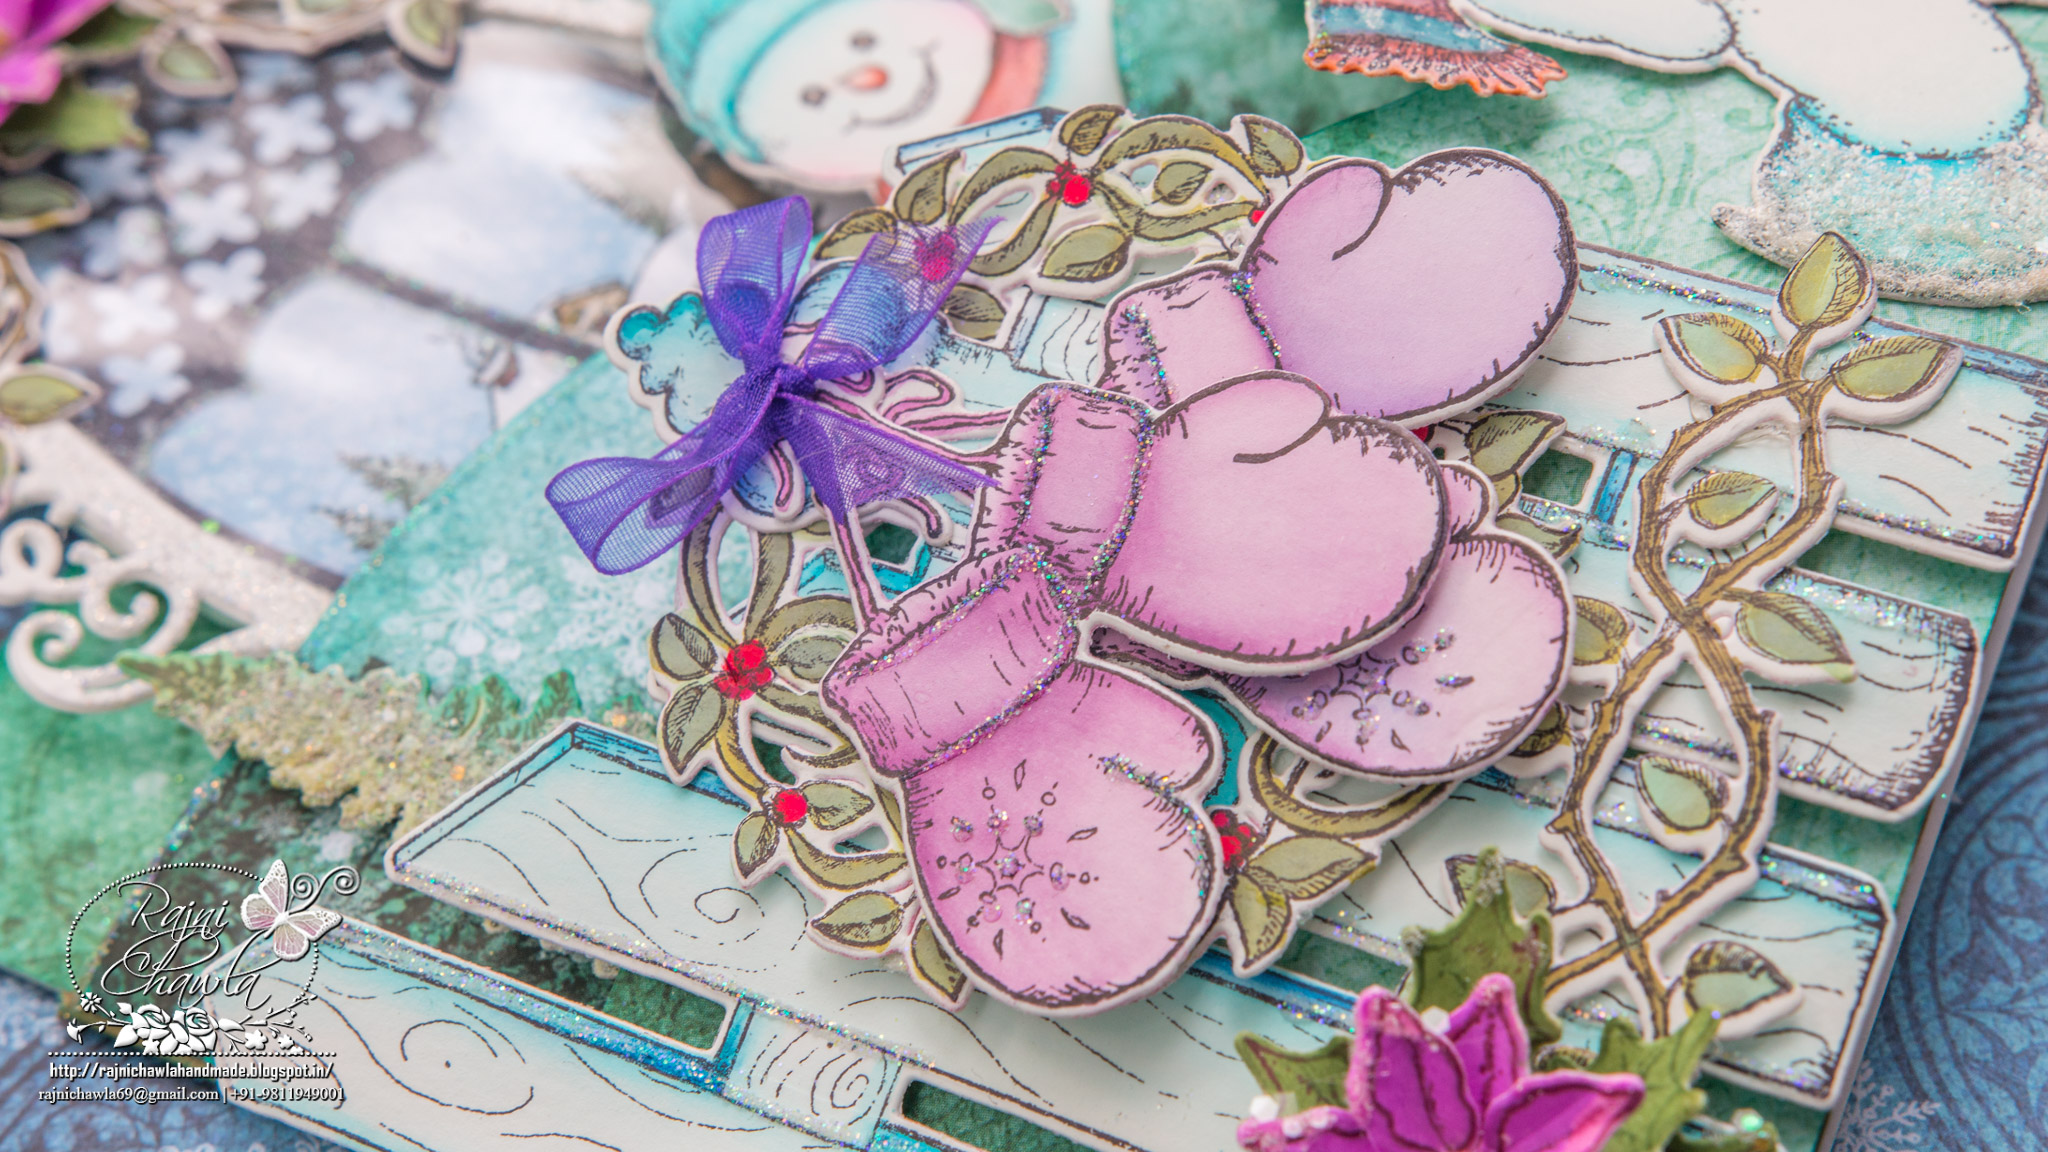
Can you believe, we are ready to head into December and countdown for Christmas has already started. Today I am sharing an inspiration for Chrismas using Heartfelt Creation’s Black Friday Fold out cards, which I also designed for their packagings. Zoom in the pictures for wintery cool feel.

Products from Heartfelt Creations:
5′ X7″ Fold Out Cards- Kraft
Snow Kissed Paper Collection HCDP1-269
Frolicking Frosty and Spruce Die HCD1-7107
Frolicking Frosty Cling Stamp Set HCPC-375
Snow Kissed Spruce Cling Stamp Set HCPC-3749
Celebrate the Season Die HCD1-7106
Celebrate the Season Cling Stamp Set HCPC-3747
Festive Gate Cling Stamp Set HCPC-3746
Festive Gate Die HCD1-7105
Ornate Sleigh Cling Stamp Set HCPC-3745
Ornate Sleigh and Presents Die HCD1-7104
Botanic Window Die HCD1-7100
Fleur Border Basics Die HCD1-7120
Designer Dries Clear Adhesive 159723
Other Products Used: Zig Clean Clear marker, Foam tape, die cutting machine, frosting powder, Black , Library Green and Plum Archival inks, Peacock Feather Distress ink, Smooth white card stock, koi water color brush, Foam dots, Acetate sheet, Crystal Clear Glitter.
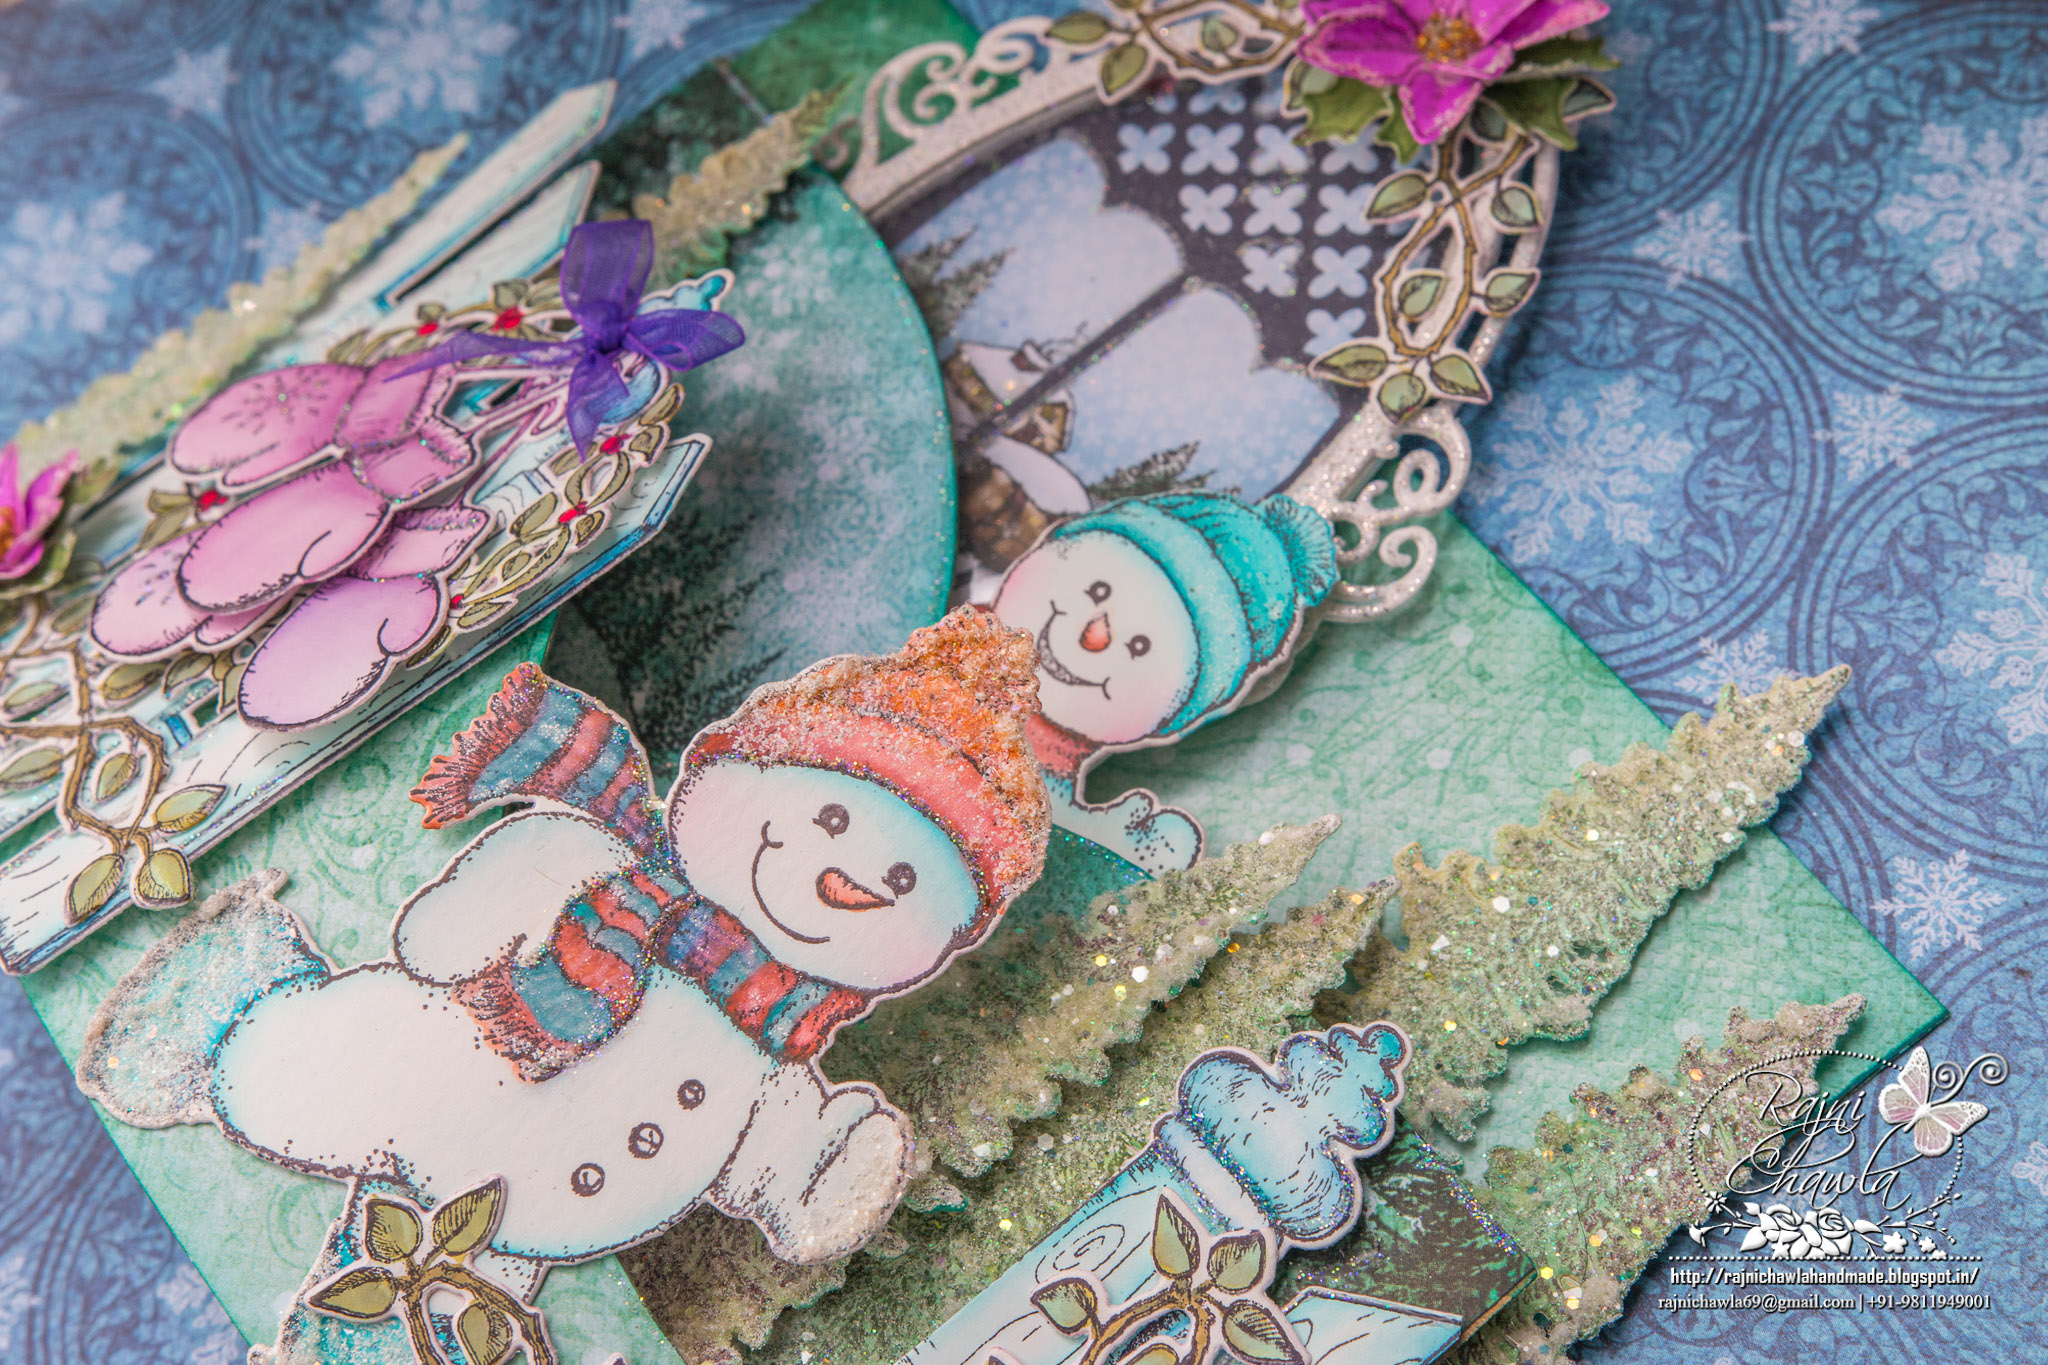
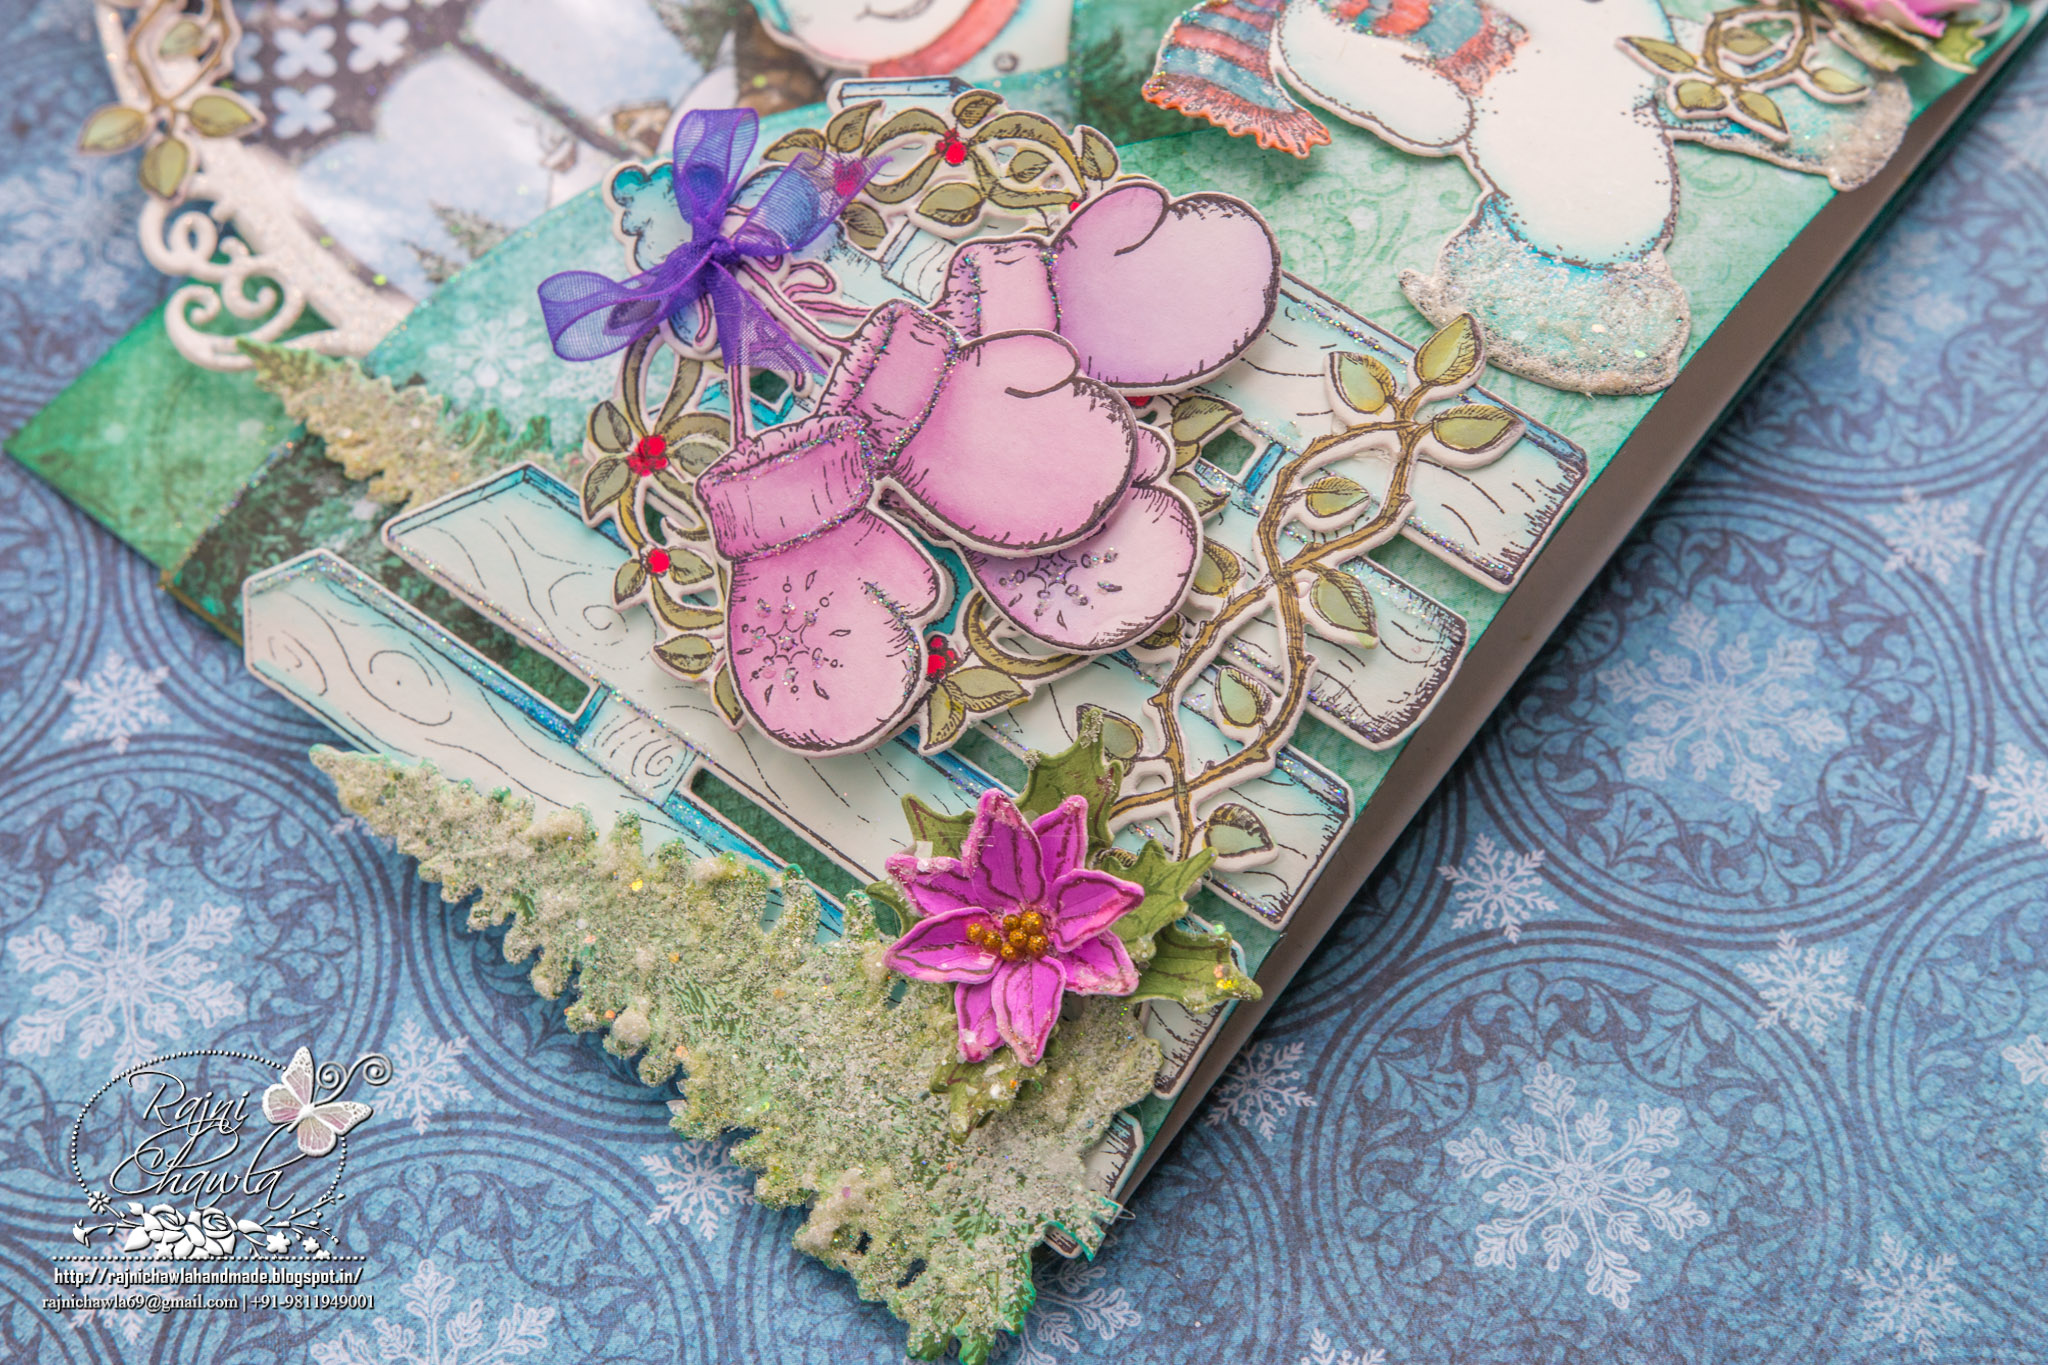
Instructions: Cut all the panels from the designer paper of Snow Kissed Christmas Collection using Fleur Border Basics Die and adhere them on 5′ x 7′ Fold Out Card using an adhesive that dries clear. Distress the edges lightly using Peacock Feather distress ink. Stamp various images from Frolicking Frosty Cling Stamp Set, Snow Kissed Spruce Cling Stamp Set, Celebrate the Season Cling Stamp Set with black archival ink on smooth white card stock. Paint all the images using Zig clean Clear markers. the shades used for Gloves are 081, 082, For snowman are 036, 032, 029, 024, 052 for the Festive gate are 032, 038 For Spruce trees are 041, 042 and 044 . Cut all the elements using their coordinating dies. Cut the pieces from white cardstock using Botanic Window Die, adhere an acetate sheet on the back and layer the die cut on designer paper creating a window. Before closing the window add little dry glitter and make it a shaker. Stamp flower images with Plum archival and leaves with Library green archival ink. Color the flowers with Magenta Hue and leaves with Fern green archival inks. Shape the flowers and leaves using Deluxe Flower Shap[ing Kit. Add glitter and frost to all the ready elements and assemble them on the fold out card as shown in the picture.


Products from Heartfelt Creations:
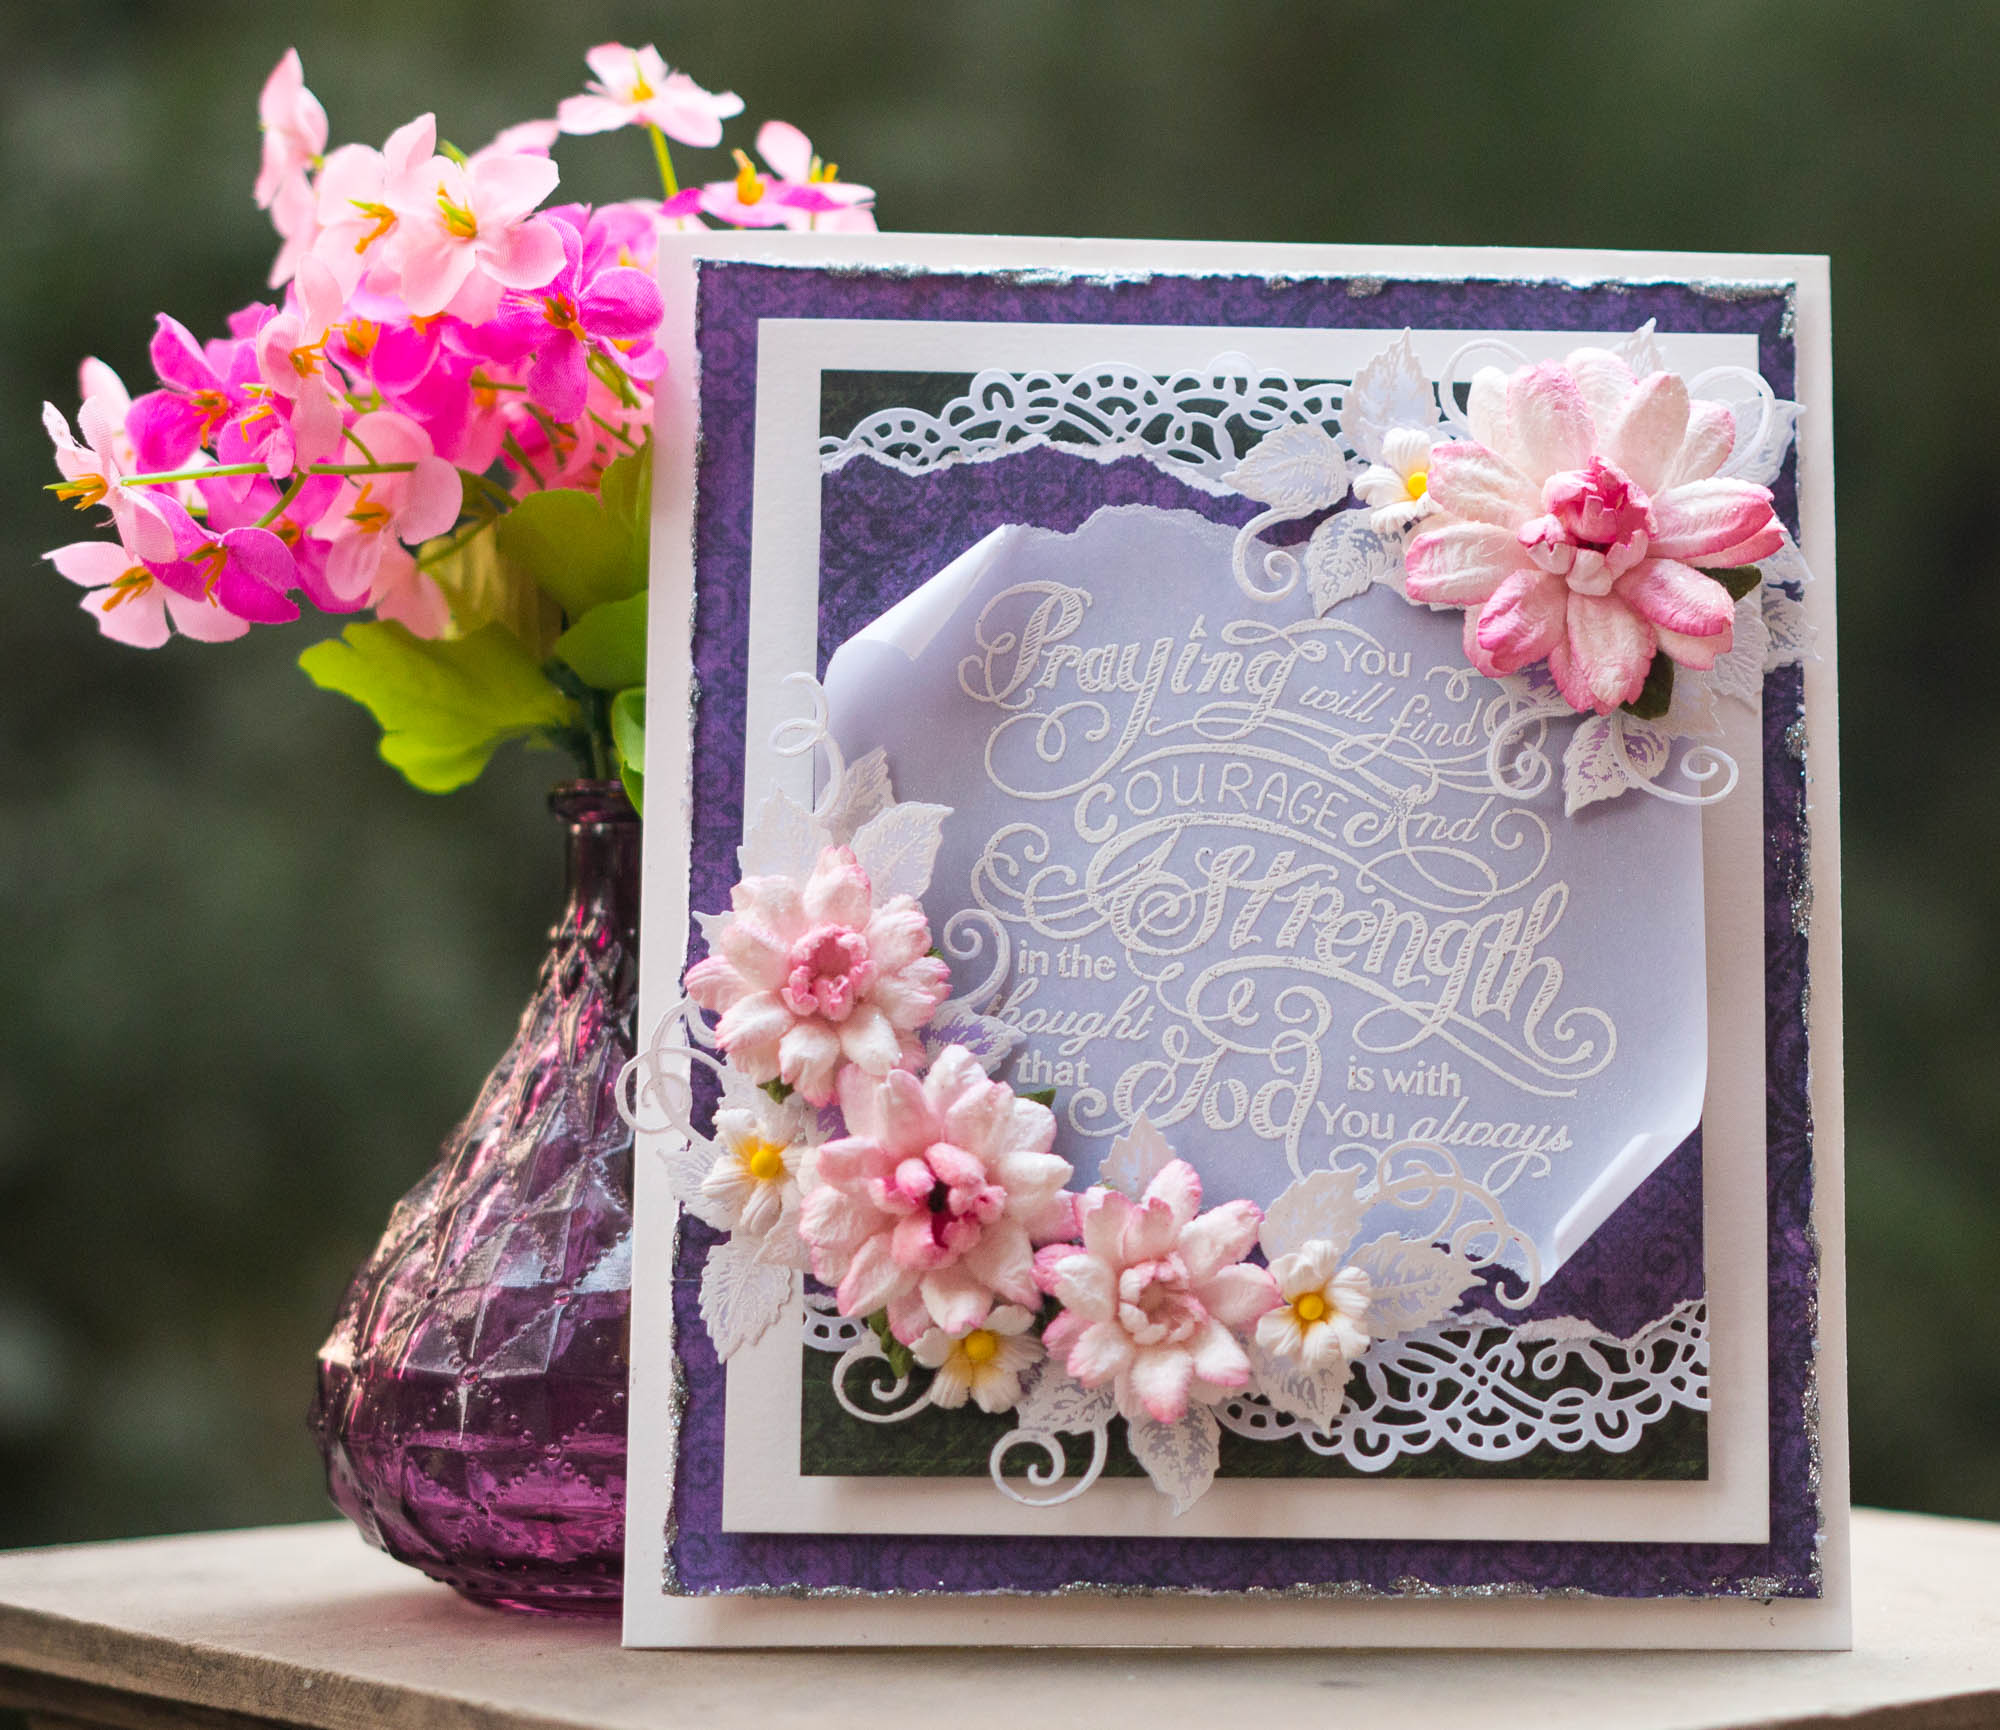
Courage and Strength Cling Stamp Set HCPC-3763
Fleur Border Basics Die HCD1-7120
Classic Rose Paper Collection HCDP1-270
Classic Rose Vines Die HCD1-7111
Classic Rose Vines Cling Stamp Set HCPC-3753
Delightful Daisy Die HCD1-760
Embossing Powder – White RPEJ685
Deluxe Flower Shaping Kit HCST1-401
Other Products Used: Versamark clear ink, heat gun, vellum sheet, smooth white card stock, crystal clear glitter, foam tape, paper distressing tool, adhesive that dries clear.
Instructions: Cut a piece of white vellum sheet measuring 5′ by 6 ‘. Stamp the sentiment from Courage and Strength stamp using Versamark clear and sprinkle white heat embossing powder. Heat set the image. Also, stamp the image from Classic Rose Vines multiple times using the same resist technique and cut them using their coordinating die set. Tear the sentiment stamped vellum from the top and the bottom and roll the two ends as shown. Layer the prepared vellum on deep purple designer paper from Classic Rose Paper Collection ,slightly bigger than the vellum. Cut two die cuts out of white card stock using Fleur Border Basic Die and arranged beneath the distressed sides. The next layer is again from the same paper collection and is 6 1/2′ x 5′. Layer top panel on next white layer which is 1/4th of an inch bigger than the top main panel. The ready white card base is 6 1/2′ by 7 1/2’. Cut the flowers from 220 gsm white cardstock using Delightful Daisies die. and give all petals a V cut on edges. For one big flower you will need 2 big and 2 medium petals and for a small flower ,you will need 2 medium and 2 small petals. All the petals ar rendomnlyp[ainted with Berrilicious Color box chalk ink.The inside petals are all cupped inside using Deluxe flower shaping kit. Prepare the flowers and sprinkle Crystal Clear Glitter using an adhesive that dries clear. Now assemble all the embellishments as shown.
Adorable cards!! Love the cute little snowmen 🙂
Absolutely gorgeous cards!!!
What stunning creations! Just wonderful!
Adorable… The frosted spruce is so good.. 🙂