Good Morning Friends…
It’s inspiration Wednesday with Heartfelt Creations again. I have a new card to share using their Tea Time Collection.

Supplies From Heartfelt Creations:
HCD1-7286 Special Teapot Die
HCPC-3903 Special Teapot Cling Stamp Set
HCDP1-2112 Tea Time Paper Collection
HCFB1-467 3D Leafy Accents Shaping Mold
HCPC-3835 Leafy Accents Cling Stamp Set
HCD1-7193 Leafy Accents Die
HCD2-7191 Intricate Swirl Frames Die
HCD1-7110 Classic Rose Die
HCPC-3752 Classic Rose Cling Stamp Set
HCFB1-462 3D Rose Shaping Mold
18002 Rajni Chawla’s Vellum Flowerite – 10 Sheets
HCS1-459-1 Assorted Pearl Stamens-Small
RAHT Heat It Craft Tool
HCDA2-450 Stack and Store Daubers-Pack of 30
159723 Designer Dries Clear Adhesive
Zig Clean Color Real Brush Markers – 36 Pack
RACP468 Ranger Archival Ink Pad – Jet Black
Other Products Used: Smooth White Cardstock, Glue that dries clear, Hero Arts white pigment ink, Ranger’s White Heat Embossing Powder, Distress oxide Peeled Paint and Double Sided Tapes
Videos Referred:
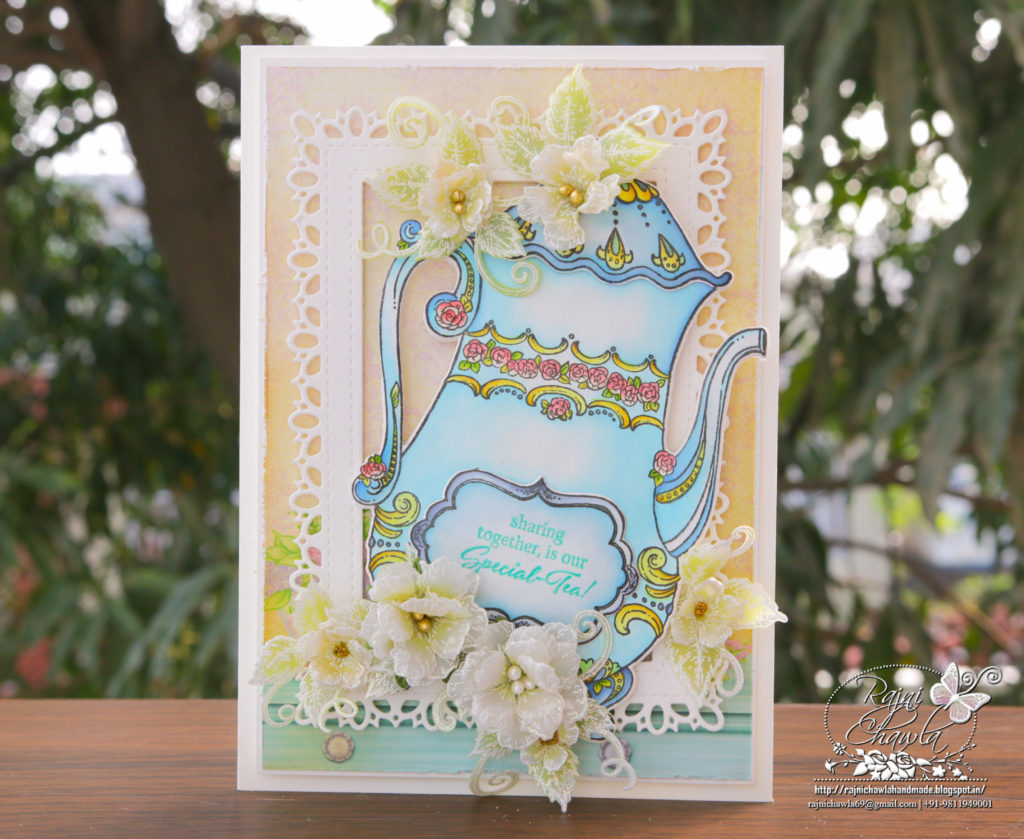
Instructions: The ready side-fold card from smooth white cardstock measures 81/4″ by 6″. To create the front panel, you will need 2 white die cuts from Intricate Swirl Frames Die. Glue both the frames together for extra strength. Choose the paper from the designer paper collection and distress all the edges with sharp scissors. Layer the frame on the card panel as shown.
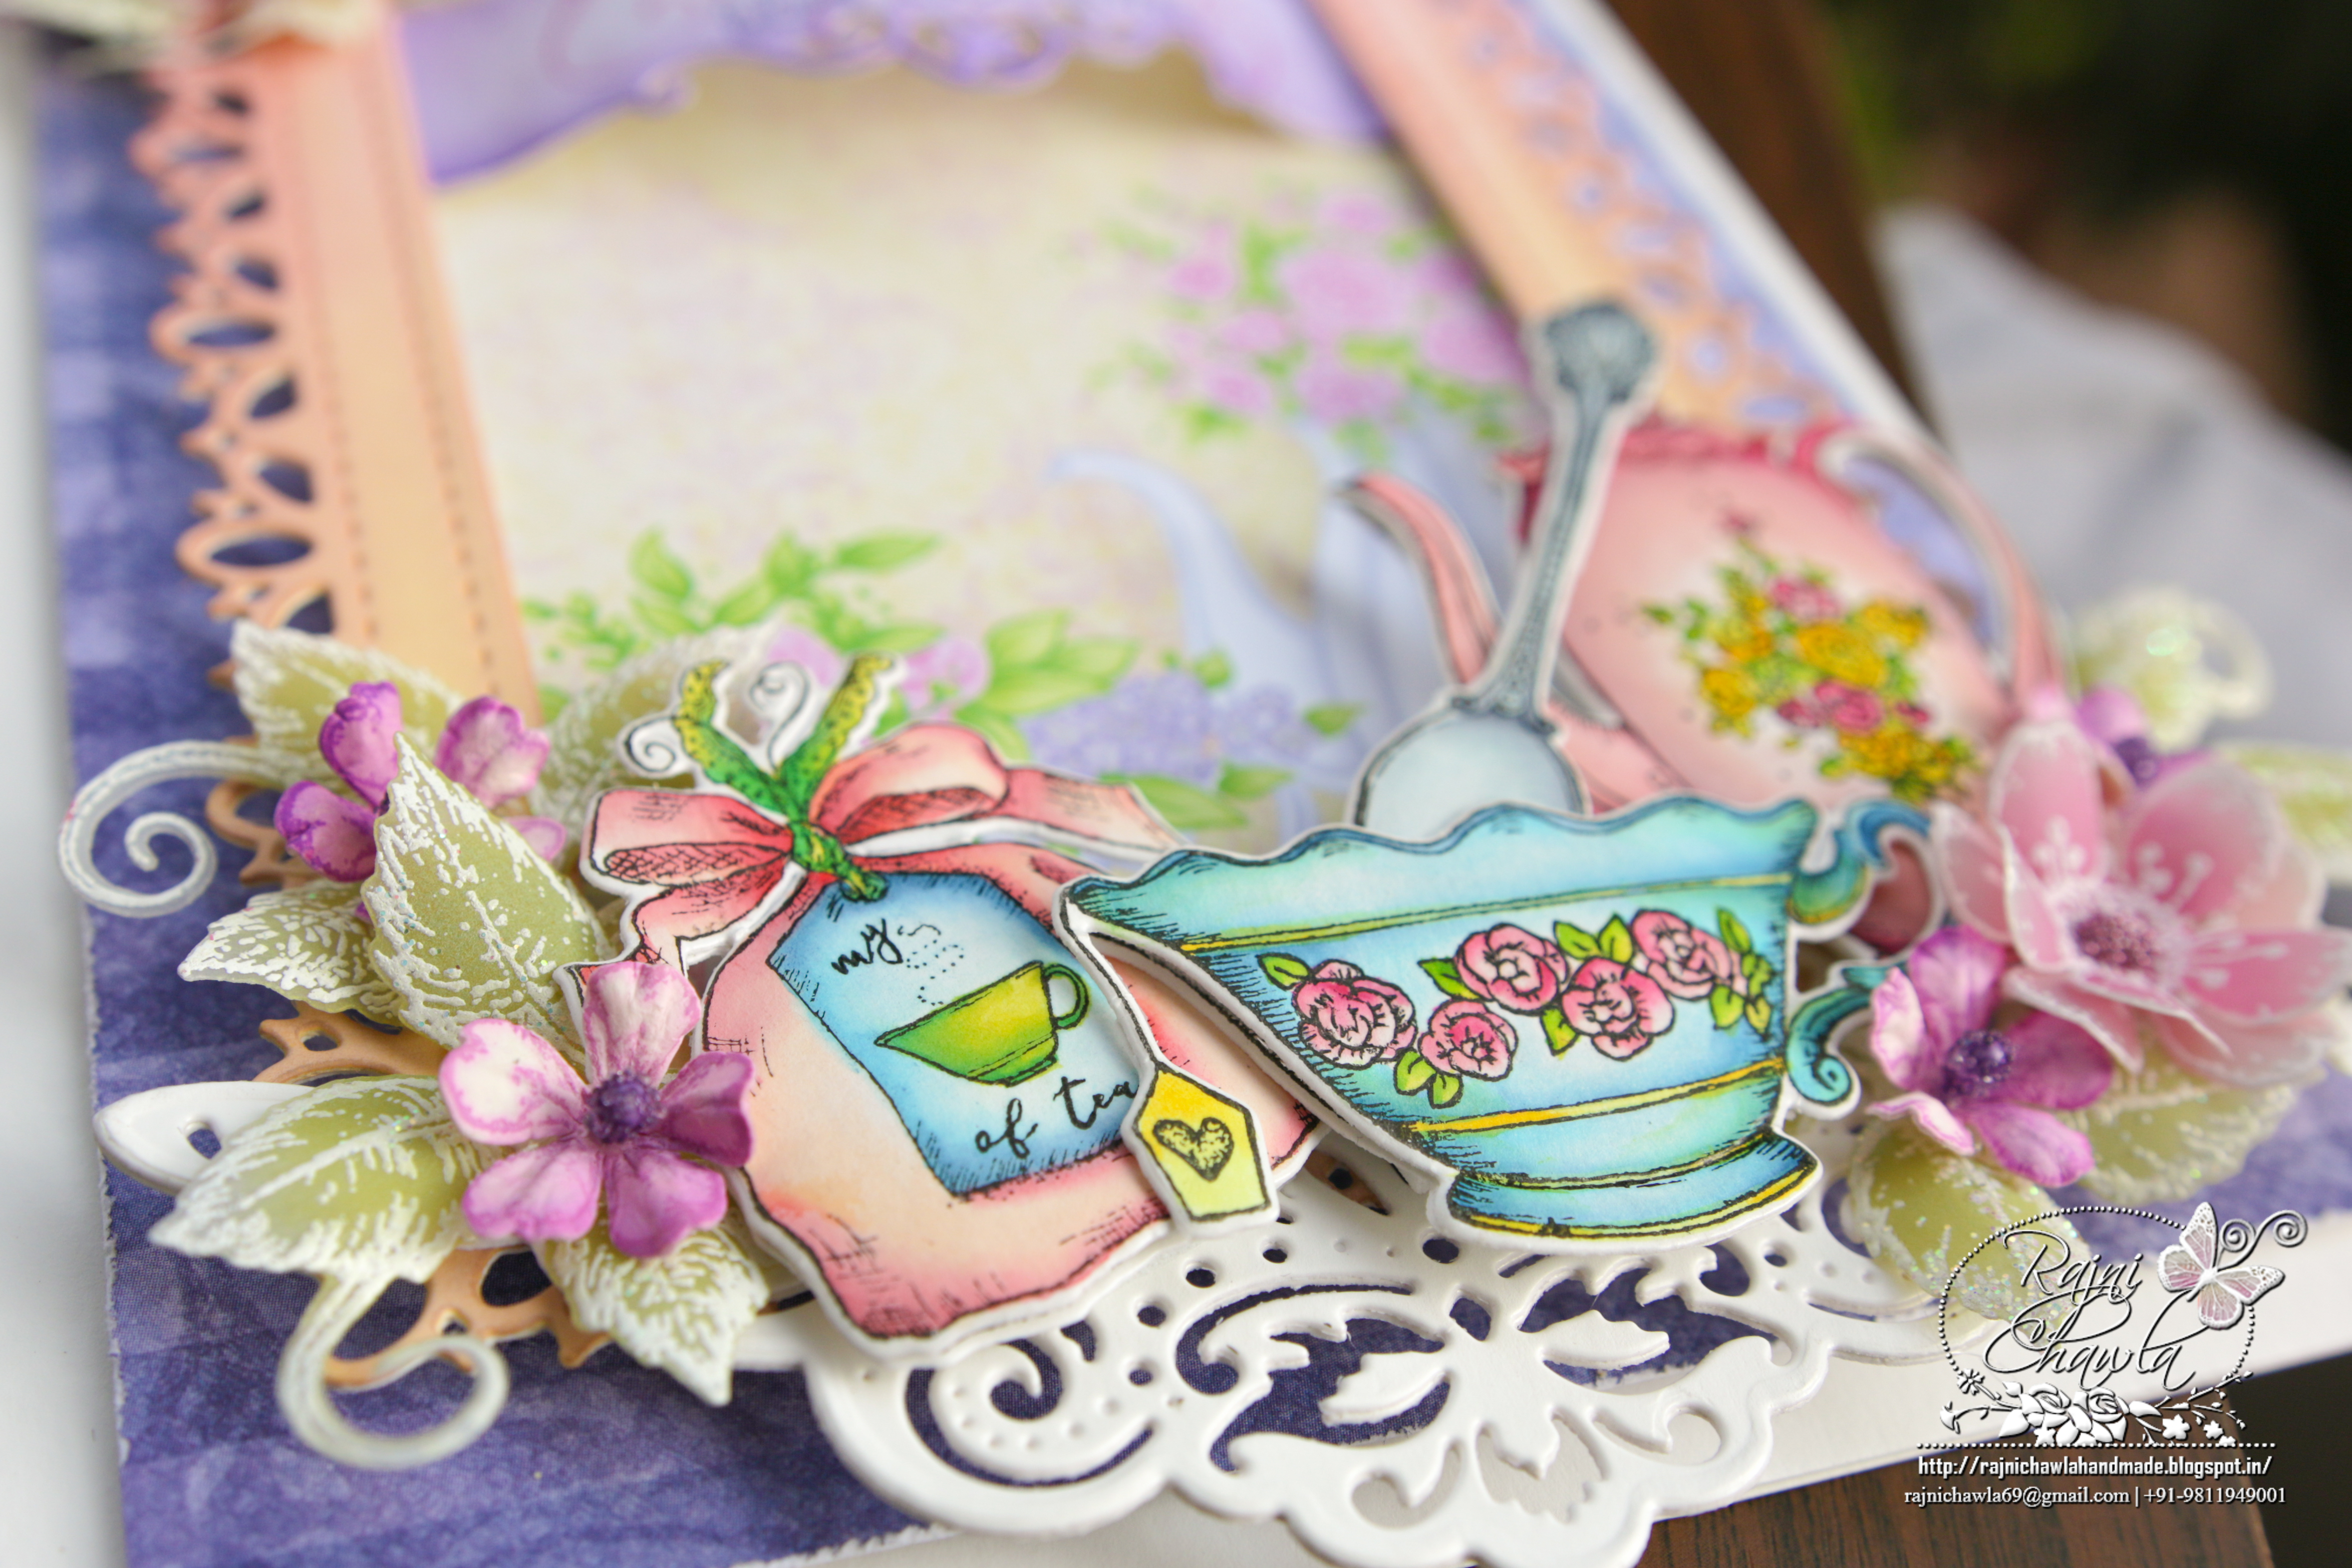
Stamp the image from Special Teapot stamp using black archival ink on white cardstock. Paint the image using Zig Clean Clear Brush Markers. Separately stamp the front label as well as kettle cover and color them separately as well. Shape them a little and glue them on the focal image for extra dimensions. Next, using a partial cutting technique, cut a shaped card using Special Tea Pot die and adhere to the painted image on top of the card. Layer the ready teapot card on the card panel as shown.
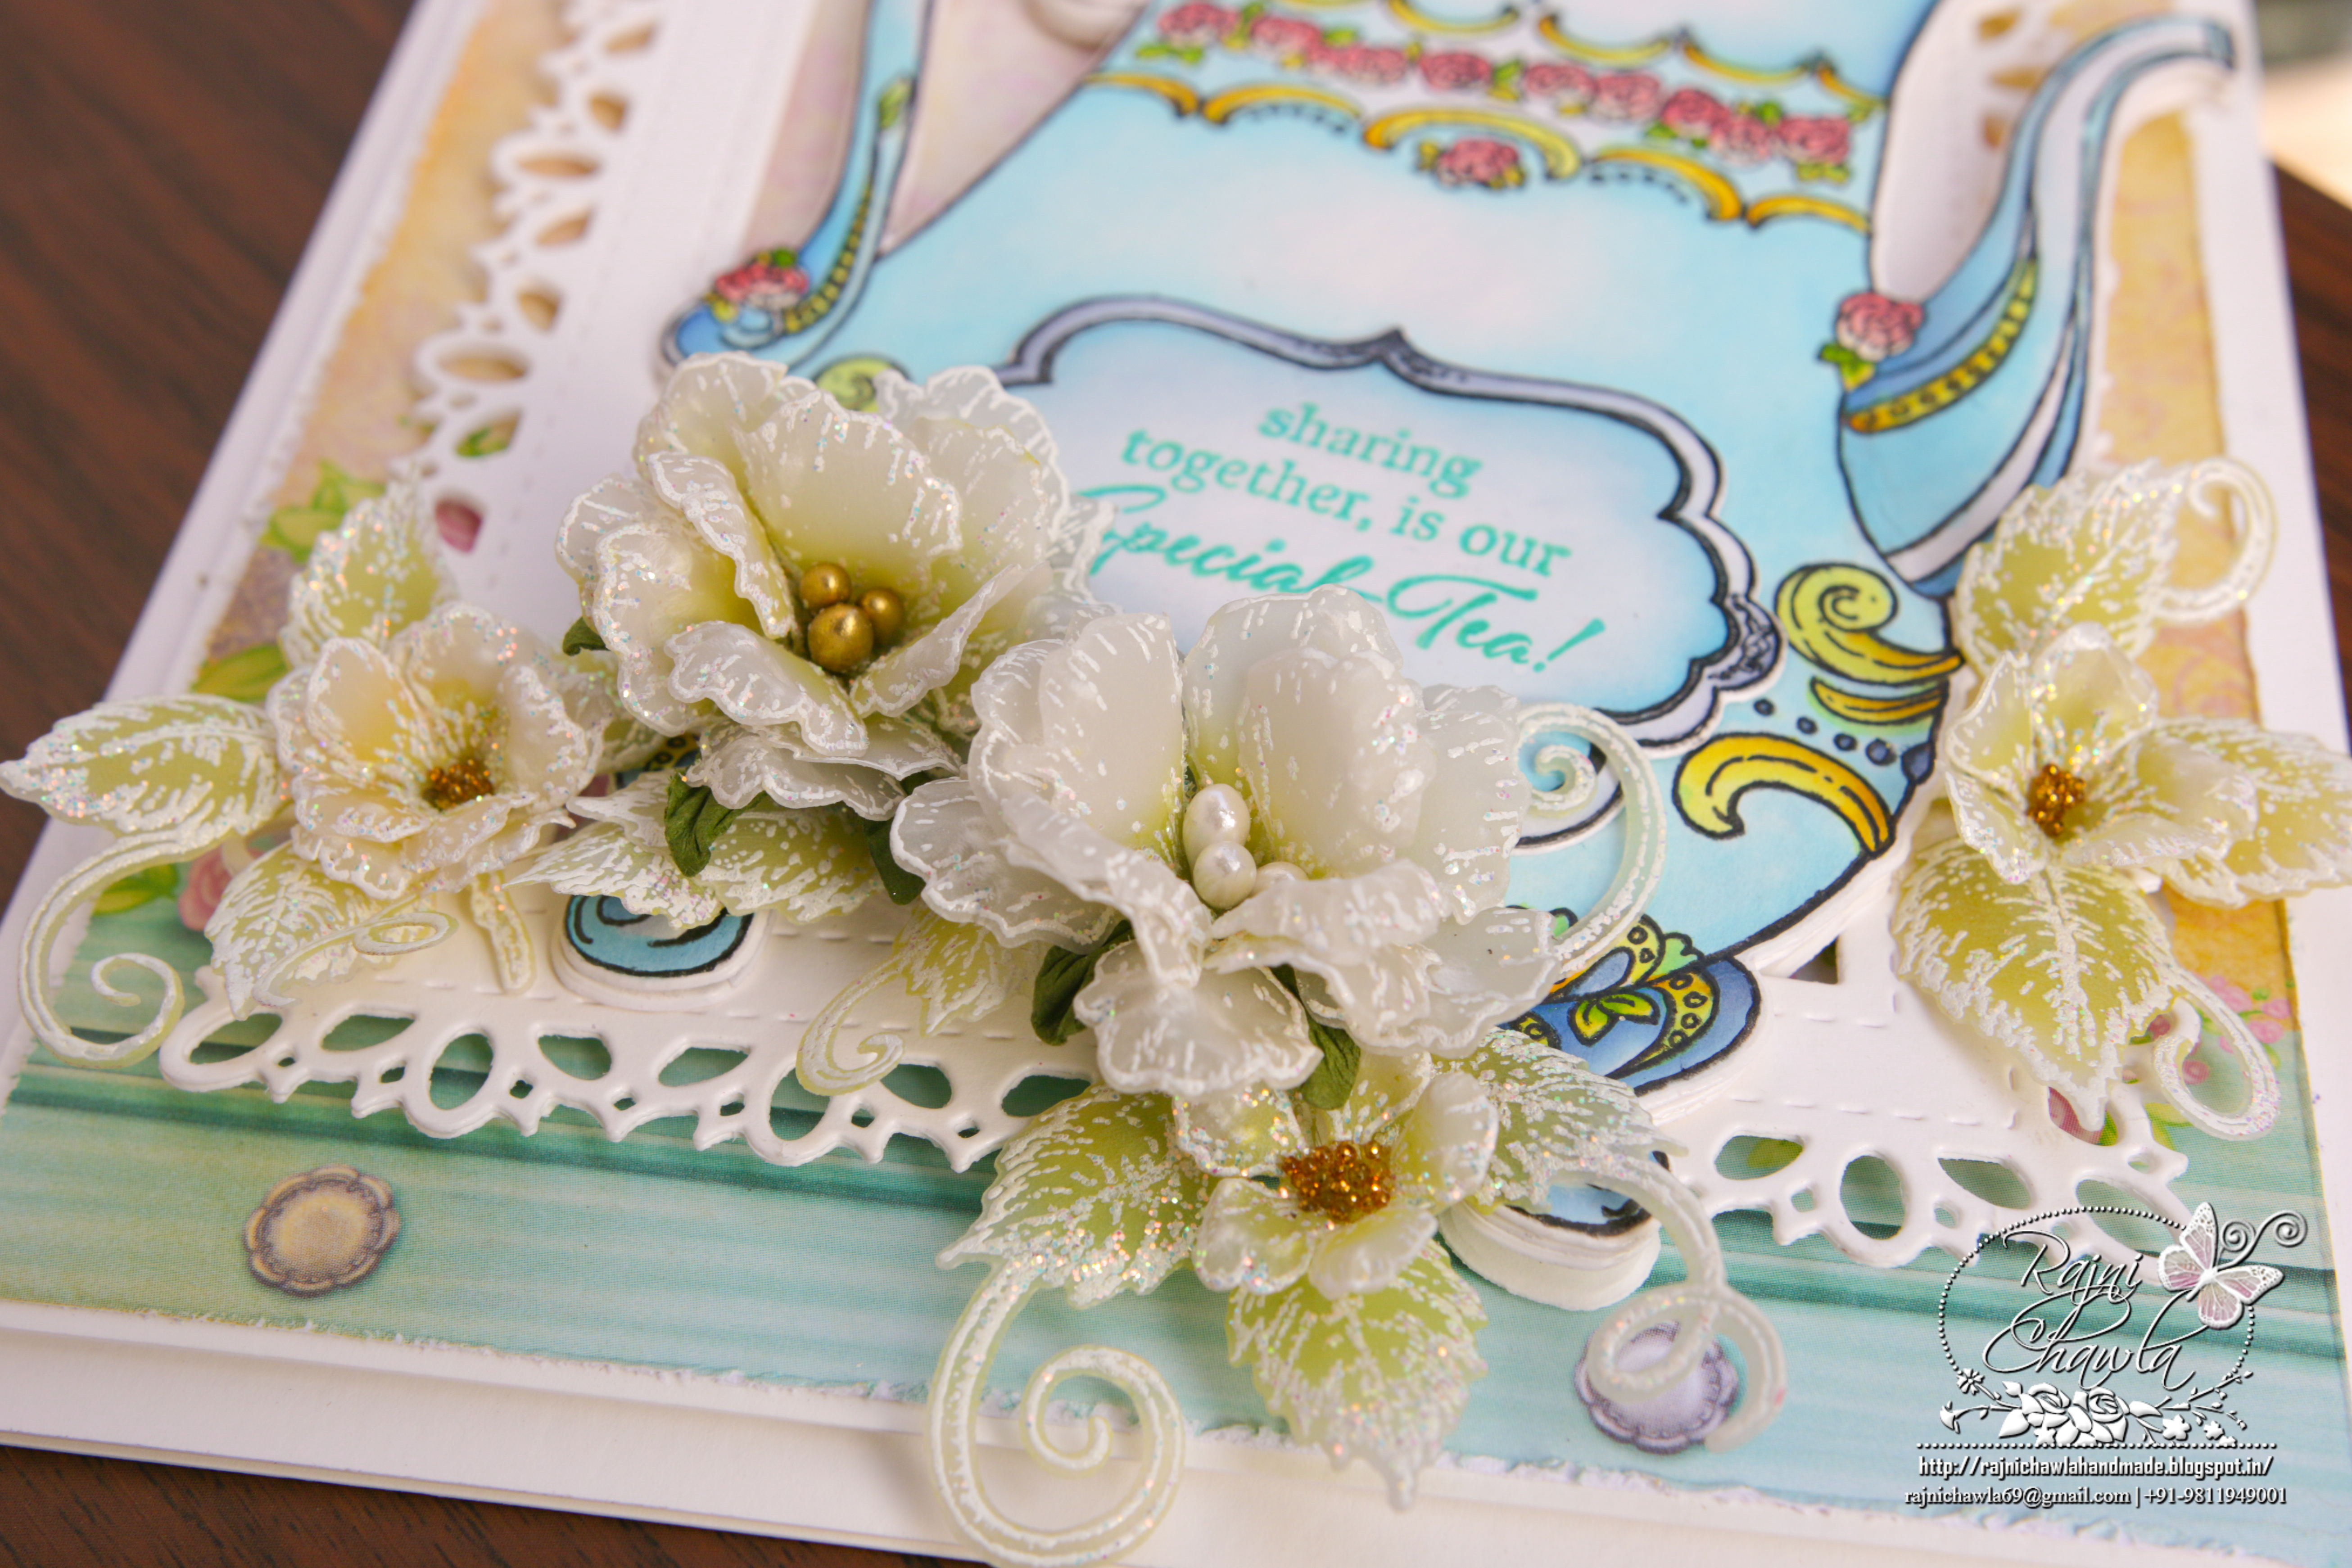
For Vellum Roses and leaves, Stamp the images from Classic Rose Stamp Set and Classic Rose Vines Cling Stamp Set and Lush Lilacs with white pigment ink on Vellum, Sprinkle white heat embossing powder and dust extras in the funnel tray and heat set. Color the flowers using Distress Oxide Peeled Paint in the center. Shape the flowers using a 3D flower shaping mold. Press the centers and glue them together to form beautiful flowers. Prick the flower centers using needle tool and secure golden color pearl stamens using tacky glue.
Once all the elements are ready, assemble the card as shown and finish the card by cutting the sentiment from the same paper collection using Ornamental Tag Die.