Good Morning All…
A warm welcome to my blog again. Continuing with Tea Time Collection, I have a new card to share.
Supplies From Heartfelt Creations:
HCD1-7287 My Cup of Tea Die
HCD1-7288 Elegant Teapot & Florals Die
HCPC-3904 My Cup of Tea Cling Stamp Set
HCPC-3905 Elegant Teapot & Florals Cling Stamp Set
HCDP1-2112 Tea Time Paper Collection
HCFB1-467 3D Leafy Accents Shaping Mold
HCPC-3835 Leafy Accents Cling Stamp Set
HCD1-7193 Leafy Accents Die
HCD1-7203 Ornamental Tags Die
HCD1-7213 Elegant Pocket Accents Die
HCD2-7191 Intricate Swirl Frames Die
HCD1-7200 Oakberry Lane Blossoms Die
HCPC-3842 Oakberry Lane Blossoms Cling Stamp Set
HCD1-7230 Tweet Cherry Blossoms Die
HCPC-3866 Tweet Cherry Blossoms Cling Stamp Set
18002 Rajni Chawla’s Vellum Flowerite – 10 Sheets
HCS1-459-1 Assorted Pearl Stamens-Small
RAHT Heat It Craft Tool
PGM15016 Rajni Chawla’s Frosting Powder
HCDA2-450 Stack and Store Daubers-Pack of 30
159723 Designer Dries Clear Adhesive
Zig Clean Color Real Brush Markers – 36 Pack
RACP468 Ranger Archival Ink Pad – Jet Black
Other Products Used: Smooth White Cardstock, Glue that dries clear, Hero Arts white pigment ink, Ranger’s White Heat Embossing Powder, Distress oxide Peeled Paint and Seedless Preserves and Double Sided Tapes
Videos Referred:
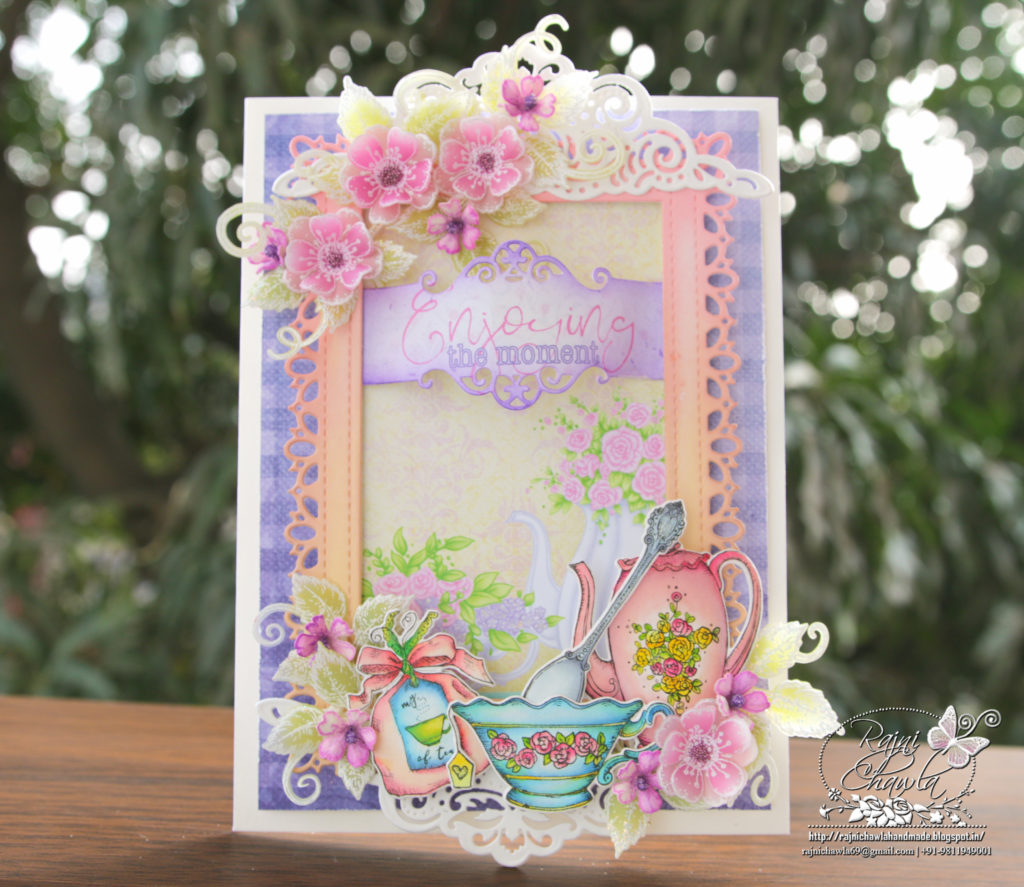
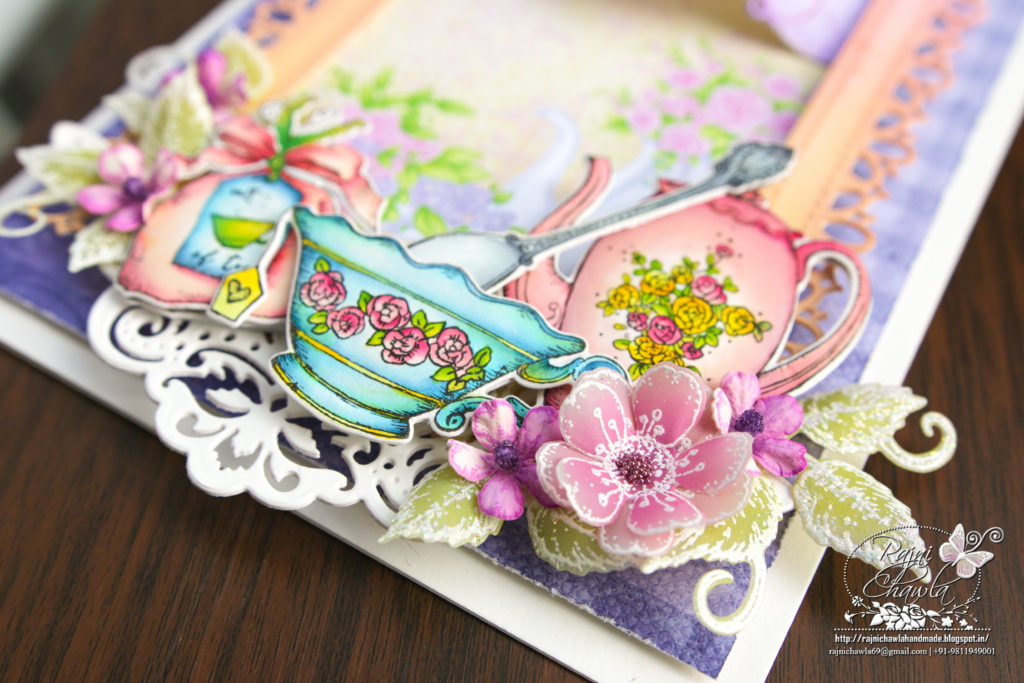
Instructions: The ready side-fold card from smooth white cardstock measures 81/4″ by 6″. To create the front panel, you will need 2 white die cuts from Elegant Pocket Accents Die and 1 die-cut from Intricate Swirl Frames Die. Color the frame using Squeezed Lemonade and Warm Lipstick Distress Inks. Choose the paper from the paper collection and layer behind the window using foam dots. Adhere white die cuts keeping one on top and another on bottom of the frame as shown. Choose another paper from the same collection and cut to size measuring 7 3/4″ by 5 1/4″. Distress all the sides using sharp scissors and glue it on the card front. Next, adhere the ready frame as shown.
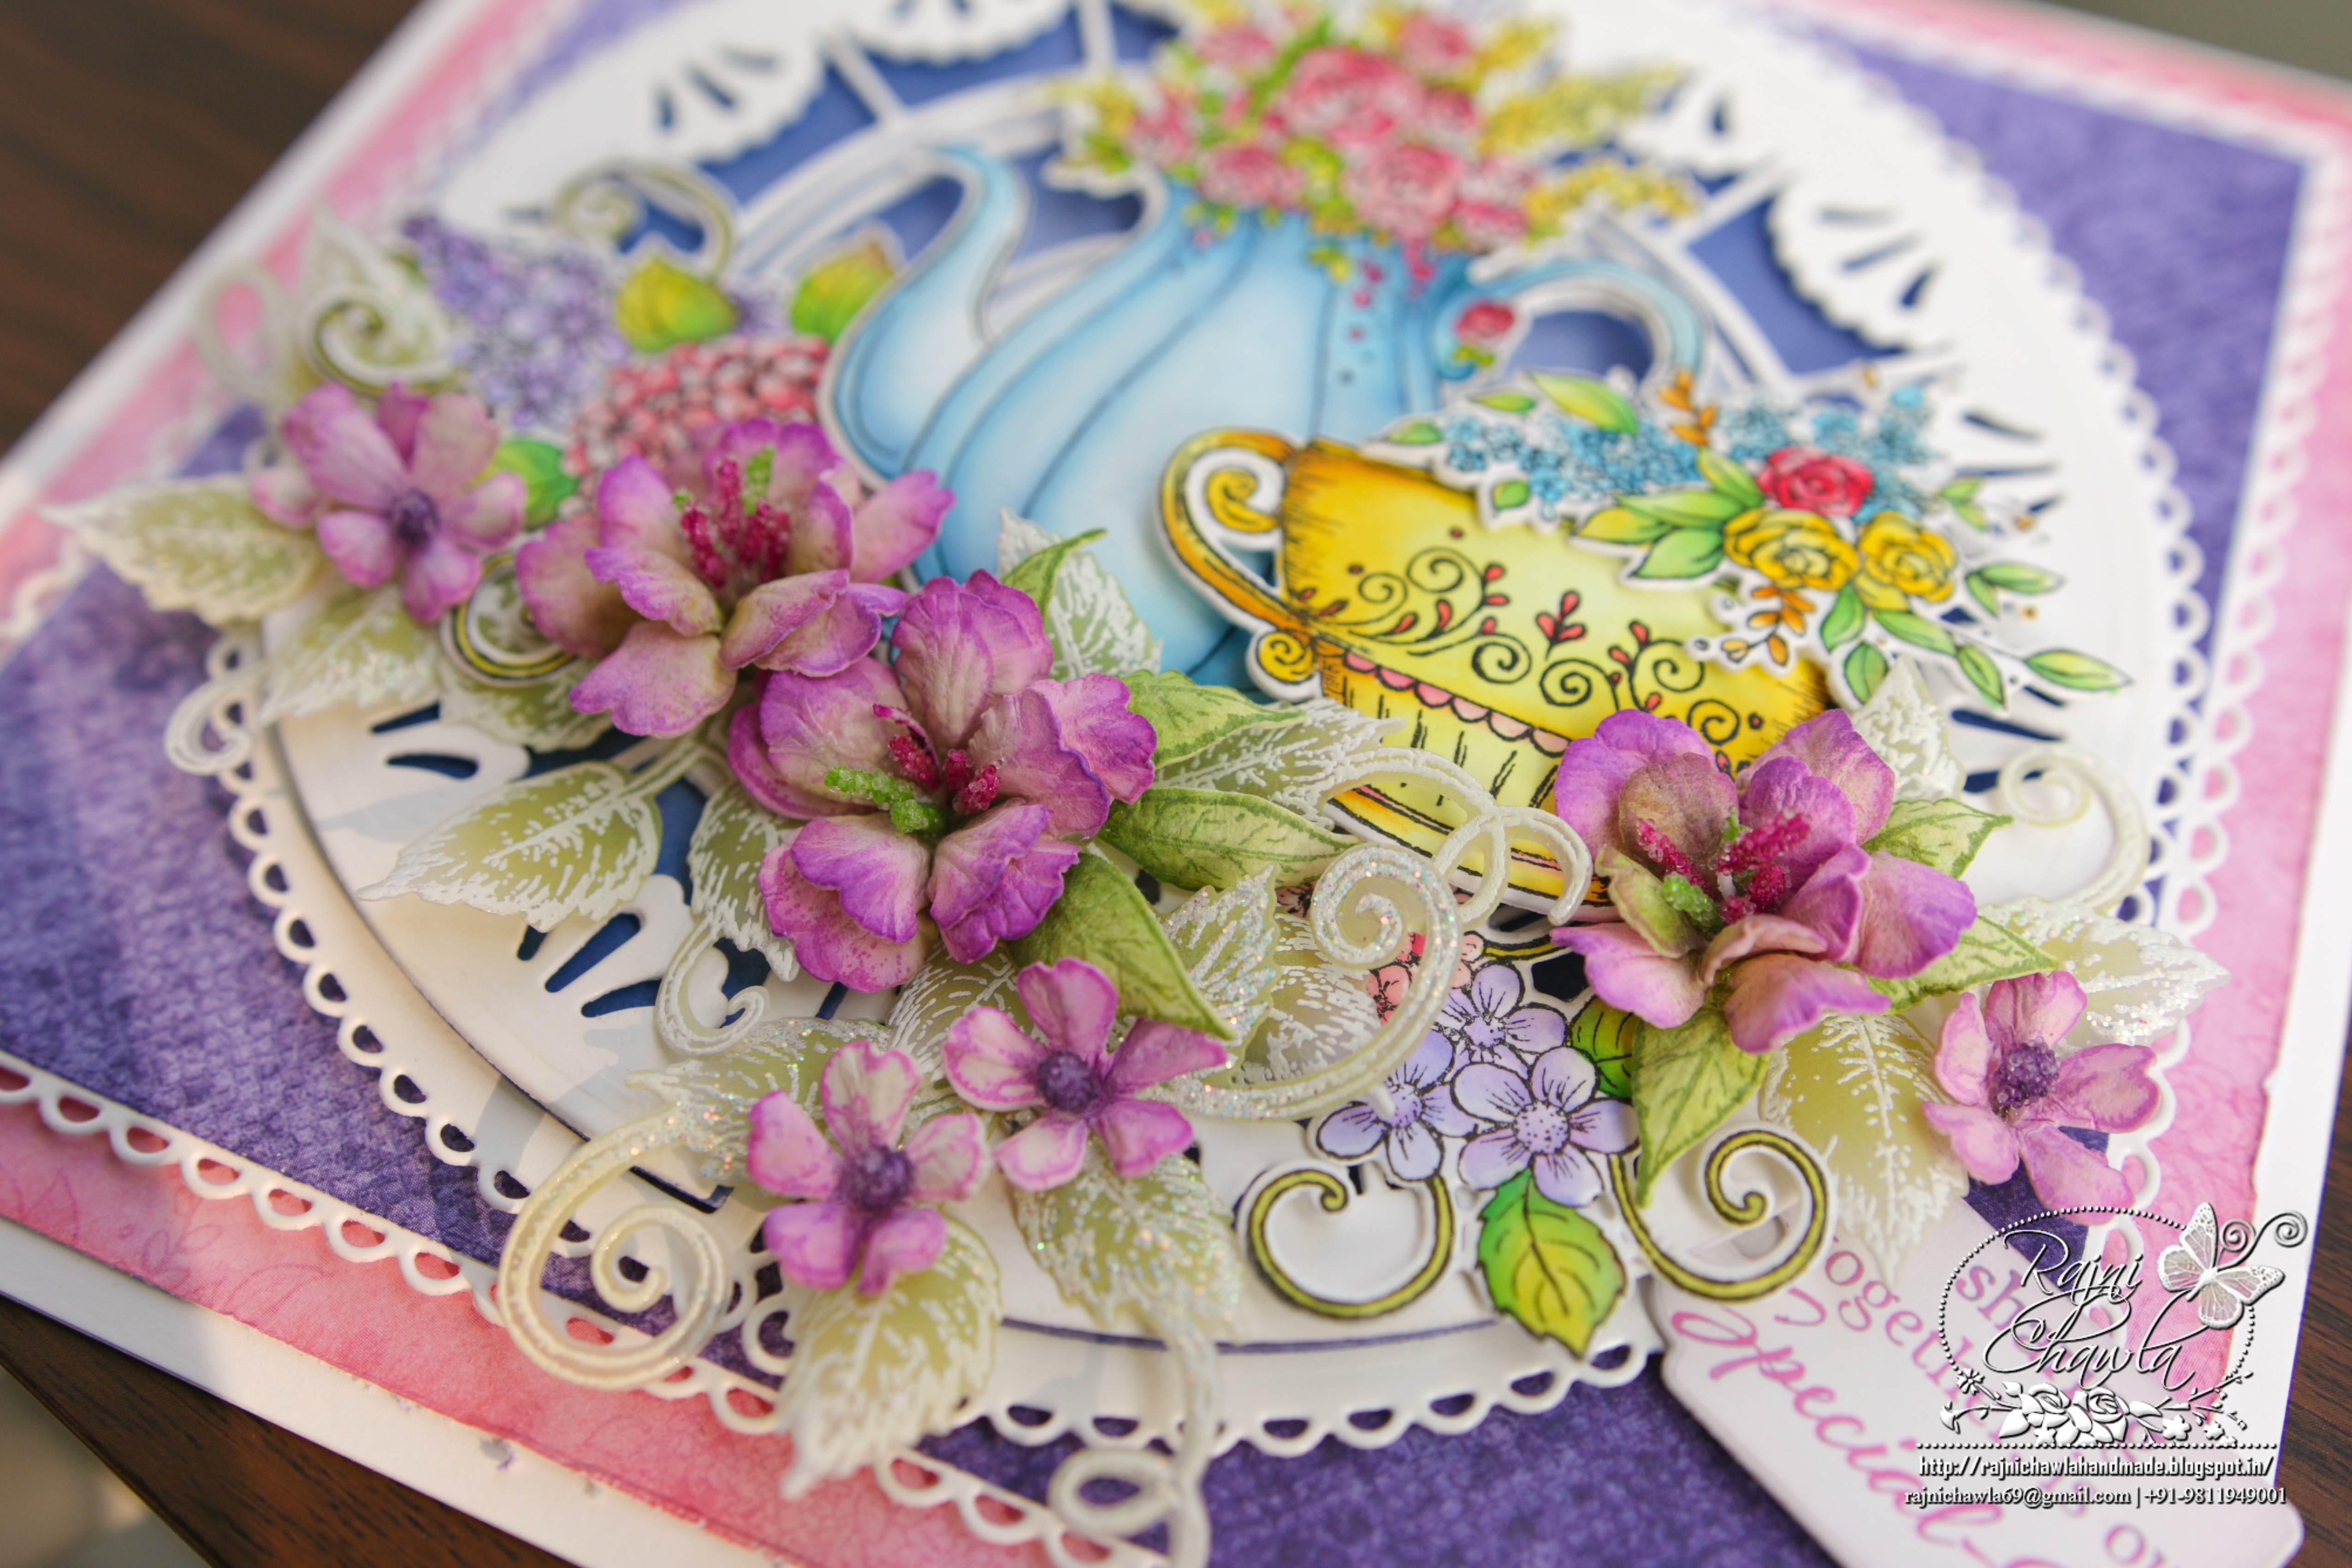
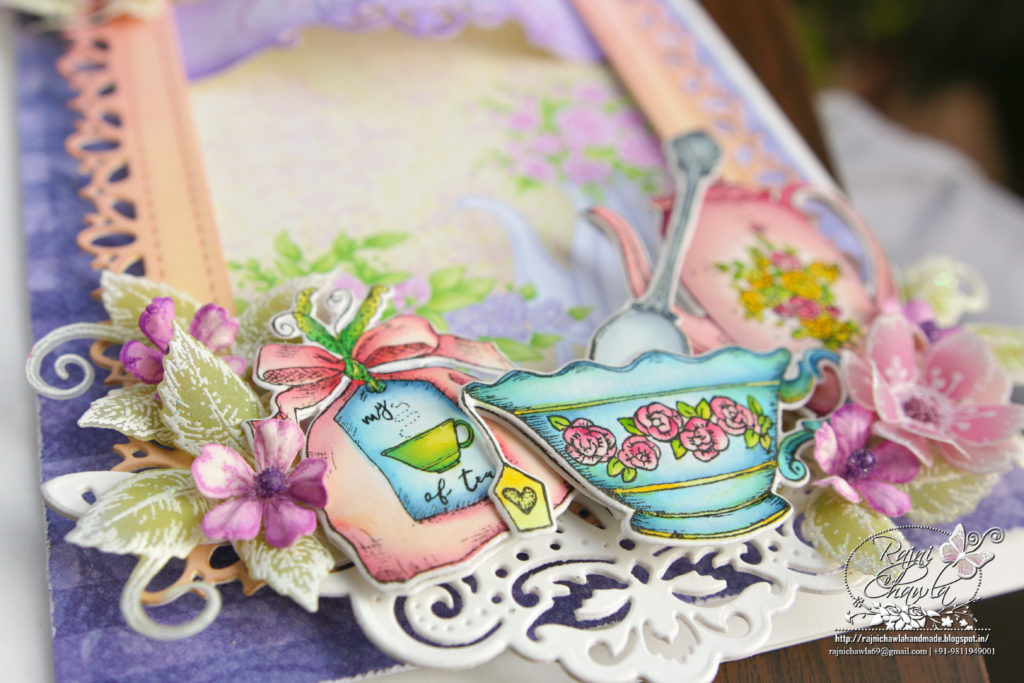
Using black archival ink, stamp the images from My Cup of Tea Cling Stamp Set and Elegant Teapot & Florals Cling Stamp Set on white card stock and paint them using Zig Clean Clear Brush Markers with your choice of shades. Once happy with the coloring, cut the images with their coordinating dies and layer them on the card front as shown. You can also shape the images, a little for extra interest, using flower shaping tools.
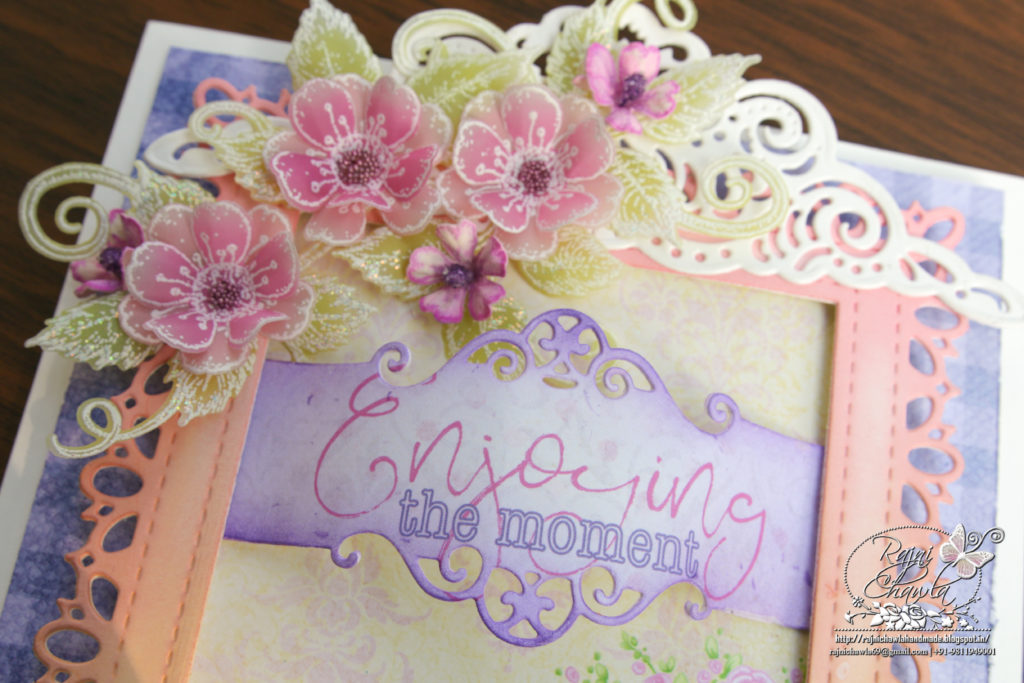
For Vellum Cherry Blossoms, stamp the florals from Tweet Cherry Blossoms Die with Hero Arts White Pigment ink on vellum sheet and heat emboss it using Ranger’s white heat embossing powder. Next die cut the flowers and color them using distress oxide, Seedless Preserves. Shape them on the needle tool, glue 2 flowers of the same size to form a complete flower and add some flower pearls in the center.
For leaves, stamp the image from Leafy Accents Cling Stamp Set with white pigment ink on Vellum, sprinkle white heat embossing powder and dust extras in the funnel tray and heat set. Color the leaves using Distress Oxide Peeled Paint and cut the images using it’s coordinating die set. Shape them using it’s coordinating 3D leaf shaping mold.
Once all the elements are ready, assemble the card as shown and finish the card by cutting the sentiment from the same paper collection using Ornamental Tag Die.