


Good Morning Al…
Once again it’s time for the new release!!
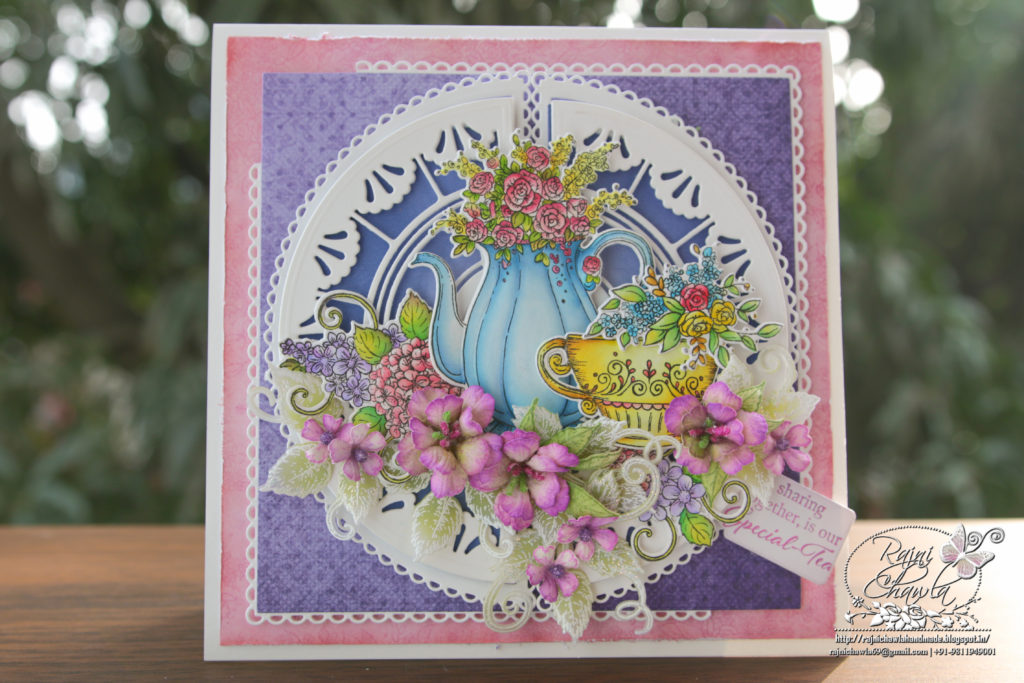
Infuse your time in the craft room with the fun and excitement of creating elegant teapot shaped card creations, perfect for celebrating all of life’s grandest occasions! Decorating becomes quick and EZ with a delightful selection of wonderful tea-themed accessories, along with coordinating sentiments, allowing you to design and embellish a fanciful and unique teapot shaped card that is sure to impress friends and loved ones!
Send an outpouring of love, encouragement and well wishes for any occasion with a beautifully illustrated paper collection steeped in elegant tea time settings and stunning garden florals. A charming assembling of detailed cling stamp sets, along with coordinating dies featuring illustrations of vintage style teapots, dainty teacups, and other tea-related accents in various sizes, bring an abundance of designing opportunities allowing you to customize your very own tea party creation!
Supplies from Heartfelt Creations:
HCD1-7284 Rounded Scallop Window Die
HCD1-7273 Rounded Eyelet Window Die
HCD1-7281 Stairway Gardens Die
HCD1-7287 My Cup of Tea Die
HCD1-7288 Elegant Teapot & Florals Die
HCPC-3904 My Cup of Tea Cling Stamp Set
HCPC-3905 Elegant Teapot & Florals Cling Stamp Set
HCDP1-2112 Tea Time Paper Collection
HCFB1-467 3D Leafy Accents Shaping Mold
HCPC-3835 Leafy Accents Cling Stamp Set
HCD1-7193 Leafy Accents Die
HCD1-7203 Ornamental Tags Die
HCD1-7200 Oakberry Lane Blossoms Die
HCPC-3842 Oakberry Lane Blossoms Cling Stamp Set
18002 Rajni Chawla’s Vellum Flowerite – 10 Sheets
HCS1-459-1 Assorted Pearl Stamens-Small
RAHT Heat It Craft Tool
PGM15016 Rajni Chawla’s Frosting Powder
HCDA2-450 Stack and Store Daubers-Pack of 30
159723 Designer Dries Clear Adhesive
Zig Clean Color Real Brush Markers – 36 Pack
HCPP1-475 Deluxe Flower Shaping Paper Pack of 50 – White
RACP985 Ranger Archival Ink Pad – Cactus Flower
RACP436 Ranger Archival Ink Pad – Leaf Green
RACP531 Ranger Archival Ink Pad – Vivid Chartreuse
RACP468 Ranger Archival Ink Pad – Jet Black
HCS1-459-4 Rock Candy Stamens-Small
Other Products Used: Smooth White Cardstock, Glue that dries clear, Hero Arts white pigment ink, Ranger’s White Heat Embossing Powder, Distress Ink Wilted Violet, Distress oxide Peeled Paint and Double Sided Tapes
Videos Referred:
Instructions: The ready top-fold card from smooth white cardstock measures 7 1/4″ by 7 1/4″. To create the front panel, you will need 2 white die cuts each from Rounded Scallop Window Die and Rounded Eyelet Window Die and one die-cut from Stairway Gardens Die. Also, cut the bottom D shaped solid piece using Rounded Scallop Window Di and distress it using Wilted Violet. Layer the fancy die on top using foam dots. Next, layer eyelet half-circles behind them to add extra dimensions.
Choose a paper from the designer paper collection and cut to size, 6 1/4″ by 61/4″. Chop the eyelet square into 2 halves diagonally and glue it behind the purple paper as shown. Layer the whole panel on bright pink paper, 7″ by 7″, from the same collection and finally layer it on the ready card front.
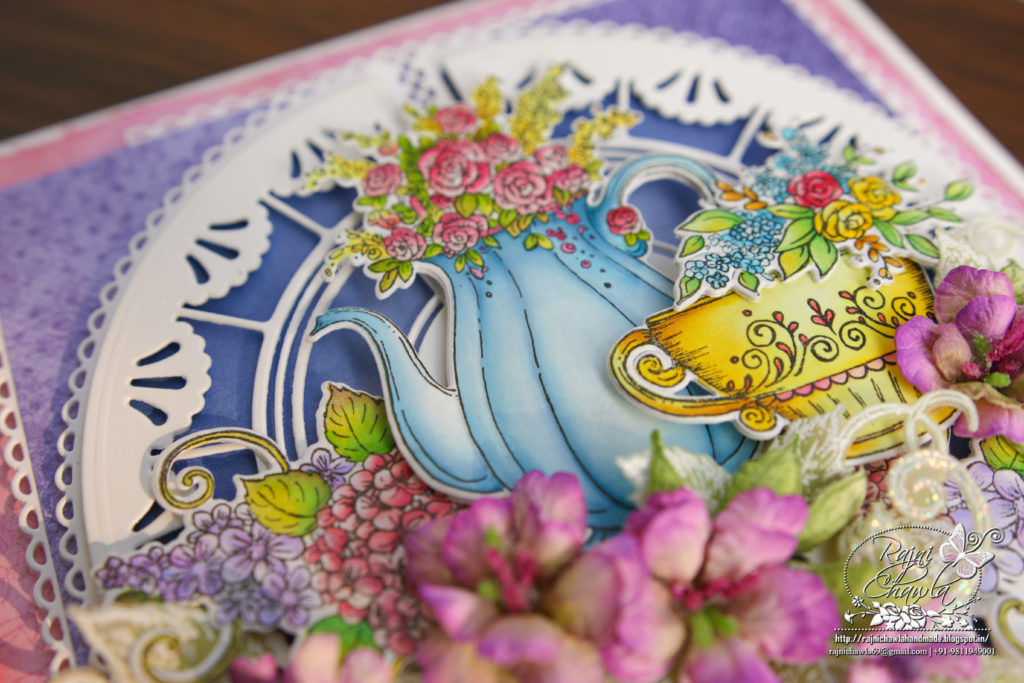
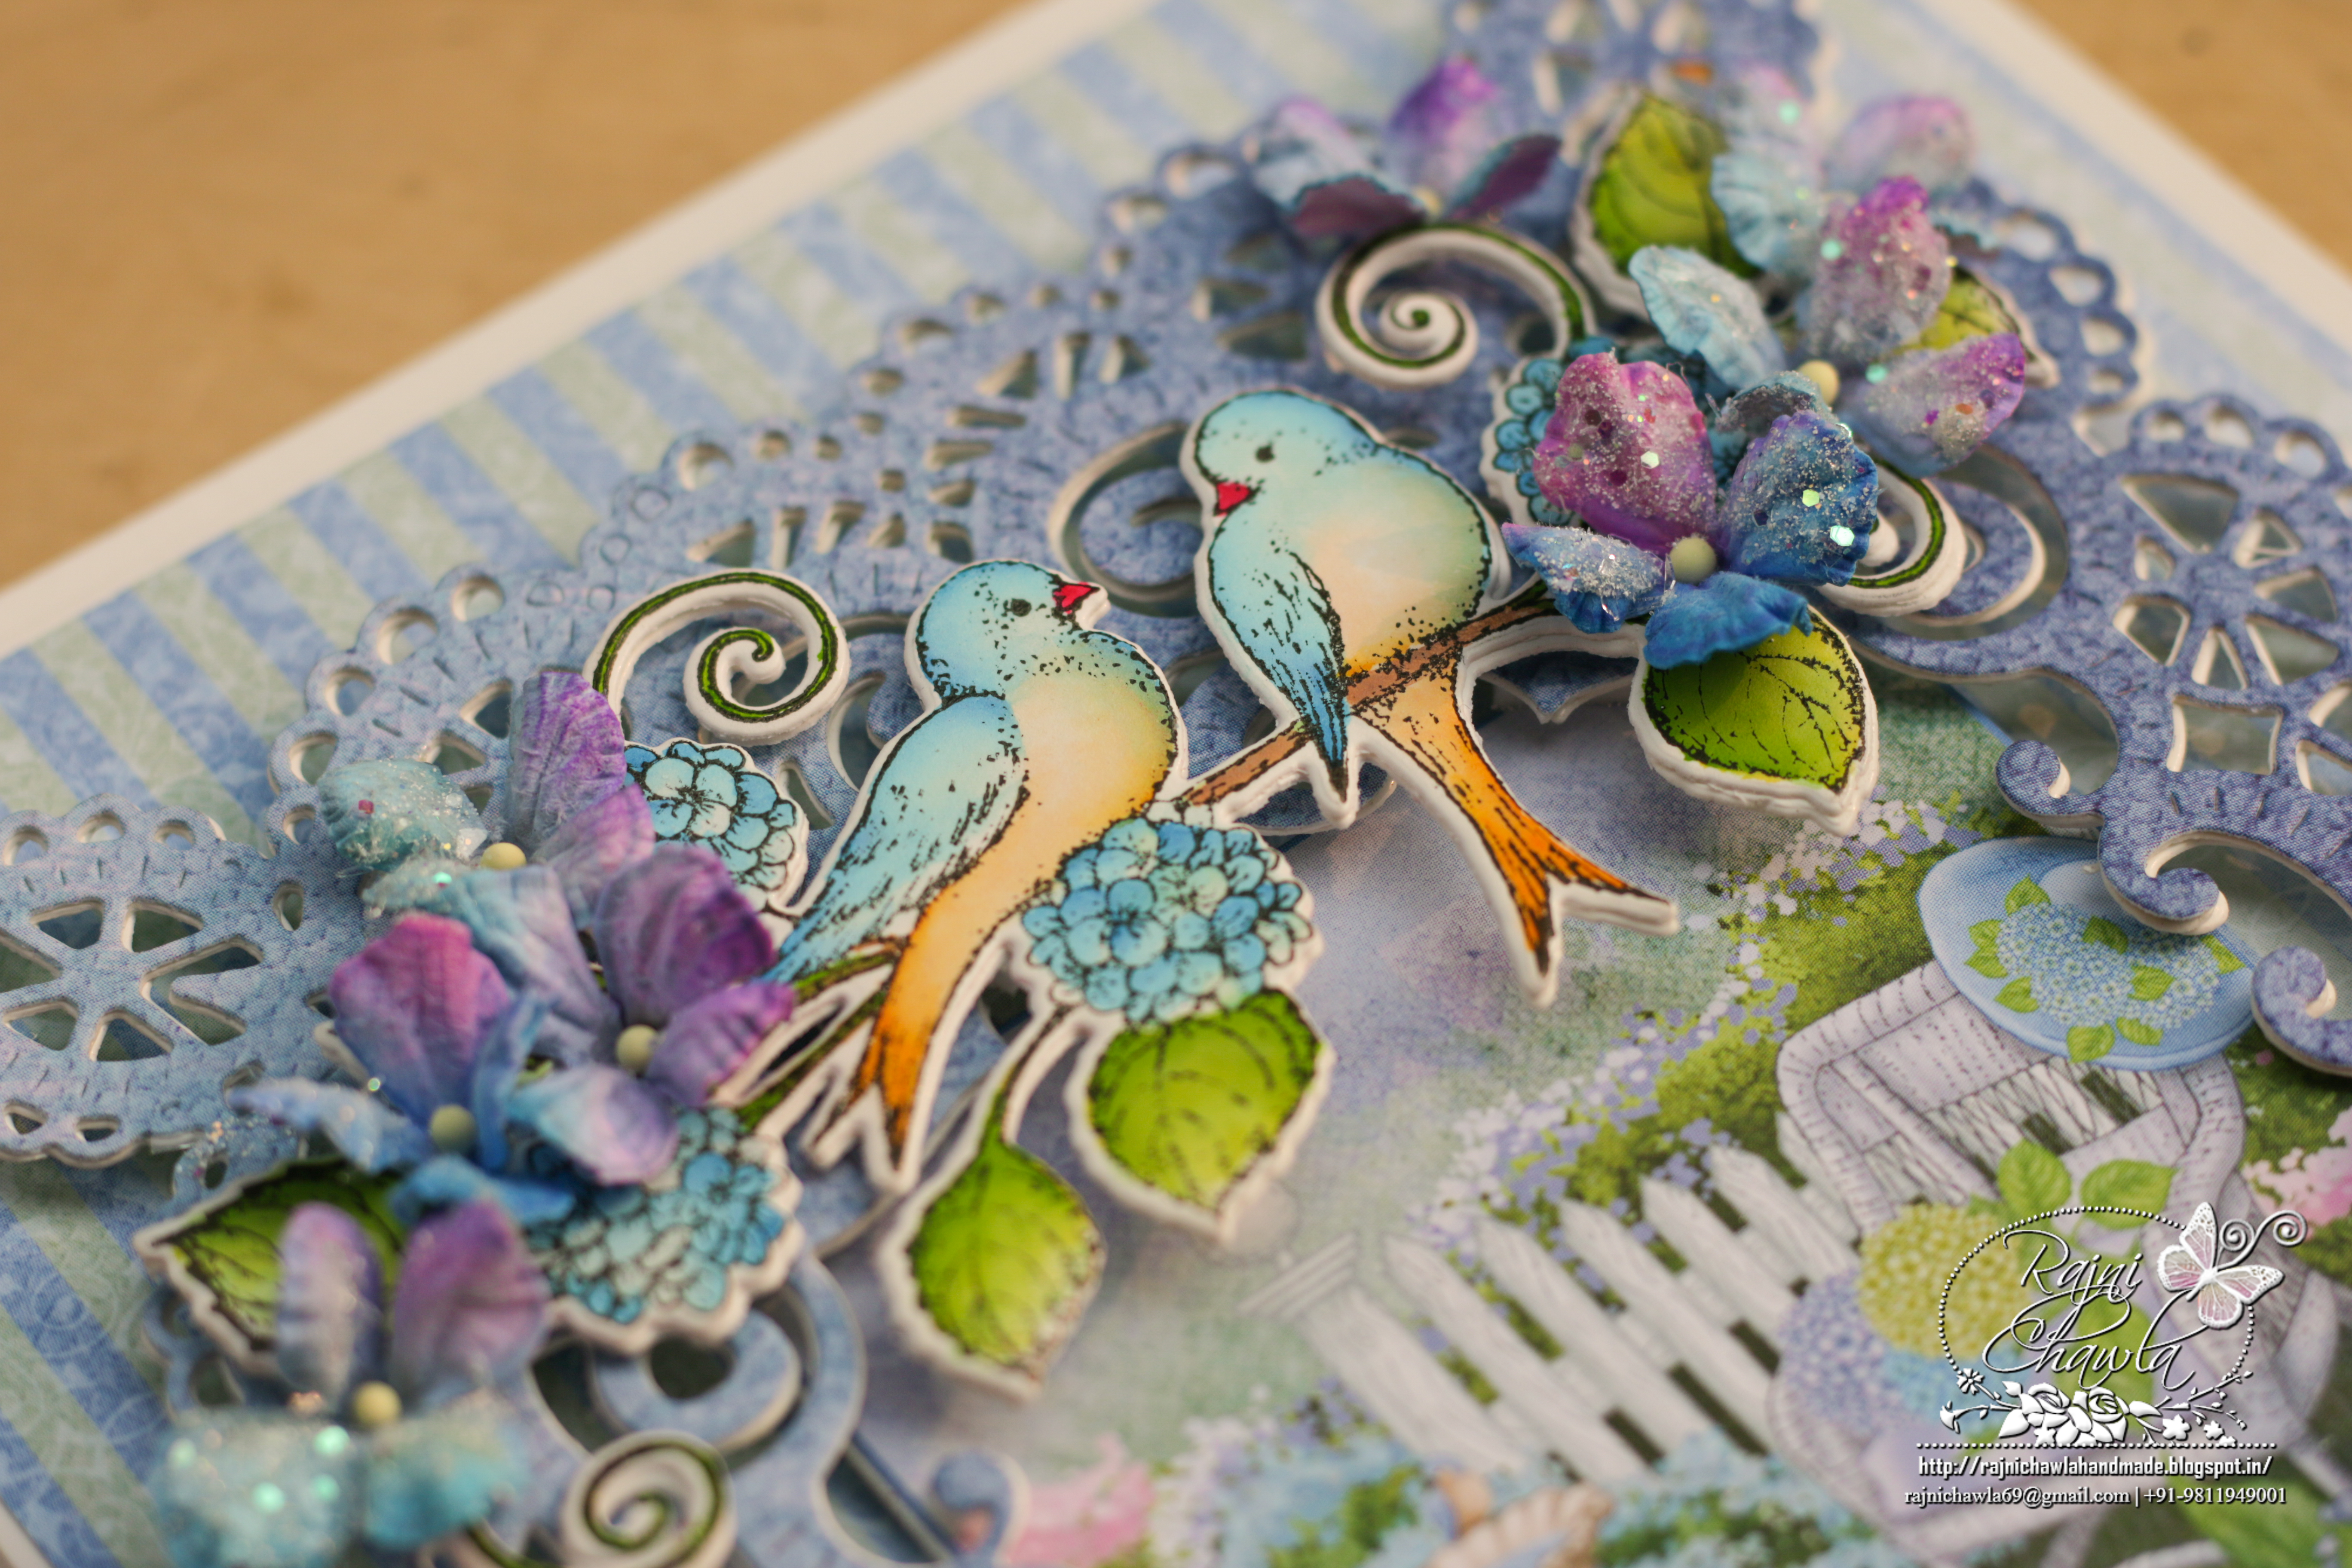
Using black archival ink, stamp the images from My Cup of Tea Cling Stamp Set and Elegant Teapot & Florals Cling Stamp Set on white card stock and paint them using Zig Clean Clear Brush Markers with your choice of shades. Once happy with the coloring, cut the images with their coordinating dies and layer them on the card front as shown. You can also shape the images, a little for extra interest, using flower shaping tools.
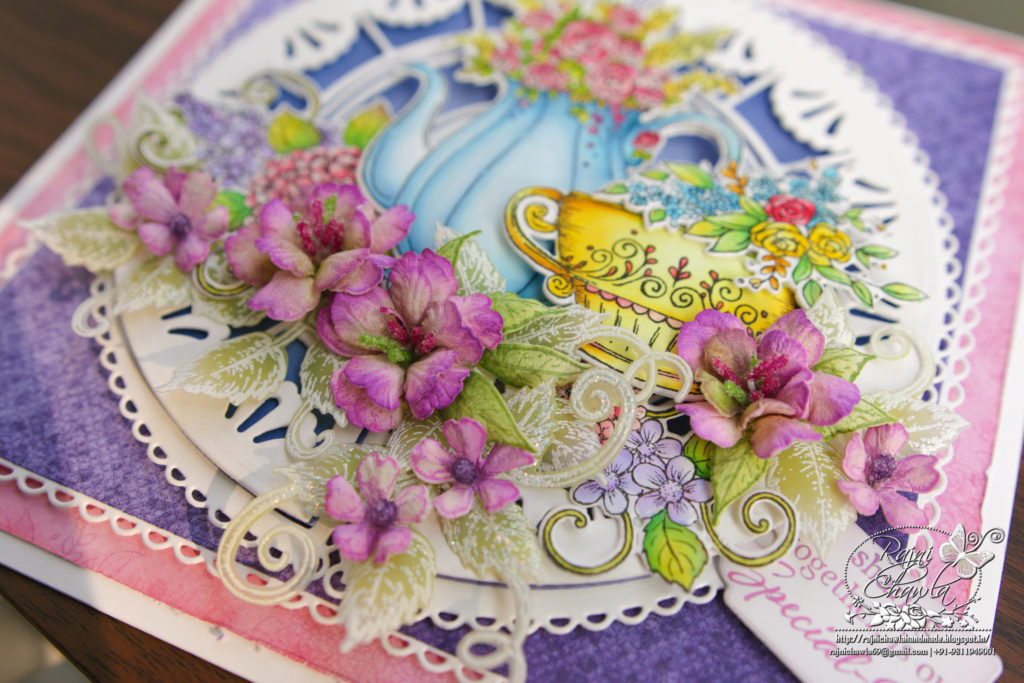
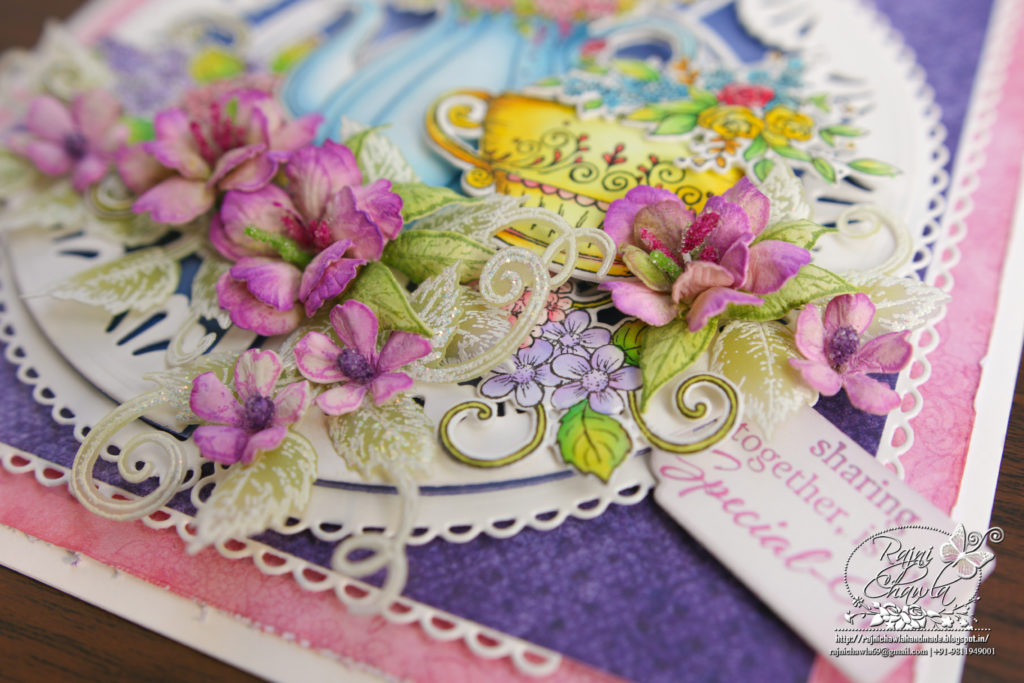
For flowers, stamp the flower images from Oakberry Lane Blossoms Cling Stamp Set using Magenta Hue Archival ink, paint them using Archival Ink Pad – Cactus Flower and cut them using it’s coordinating die. Shape them using 3D Blossoms Shaping Mold and add Rock Candy Stamens.
For leaves, stamp the image from Leafy Accents Cling Stamp Set with white pigment ink on Vellum, sprinkle white heat embossing powder and dust extras in the funnel tray and heat set. Color the leaves using Distress Oxide Peeled Paint and cut the images using it’s coordinating die set. Shape them using it’s coordinating 3D leaf shaping mold.
Once all the elements are ready, assemble the card as shown and finish the card by adding a stamped sentiment tag.
Beautiful card Rajni! As always, your flowers are so realistic and I love how you used the dies with the teapot.