SUBMISSION FOR THE FINAL ROUND OF HEARTFELT CREATIONS
Boxed Aquarium Album
It’s second Wednesday of the month and the new release day of Heartfelt Creation’s May release…Under The Sea Collection and now I am officially allowed to share the first project that I submitted for the final round for their design team selection. I really loved the new Under The Sea Collection by Heartfelt Creations. The vibrant shades of designer papers showing the depth of the sea, beauty of sparkling fishes and shells….and never ending silence of sea weeds along with the soft n cool blooming hibiscus….It’s beauty and serenity overloaded!! I was flipping through the papers and saying to myself…OH MY GOSH….How much deep the designers can think of designing and how much grown they are in their minds….Hats off man!!
The very first thing that came into my mind after looking at the collection was Aquarium and I decided to make the same. I altered a box a shadow box with mini-album inside. I have never worked with such theme and never ever altered a box like this. This was my very first try and I loved n enjoyed every bit of it.
Don’t forget to check out amazing creations by all design team members at Heartfelt Creations blog. It’s another must buy collection from them.
Here is the list of supplies of Heartfelt Creation
Under the Sea Paper Collection
DDOTS Double Dots 100pc. -3D Foam Squares
159723 – Art Institute Glue – Dries Clear
Other supplies:
Spellbinders Wonky rectangle die, Spellbinders Grand Ovals, Rusty Hinge, Salty Ocean, Mermaid blue and Peacock Feather Distress inks, Clear rock candy glitter, Diamond dust, Fussy cutting scissors, Ranger’s Multi Medium Matt, Black Distress Marke, Red tacky tape, White Gesso, Acetate sheet, Black card stock, Black chipboard.
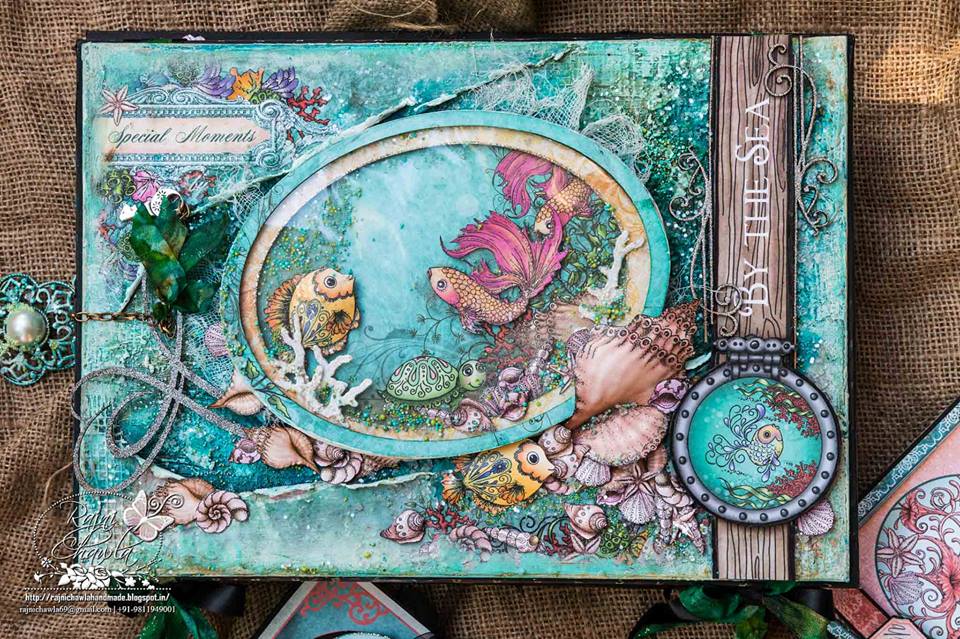
TOP VIEW OF THE BOX:
Instructions for the cover of the box:
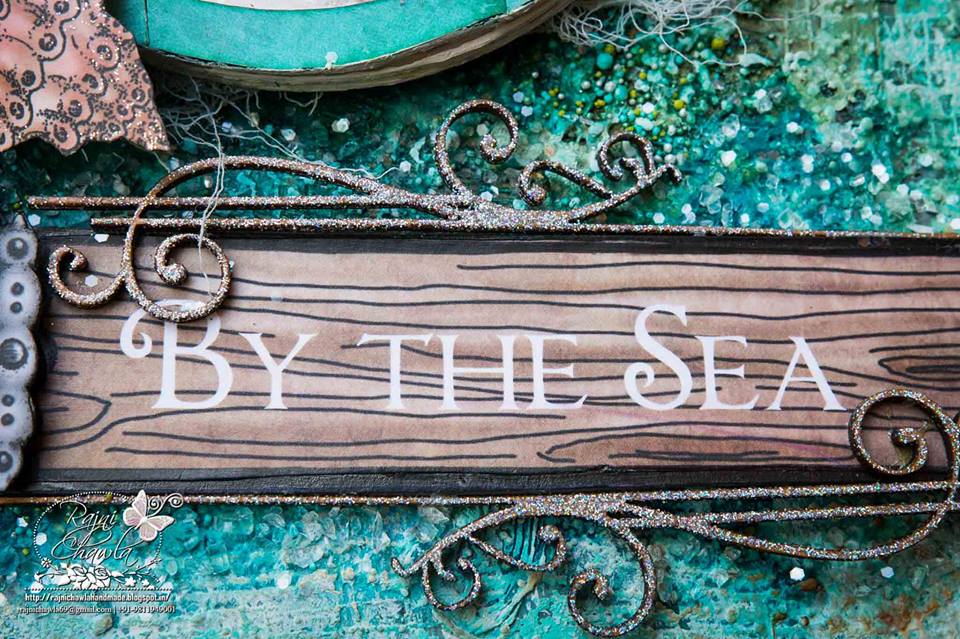
The box that I altered was 12 1/2 inches by 8 1/2 inches with bottom of 13 inches by 9 inches and height is 2 inches. For the cover of the box, I decided to make an aquarium amidst in sea waves. I took a separate piece of chipboard half an inch smaller to the actual size of the lid. Applied first coat of heavy white gesso and gave textures with tearing the pattern paper on two corners. The space left was given textures using texture paste randomly and sprinkled glass beads when wet. Dry it with the heat gun. Prime the whole area of pattern paper with a light coat of white gesso. Once dry start misting with 2-3 shades of blue drying it in between all coats. Once happy with the background,decorated it with an oval aquarium, fussy cut and shaped embellishments from patterned paper, diamond dust and glass beads.
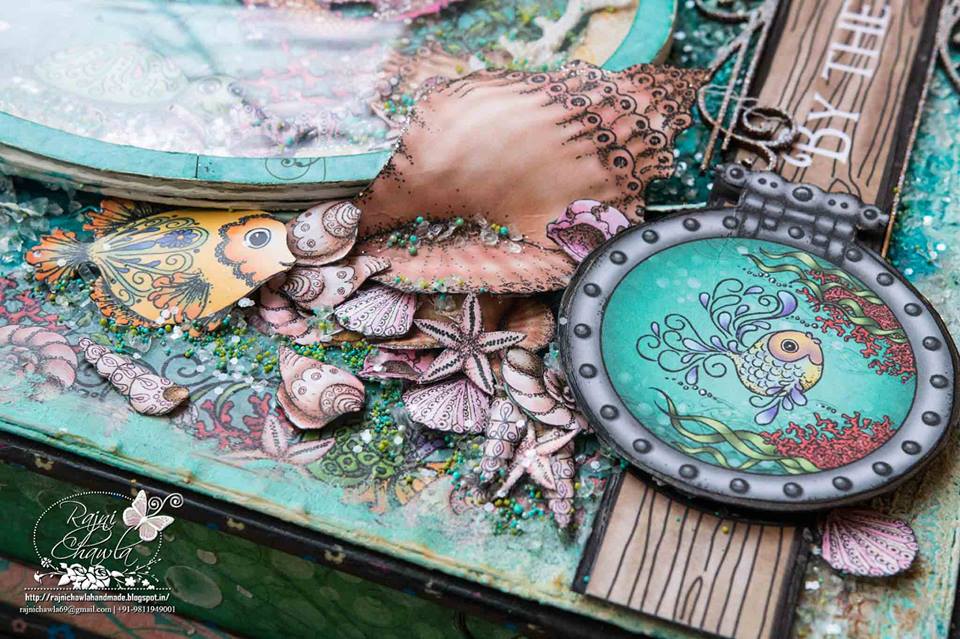
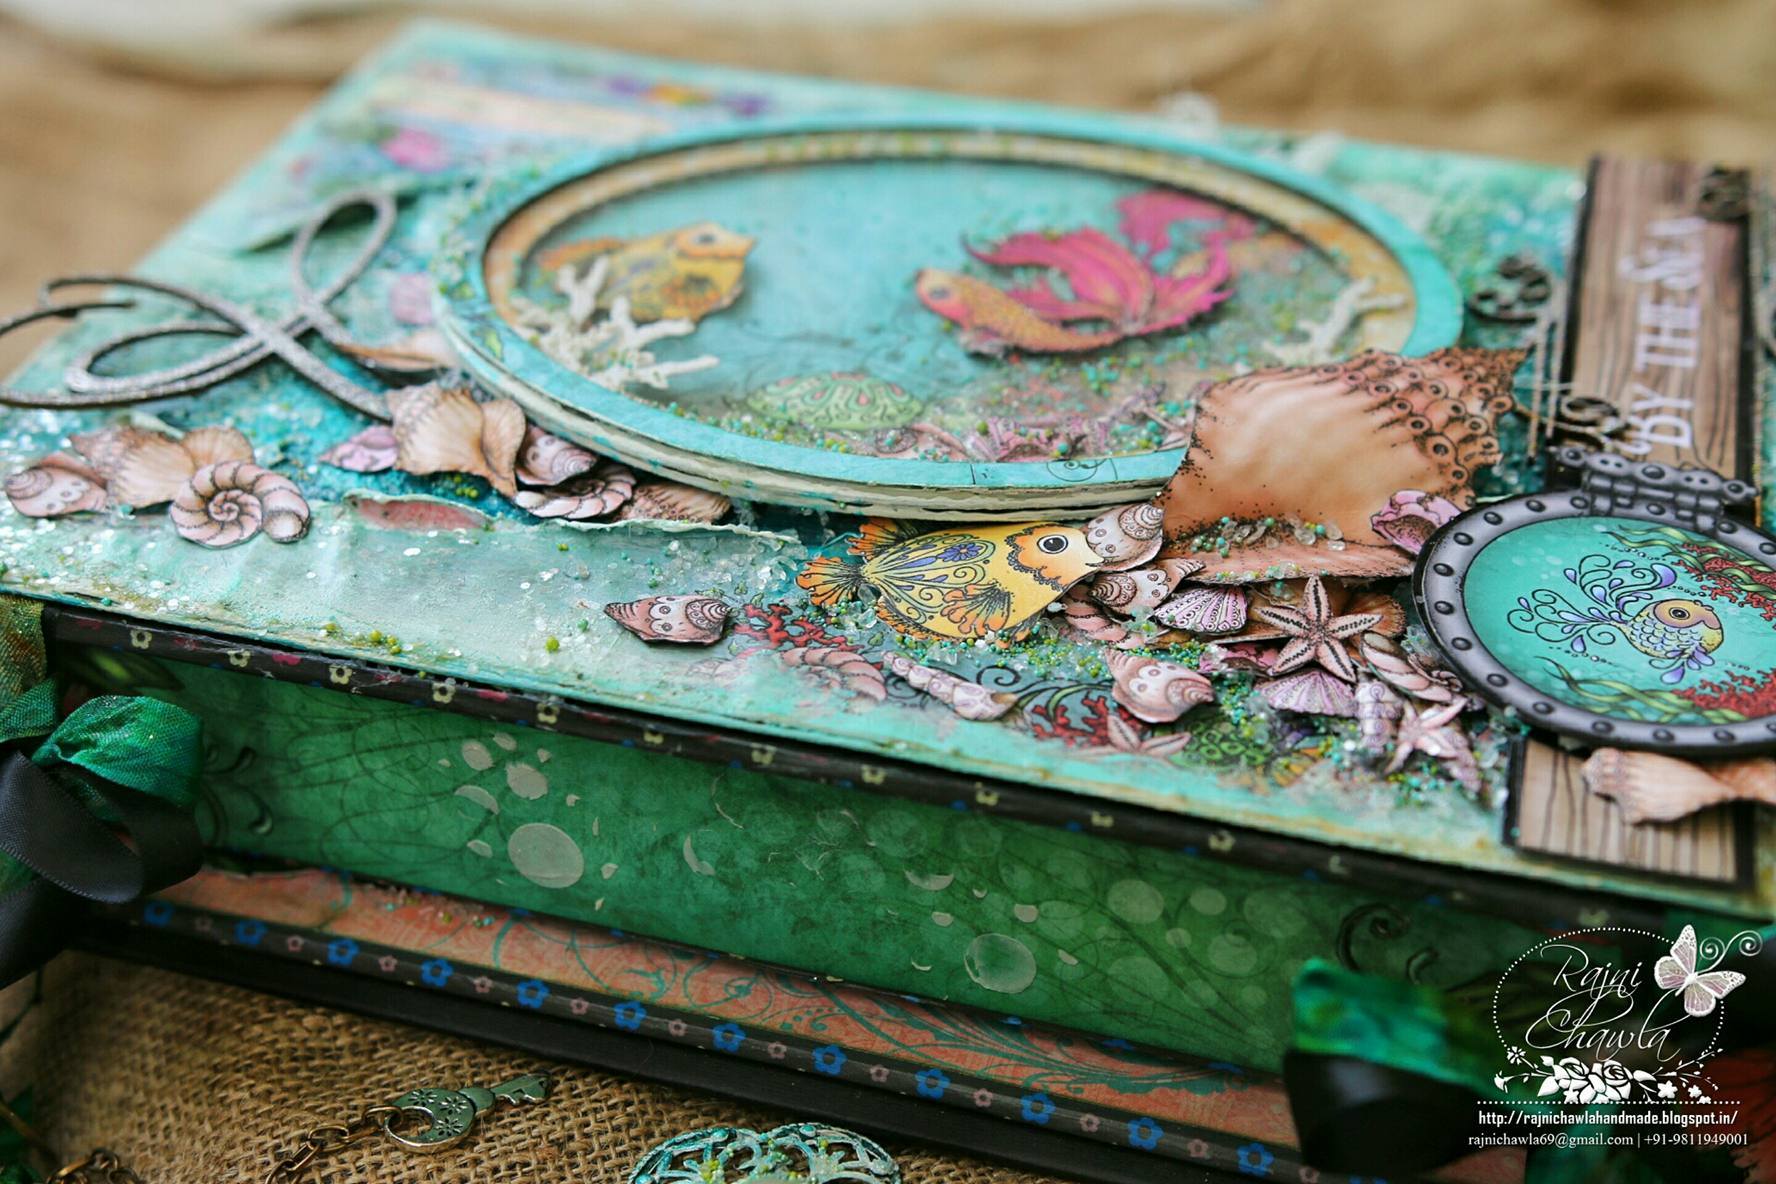
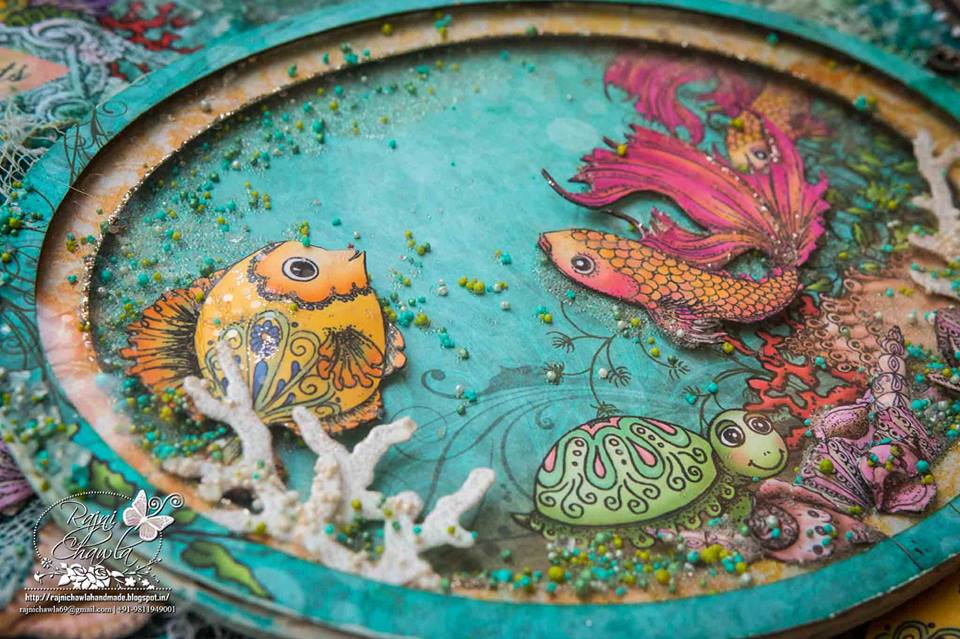
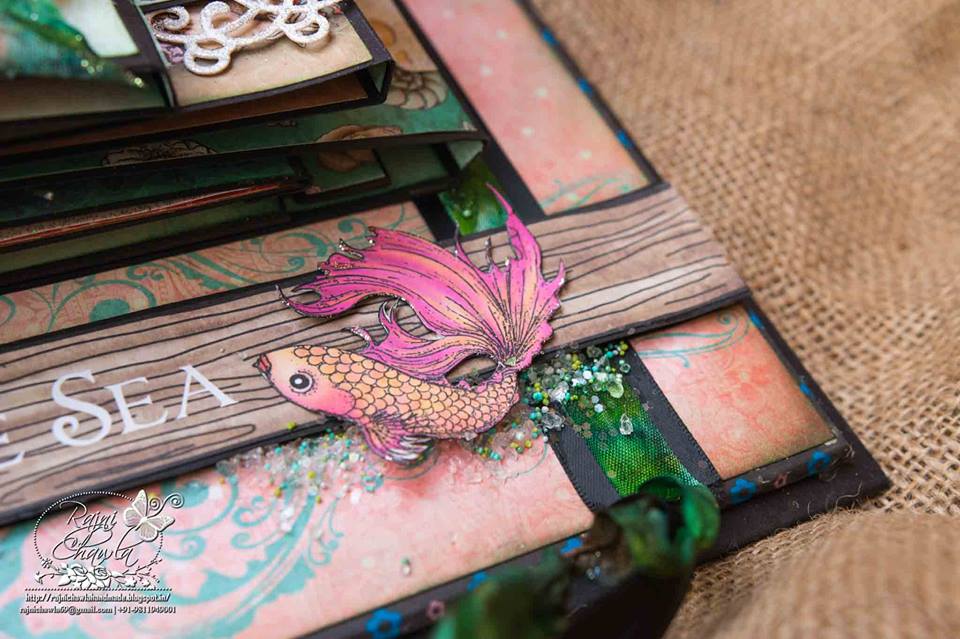
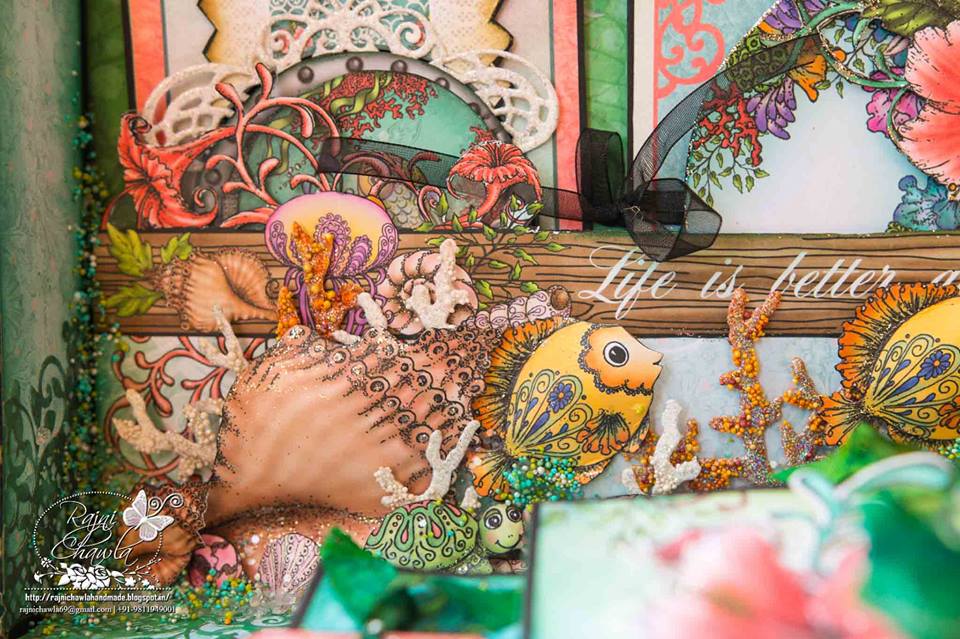
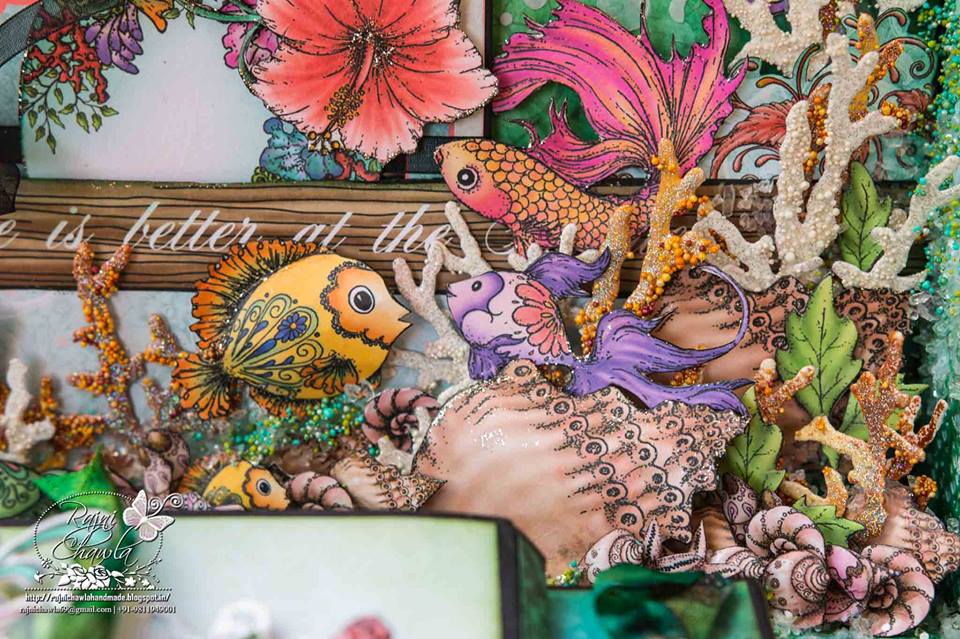
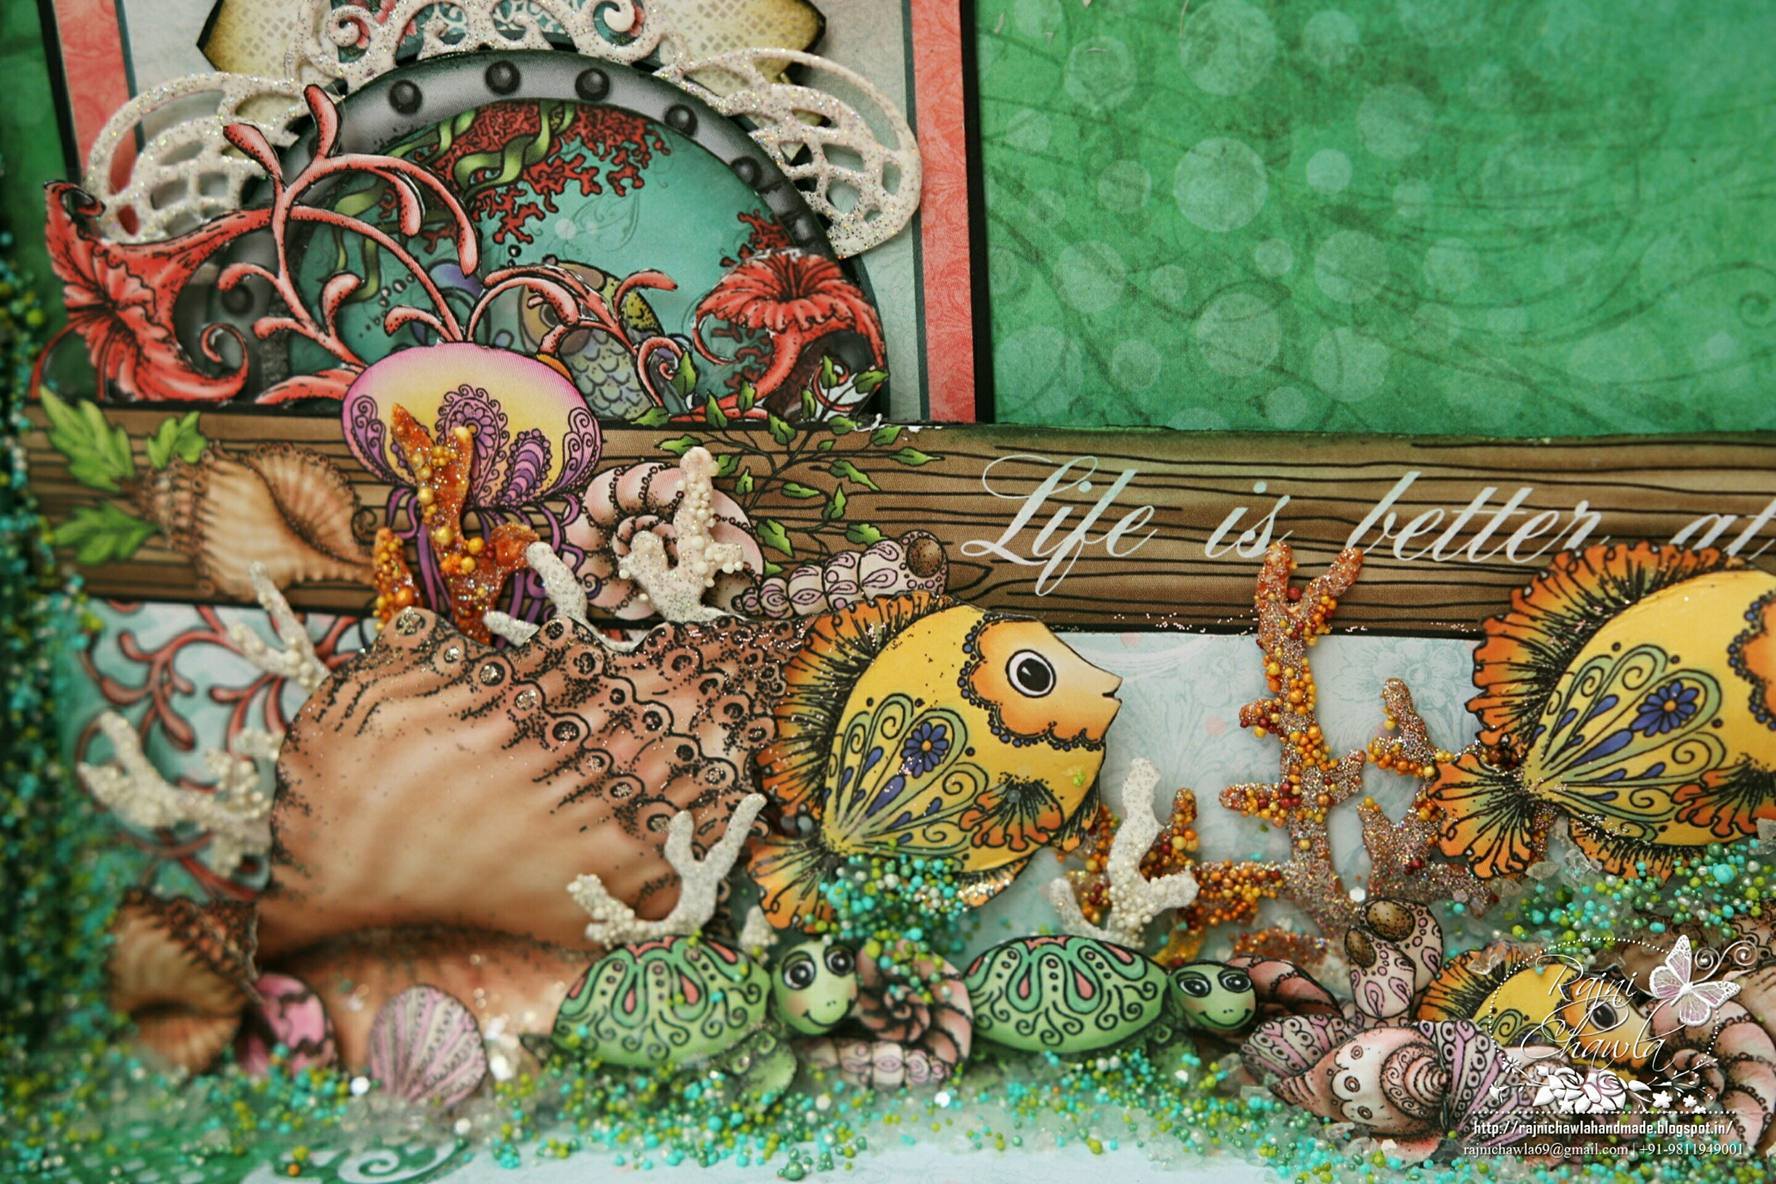
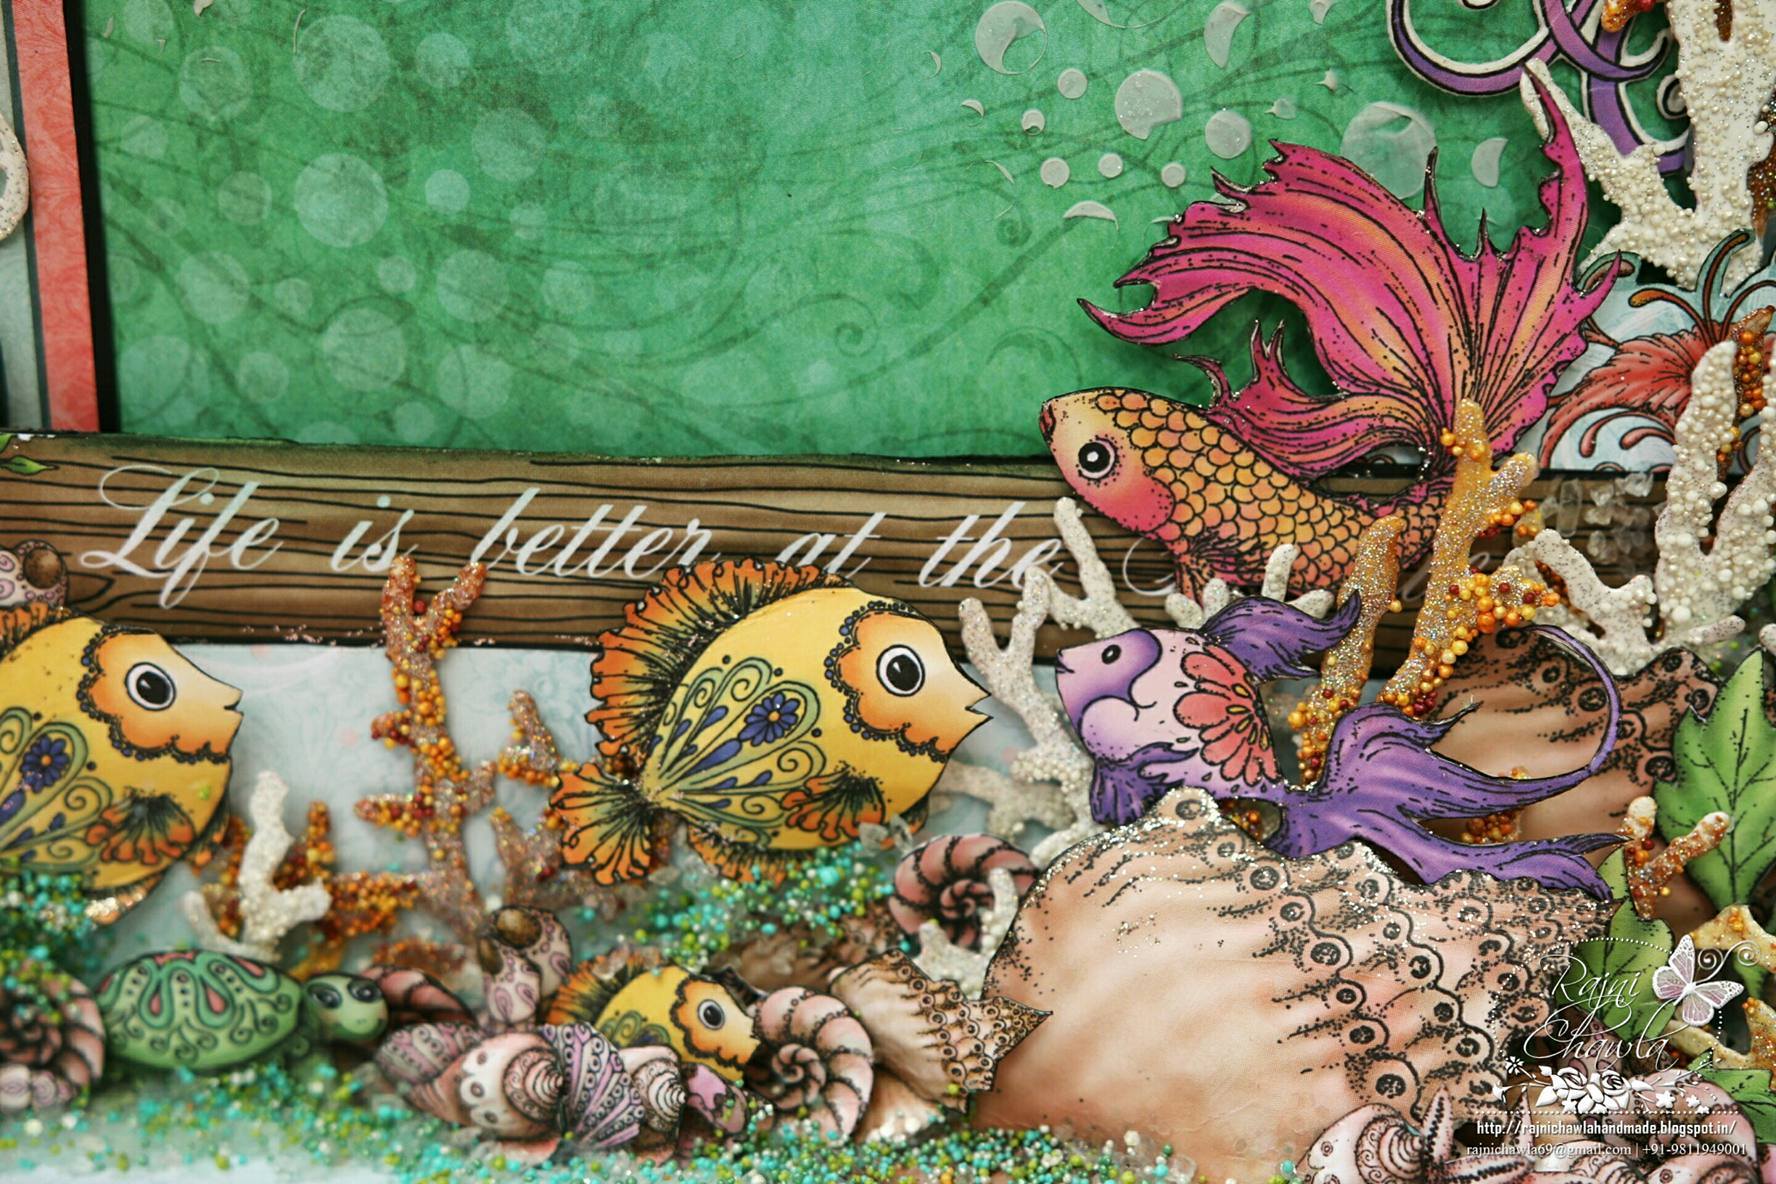
Here are few close-ups to show all detailing of the Aquarium on the cover:
Look at the 3- dimensional shapes of shells and fishes. They really looked amazing. I never thought of that I would be ever using my HC Flower Shaping kit for shaping shells instead of flowers.
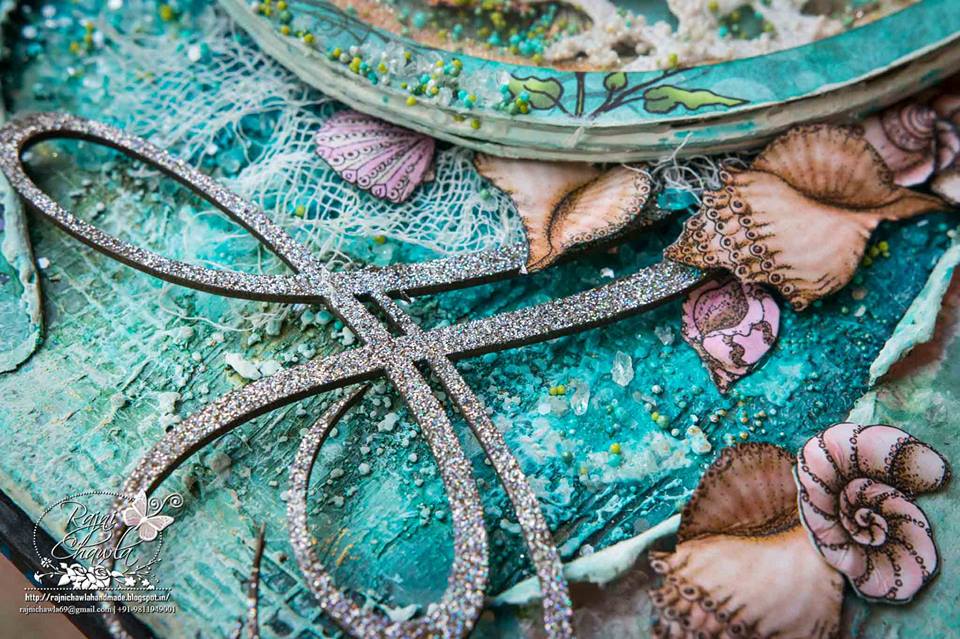
A Little more decoration with Dusty Attic chipboards…GORGEOUS, GORGEOUS!! I can’t resist myself from using them.
I loved the textures on the background too…..all created using various mix media mediums.
Instructions for oval aquarium on the cover:
Adhere designer paper on thick black cardstock. Cut a base layer using Spellbinders Grand Ovals die. Cut 1 piece of a ring by nesting first two dies and another using 1st and 3rd die of the same. Attach acetate sheet behind the top layer. Create under the water theme by using fussy cut fishes and shells and add prills and micro beads for decoration. Glue them together on the base layer using foam tape and close the aquarium.
I used HC Leafy Branch Die to create corals. I heat embossed the cutouts with different shades of heat embossing powders and sprinkled prills when hot. You really have to be little quick here. You cam heat set them again if necessary.
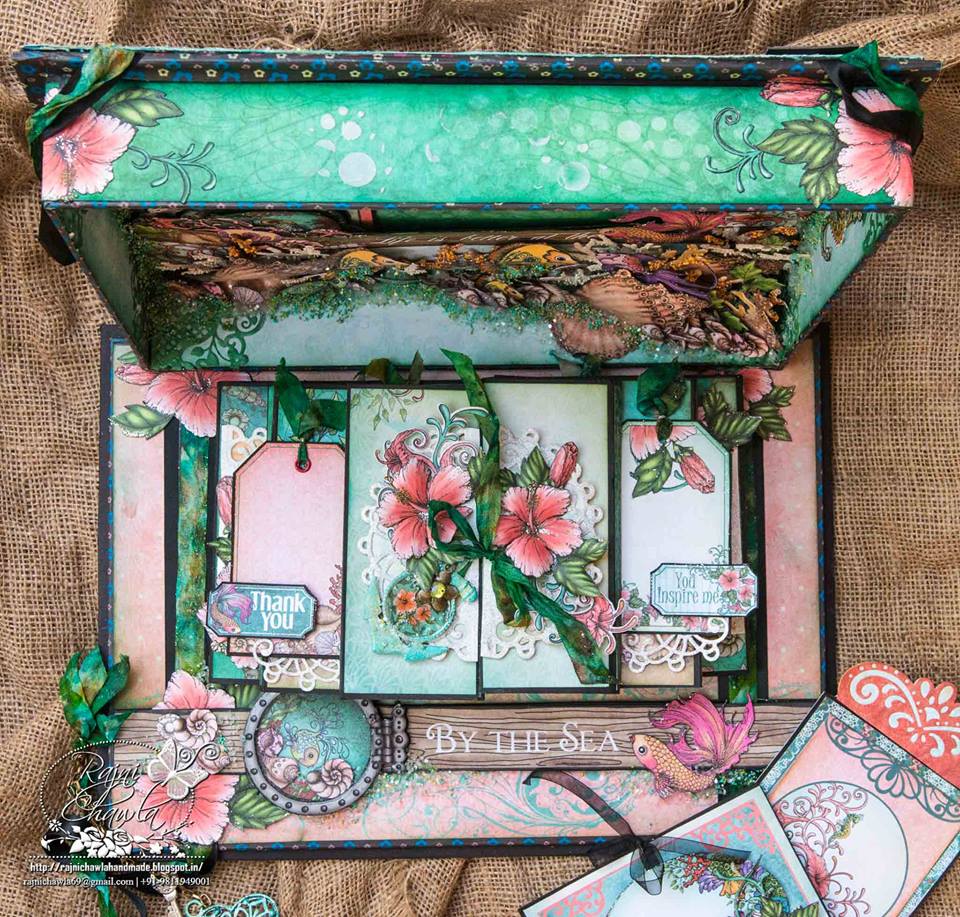
TOP VIEW OF THE BOXED ALBUM WHEN OPENED…
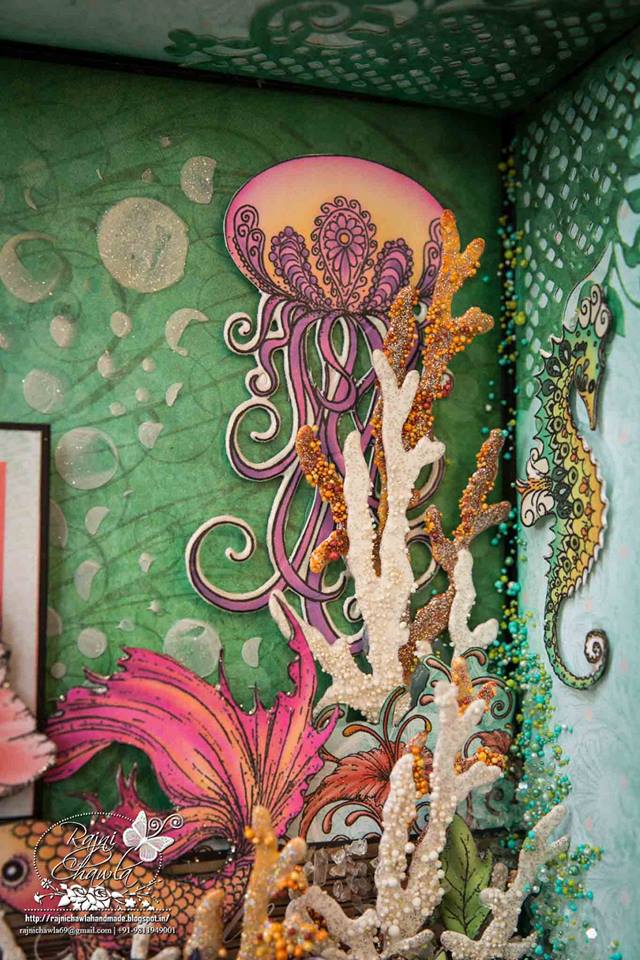
I did a little bit of stenciling with texture paste using bubble stencil on all the sides and inside of the lid.
Can you peep inside the box?
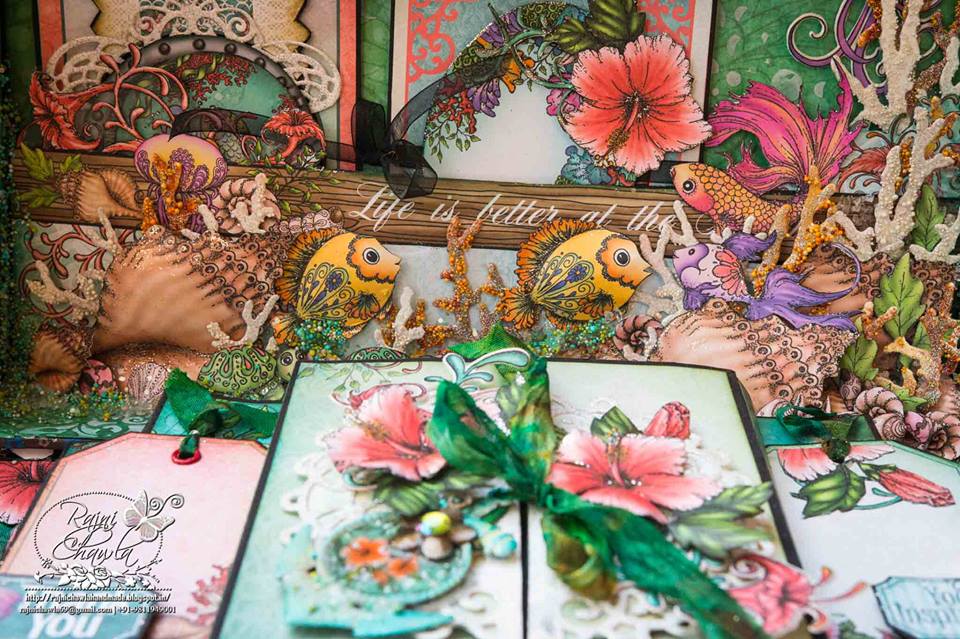
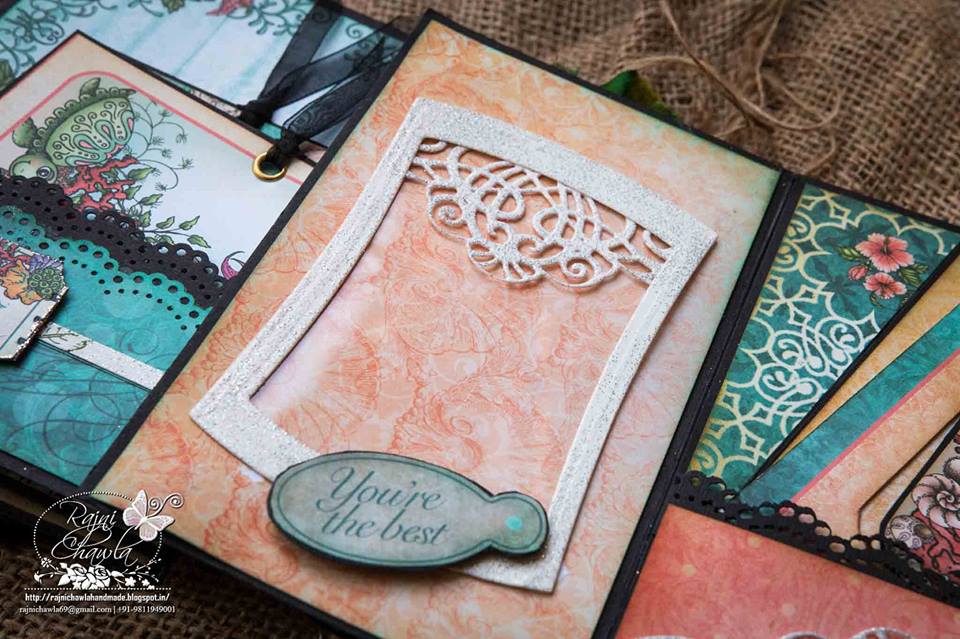
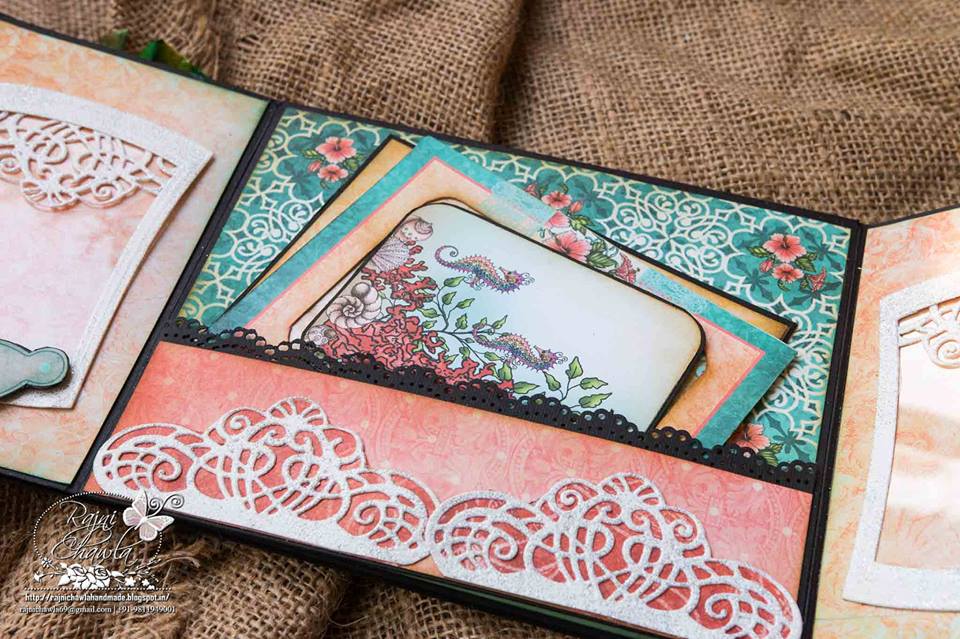
There is huge one more aquarium inside the lid with a huge magnetic pocket to hold all the fancy tags which can hold lots of photographs and messages. I designed a step fold mini album.
Instructions for the aquarium inside the lid:
Instructions of round aquarium inside the box:
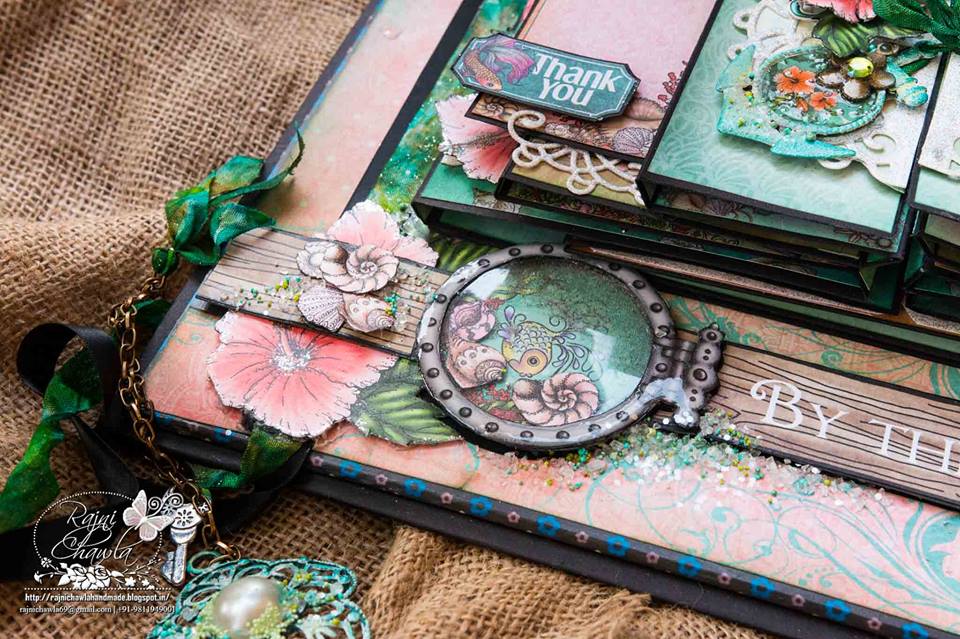
This aquarium is simply fussy cut from the same gorgeous collection. Cut the separate layers and mount them on thick card stock. Stick an acetate to the back of top layer and decorate the base layer using prills and fussy-cut shells. Now close the aquarium using 3-D foam tape.
On the right side, I used fussy cut fish as an embellishment and decorated the base with prills, micro beads and glitters.
INSIDE TOUR OF THE BOX ALONG WITH THE ALBUM DETAILS…
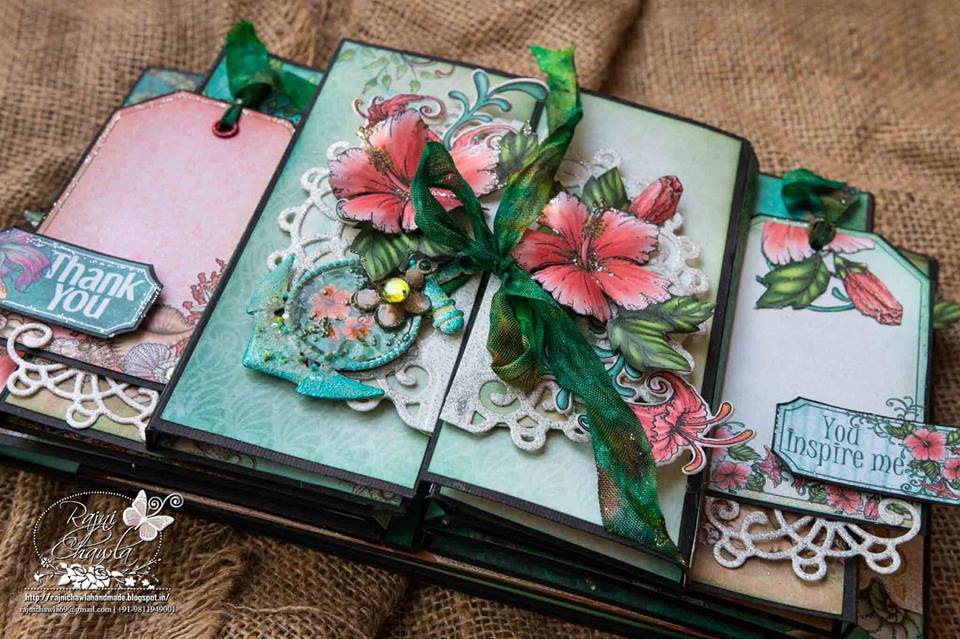
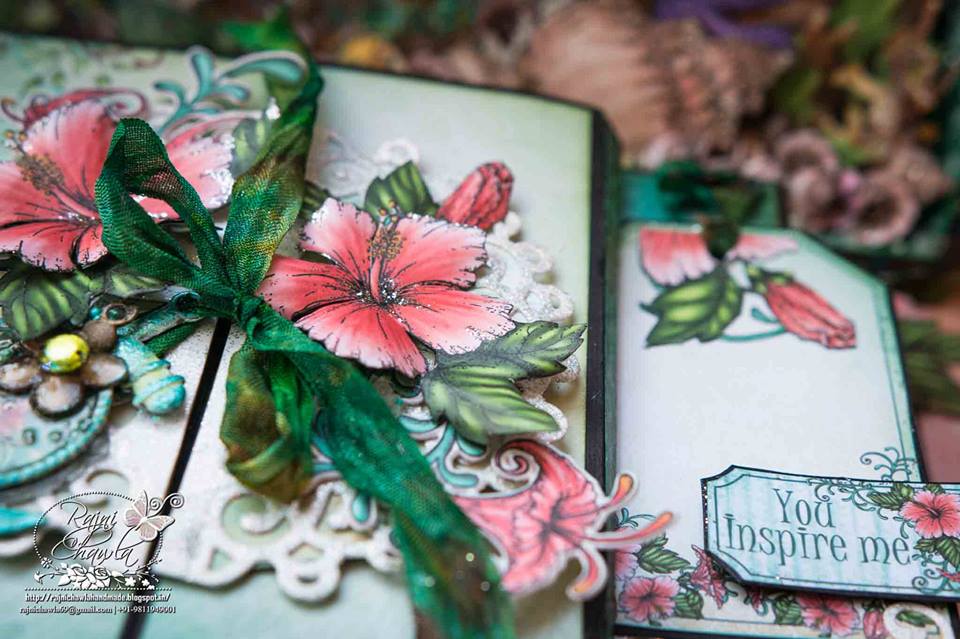
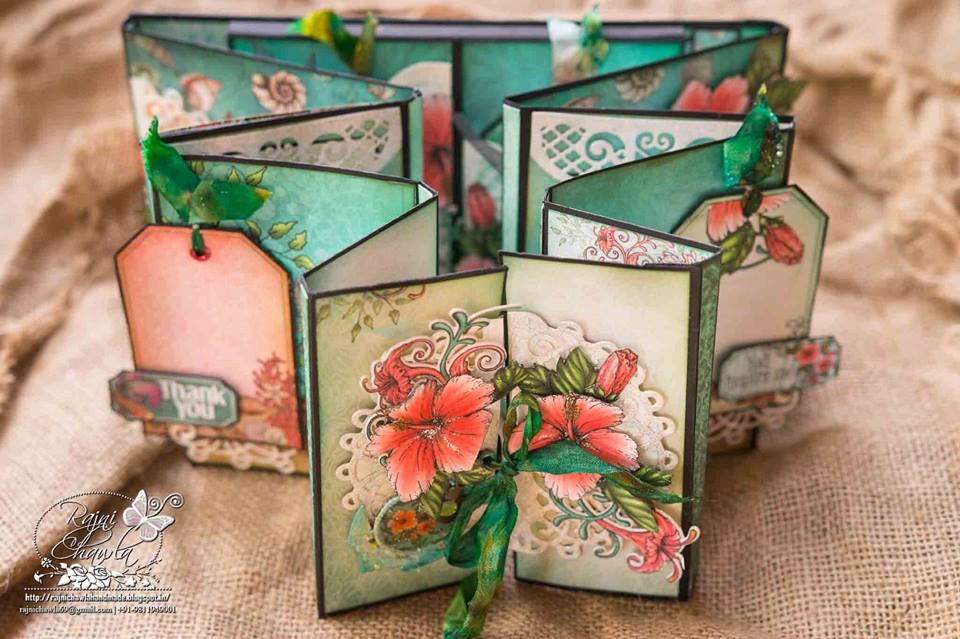
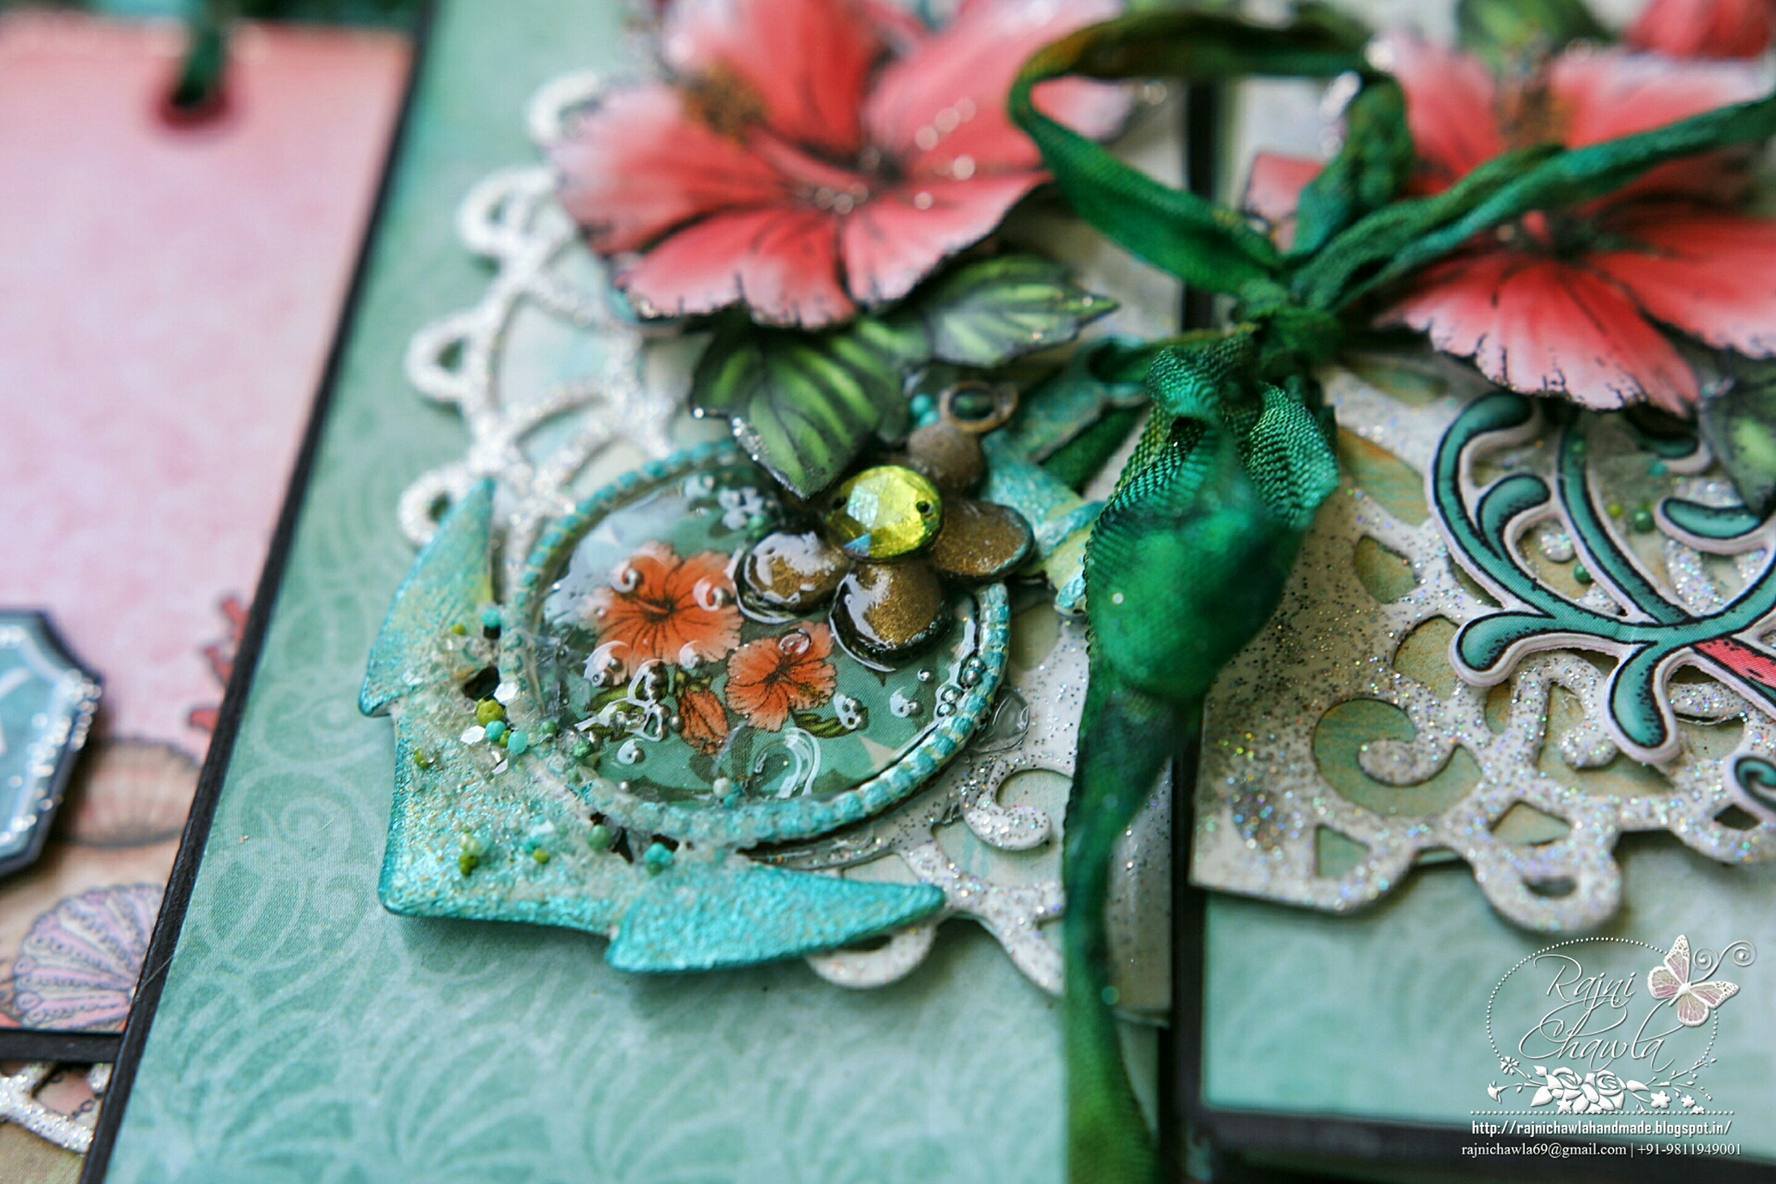
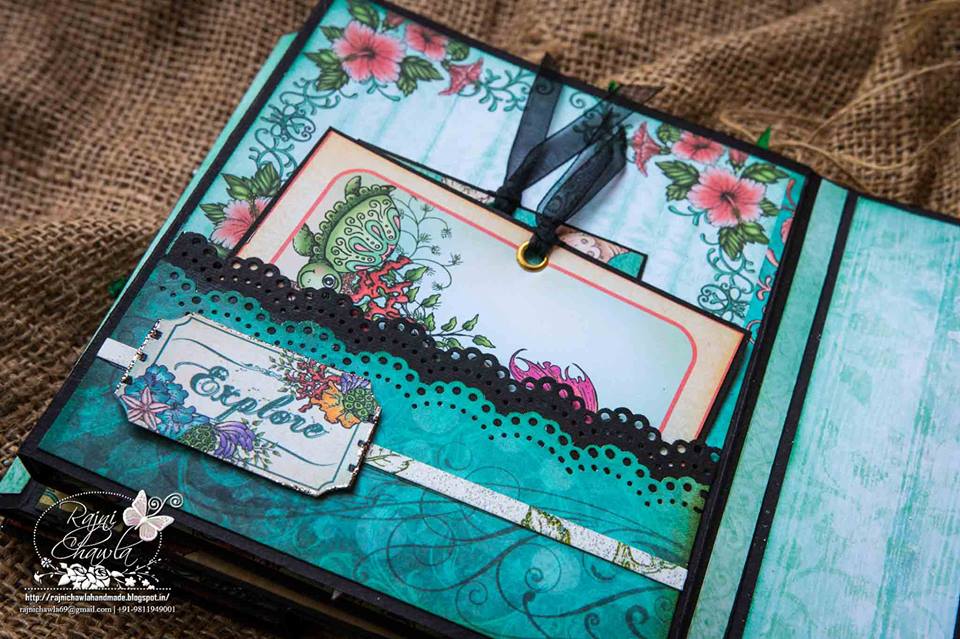
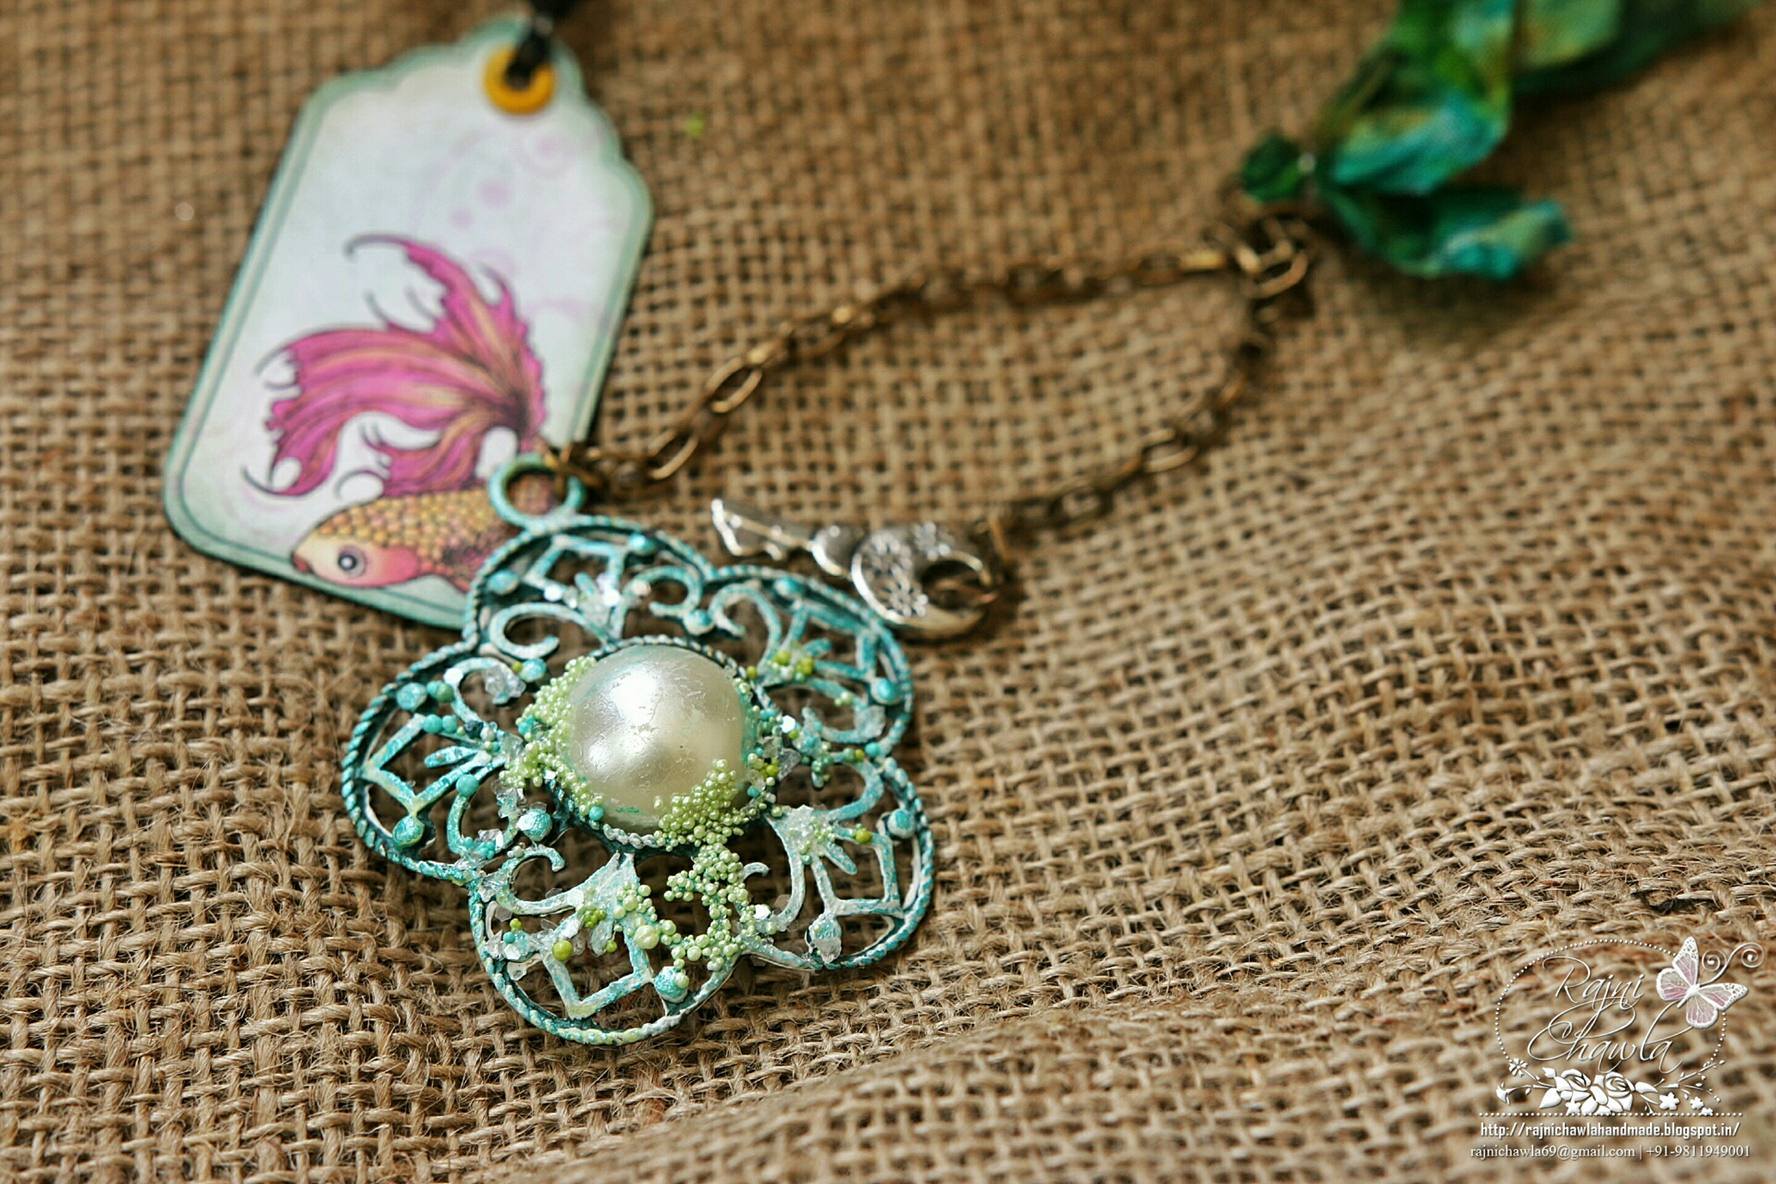
Flip Fold album in front…with beautiful fussy-cut Hibiscus, embellished with fussy cut Hibiscus flowers and a metal charm with the same blooming theme….a 3-dimensional aquarium in the lid of a box with a huge magnetic pocket holding lots of multifold tags. Oh…so much of work it was!! It really looked amazing to see those beautiful layers. I used the entire 2 inches depth of the lid for creating different layers of the aquarium.
On to the album now!!
The size pf the album is 10 inches by 5 3/4 inch. Since I wanted to add lots of folds and extra embellishments inside the album I followed Heartfelt Creations Pocket and Flip fold inserts Pocket A and customized my own 2 pieces keeping an extra hinge of half an inch between all the folds. The album is decorated using panels from the same collection.
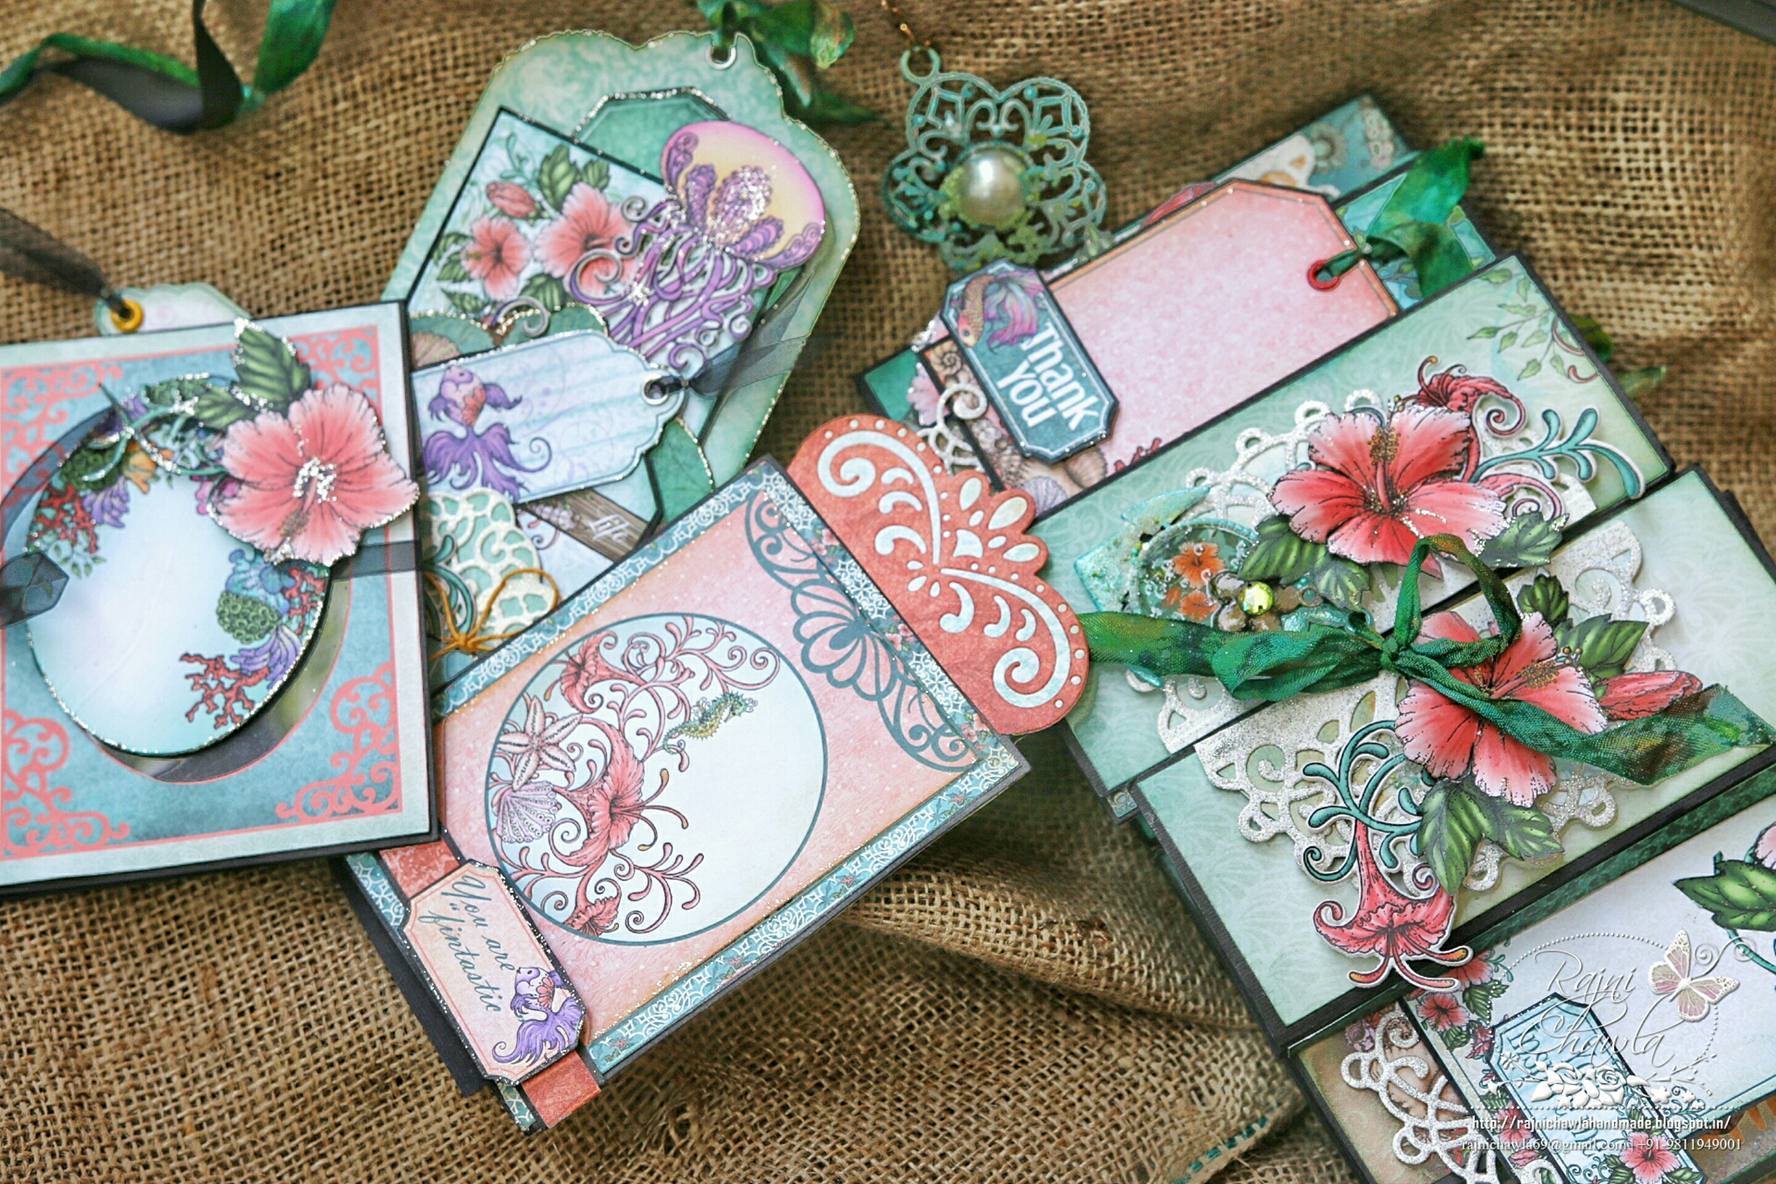
Here is the top view of the album showing all the folds. Lots of pockets and tags are added to hold pictures and messages. Most of all the pages are embellished with fussy cut hibiscus flowers.
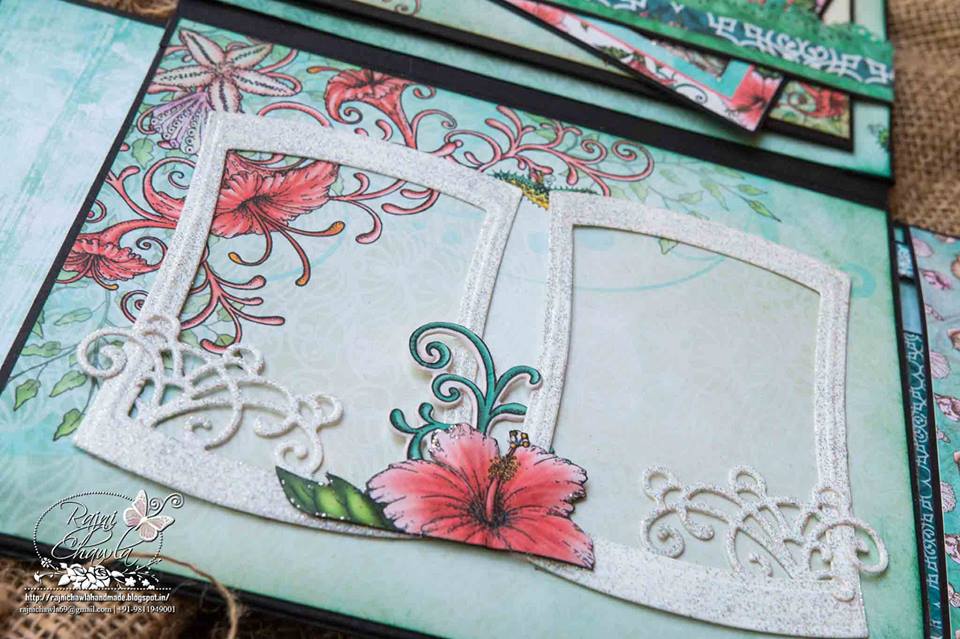
FEW OF THE INSIDE FOLDS :
All tags and photo mats out…
So…thats all for today’s super lengthy project.
I will never forget the experience of creating this project….how much worried I was to finish this project. It was very difficult for me to sit on the bed with continuous watering eyes and my both feet lifted up on pillows and working on a small bed table and calling for each little thing from my daughter. Just a small thought in my mind that this project is reaching a person whom I admire the most, kept me going. Big thanks to both my kids who supported and helped me for each and every little thing and the good wishes that I got from all my well wishers.
Hope you enjoyed looking at all details, the way I enjoyed creating it.
Thanks for stopping by.



Awesome.. Feast for the eyes 🙂 So much detail and each detail very carefully and beautifully done.. Totally love it <3
Amazingg no words.So much of detailing.
Absolutely astounding Rajni. You are so talented. It is a wonderful creation with fabulous products. Thank you for sharing yourself with us. X
That’s one masterpiece!! Stunning it is! And i’m sure you have a looooot of patience!!
Stunning Masterpiece rajni mam, no one can duplicate it
This is really fabulous project with loads of small details and so much fun to explore every bit of it.. Really appreciate lil hands too who assisted you a lot in finishing off this project. They are really of great help to mothers..
Just Wow! The amount of detailed work in this is incredible! It must have taken you many, many hours but it was so worth it. This is bound to become an heirloom treasure and rightly so.
Oh my gosh…. I’m speechless… this is a masterpiece of beauty! To create it under such difficult circumstances is amazing. You are very inspiring!
Rajni, this is amazing, i didnt realise all the folds you created, love all the layers and details! Beautifully done.
such a masterful creation, love all the wonderful details you have added, really amazing work Rajni !!
Simply breathtaking! Loved the colours, the theme, the designs, the intricacy of the project! Everything! It’s unbelievably amazing!
Awesome!!!!! Di its one of your best creation…..
Absolutely stunning! My husband was amazed as well! The excellent photography really lets us see how intricate your designs are. I look forward to seeing more beauty from you!
Amazing and outstanding creation.
WOW!!! It’s all really beautiful. You nailed it totally. It is stunning. If that’s your final, welcome to Heartfelt Creations!! You are a sure bet. Congrats.
Oh my goodness!!! STUNNING, my new friend!!! 🙂 I have some questions that I hope to ask about how to access the beautiful aqua/turquoise netting, and how you took some chipboard die-cuts and put on some black-based sparkle goodness–wondering if it was glitter or embossing powder/glitter, WOW!!!
Heartfelt Creations is a PERFECT FIT for you, and I have a feeling that your connection with this wonderful company will be a very long one, at least that is my hope for you AND for Heartfelt Creations, for no one has created better for them. I have seen some breath-taking projects in the past that I was floored when I saw, and they have had and continue to have some of the very best on their Design Team, but you are as good as their best in my very humble opinion, Rajni! I think this association is going to be wonderful for you and fantastic for Heartfelt Creations, for you absolutely bring their products alive, and you make us all long to create with them!!! And THAT is what the very best in Design Team members do!!! One of my favorites has been Linda Loew, she has really inspired me and I have loved her work, and I HOPE to see her again at Heartfelt Creations. And WONDERFUL, lovely, kind and SO talented Marisa Job!!! It was because of Marisa that I really became OBSESSED by Heartfelt Creations when I saw what she had created in the Sun-Kissed Fleur collection, and I HAD to have that entire collection, something I have not done often, although I have a very healthy Heartfelt Creations collection! And fellow Canadian, Joann Jamieson-Larkin astounds me with her creations! And so many others like Olga Jewell and Kathleen Rooney and many many more. And Rajni, YOU belong there with them, and I could not be happier!!! Selfishly I know I will see THE BEST in what can be done with the new Heartfelt Creations collections because of you, and warmly for my new friend, Rajni, I KNOW you are going to be blessed by your connections with these dear, talented women who will embrace you as one of them. I’m SO excited for you!!! 🙂
Thank you so very much for such lovely wishes Joanne. I m so sorry for such a late reply…i remember i read ur comments in hurry while leaving my house for some work and then forgot to reply. I am honored to be a part of Heartfelt family. The team is amazing and the other members behind the scenes ….just fantastic and very supportive. I m enjoying creating every bit of learning with them. Thanks 🙂
He aqua netting you are asking is nothing but a madical gauge sprayed with various shades of blue sprays, die cuts are from Under the Sea Collection….all cut and shaped using shaping tools and the chipboards are heat embossed with costom made heat embossing powder. I love mixing heat embossing powders with glitters. Hope this helps.
I can not imagine how you put this together. This creation is unbelievable with so many details to look at I can keep looking at it and still see something I missed. HFC is so lucky to have you and I hope they know that. I had to go back up and check this is one project you are amazing and a fantastic gift set to give to someone really special. I can not wait to see what you come up with for your next project.
Hats off to your creativity mam.