Good Evening, Friends…
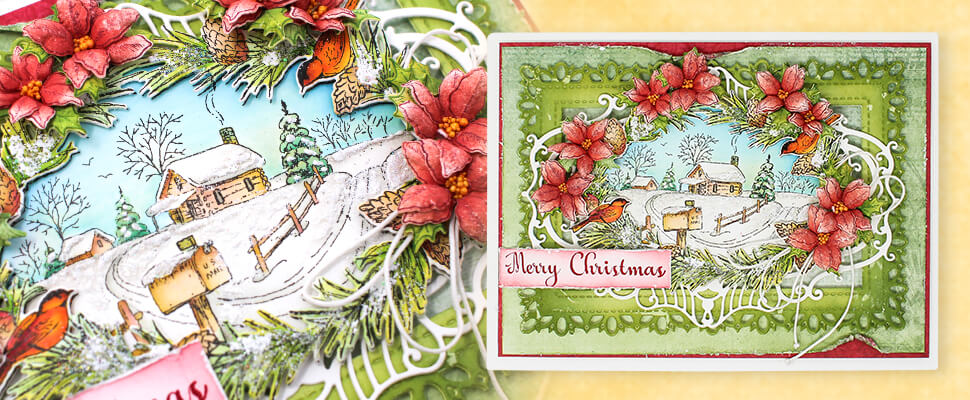
How are you, this beautiful evening?? If you are looking for some inspiration to get started with your Christmas Cards for your family and friends, coming season, then it’s the perfect place. I have this beautiful Christmas Card to share.
Supplies from Heartfelt Creations:
HCD1-7304 Snowy Pines Cabin Die
HCPC-3919 Snowy Pines Cabin Cling Stamp Set
HCDP1-2117 Snowy Pines Paper Collection
HCPC-3881 Christmas Poinsettia & Holly Cling Stamp Set
HCD1-7249 Christmas Poinsettia & Holly Die
HCD2-7191 Intricate Swirl Frames Die
HCD2-7309 Elaborate Oval Frames Die
HCPC-3882 Candlelit Poinsettia Cling Stamp Set
HCST1-401 Deluxe Flower Shaping Kit
478455 Zig Clean Color Real Brush Markers – 36 Pack
HCPP1-475 Deluxe Flower Shaping Paper Pack of 50 – White
TSSZ22 StazOn Ink Pad – Black Cherry
RACP468 Ranger Archival Ink Pad – Jet Black
RACP436 Ranger Archival Ink Pad – Leaf Green
RACP499 Ranger Archival Ink Pad – Plum
RACP993 Ranger Archival Ink Pad – Red Geranium
RACP482 Ranger Archival Ink Pad – Olive
PGM15016 Rajni Chawla’s Frosting Powder
ANC818 Go Man Go Prills
Other Products Used: Score Board, Die Cutting Machine, White Color Twine, Sharp Scissors, Smooth White Cardstock, Adhesive that dries clear, Double-sided tapes, Funnel Tray, Heat Tool.
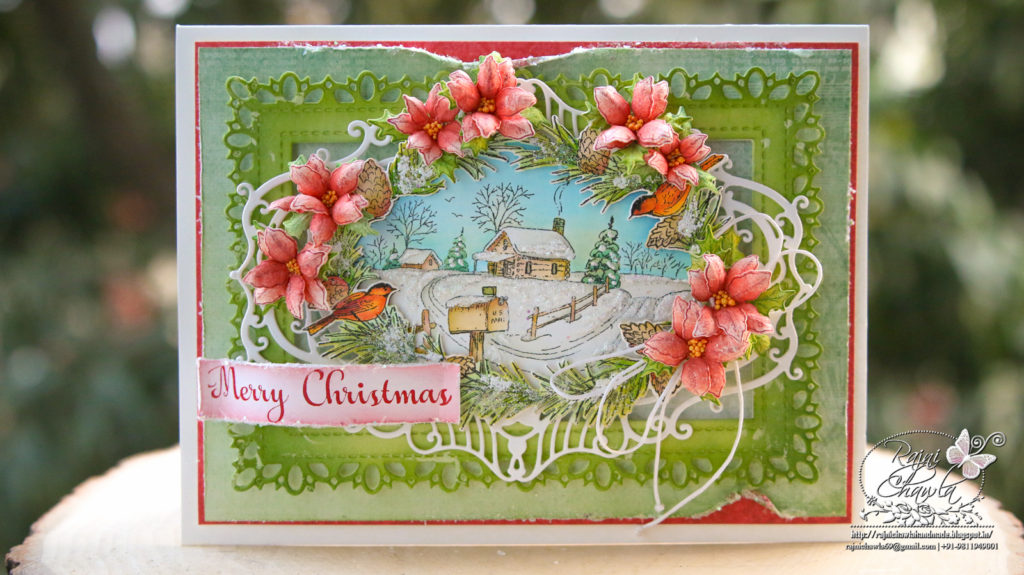
Instructions: The ready top fold card from white card stock measures 7 1/2″ by 5 1/4″. To prepare the card base, cut a smooth white cardstock measuring 7 1/2″ by 10 1/2″. Score the longer side at 5 1/4″. Crease and fold the card neatly. Choose the paper from the designer paper collection and create the first mat, a little smaller to the card base. Distress all the sides using sharp scissors.
Cut 2 die cuts from white cardstock using Elaborate Oval Frames Die and 2 die cuts from Intricate Swirl Frames Die. Stack them together for extra strength. Keep the Elaborate Oval Frame, white, and color the Intricate Swirl Frame with Leaf Green Archival Ink. Layer both the frames on the card front to create the focal point for the card.
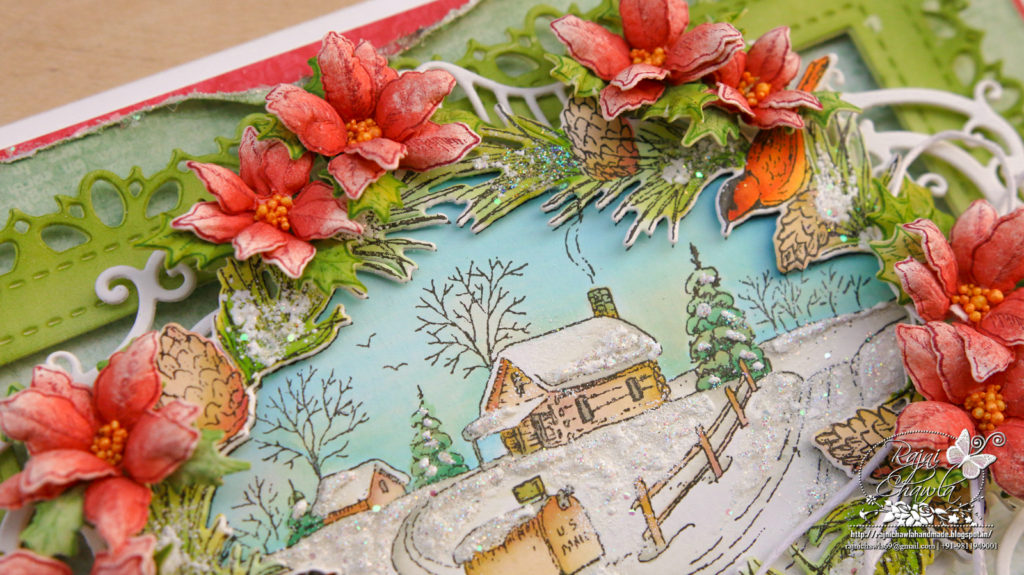
Stamp image from Snowy Pines Cabin Cling Stamp Set, on white cardstock, using black archival ink and color it using Zig markers, Next cut the painted image using its coordinating die. Layer them as shown. To add snowy effects, use adhesive that dries white and sprinkle Rajni Chawla’s Frosting Powder.
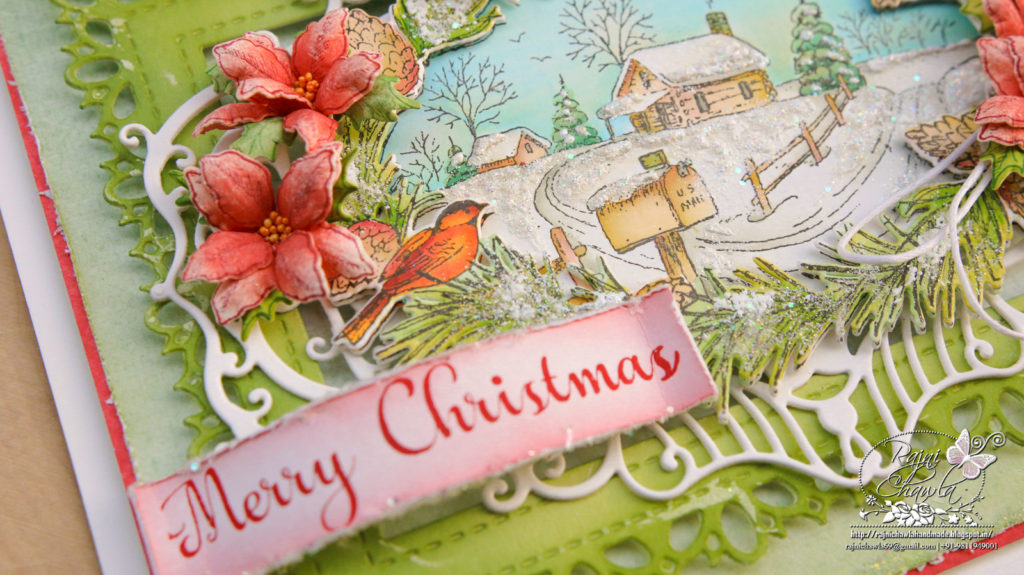
For Poinsettias, stamp the florals from Candlelit Poinsettia Cling Stamp Set, using Archival Ink Plum, and leaves using Olive Green. Cut them using their coordinating dies. Color the flowers using Red Geranium and leaves using Leaf Green. Mist them with water and shape them using Deluxe Flower Shaping Kit. Add prills to the centers.
Once all the elements are ready, assemble the card as shown. Stamp the sentiment from Candlelit Poinsettia Cling Stamp Set using Black Cherry ink pad and finish the card. Add Rajni Chawla’s frosting powder for extra interest.