Hello, Friends
Welcome back!! It’s an inspiration day for Heartfelt Creations. I have a Special Day Flutter card to share.

Supplies from Heartfelt Creations:
HCD2-7307 Royal Elegance Frames Die
HCD1-7391 Sweet Pea Die
HCPC-3980 Sweet Pea Cling Stamp Set
HCFB1-5010 3D Sweet Pea Shaping Mold
HCPC-3933 Floral Shoppe Fillers Cling Stamp Set
HCD1-7331 Floral Shoppe Fillers Die
HCD1-7193 Leafy Accents Die
HCPC-3835 Leafy Accents Cling Stamp Set
18002 Rajni Chawla’s Vellum Flowerite – 10 Sheets
HCDP1-2137 Sweet Pea Paper Collection
HCPC-3845 Just For You Sentiments Cling Stamp Set
HCPC-3911 Wisteria Petals Cling Stamp Set
HCD1-7295 Wisteria Petals Die
HCST1-401 Deluxe Flower Shaping Kit
HCPP1-475 Deluxe Flower Shaping Paper Pack of 50 – White
ANC822 I Cannot Tell A Lilac Prills
HCGP1-488 Luxe Gold Cardstock
RACP494 Ranger Archival Ink Pad – Majestic Violet
RACP985 Ranger Archival Ink Pad – Cactus Flower
RACP994 Ranger Archival Ink Pad – Mulberry
RACP500 Ranger Archival Ink Pad – Paradise Teal
Other Supplies Used: Smooth white cardstock, Watercolor brush, Hero Arts White Pigment Ink, Funnel Tray, Score Board, Die Cutting Machine, Funnel Tray, Foam dots.
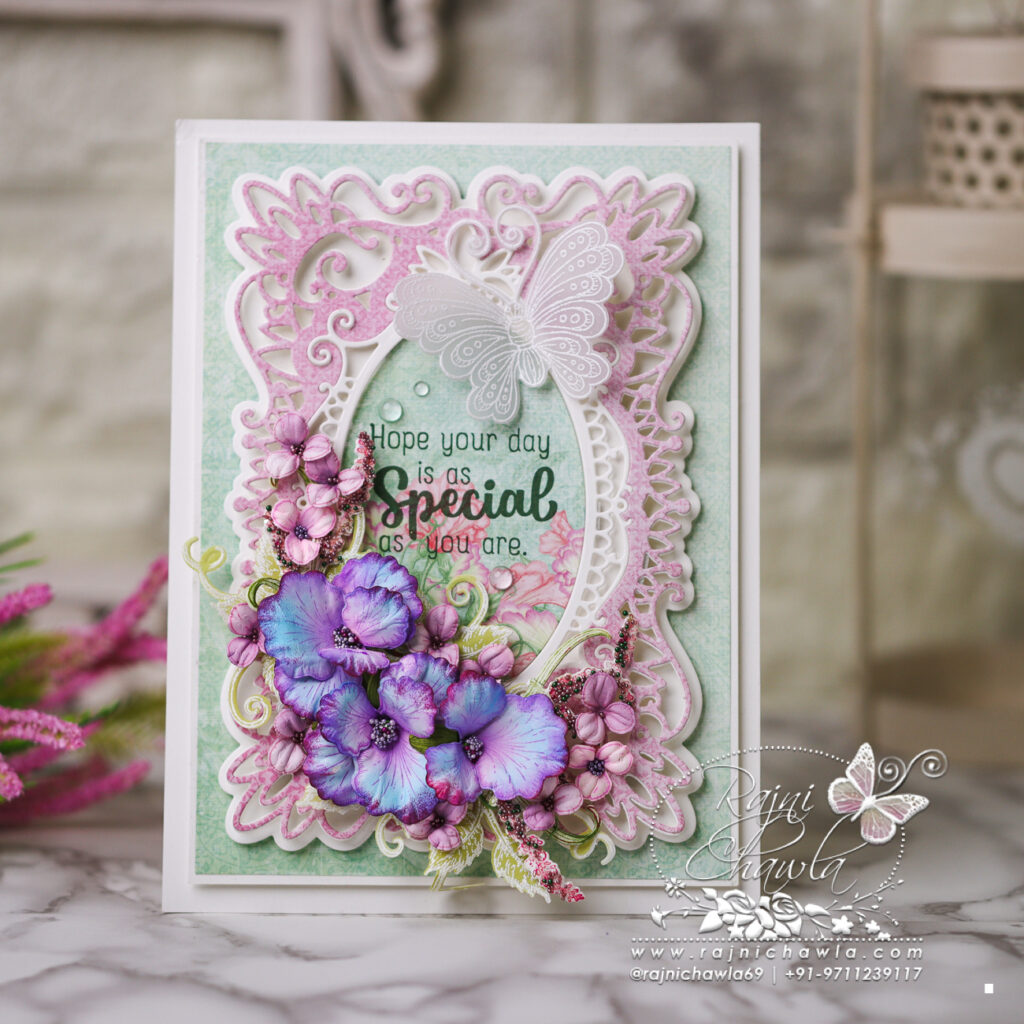
The ready side-fold card measures, 6″ by 8″. Cut a smooth white cardstock measuring 12″ by 8″ and score it at 6″ on the longer side. Crease and score it well using a bone folder.
Choose a pattern paper from the designer paper collection and cut measuring 5 1/2″ by 7 1/2″. Mat it on the white cardstock creating a delicate white border of 1/16″ on all sides. Layer the panel on the card base using foam dots.
Using Royal Elegance Frames Die, cut 2 pieces of fancy frames one each from soft pink pattern paper from the collection and white cardstock, and glue them together keeping the pink on top. Layer the prepared frame on the white solid shadow die cut using tiny glue dots. Cut the oval frame from the same die set using white cardstock and layer it as shown.
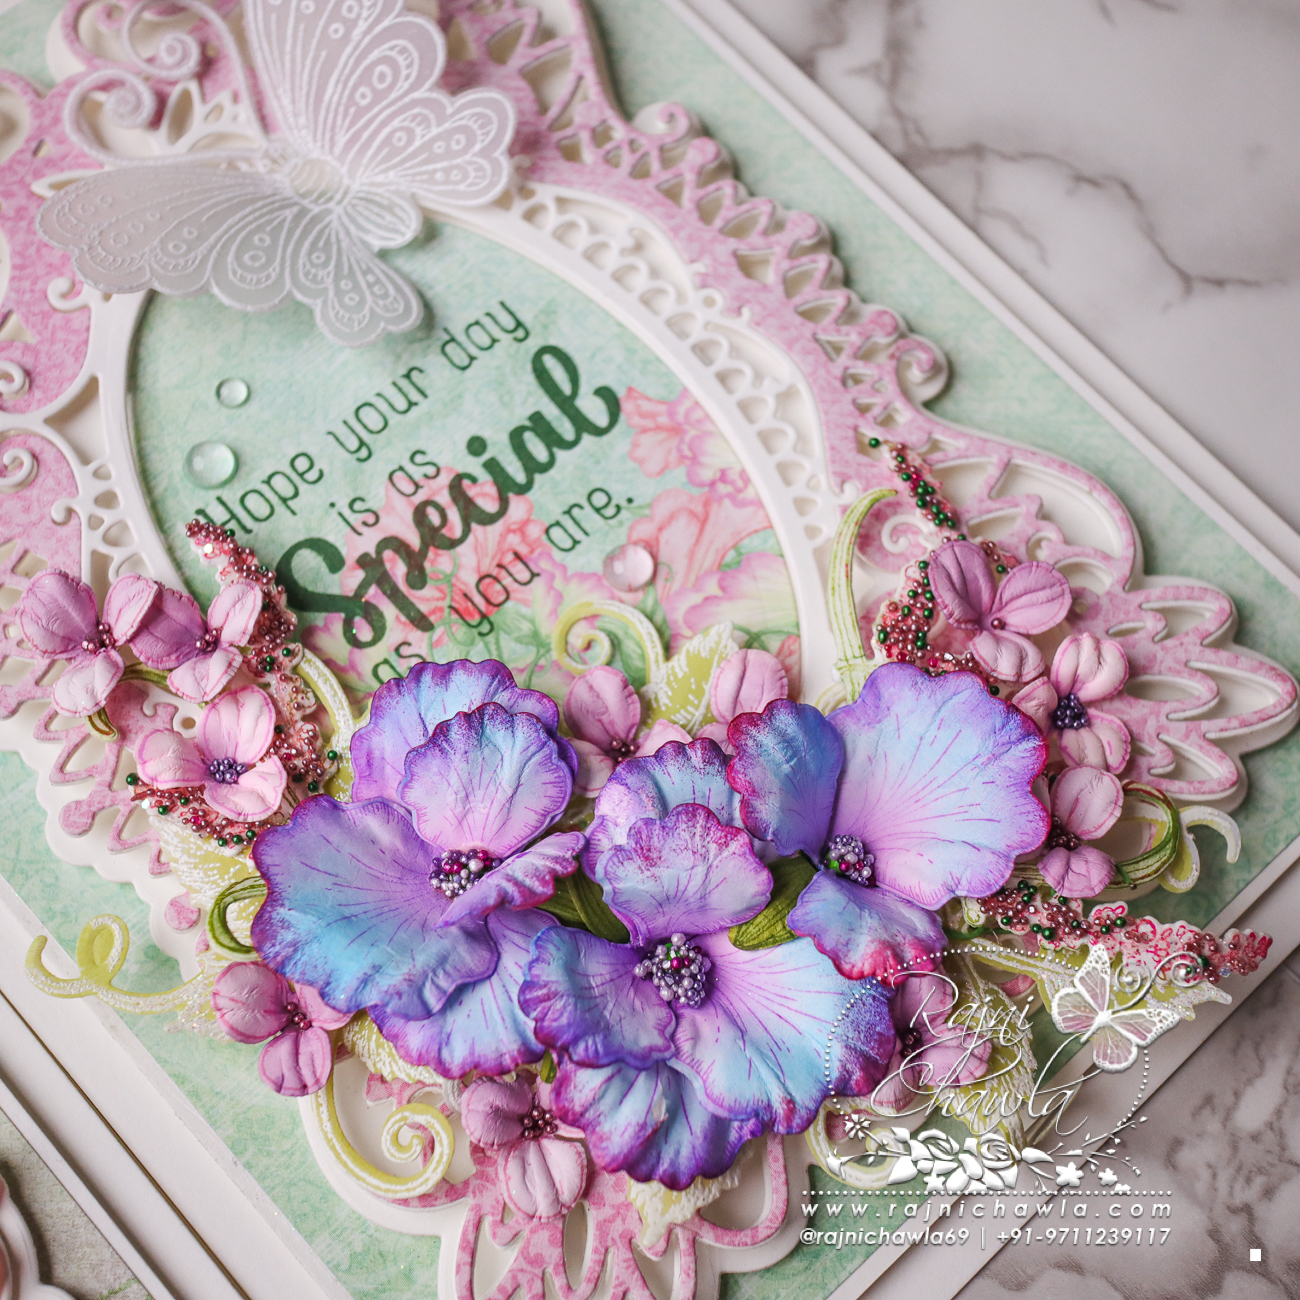
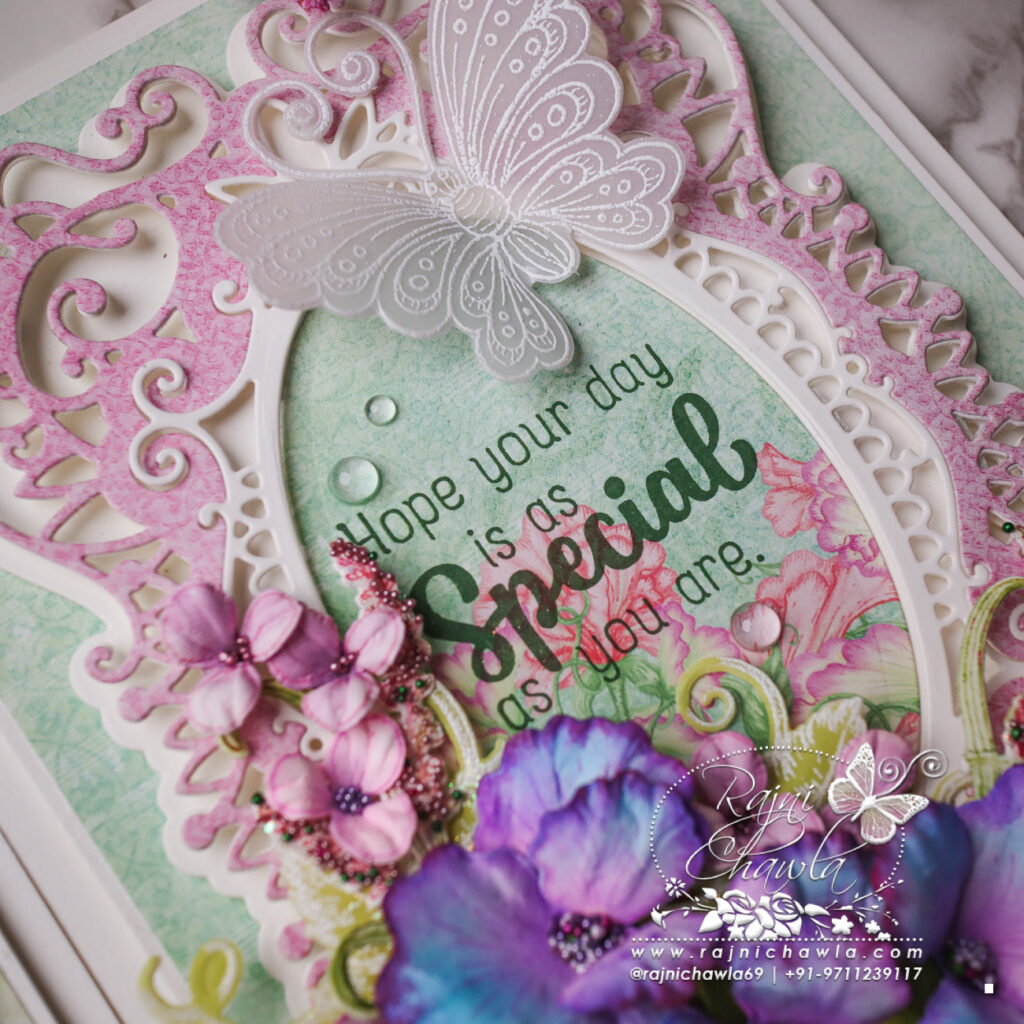
Choose the paper from the designer paper collection and cut the center oval and stamp the sentiment using Leaf Green Archival ink. Glue the stamped oval in the window area.
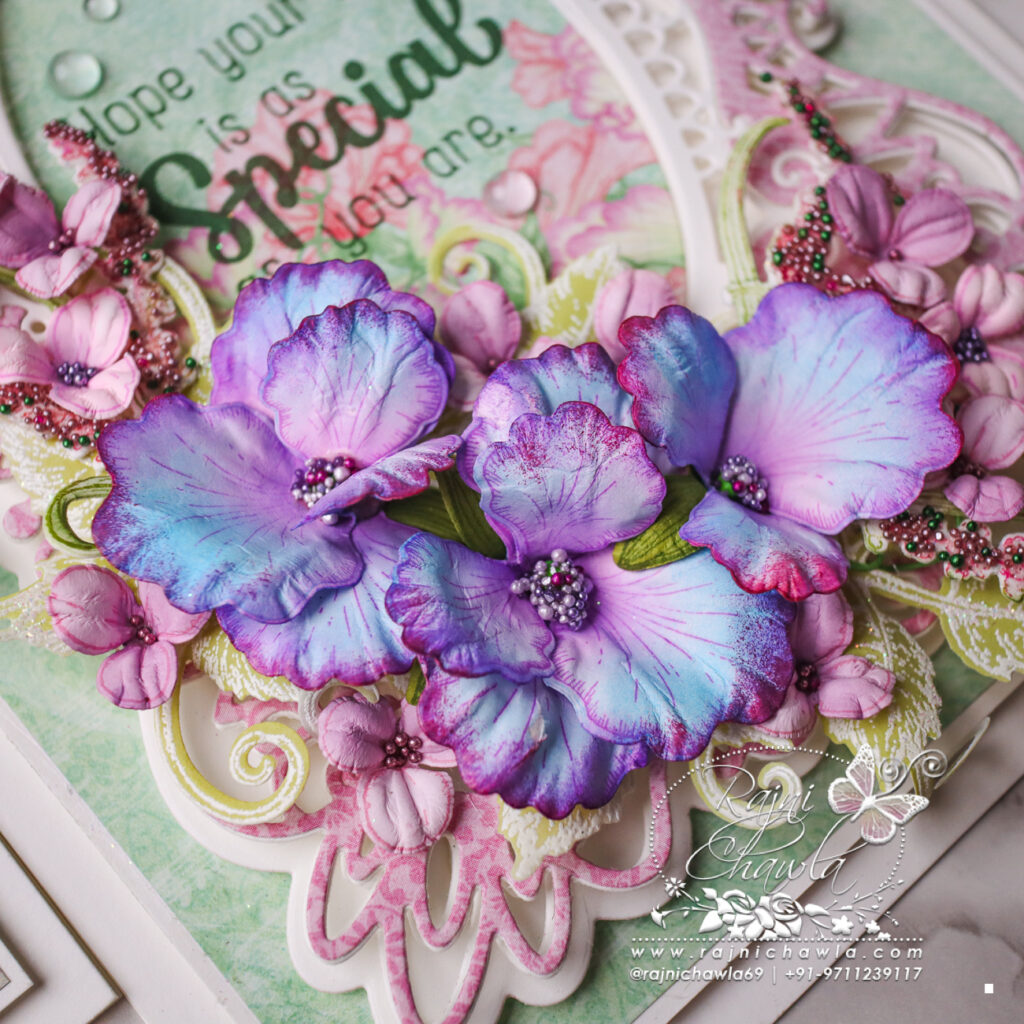
For Sweet Pea Flowers, stamp multiple petals of small and large sweet pea petals on deluxe flower shaping paper, using Majestic Voilet Archival ink. Color the petals using Cactus Flower and Paradise Teal. Highlight the flower using Mulberry archival ink. Mist the petals and shape them using its coordinating mold. Add green calyx and matching prills to finish the flowers. Prepare one large, 2 small, 1 large flower, and 2 buds.
Stamp a few fillers from Floral Shoppe Fillers Cling Stamp Set using Leaf green and Cactus Flower Archival ink and cut it using its coordinating die set. Sponge adhesive that dries clear on the fillers and sprinkle mixed shades of prills. Dust extras and also sprinkle some Rajni Chawla’s Crystal Clear Powder and keep them for drying.
Cascading Wisterias are first stamped with Cactus Flower Archival ink, cut with its coordinating die, and then colored using the same ink. Once all colored these are shaped using Deluxe Flower Shaping Kit and add glitter balls to the centers.
Stamp Leafy foliage from Leafy Accents Stamp sets on Vellum cardstock using Hero Arts white pigment ink, sprinkle white heat embossing powder, and dust extra. Next, heat set the images and cut them using their coordinating dies. Color the foliage using Peeled Paint Distress Oxide. Shape the foliage using a needle tool. Also, heat emboss the sentiment using the same technique. Once, ready with all the elements, arrange a floral bouquet, and finish the card by adding a little sparkle.