


List of supplies from Heartfelt Creations
HCD1-7467 Noel Holiday Ornaments Die
HCPC-31031 Noel Holiday Ornaments Cling Stamp Set
HCDP1-2153 Holiday Ornament Paper Collection
HCD1-7465 Large Holiday Ornament Die
HCD2-7426 Oval Filigree Frame Die
HCGP1-488 Luxe Gold Cardstock
HCPC-31026 Christmas Lantern Cling Stamp Set
HCD1-7462 Christmas Lantern Die
359760 Embossing Powder – Gold
478594 Zig Clean Color Real Brush Markers – 48 Pack
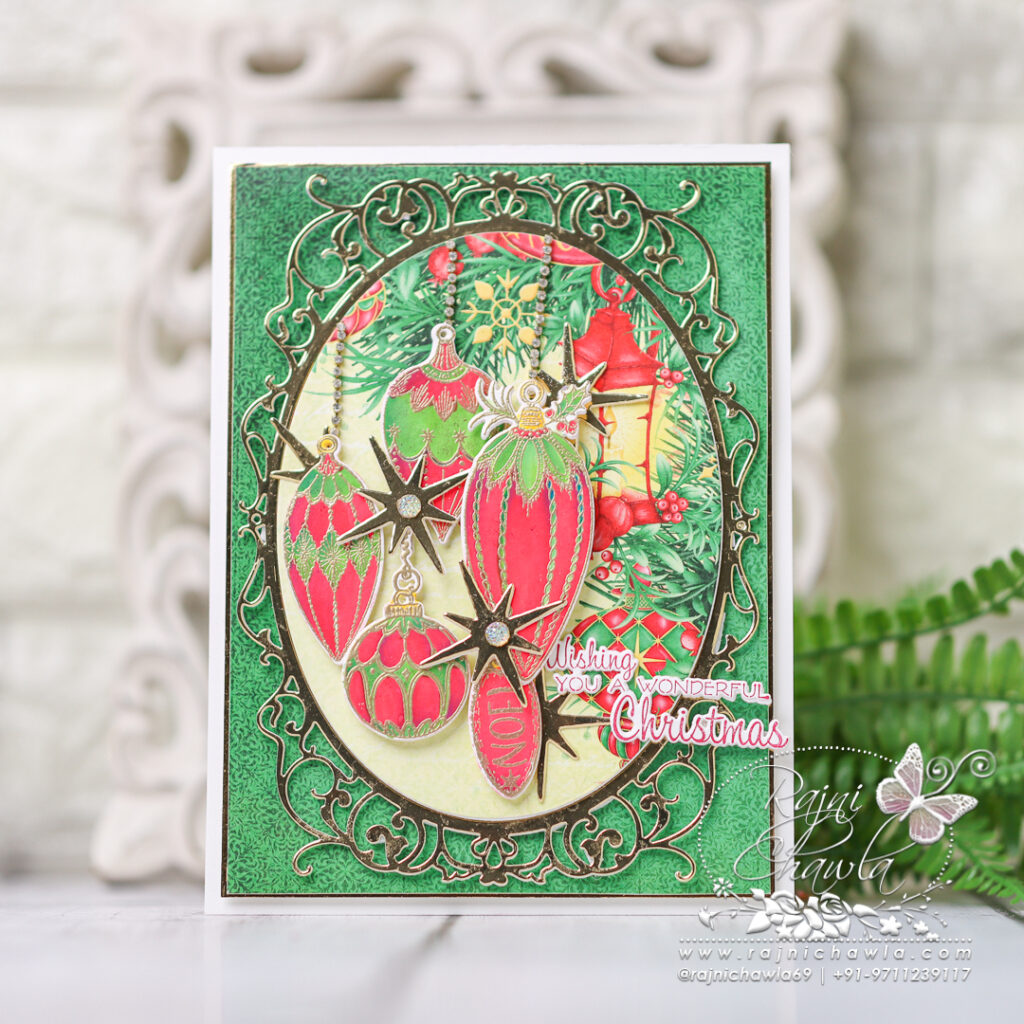
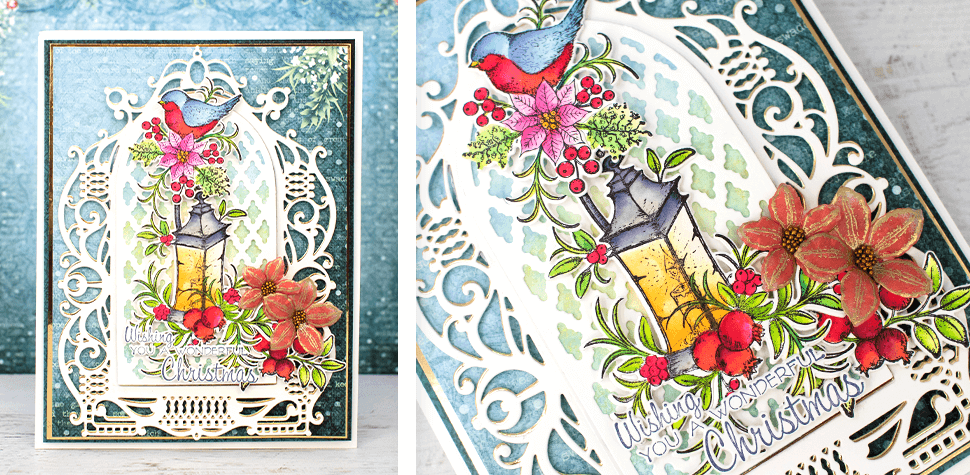
The ready top folds card measures, 8 1/2″ by 6 1/2″. To prepare the card base, cut a smooth white cardstock measuring 81/2″ by 6 1/2″ and a second piece measuring 9″ by 6 1/2″. On 9″ length, score at 1/2″ and crease well. Glue the other panel on top to create a top fold card front.
For the top layer, choose the paper from the designer paper collection and cut it 1/4″ smaller than the main card front so that it shows a white border all around, Mat a golden layer behind making a delicate golden border of 1/16″ all around.
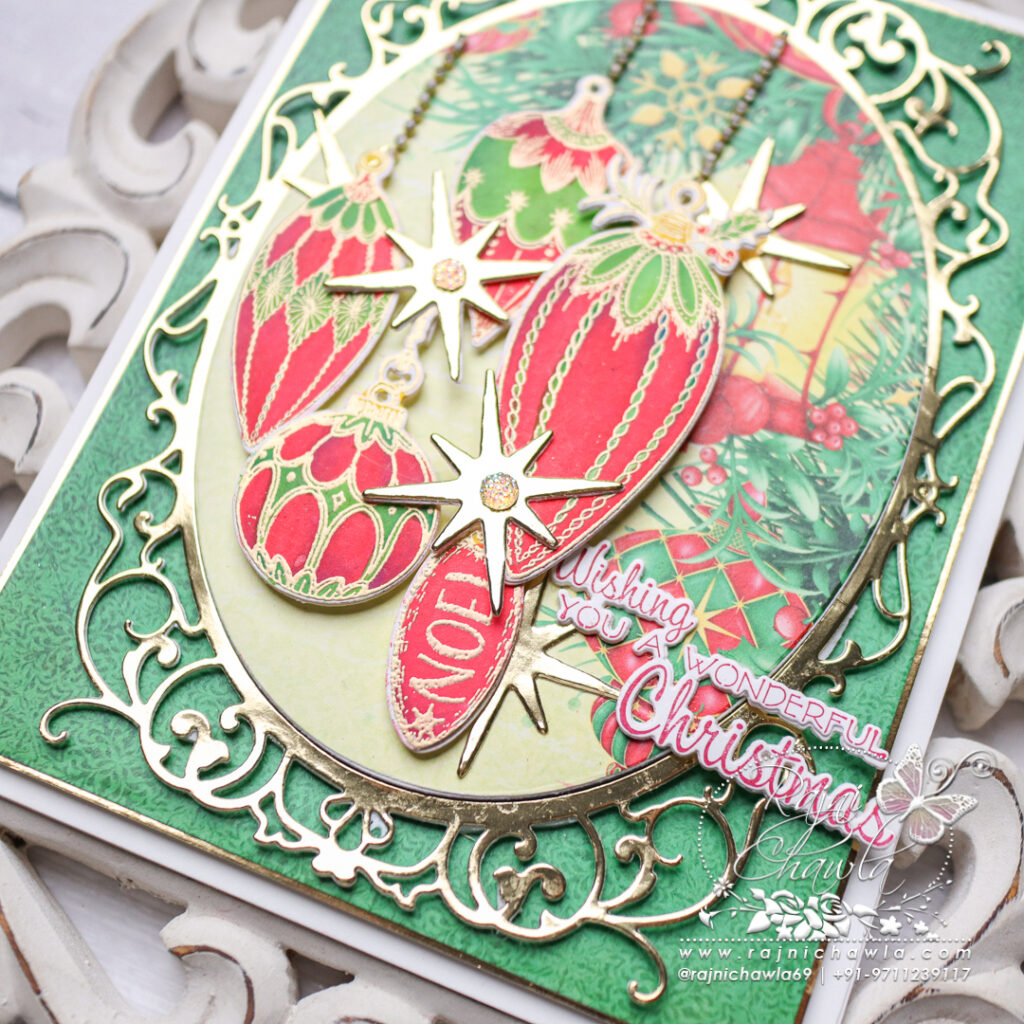
Cut 2 pieces of filigree frames, one each in white and Luxe gold cardstock, and glue them together to add some extra strength to the big frame. Layer it on the card using foam dots. Next, choose a pattern paper from the paper collection and layer it on the card front using foam dots.
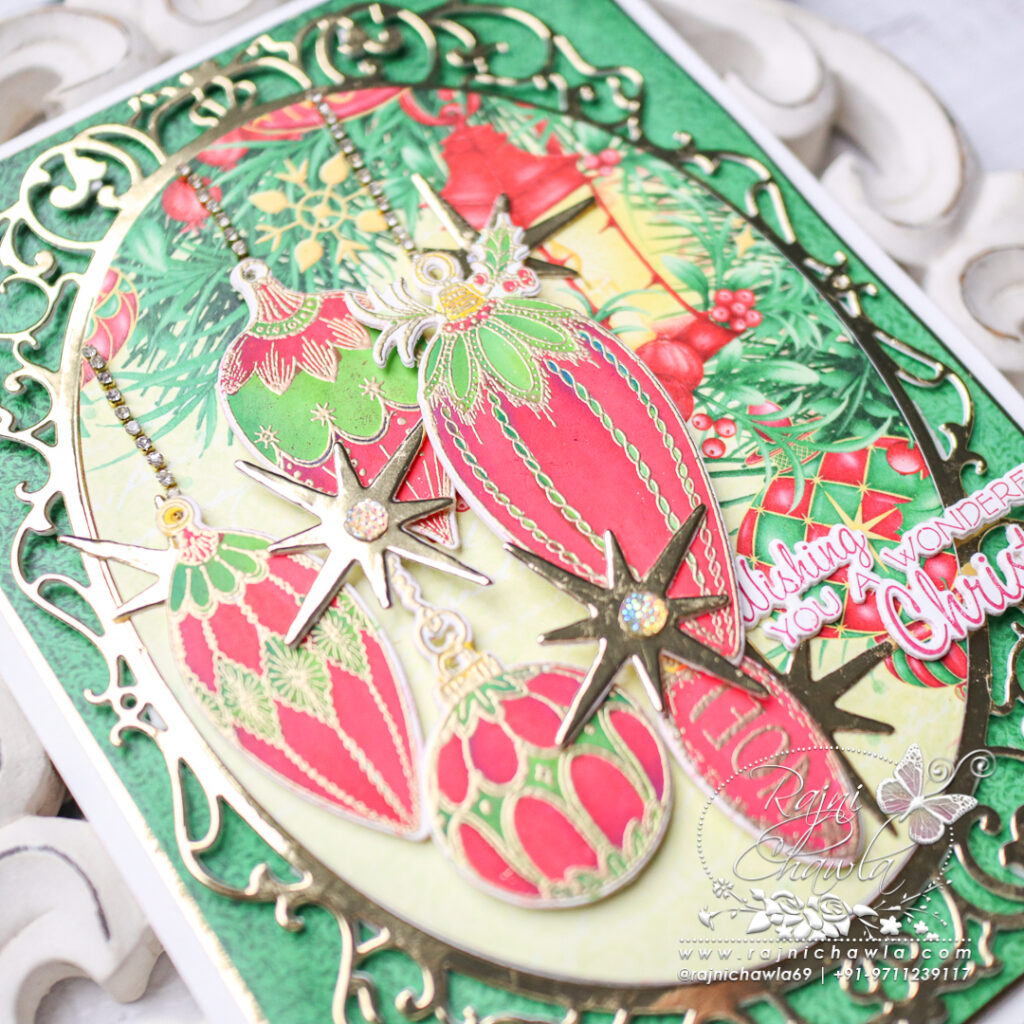
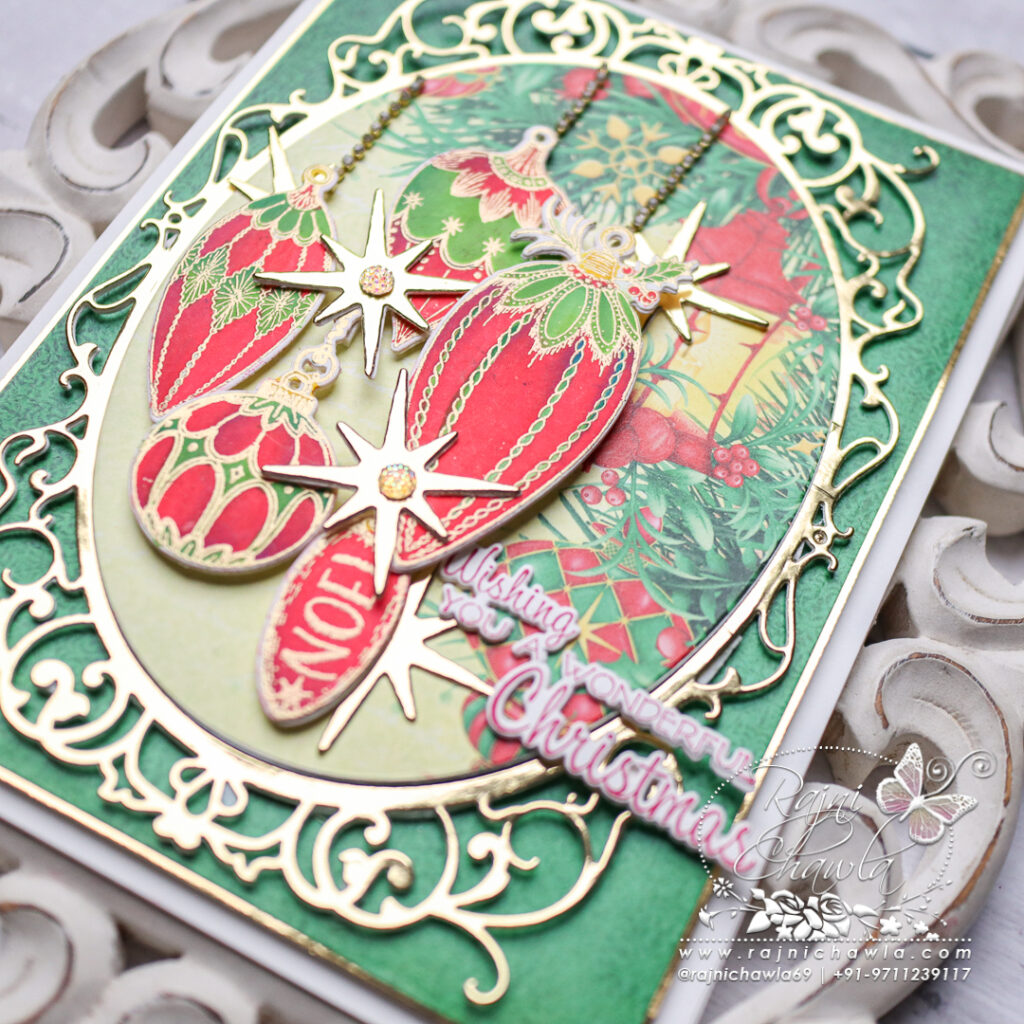
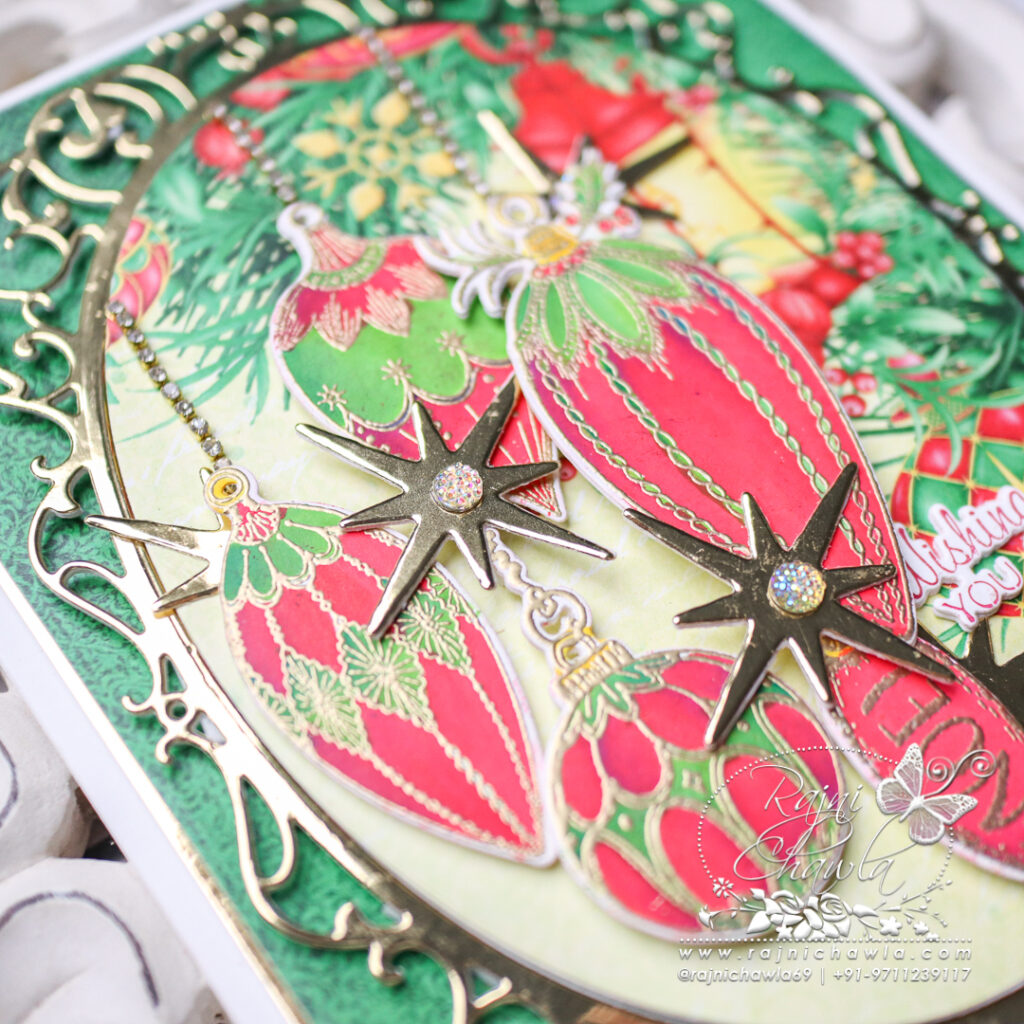
Stamp all the required images using versa mark sticky ink and sprinkle gold heat embossing powder, Dust extras, and heat set the images. Cut the images using its coordinating dies and color them using Zig Clean Clear Brush Markers.
Once all the elements are ready, adhere a few extra die cuts behind each painted ornament to add extra strength and then layer these as shown using foam dots and complete the card by adding Christmas, stamped, and die-cut sentiments from Christmas Lantern Cling Stamp Set. Further, embellish the card using a diamond chain and glitter. Also, add some die-cut stars using a Large Holiday Ornament Die.
Absolutely gorgeous as always, my friend!