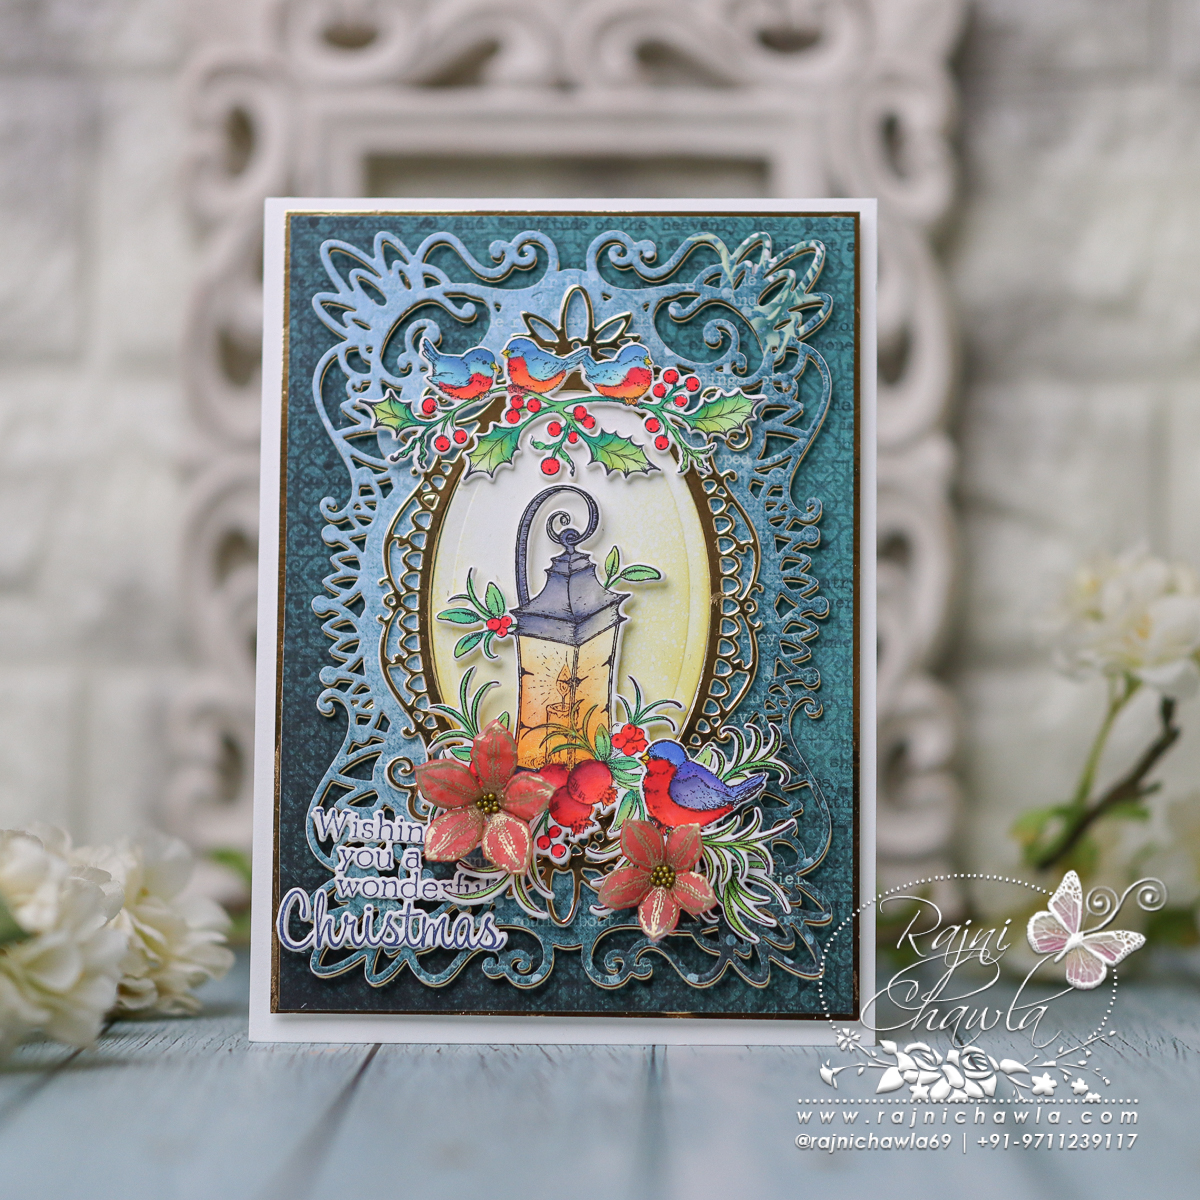
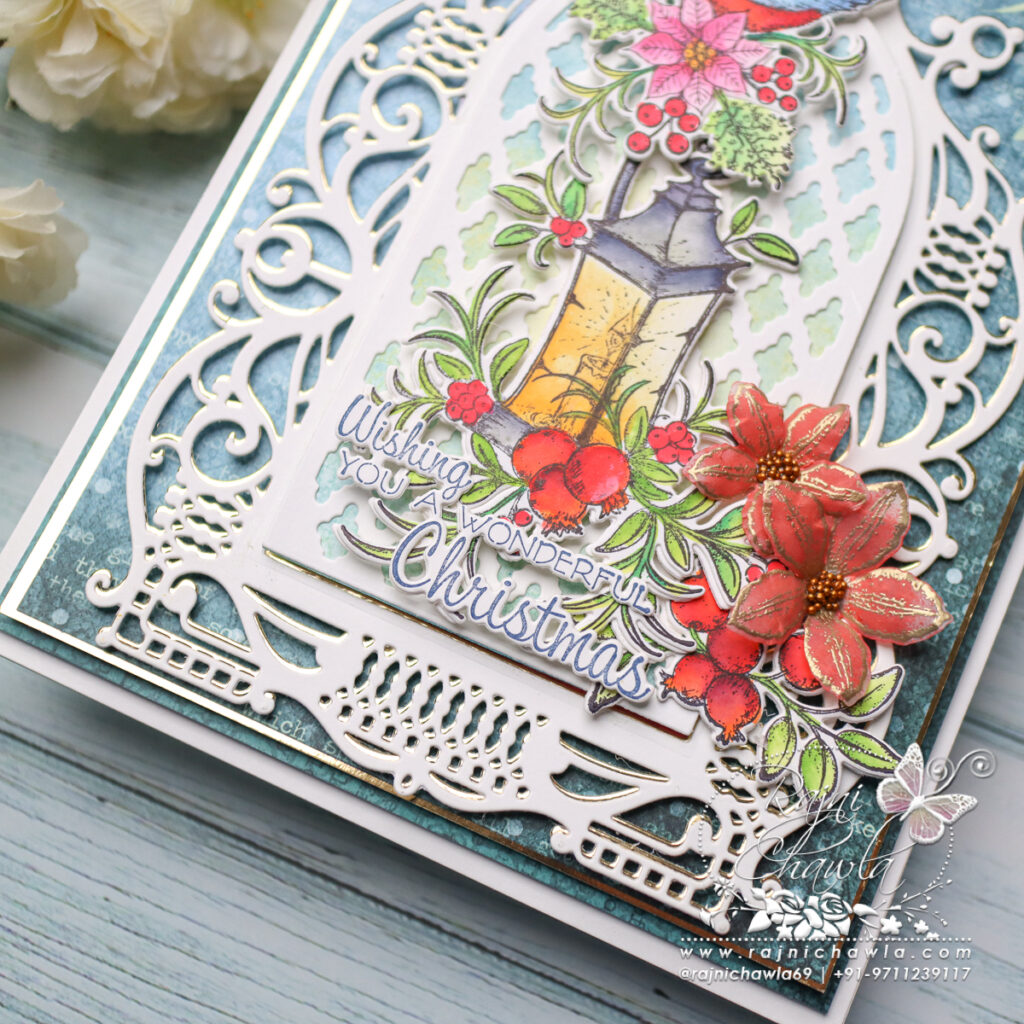
Back again with a new inspiration for you all. The Christmas illustrations from Festive Christmas Collections are to die for. I really loved coloring them all and used them to create the focal image for my cards. I kept the floral bouquet minimal, as not to disturb the beauty of the painted image.
List Of Supplies From Heartfelt Creations:
HCD2-7339 Regal Lattice Gateway Die
HCD1-7462 Christmas Lantern Die
HCD1-7463 Festive Berry & Birdies Die
HCD1-7464 Christmas Holly Accents Die
HCPC-31026 Christmas Lantern Cling Stamp Set
HCPC-31027 Festive Berry & Birdies Cling Stamp Set
HCPC-31028 Christmas Holly Accents Cling Stamp Set
HCDP1-2152 Festive Christmas Paper Collection
HCD1-7355 Clematis Die
HCPC-3954 Clematis Cling Stamp Set
HCGP1-488 Luxe Gold Cardstock
HCST1-401 Deluxe Flower Shaping Kit
18002 Rajni Chawla’s Vellum Flowerite – 10 Sheets
Zig Clean Color Real Brush Markers – 48 Pack 478594
409311 Color In Watercolor Brush – Fine
Other Products Used: Die Cutting Machine, Score Board, Bone Folder, Smooth White Cardstock, Scissors, Heat gun.
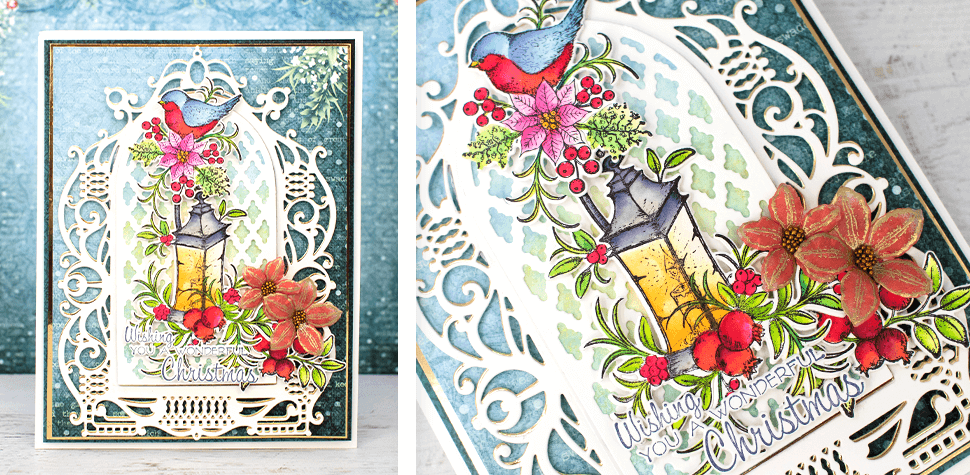
Instructions: The ready side fold card measures, 5 ½” X 8”. Cut a decorative gate in white using Regal Lattice Gateway Die. Choose a teal color pattern paper from the designer paper collection to create the very first layer of the card front. Cut the paper measuring 5″ X7 1/2″ and layer it on the card front using foam tape. For the next layer, choose coordinating paper from the same paper collection and cut measuring 4 1/2″ X7″. Next, mat it on the white cardstock making a white border of 1/16th” on all sides. Layer it flat on the card front using foam dots.
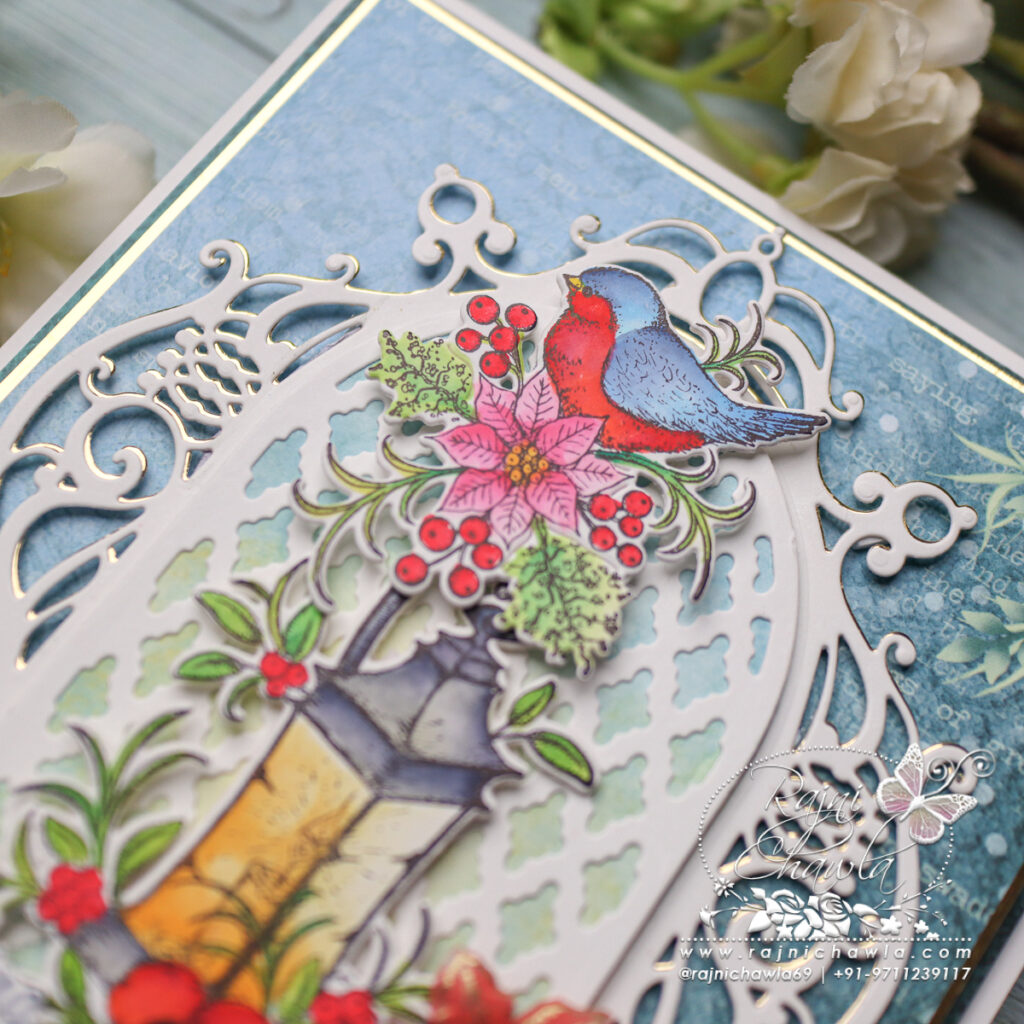
Cut the decorative gate using Regal Lattice Gateway Die, once in Luxe Gold card stock and once in white card stock. Glue a golden die-cut, behind the white one to create little shadows. Layer the decorative frame on the card front using glue dots. Do the same with the center window.
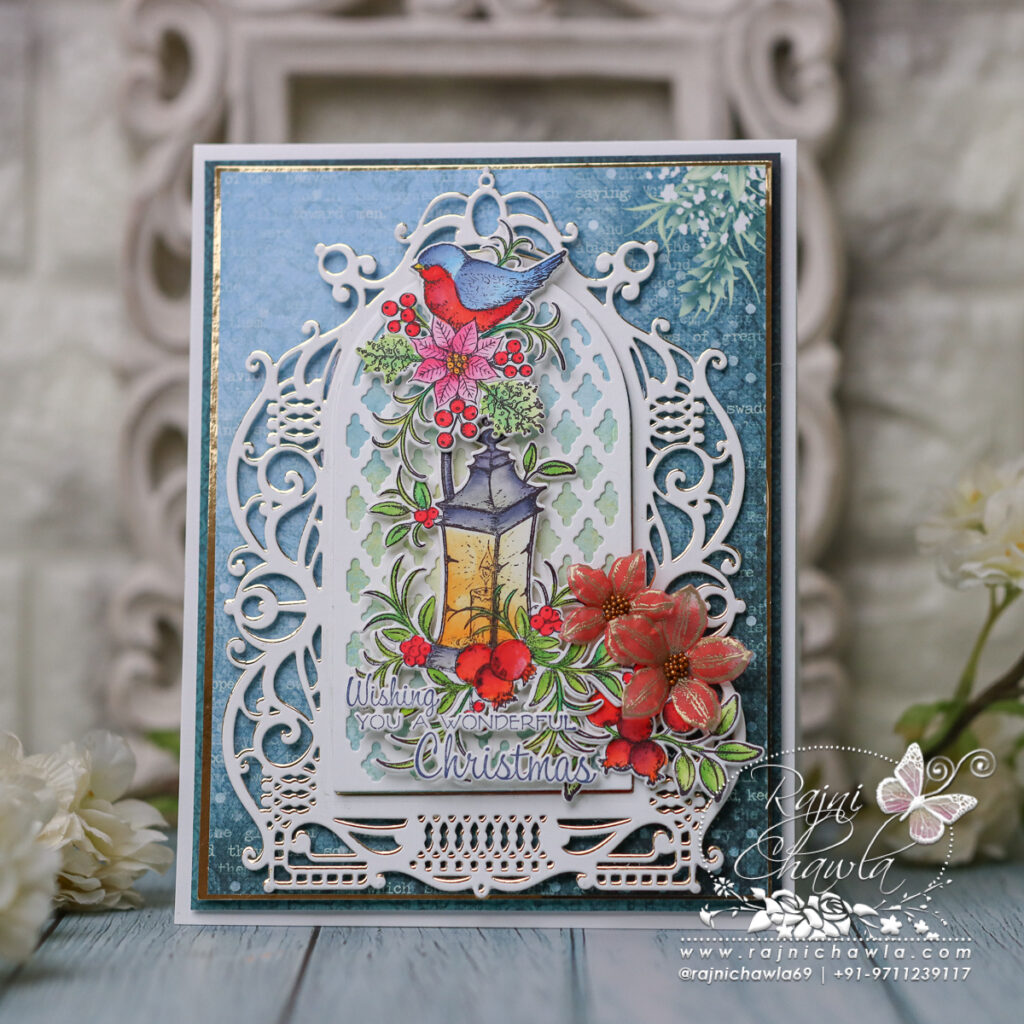
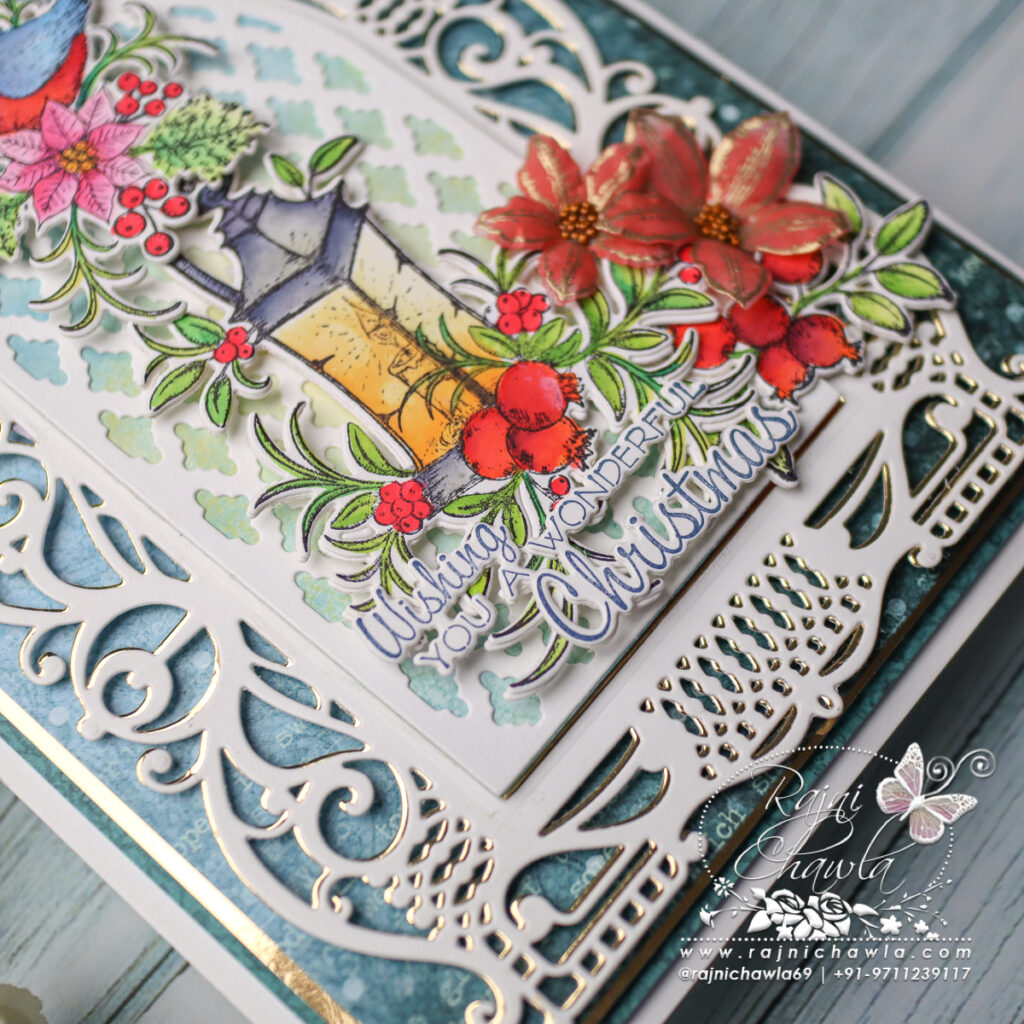
Next, stamp all the required images from HCPC-31026 Christmas Lantern Cling Stamp Set and HCPC-31027 Festive Berry & Birdies Cling Stamp Set with black archival ink on smooth white cardstock and paint them using Zig Clean Clear Markers. Once done with the painting, cut the images using their coordinating dies. Glue an extra die cut on the back of the painted image for extra strength. Also, Stamp and cut the sentiment using HCPC-31028 Christmas Holly Accents Cling Stamp Set and its coordinating die.
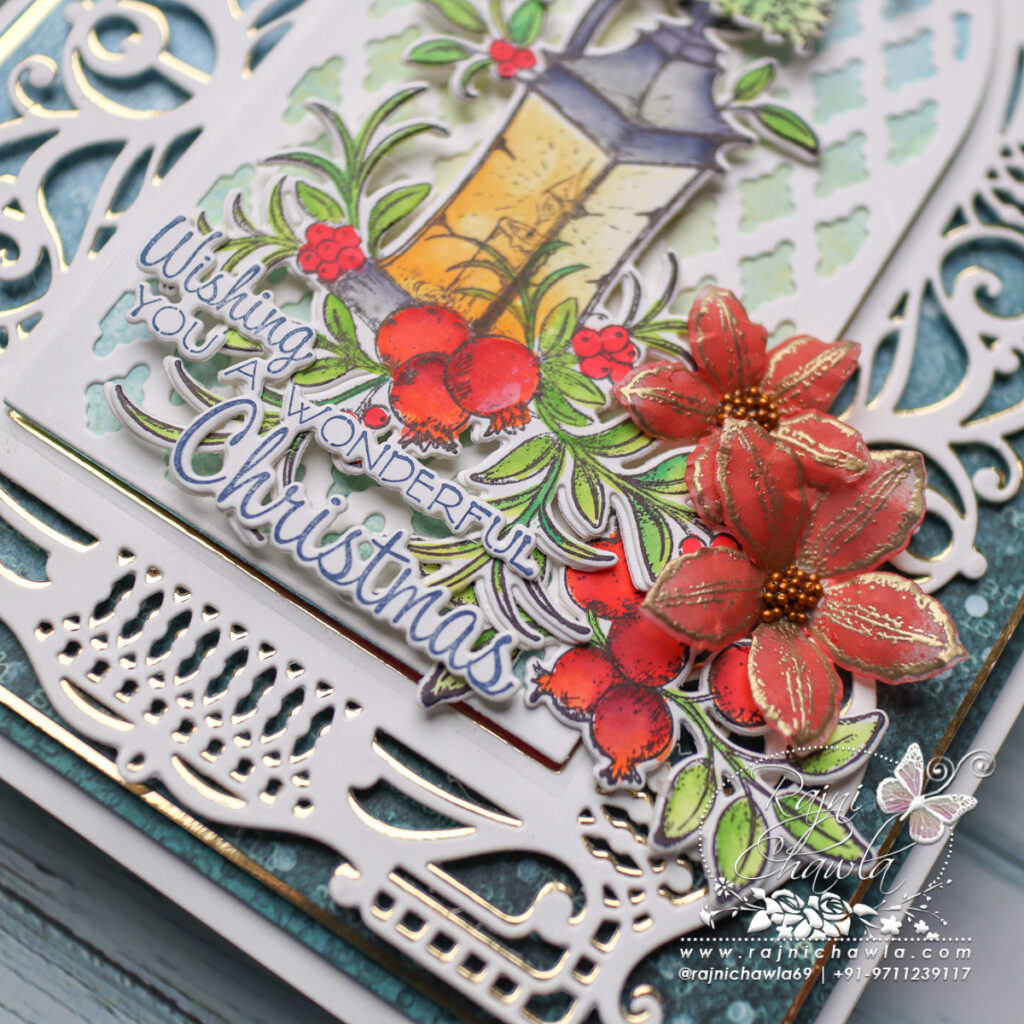
Use Clematis stamp and die set to create small Poinsettias. Stamp the Clematis florals using Versamark ink on Rjni Chawla’s Vellum Flowret cardstock and sprinkle golden heat embossing powder. Dust extras in the funnel tray and heat set it using a heat tool. Cut the florals using its coordinating die set and color the flowers using Festive Berries Distress Oxide and shape them using shaping tools.
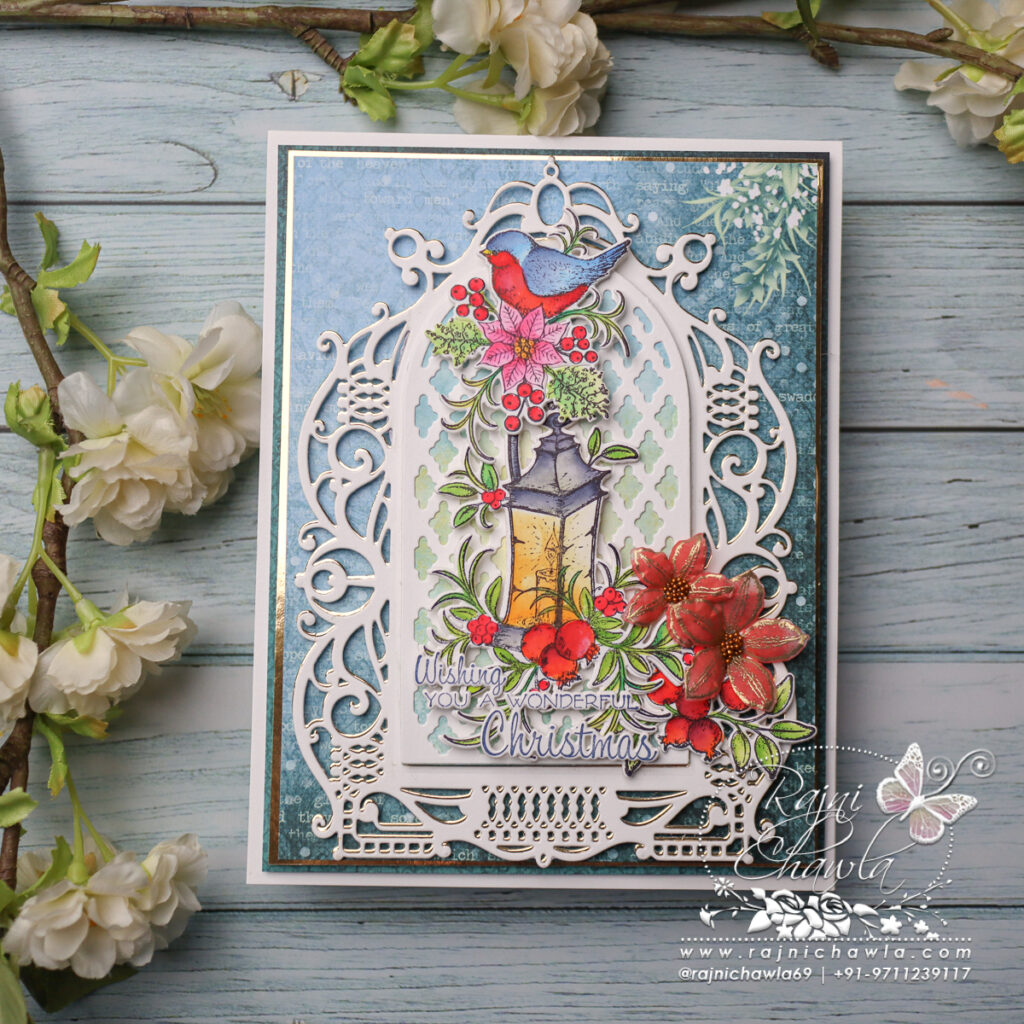
Once ready with all the elements, layer and glue all the painted images as shown and finish the card by adding a stamped, die-cut sentiment from the same collection.