Happy Wednesday!!
Today, at Heartfelt Creations we, designers are debuting classically beautiful and bright Elegant Mosaics Collection. For today’s inspiration, I have 2 cards in 2 separate blogposts. Here is my another take on the new Elegant Mosaic Collection.

Supplies From Heartfelt Creations:
HCD1-7389 Floral Mosaics Die
HCPC-3978 Floral Mosaics Cling Stamp Set
HCDP1-2136 Elegant Mosaics Paper Collection
HCD1-7369 Elegant Hearts Centerpiece Die
HCD1-7367 Simple Centerpiece Die
HCD1-7246 Fanci-Fold Pocket & Accents Die
HCD1-7193 Leafy Accents Die
HCPC-3835 Leafy Accents Cling Stamp Set
HCPC-3887 Wild Aster Cling Stamp Set
HCD1-7257 Wild Aster Die
HCPC-3911 Wisteria Petals Cling Stamp Set
HCD1-7295 Wisteria Petals Die
HCPC-3843 Special Birthday Sentiments Cling Stamp Set
HCGP1-488 Luxe Gold Cardstock
HCST1-401 Deluxe Flower Shaping Kit
RACP607 Ranger Archival Ink Pad – French Ultramarine
RACP436 Ranger Archival Ink Pad – Leaf Green
RACP962 Ranger Archival Ink Pad – Fern Green
RACP656 Ranger Archival Ink Pad – Sky Blue
RACP487 Ranger Archival Ink Pad – Bright Tangelo
RACP795 Ranger Archival Ink Pad – Seafarer
478594 Zig Clean Color Real Brush Markers – 48 Pack
Other Supplies Used: Smooth white cardstock, Die Cutting machine, Score Board, Bone Folder, Glossy Accent, Double Sided Tape.
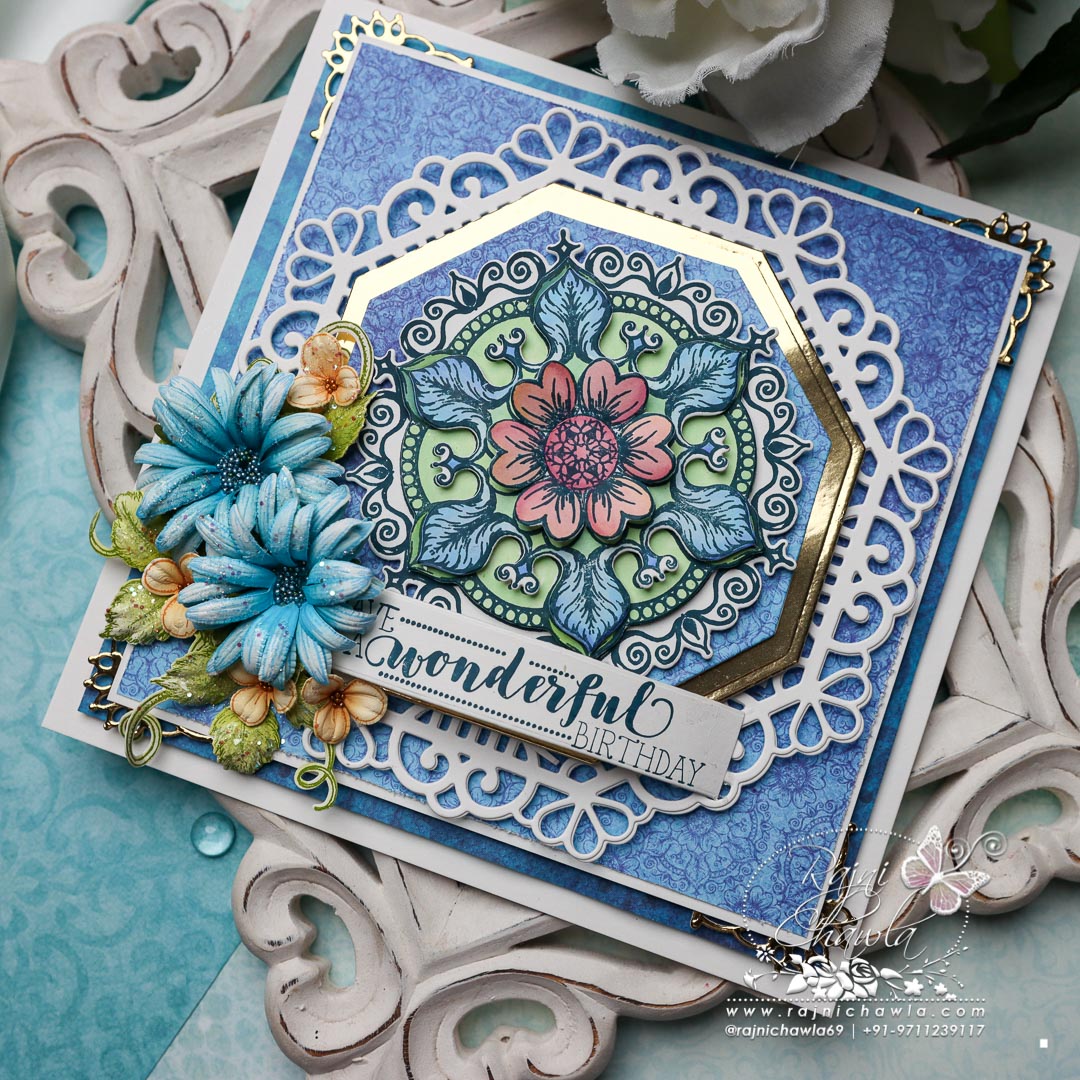
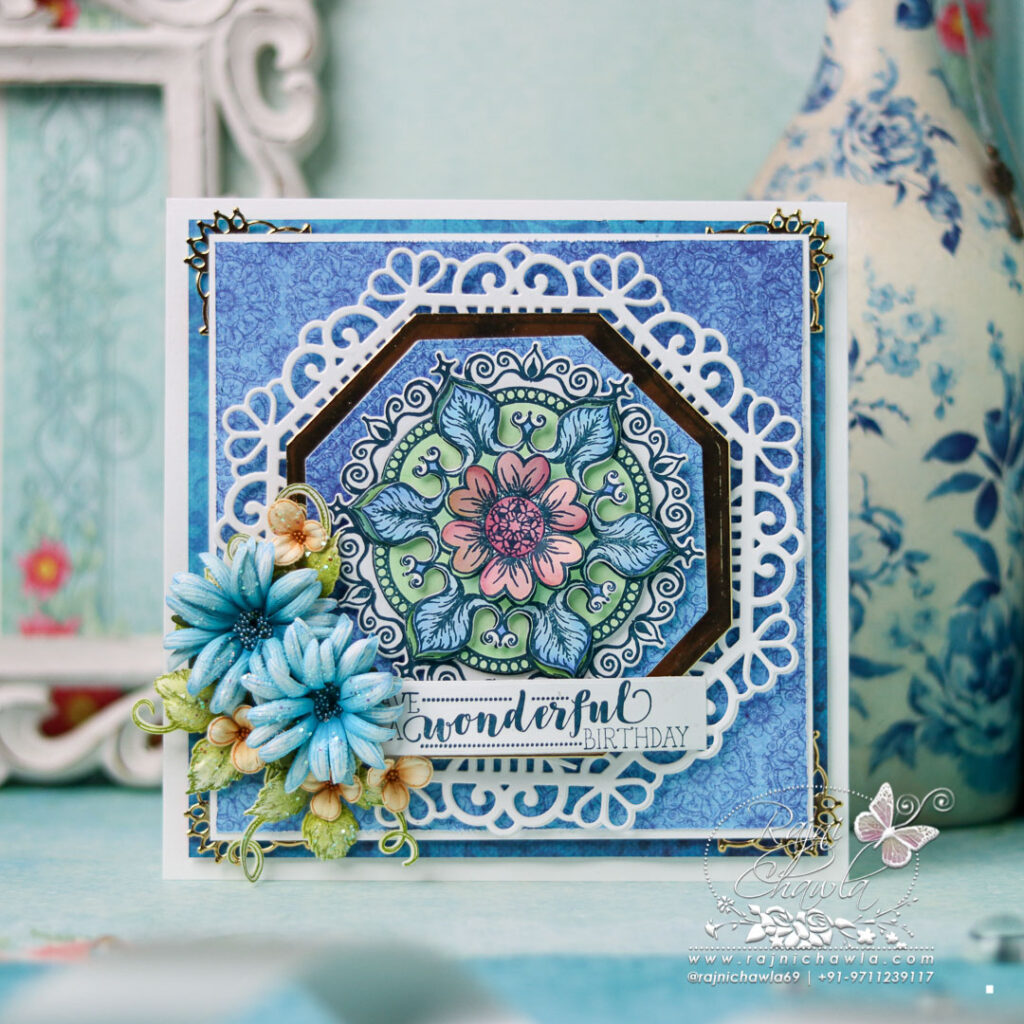
Instructions: The ready top fold card measures, 7″ X 7″. For making the card base you will need two pieces of cardstock measuring 7″ X 7″ and 7 1/2″ X 7″. Score the second piece on 1/2″ and crease well using a bone folder, making a hinge. Add glue on the hinge and secure the first piece on top.
Choose the pattern paper from the Elegant Mosaics designer paper collection and chop it to 6 1/2″ X 6 1/2″ using a paper trimmer. Layer the panel on white cardstock making a border of 1/16″ on all four sides. Cut 4 corners from Gold Luxe cardstock using Fanci-Fold Pocket & Accents Die and glue them behind each corner. popping a little out as an extra accent. Choose and cut coordinating pattern paper and create another layer. Glue the ready panel on the card front as shown.
Cut all the required die cuts from white and Luxe Gold cardstock using Simple Centerpiece and Elegant Hearts Centerpiece dies and layer them using double-sided tape.
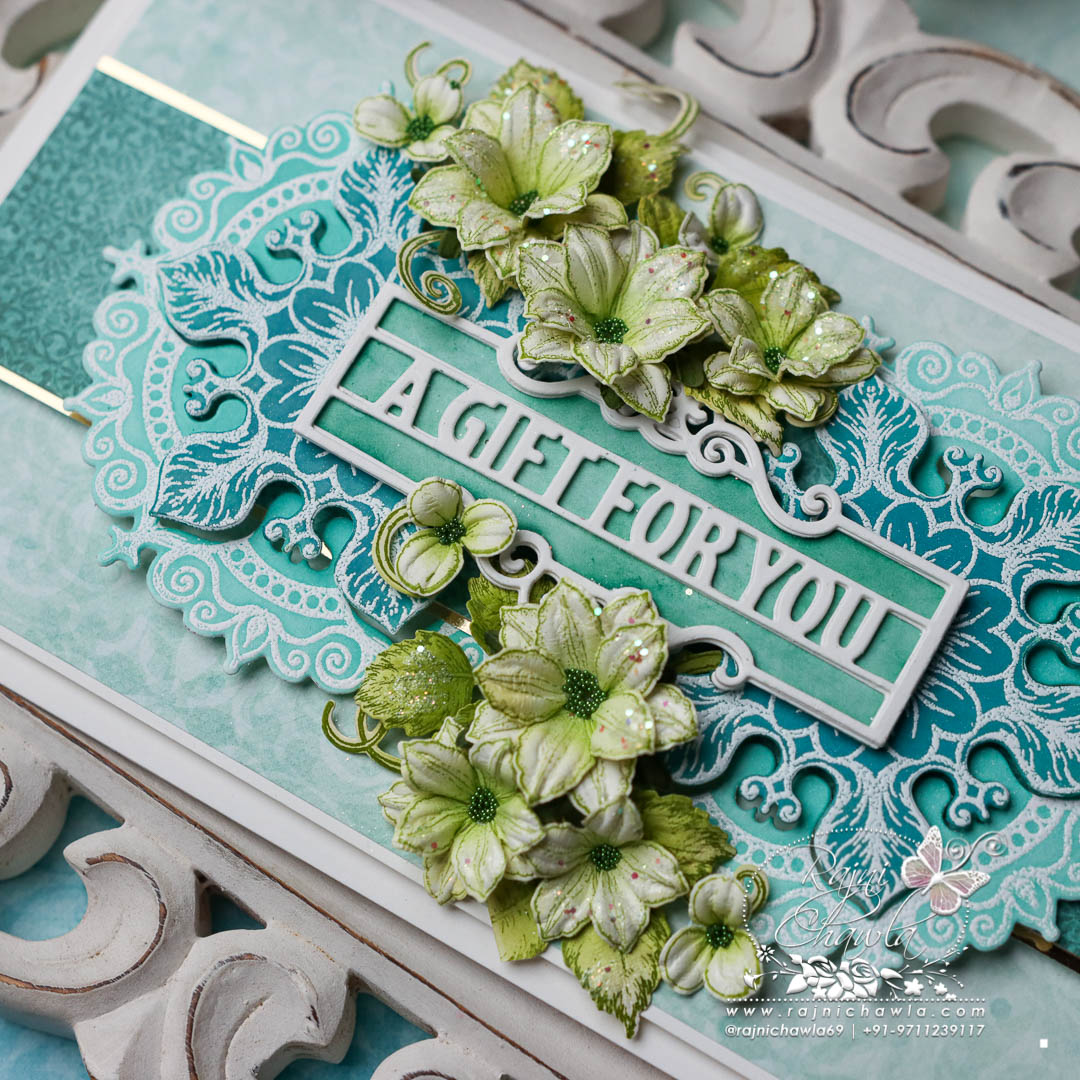
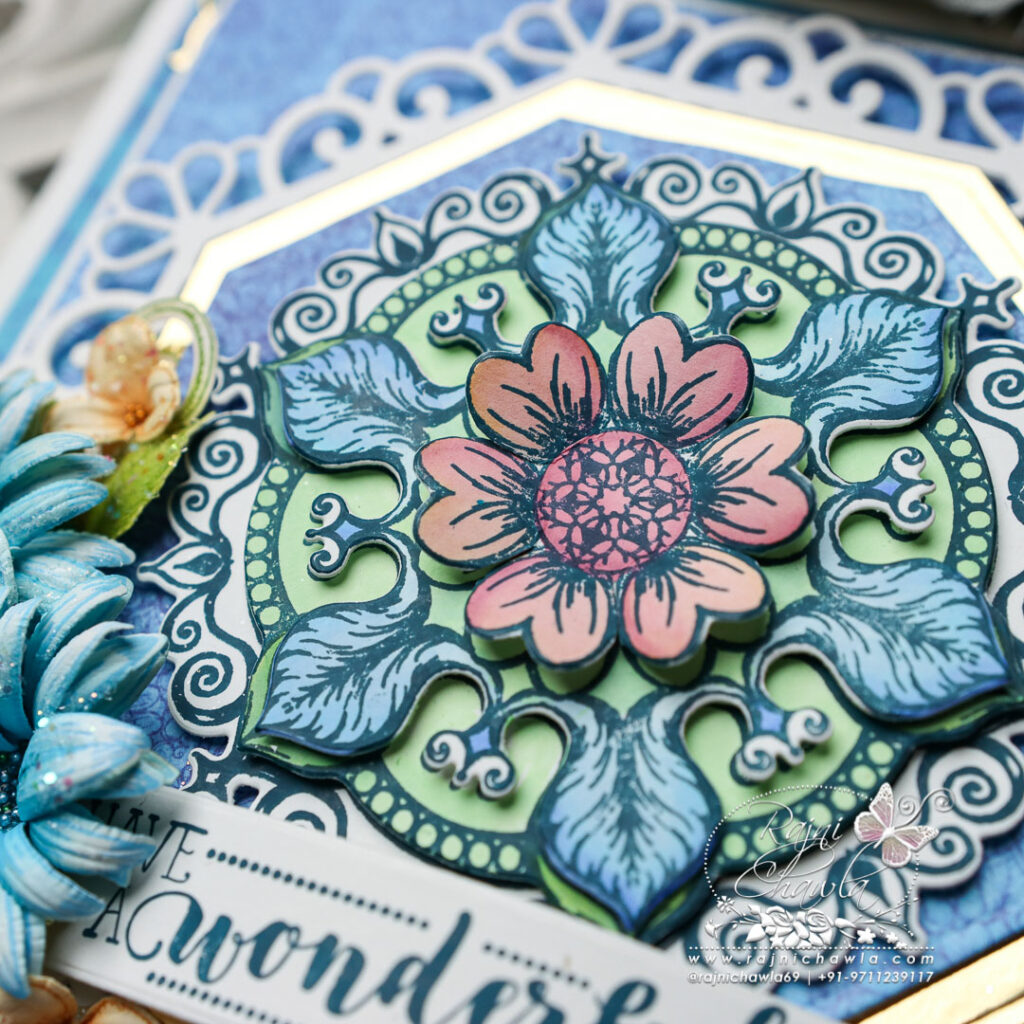
Stamp the image from Floral Mosaics Cling Stamp Set, using Seafarer 4 times on smooth white cardstock, and paint each layer separately using Zig Clean Clear Brush Markers. Cut each layer using its coordinating die.
For Blue Asters, Stamp a couple of petals from Wild Aster Cling Stamp Set using French Ultramarine Archival Ink and cut them using its coordinating die. Color the petals using the same ink and shape them using golf groove tools. Create one large, 3 medium, and one small-sized Aster. Complete the flowers by adding the prills in the centers.
For foliage, Stamp the images from Leafy Accent stamp set with Olive green archival ink and paint them using Leaf green Archival ink. Cut the foliage using its coordinating die. Shape the leaves using a groove golf tool.
Stamp, cut, and color a few wisteria flowers using Bright Tangelo and Carnation Red Archival inks and shape them using a flower shaping kit. Add flower pollens using a glossy accent and use these flowers as fillers.
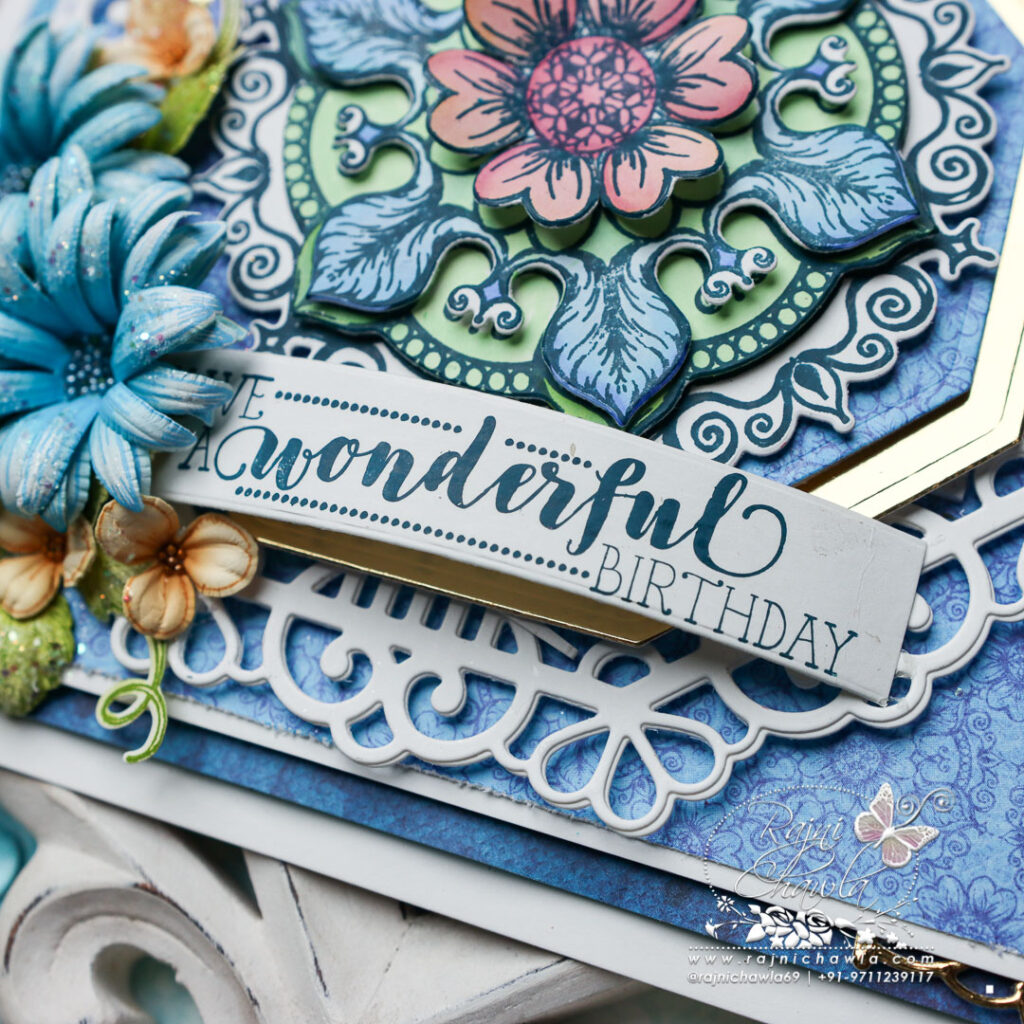
Once all the elements are ready, make a small floral display using all flowers, fillers, and foliage. Complete the card by adding a sentiment from Special Birthday Sentiments Cling Stamp Set.