Happy Wednesday!!
Today, at Heartfelt Creations we, designers are debuting classically beautiful and bright Elegant Mosaics Collection. For today’s inspiration, I have 2 cards in 2 separate blogposts. Here is my very first take on the new Elegant Mosaic Collection.
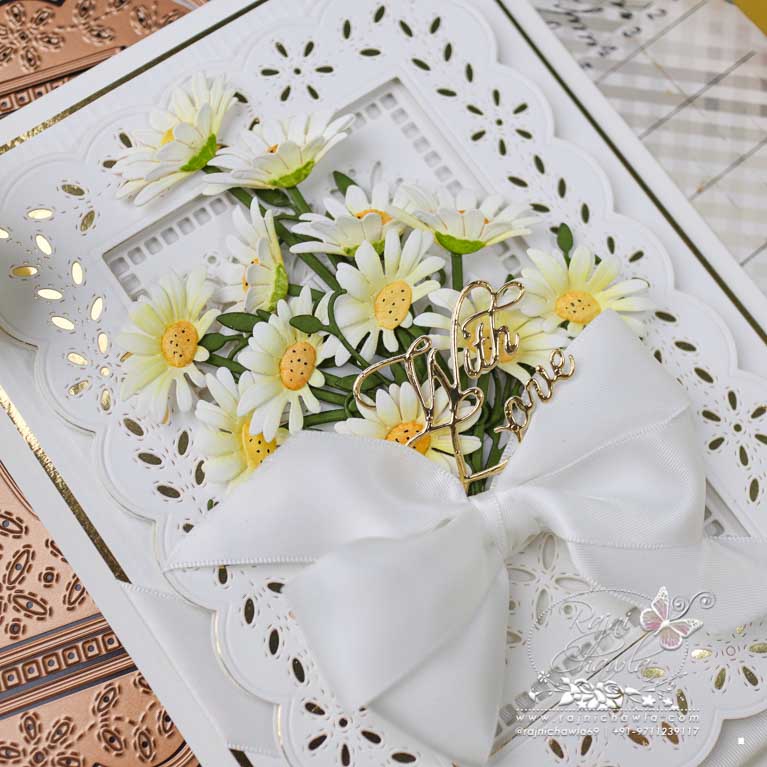
It was so much fun creating heat embossed mandalas for my first project.

Supplies From Heartfelt Creations:
HCD1-7389 Floral Mosaics Die
HCPC-3978 Floral Mosaics Cling Stamp Set
HCDP1-2136 Elegant Mosaics Paper Collection
HCPC-3954 Clematis Cling Stamp Set
HCD1-7355 Clematis Die
HCD1-7193 Leafy Accents Die
HCPC-3835 Leafy Accents Cling Stamp Set
HCPC-3911 Wisteria Petals Cling Stamp Set
HCD1-7295 Wisteria Petals Die
HCD1-7203 Ornamental Tags Die
HCST1-401 Deluxe Flower Shaping Kit
RACP436 Ranger Archival Ink Pad – Leaf Green
RACP962 Ranger Archival Ink Pad – Fern Green
Other Supplies Used: Smooth White Cardstock, Die Cutting Machine, Score Board, Scissors, Timholtz Scale, Hero Arts White Pigment Ink, Funnel Tray, Seed Beads, Glossy Accent, Double Sided Tapes, and Tacky Glue.
Instructions: The ready top fold card from the smooth white cardstock measures, 4 1/4″ by 8 1/2″. To prepare the top panel, choose the paper from the designer paper collection and cut it to size measuring 3 3/4″ by 8″. Distress all the sides using sharp scissors and mat it directly on the white cardstock measuring 1/8″ larger. Next, layer it with one layer of foam tape on coordinating paper from the same paper collection. Finally, layer the prepared panel with one layer of foam tape on the ready card base.
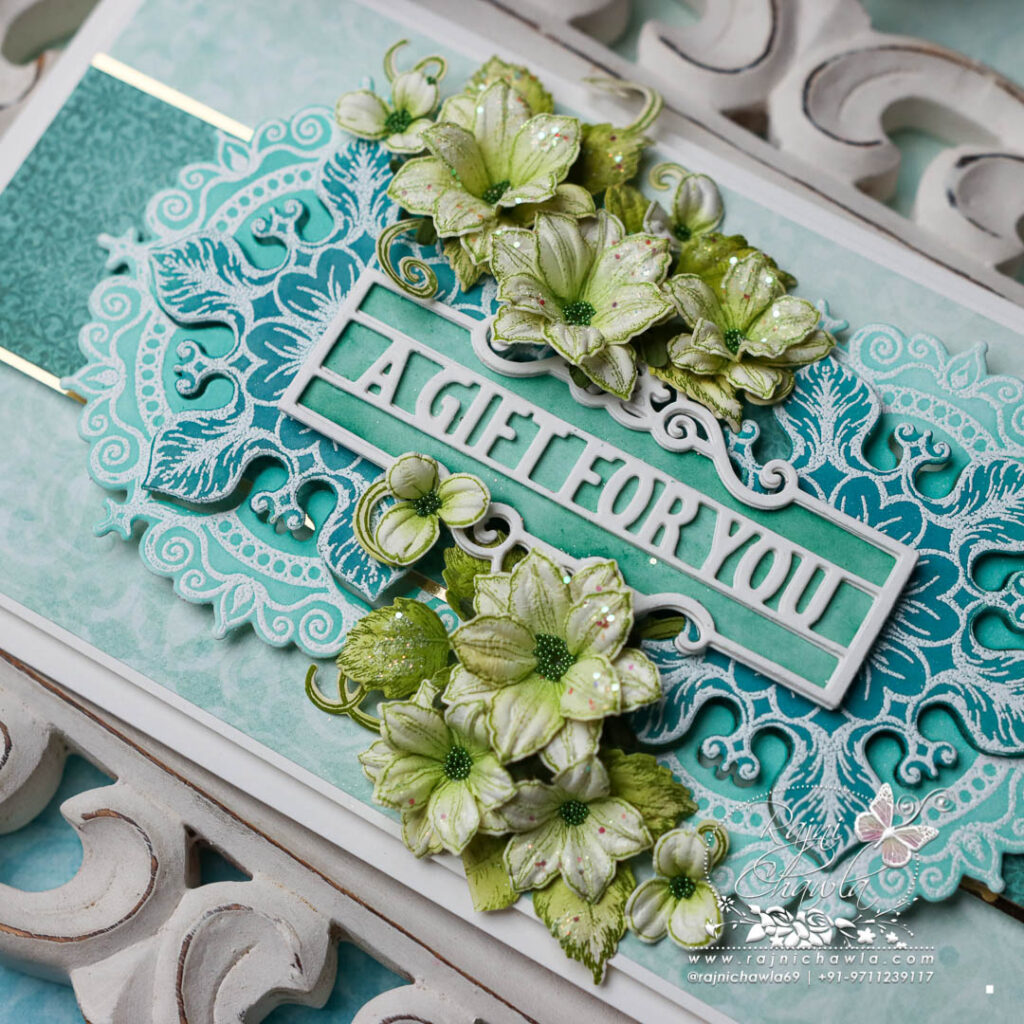
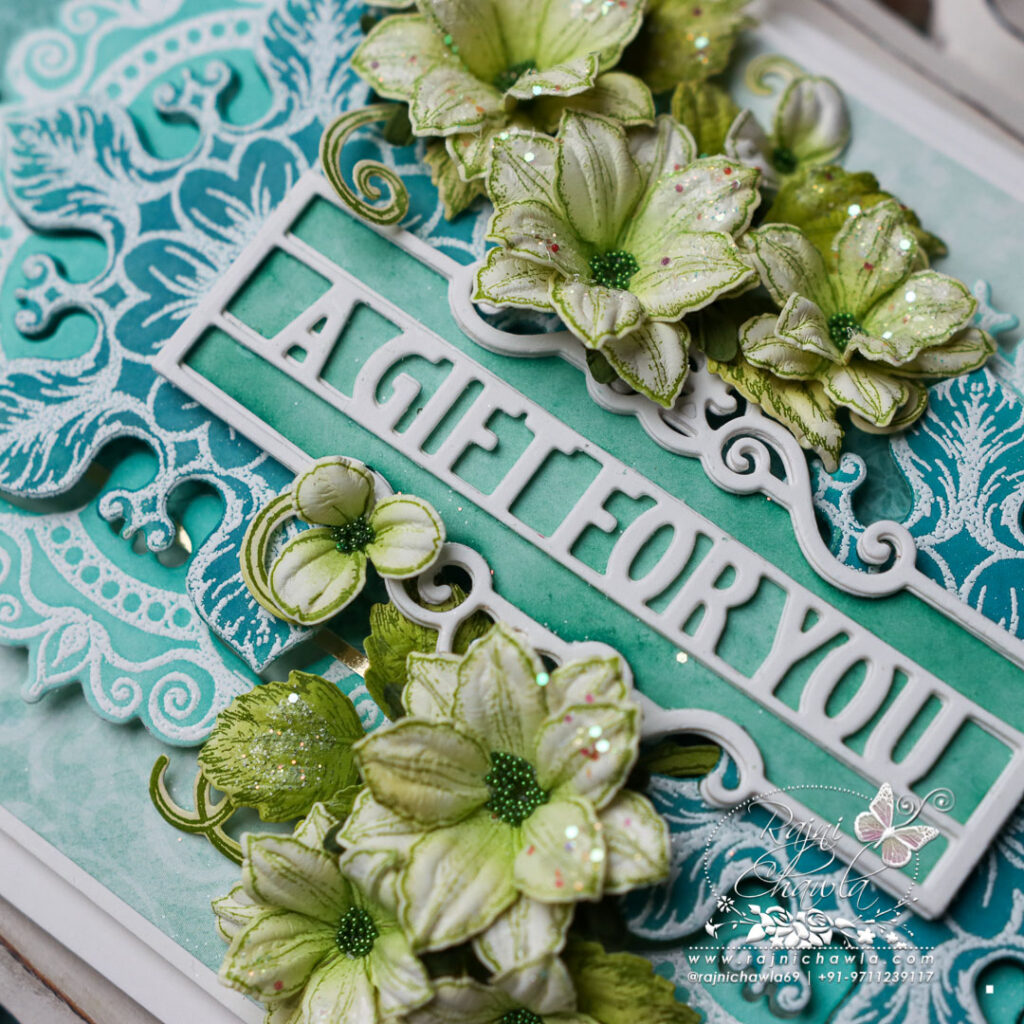
Stamp the image twice from Floral Mosaics Cling Stamp Set using white pigment ink on smooth white cardstock and sprinkle white heat embossing powder. Dust extras and heat set the images using a heat tool. Cut the 2 required layers using its coordinating die and color them using distress inks, Peacock feathers, and Mowed Lawn.
Cut a strip measuring 2″ X 8″ from the deep green color paper from the same paper collection and mat it on another strip of Luxe gold cardstock creating a sleek border on the top and the bottom end. Layer the strip on the card front as shown. To the panel, layer the heat embossed images close to each other.
For Clematis Flower, Stamp 6 pieces of large and 6 pieces of medium-sized Clematis flowers using Leaf Green Archival ink on Flower shaping paper and cut them using their coordinating dies. Color the flowers using the same ink and shape them using the Deluxe flower shaping kit. Prick the holes in the center and secure the pollens with a heat tool. Prepare 3 medium-sized and 3 small flowers. Stamp one petal each of one size smaller sized petal from the same set using Library green/ Cobalt Blue archival ink on green color cardstock and cut them using coordinating dies. Using the crushing technique, create calyx and complete the flower securing them behind each flower for the complete flower look. Adding calyx is totally optional.
Stamp 2 sets of leaves using Leafy Accent stamp and Olive Green Archival ink and cut them using its coordinating die. Color the leaves using the same inks and shape them using a deluxe flower shaping kit.
Stamp, cut, and color a few wisteria flowers using leaf green archival ink and shape them using a flower shaping kit. Add flower pollens using a glossy accent and use these flowers as fillers.
Once all the elements are ready, make a small floral display using all flowers, fillers, and foliage. Complete the card by adding sentiment tag cut using Ornamental Tag Die.