


Happy Wednesday….
Welcome to my blog!!
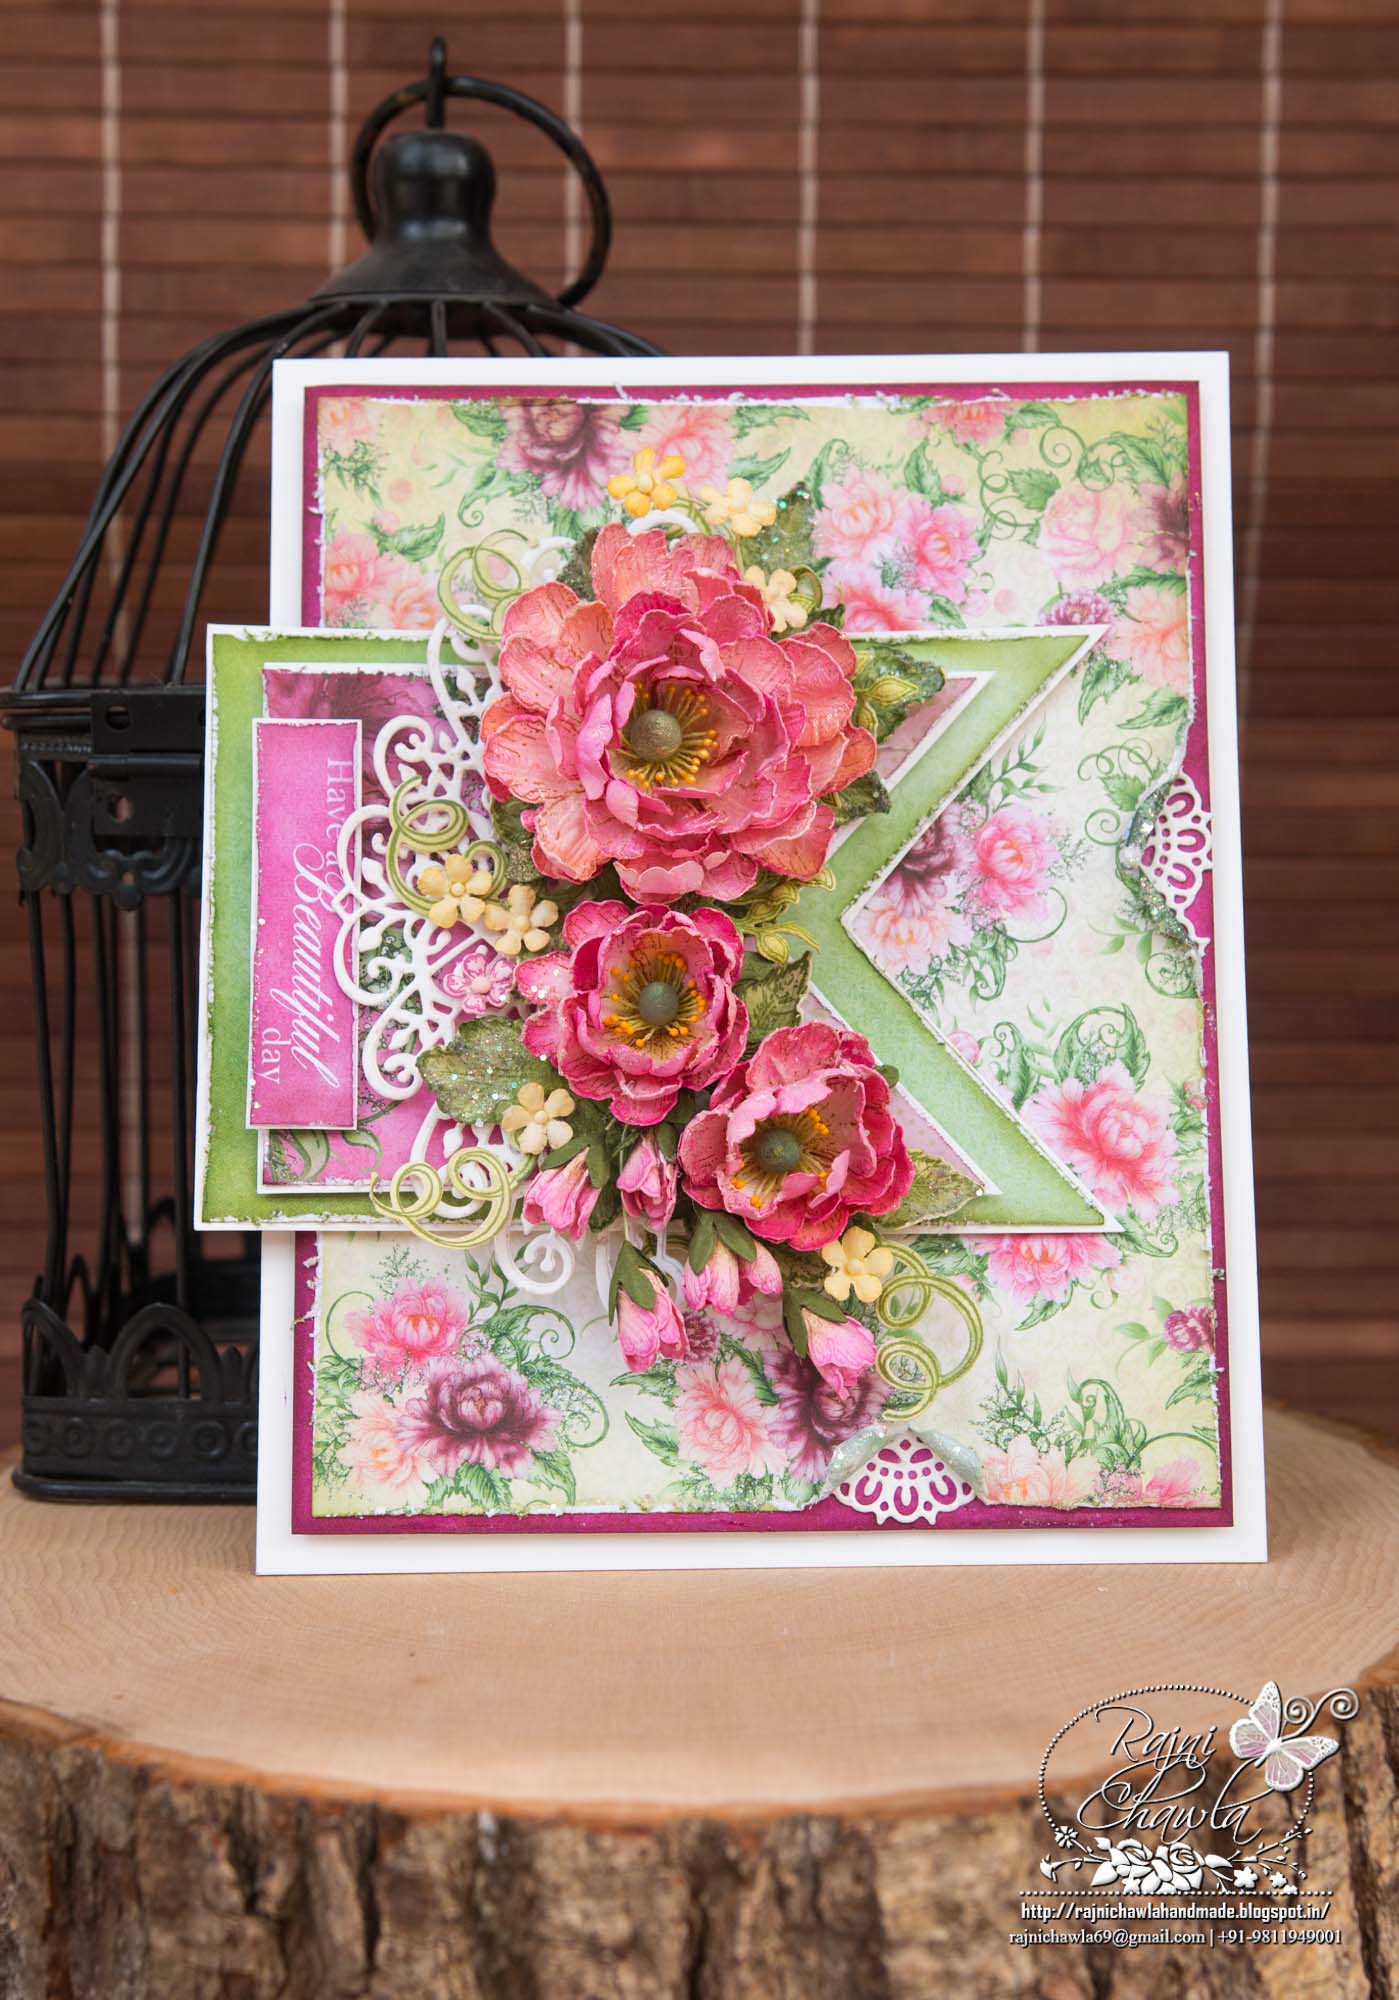
Lets have somemore fun together creating cheery Spring cards. Today, I have a happy n cheerful Peony Banners to share.
Products from Heartfelt Creations:
HCD1-7173 Small Sweet Peony Die
HCD1-7174 Large Sweet Peony Die
HCPC-3819 Small Sweet Peony Cling Stamp Set
HCPC-3820 Large Sweet Peony Cling Stamp Set
HCDP1-288 Sweet Peony Paper Collection
HCD1-7110 Classic Rose Die
HCPC-3752 Classic Rose Cling Stamp Set
HCD1-7161 Sweetheart Borders Die
HCD1-7144 Decorative Medallion Die
RACP499 Ranger Archival Ink Pad – Plum
HCD1-7125 Wildwood Florals Die
HCPC-3769 Wildwood Florals Cling Stamp Set
HCST1-401 Deluxe Flower Shaping Kit
159723 Designer Dries Clear Adhesive
RACP436 Ranger Archival Ink Pad – Leaf Green
RACP614 Ranger Archival Ink Pad – Magenta Hue
RACP524 Ranger Archival Ink Pad – Vibrant Fuchsia
RACP482 Ranger Archival Ink Pad – Olive
RACP475 Ranger Archival Ink Pad – Library Green
PGM15015 Rajni Chawla’s Crystal Clear
HCDA2-450 Stack and Store Daubers-Pack of 30
Other Products Used: Smooth white cardstock, Green card stock, Yellow thread pollens Styrofoam buds from ICraft, Paper distressing tool, scoreboard, die-cutting machine.
Videos Referred: For more tips on creating the Sweet Peony collection, watch the tutorial at https://youtu.be/L9_MLkvpGPQ.
Instructions: The ready card base measures 6″ X 7 1/2″. For the top panel, choose the pattern paper from the Sweet Peony Designer Paper Collection and cut 5 3/4″ by 7 1/4″. Distress the edges with the paper distressing tool and tear a little more as shown for extra interest. Cut dark pink pattern paper a little bigger than the top panel so that it can create a border all around the top panel. Layer both the papers using foam dots. also, tuck in a piece of white die cut from Sweet Heart Border die as shown.
Cut 2 pieces of pattern paper measuring, 4″ X 5 1/2′ and 3″ 1/2′ X 41/2″. Create banners and distress the edges using the paper distressing tool. Mat both the banners on white cardstock, showing a little white border around. Layer both the banners using foam dots and adhere it on the left side of the ready top panel.
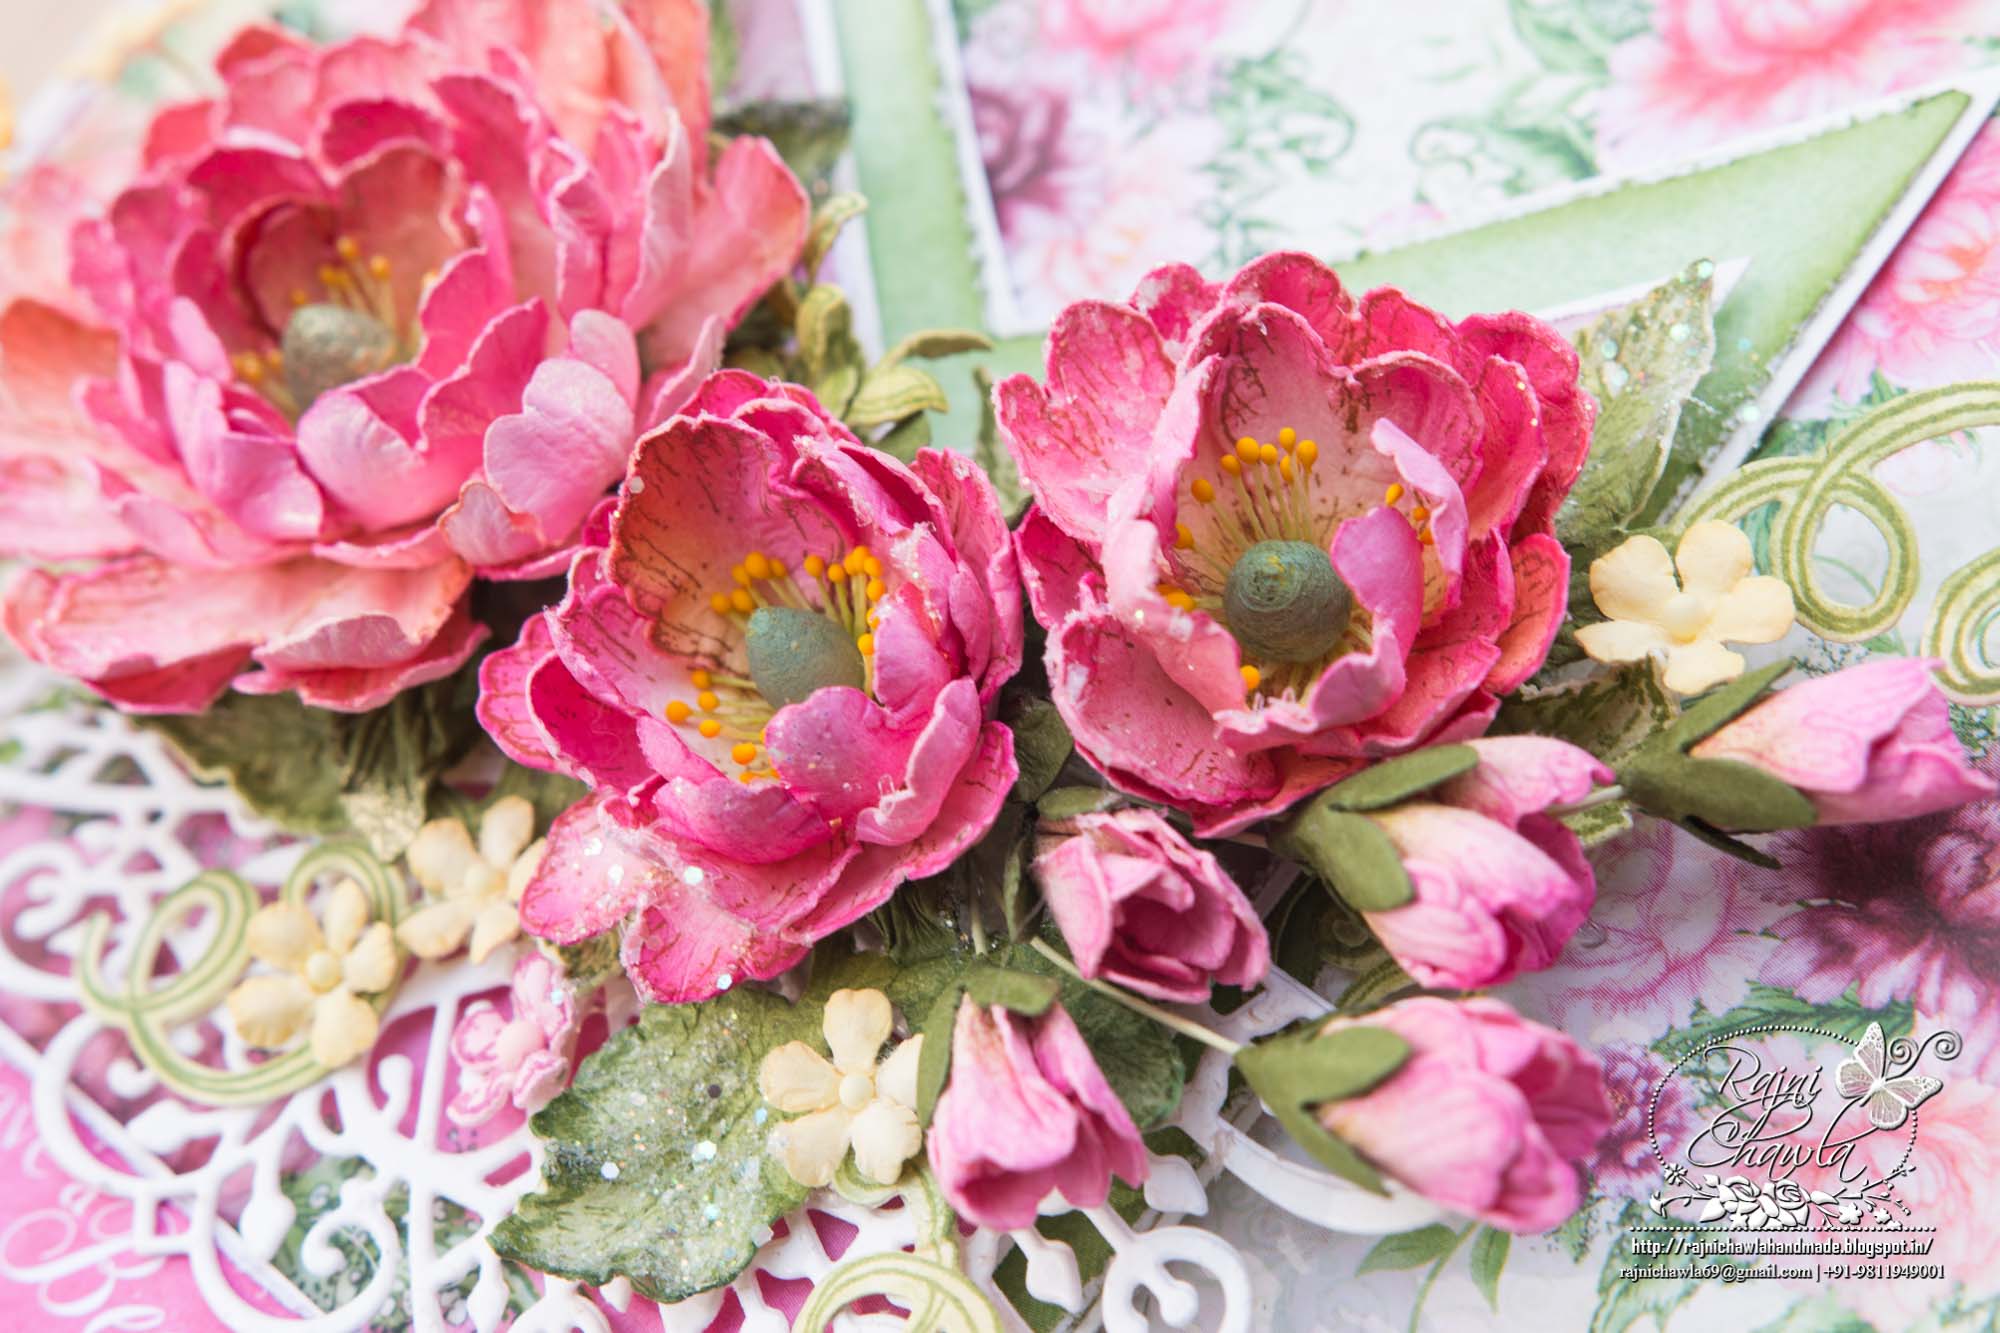
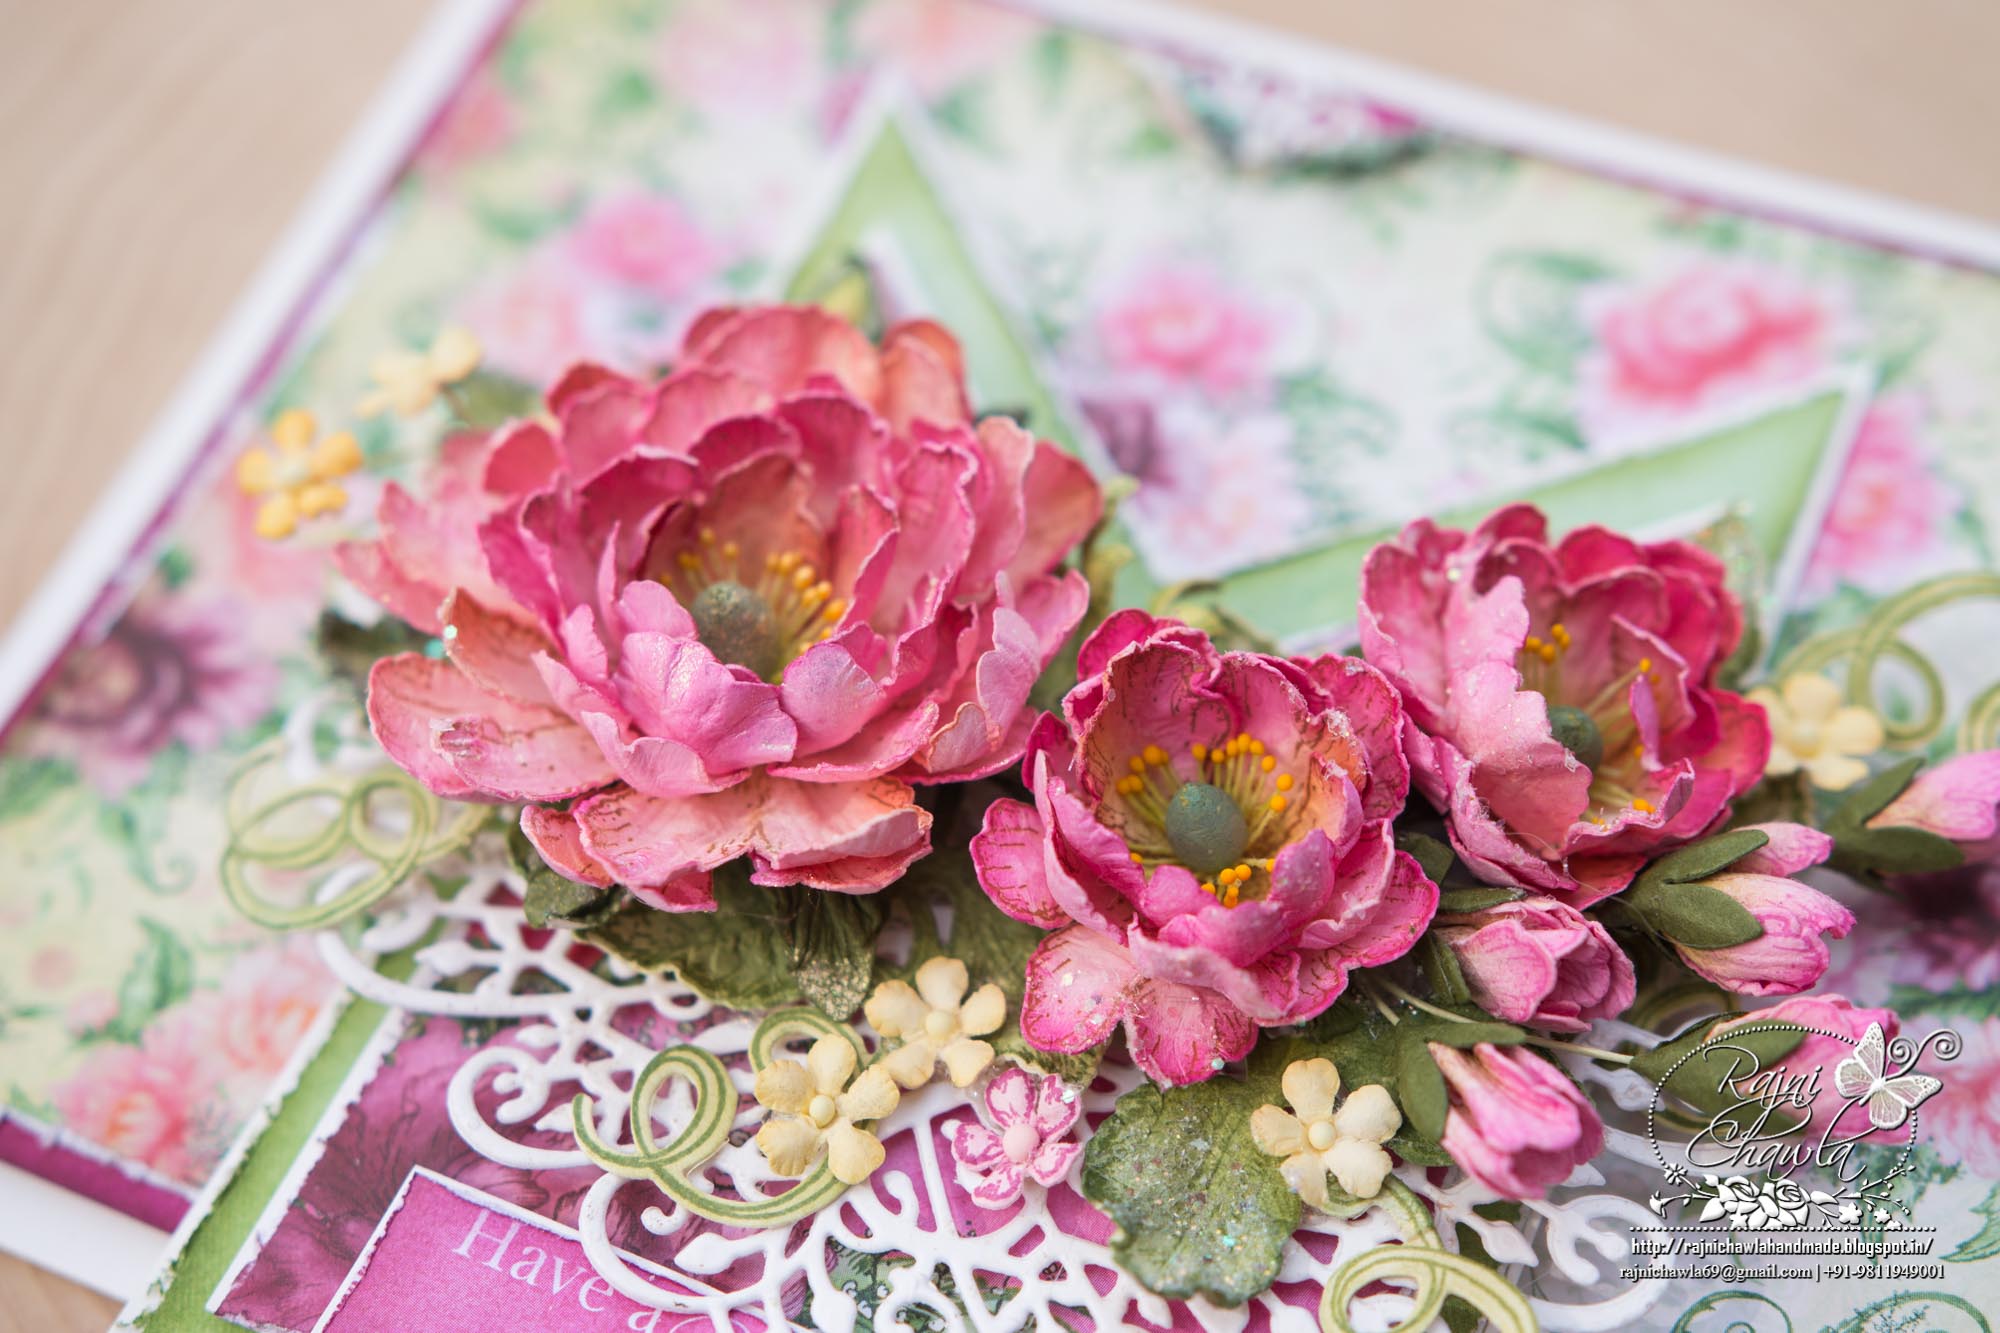
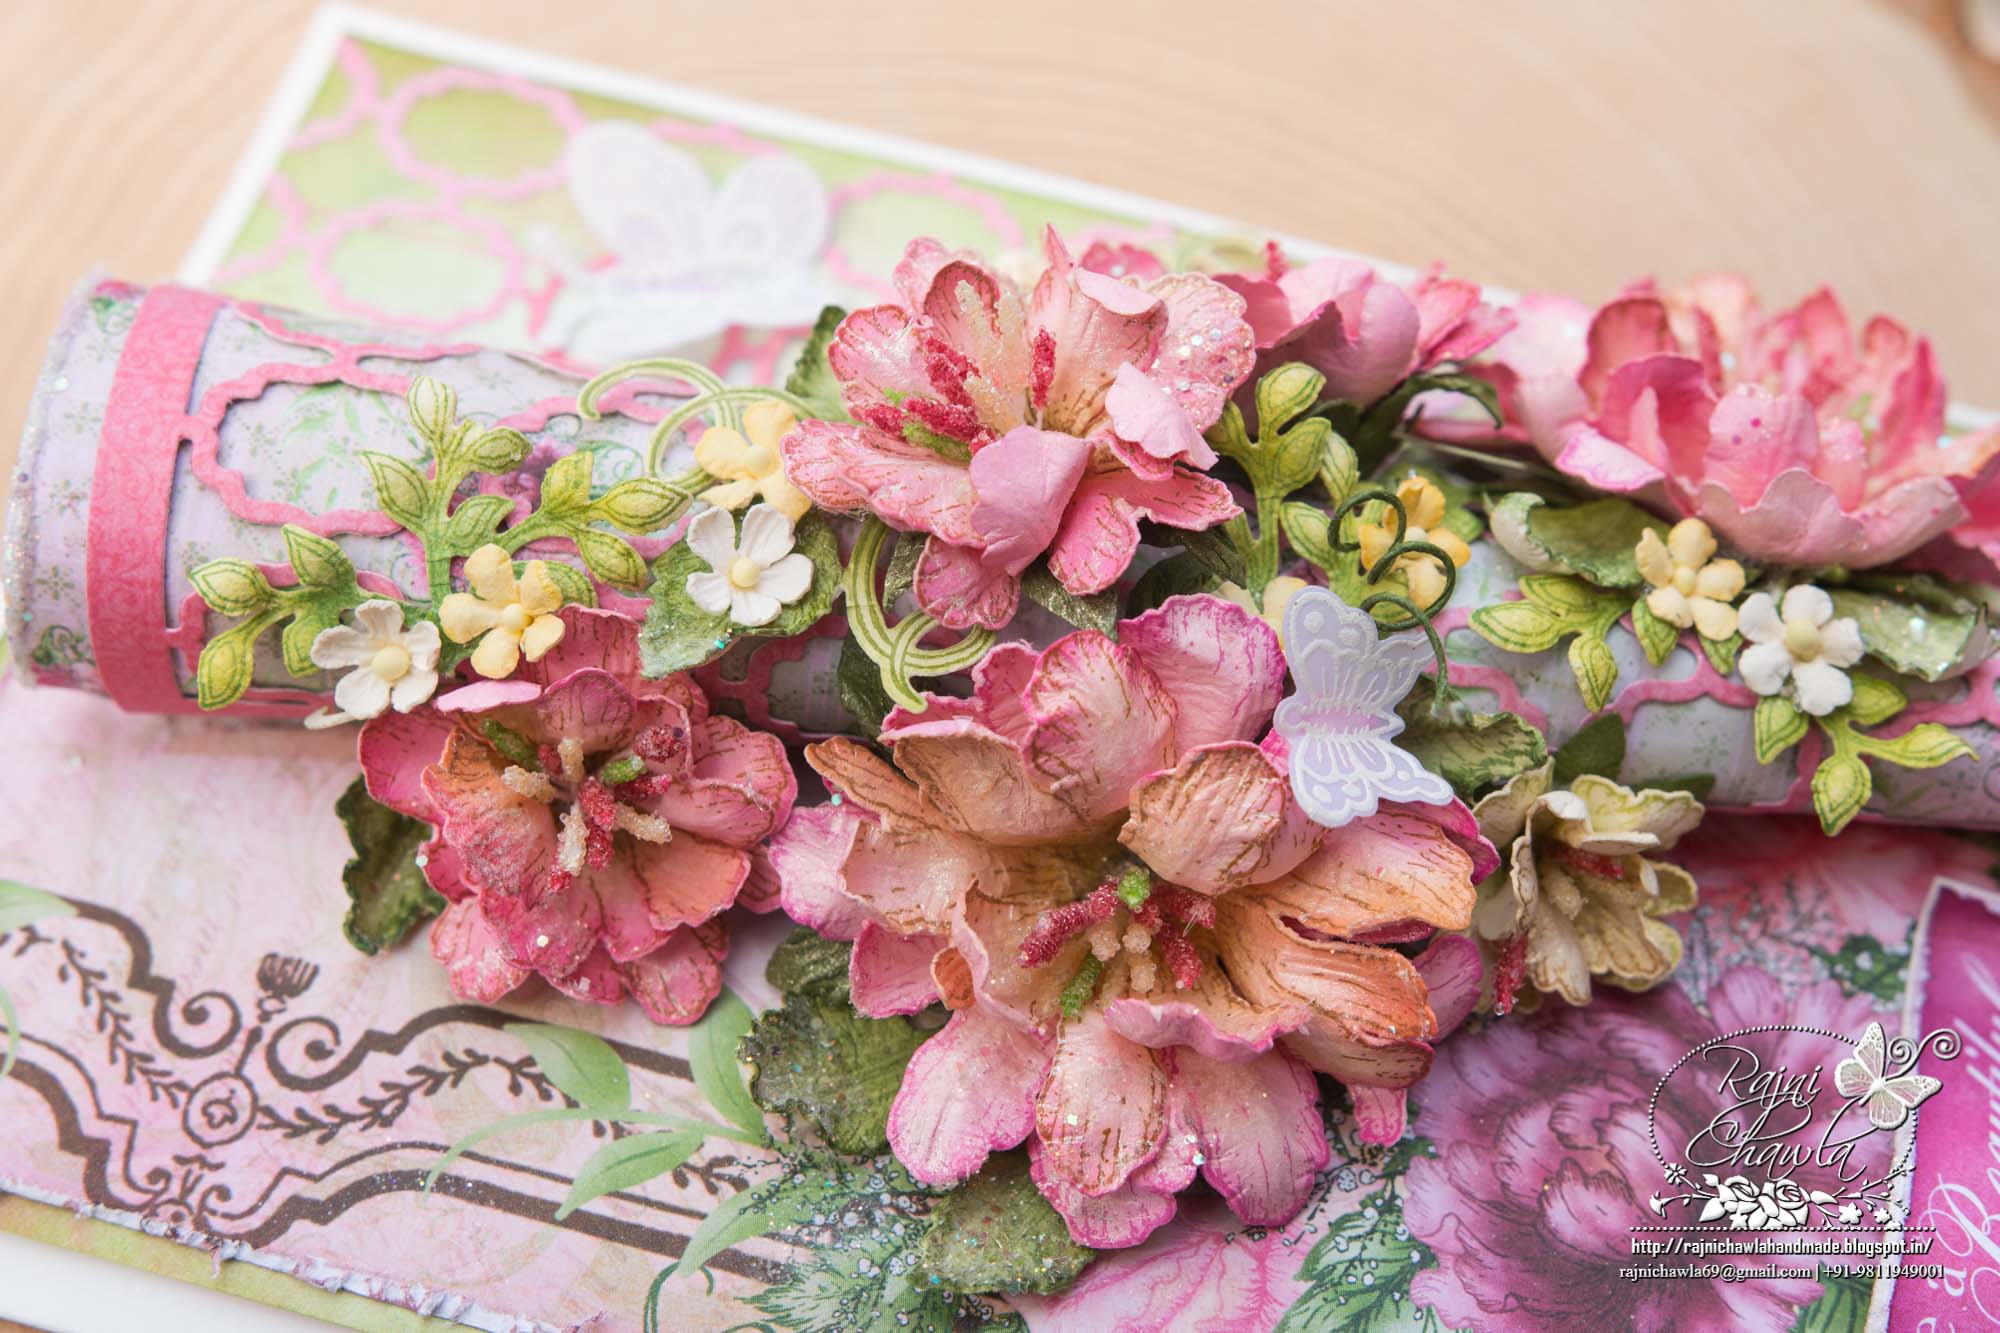
For flowers, stamp multiple images from the Small Sweet Peony Cling Set and Large Sweet Peony Cling Set with Archival plum. Cut them using their coordinating dies and paint them using Magenta Hue and Vibrant Fuschia. Shape the flowers inwards using Deluxe Flower Shaping Kit and assemble one large, 2 medium and 5 buds. The flower centers are created using yellow thread pollens from Icraft and styrofoam buds which are painted green using archival ink leaf green.
The buds have green sepals which are cut from green paper using Classic Sunflower die. The filler flowers are created using Wildwood Floral Stamp and die set. They are inked using Archival ink, Buttercup and then shaped using Deluxe flower Shaping Kit.
For leaves, the images from Classic Rose Cling Stamp set are stamped using Library Green Archival, Cut using its coordinating die and painted using Leaf Green and Olive Green. Shape them using Deluxe Flower Shaping Kit.
Once all the elements are ready, create a bouquet on the banners as shown and finish the card by adding a sentiment from the paper collection and add Crystal Clear Powder for extra sparkle.
Your creation is stunning! I love your flowers!
Gorgeous card As always Rajni! Love your beautiful lifelike flowers!
Wow I love this card and your flowers are just stunning!!