


Good Morning Friends…
Today, we designers at Heartfelt Creations are debuting another fabulous release, Burst Of Spring Collection. Celebrate the highly anticipated arrival of the upcoming spring season with the new Burst of Spring Collection from Heartfelt Creations! A favorite among flower enthusiasts, the delicate pansy flower is often one of the first florets to be added to the freshly worked soil as the glorious garden season arrives. The soft, velvety petals of these cheerful blossoms always invite a quick caress while being transplanted near the front of the garden bed, where they are sure to be admired by all! Awaken your senses dulled from the winter season with an enchanting and deeply hued decorative paper collection filled with sweet and amiable pansy flowers, along with whimsical fluttering butterflies! Beautiful blues, happy yellows


| Supplies from Heartfelt Creations: HCD1-7223 Burst of Spring Die HCPC-3863 Burst of Spring Cling Stamp Set HCDP1-299 Burst of Spring Paper Collection HCD1-7220 Tulip Vase & Fillers Die HCPC-3860 Tulip Vase & Fillers Cling Stamp Set HCD1-7212 Petite Pocket Accents Die HCD1-7157 Eyelet Oval & Basics Large Die HCD1-7177 Butterfly Dreams Border Die HCPC-3823 Butterfly Dreams Border Cling Stamp Set HCPC-3843 Special Birthday Sentiments Cling Stamp Set 18002 Rajni Chawla’s Vellum 409311 Color In Watercolor Brush – Fine 478455 Zig Clean Color Real Brush Markers – 36 Pack RACP468 Ranger Archival Ink Pad_ Jet Black RAHT Heat It Craft Tool TSSZ82 StazOn Ink Pad – Fuchsia Pink HCDA2-450 Stack and Store Daubers-Pack of 30 CB80 ColorBox Pigment Ink Pad – Frost White RPEJ685 Embossing Powder – White 159723 Designer Dries Clear Adhesive |
| Other Supplies Used: Smooth white cardstock, Die cutting machine, Scoreboard and foam tape. |
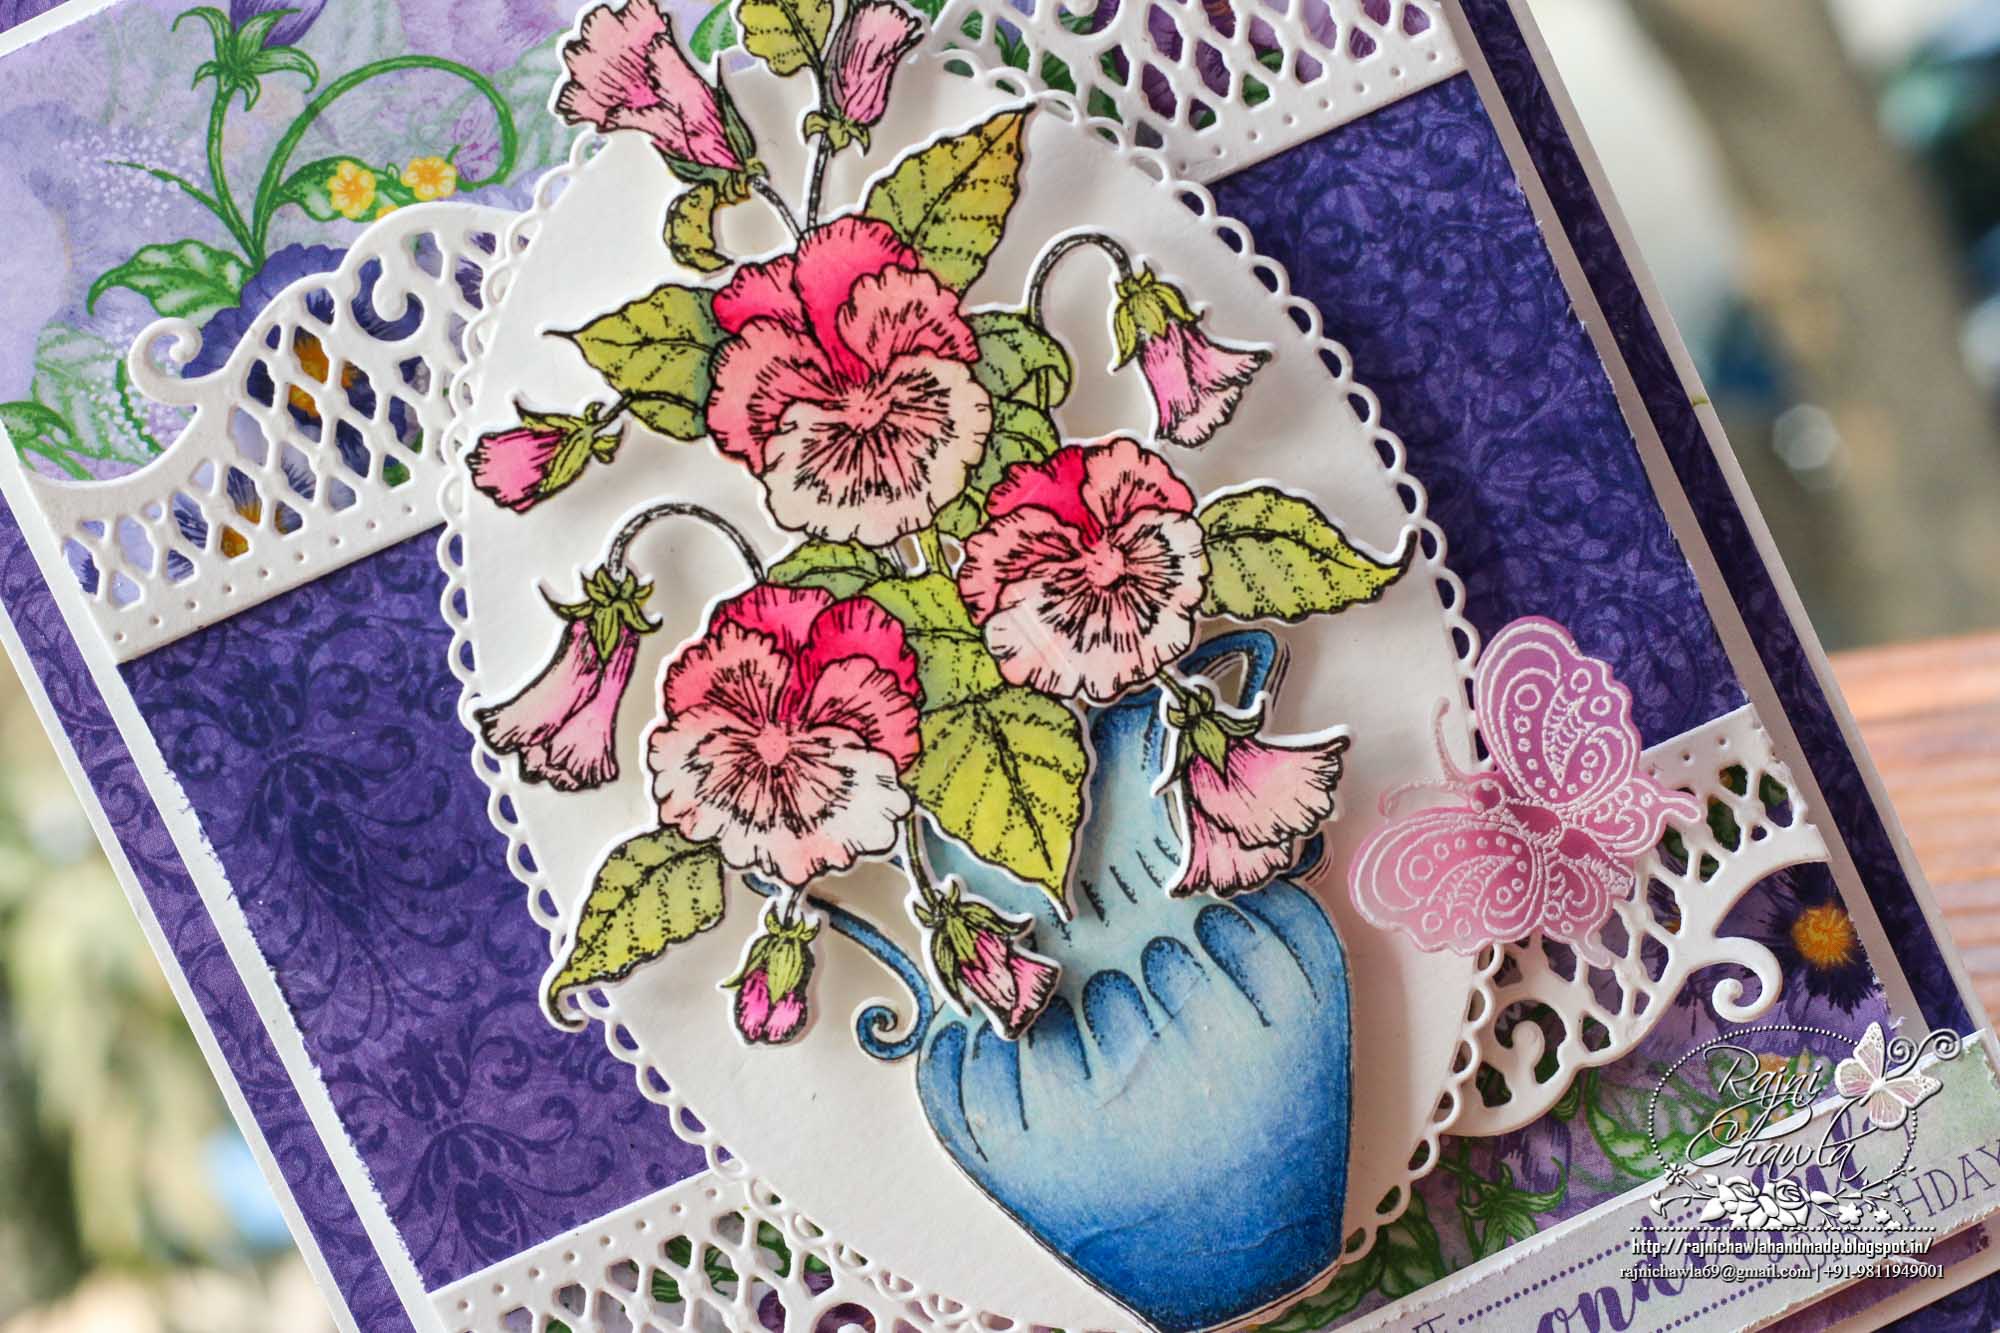
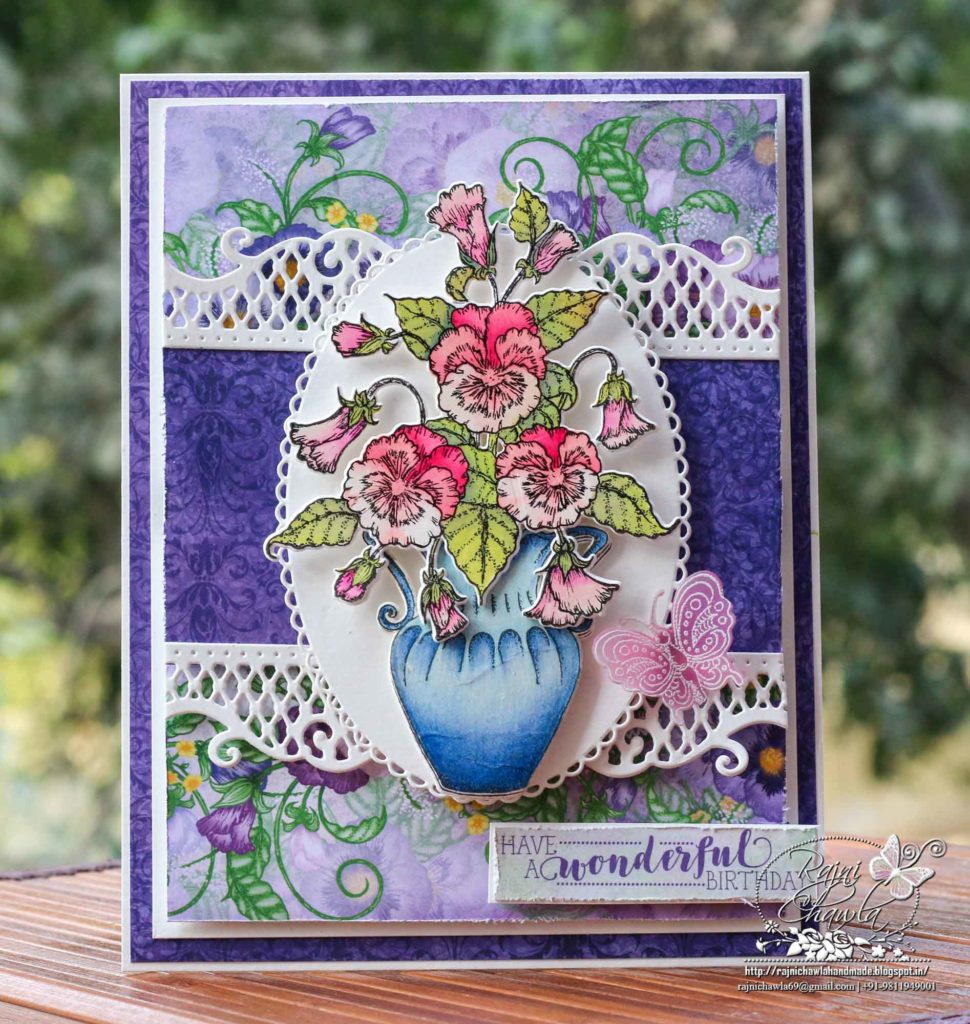
Instructions: The ready top fold card from white card stock measures 6′ by 7 1/2″. To create the top panel, choose the paper from designer paper collection and cut 2 pieces measuring 2′ by 5″ and a deep purple paper measuring 2 1/2″ by 5″. Adhere a piece of white die cut from the fancy pocket die from Petite Pocket Accents Die on both the edges of the purple paper. Layer this paper using foam tapes keeping one piece of 2′ by 5″ pattern paper on top and other on the bottom side as shown in the picture. Layer the complete panel on white cardstock measuring 1/16″ of an inch larger on all sides.
Cut white solid die cuts from white cardstock using Eyelet Oval & Basics Large Die and layer it using foam tape on the center on the card panel as shown.
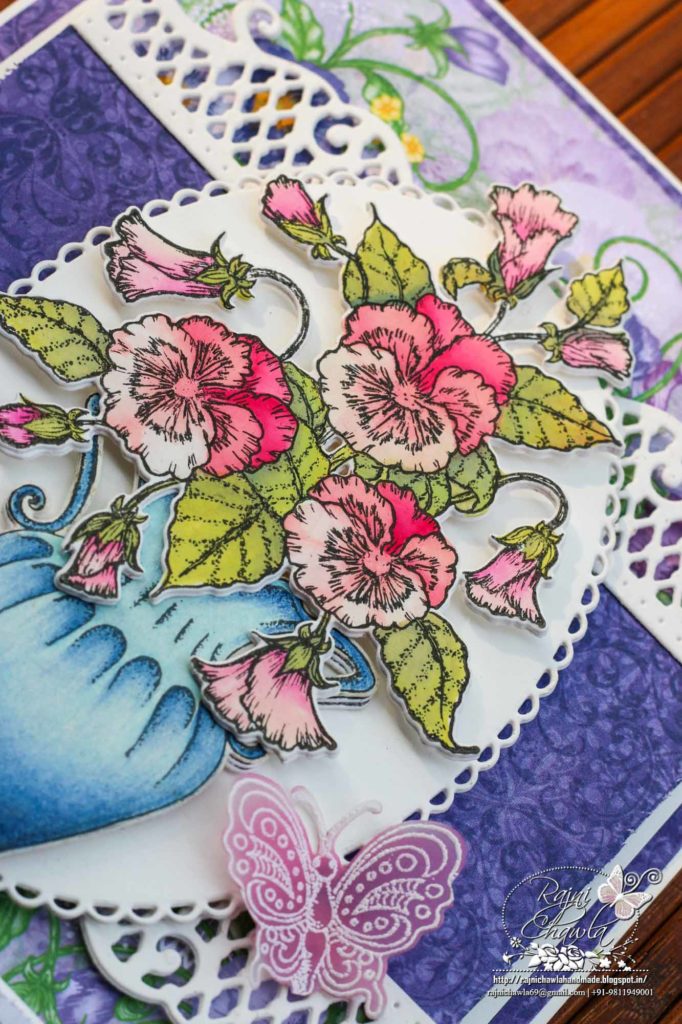
For the focal image, cut the dummy, dress and a cap from the designer paper collection. Stack few
Stamp the images from Tulip Vase & Fillers Cling Stamp Set and Burst of Spring Cling Stamp
Another gorgeous creation Rajni! Love the colors!
As always, just gorgeous! Love the colors you chose to work with!
Absolutely Gorgeous!!