


Happy Wednesday!!
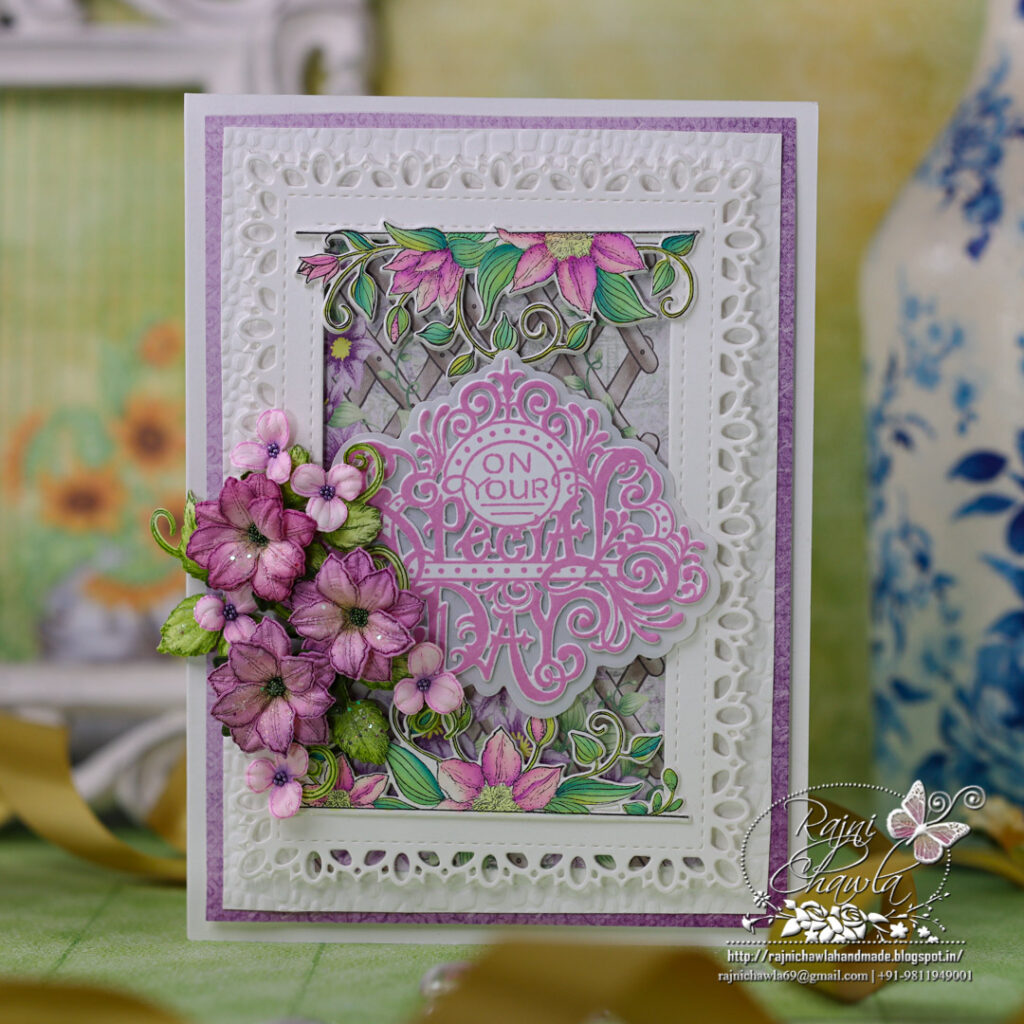
Continuing with Heartfelt Creations latest release, Floral Banners Collection, I have this simple, yet elegant special wishes card to share. Chopping the banner and using in the window back drop was a great idea to create this card.

HCD1-7377 Vining Clematis Banner Die
HCPC-3969 Vining Clematis Banner Cling Stamp Set
HCDP1-2128 Climbing Clematis Paper Collection
HCPC-3954 Clematis Cling Stamp Set
HCD1-7355 Clematis Die
HCD1-7193 Leafy Accents Die
HCPC-3835 Leafy Accents Cling Stamp Set
HCD1-7320 Fancy Special Day Die
HCPC-3935 Fancy Special Day Cling Stamp Set
HCD2-7191 Intricate Swirl Frames Die
HCPP1-468 Deluxe Flower Shaping Paper Pack of 25 – White
HCST1-401 Deluxe Flower Shaping Kit
PGM15016 Rajni Chawla’s Frosting Powder
478594 Zig Clean Color Real Brush Markers – 48 Pack
RACP436 Ranger Archival Ink Pad – Leaf Green
RACP962 Ranger Archival Ink Pad – Fern Green
RACP614 Ranger Archival Ink Pad – Magenta Hue
RACP985 Ranger Archival Ink Pad – Cactus Flowe
Other Products Used: Smooth white cardstock, Score Board, Die Cutting machine, Tacky glue, Glossy Accent, Foam Tape, Adhesive that dries clear.
Instructions: The ready top fold card measures 8″ by 6″. To prepare the white card base, cut one piece measuring 8″ by 6″ and the second piece 8 1/2″ by 6″. Score the second piece at 1/2″ on the longer side and glue the first piece on top. For the topmost layer, choose the pattern paper from the paper collection and cut 71/4″ by 5 1/4″, and distress the edges using sharp scissors. Next, cut a white panel 1/16″ smaller on all sides. Dry emboss it through the embossing folder and layer it on the card front as shown.
Die-cut two pieces of the fancy frame from white cardstock using Intricate Swirl Frames Die. Stack both the die cuts together to add extra strength. Choose the pattern paper and mat it behind the window. Layer the die-cut on the ready card panel as shown.
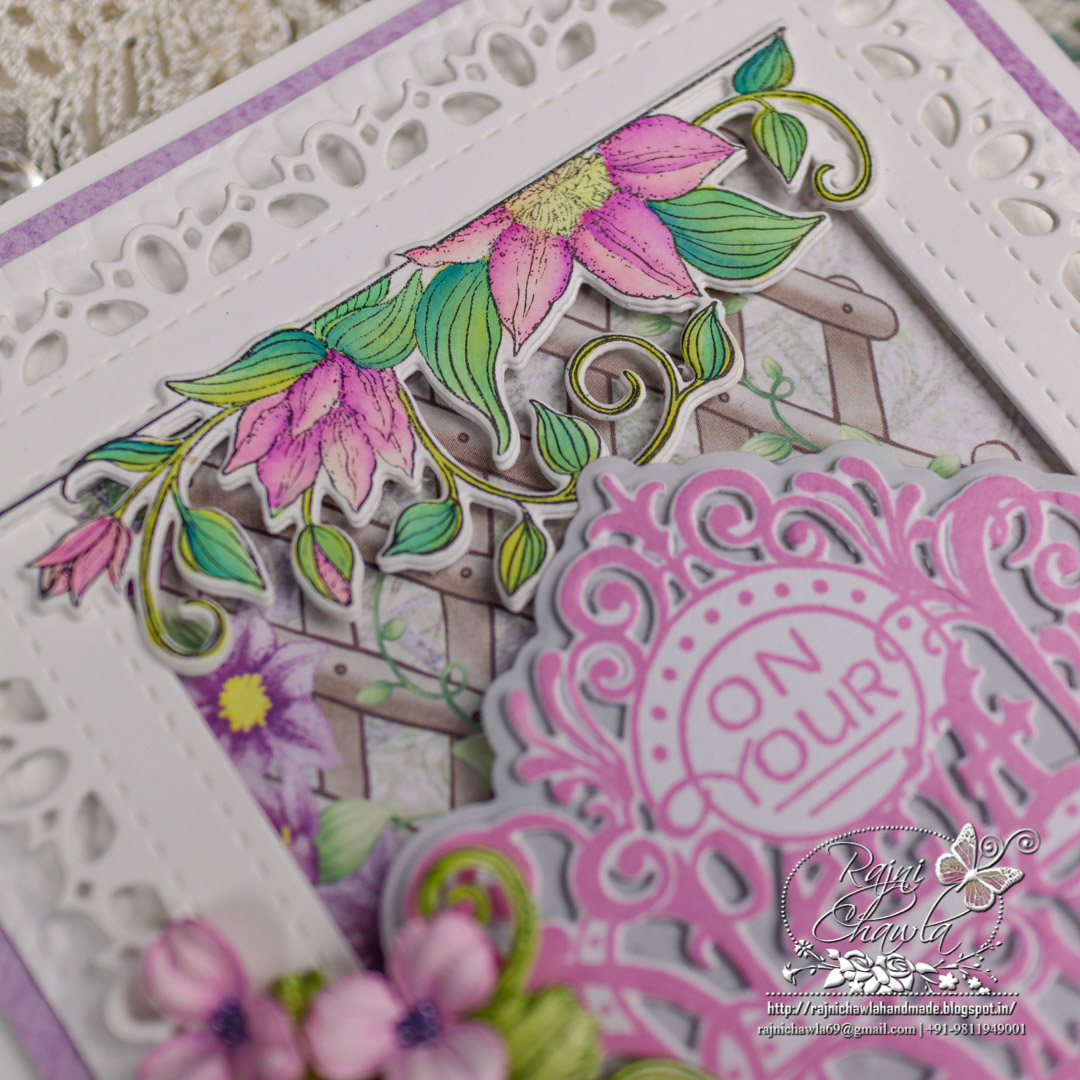
Stamp the image from the Vining Clematis Banner Cling Stamp Set on white cardstock using black archival ink and paint the image using Zig Clean Clear Brush Markers. Die-cut the image using its coordinating die. Chop the painted floral banner from the center and glue one each on the top and the bottom inside edge of the frame.
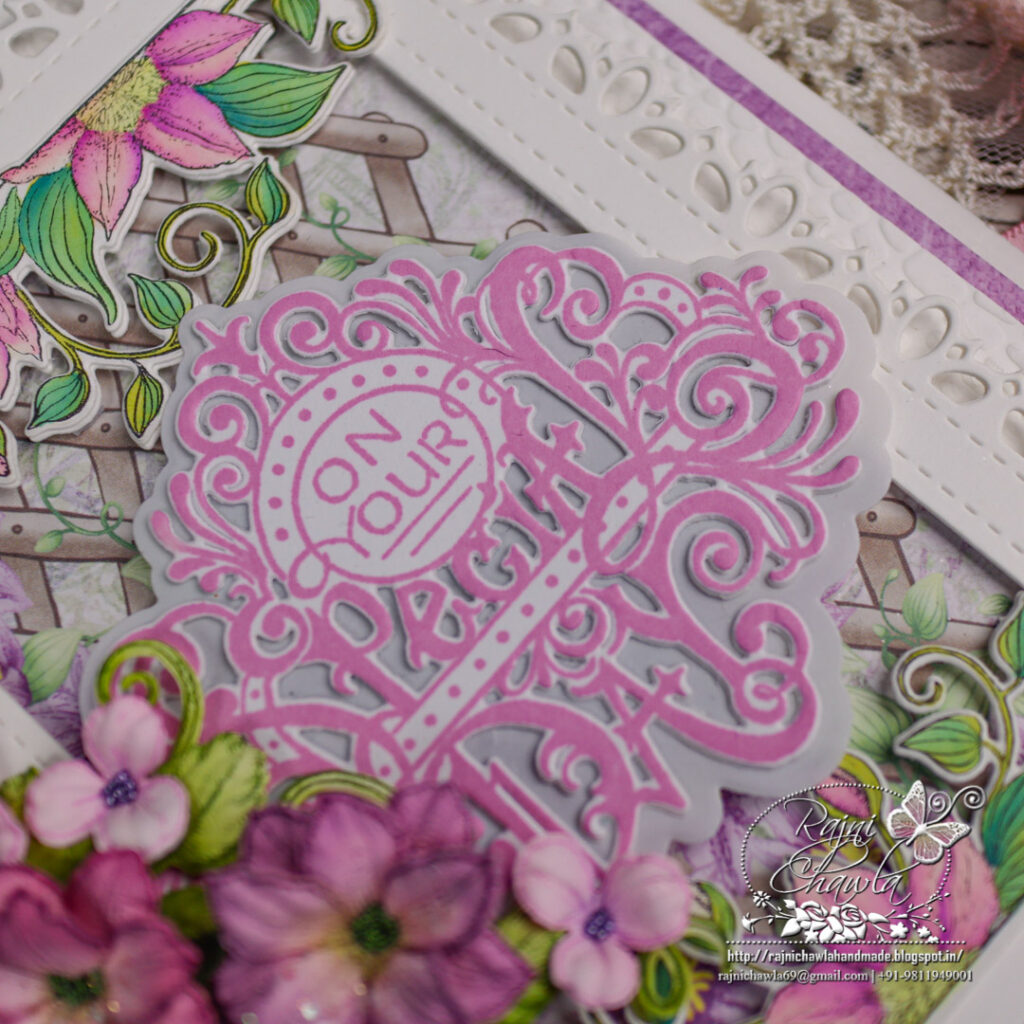
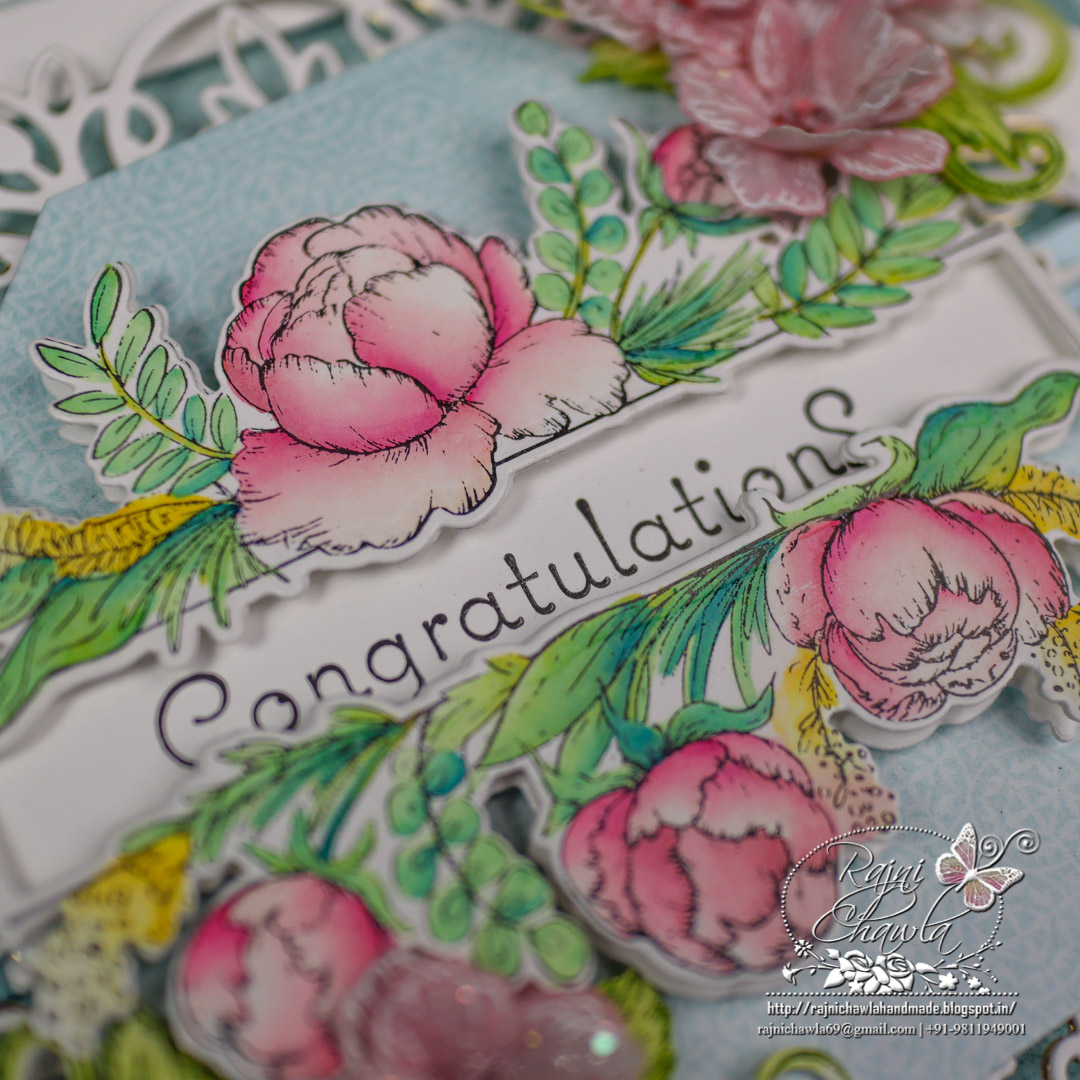
Stamp the special day sentiment from the Fancy Special Day Cling Stamp Set on white cardstock using Magenta Hue Archival ink and cut it using its coordinating die. Layer the sentiment with foam dots on the white solid base, cut using the same die set.
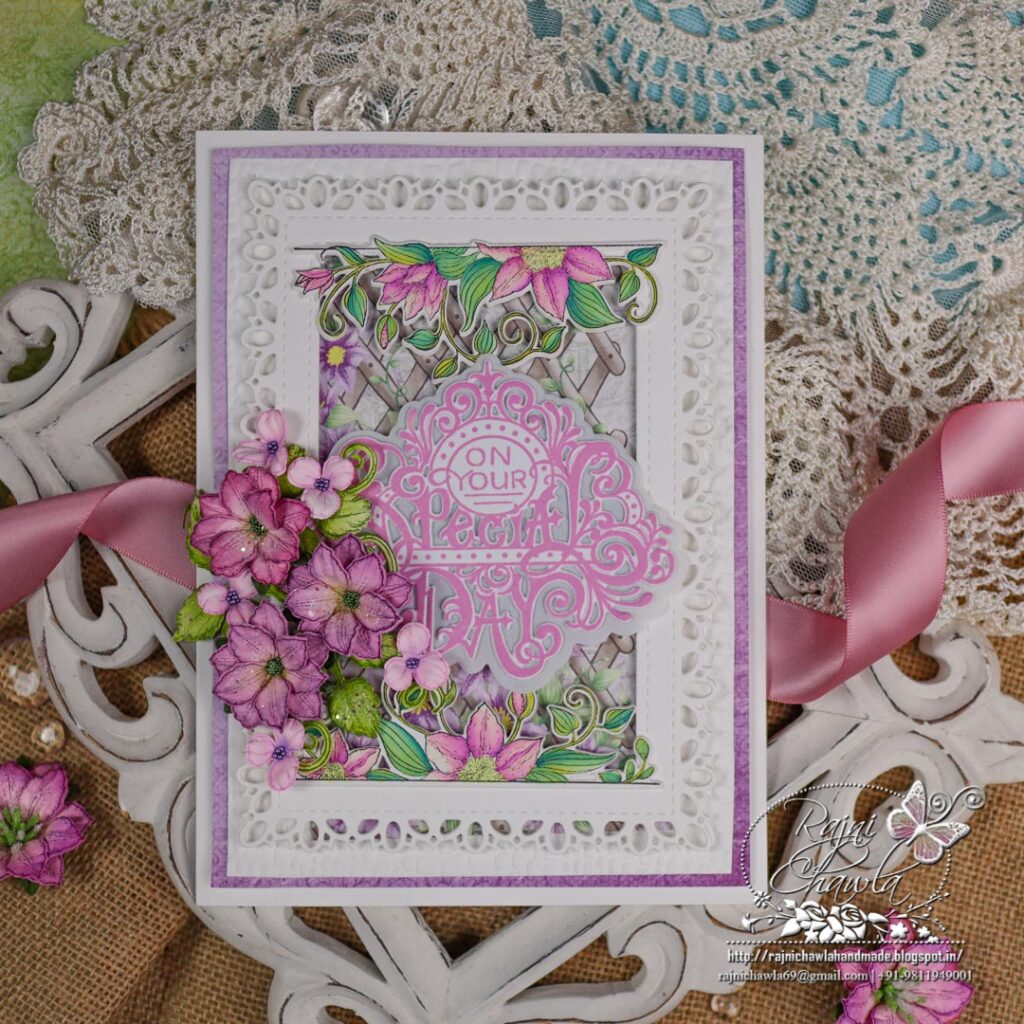
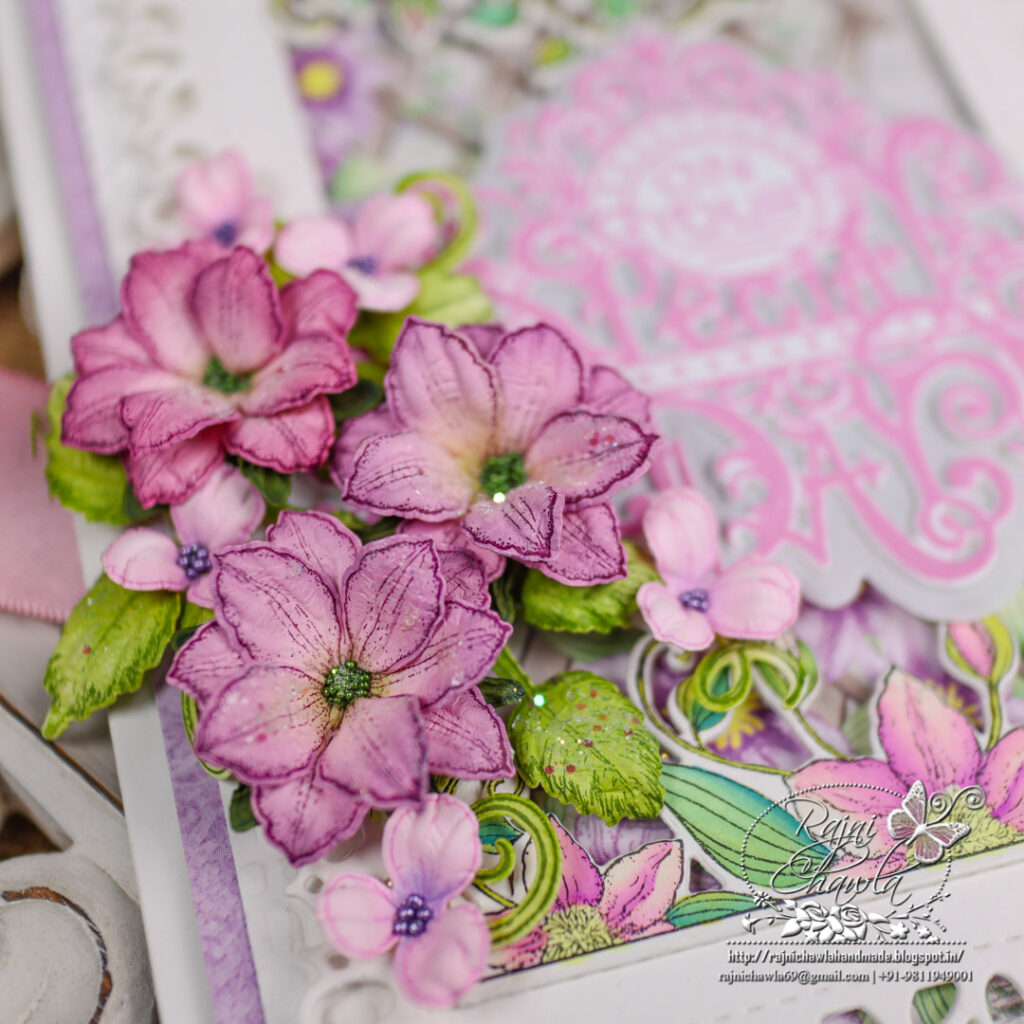
Stamp the florals with Cactus Flower Archival ink on flower-making paper using Clematis Cling Stamp Set. Cut the florals using its coordinating die set and color the flowers using Magenta Hue and highlight them using Majestic Violet Archival inks. Spritz water and shape the flowers using golf groove tools. Prepare 3 medium-sized flowers of 2 petals each.
Stamp Leafy foliage from Leafy Accent Stamp Set with Olive green on flower-making cardstock and cut them using its coordinating die set. Paint the leaves using Leaf Green Archival ink and shape them using golf groove tools.
Cascading Wisterias are first stamped with Cactus Flower Archival ink, cut with its coordinating die, and then colored using the same ink. Once all colored these are shaped using Deluxe Flower Shaping Kit and add glitter balls to the centers.
Once all the elements are ready, assemble a small cluster of flowers on the left side of the card front and finish the card by adding glitters.
Absolutely gorgeous design my friend and your flowers are always sooo beautiful!