


Good Morning All…
Welcome back to my blog again!!
Continuing inspiring you all with Christmas cards, today, I have another card using Heartfelt Creation’s latest release, O holy Collection. Drop by the company’s blog for more inspiration.
Supplies from Heartfelt Creations:
HCD1-7187 O Holy Night Die
HCPC-3832 O Holy Night Cling Stamp Set
HCDP1-292 O Holy Night Paper Collection
HCD1-7107 Frolicking Frosty and Spruce Die
HCPC-3749 Snow Kissed Spruce Cling Stamp Set
HCPC-3822 Poinsettia & Holly Clusters Cling Stamp Set
HCD1-7176 Poinsettia & Holly Clusters Die
HCPC-3745 Ornate Sleigh Cling Stamp Set
HCD2-750 Cut Mat Create 1B Die
RACP436 Ranger Archival Ink Pad – Leaf Green
RACP962 Ranger Archival Ink Pad – Fern Green
RAHT Heat It Craft Tool
PGM15016 Rajni Chawla’s Frosting Powder
PGM15015 Rajni Chawla’s Crystal Clear
HCDA2-450 Stack and Store Daubers-Pack of 30
CB80 ColorBox Pigment Ink Pad – Frost White
RPEJ685 Embossing Powder – White
159723 Designer Dries Clear Adhesive
359503 Funnel Tray
DDOTS Double Dots 100pc. -3D Foam Circles
Other Products Used: Smooth White Card Stock, Papericious Vellum, Distress Oxide Candied Apple, Glittered Stars ( from stash), Zig Clean Clear Markers, Gold Glittered Micro Beads, Water Color Brush, Gold Mirror Card Stock.
Videos Referred:
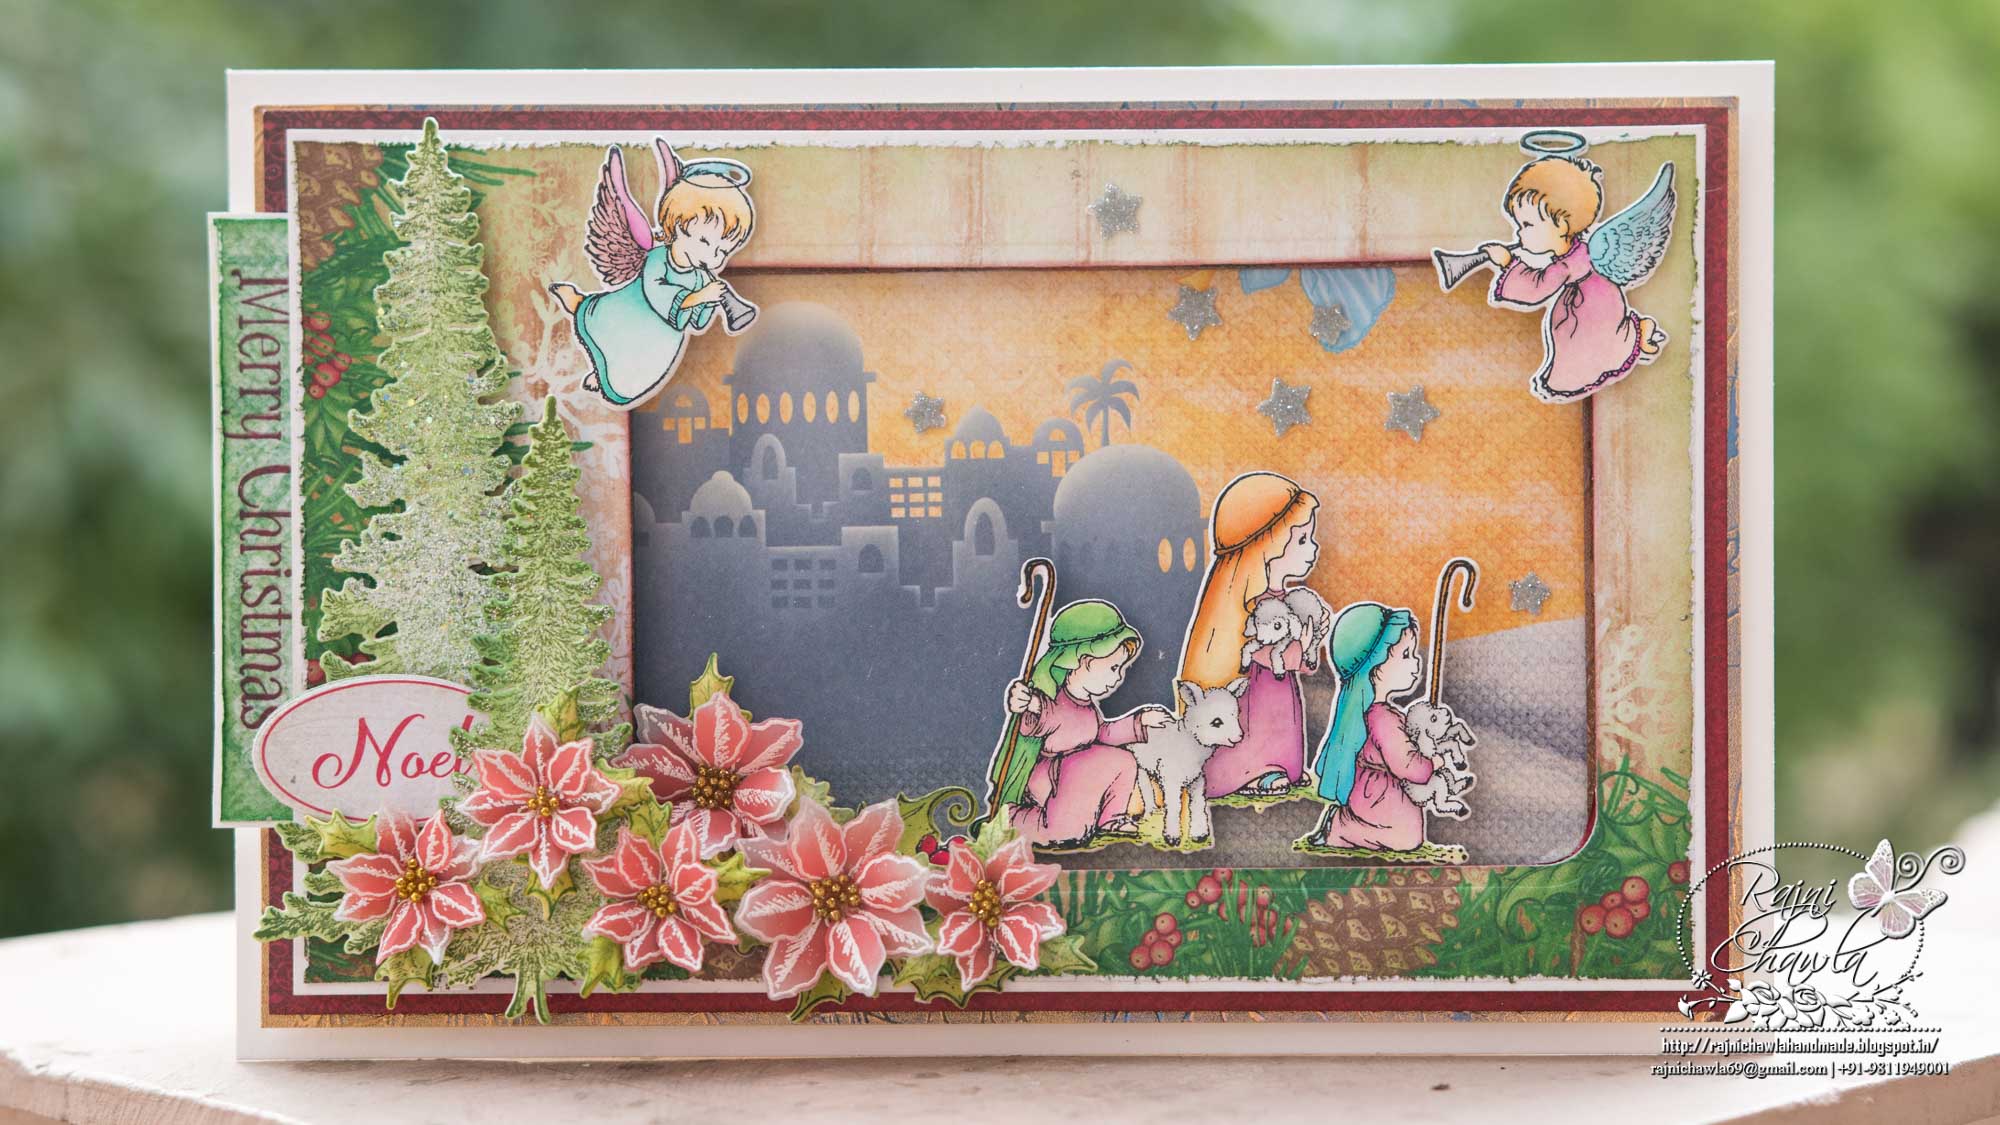
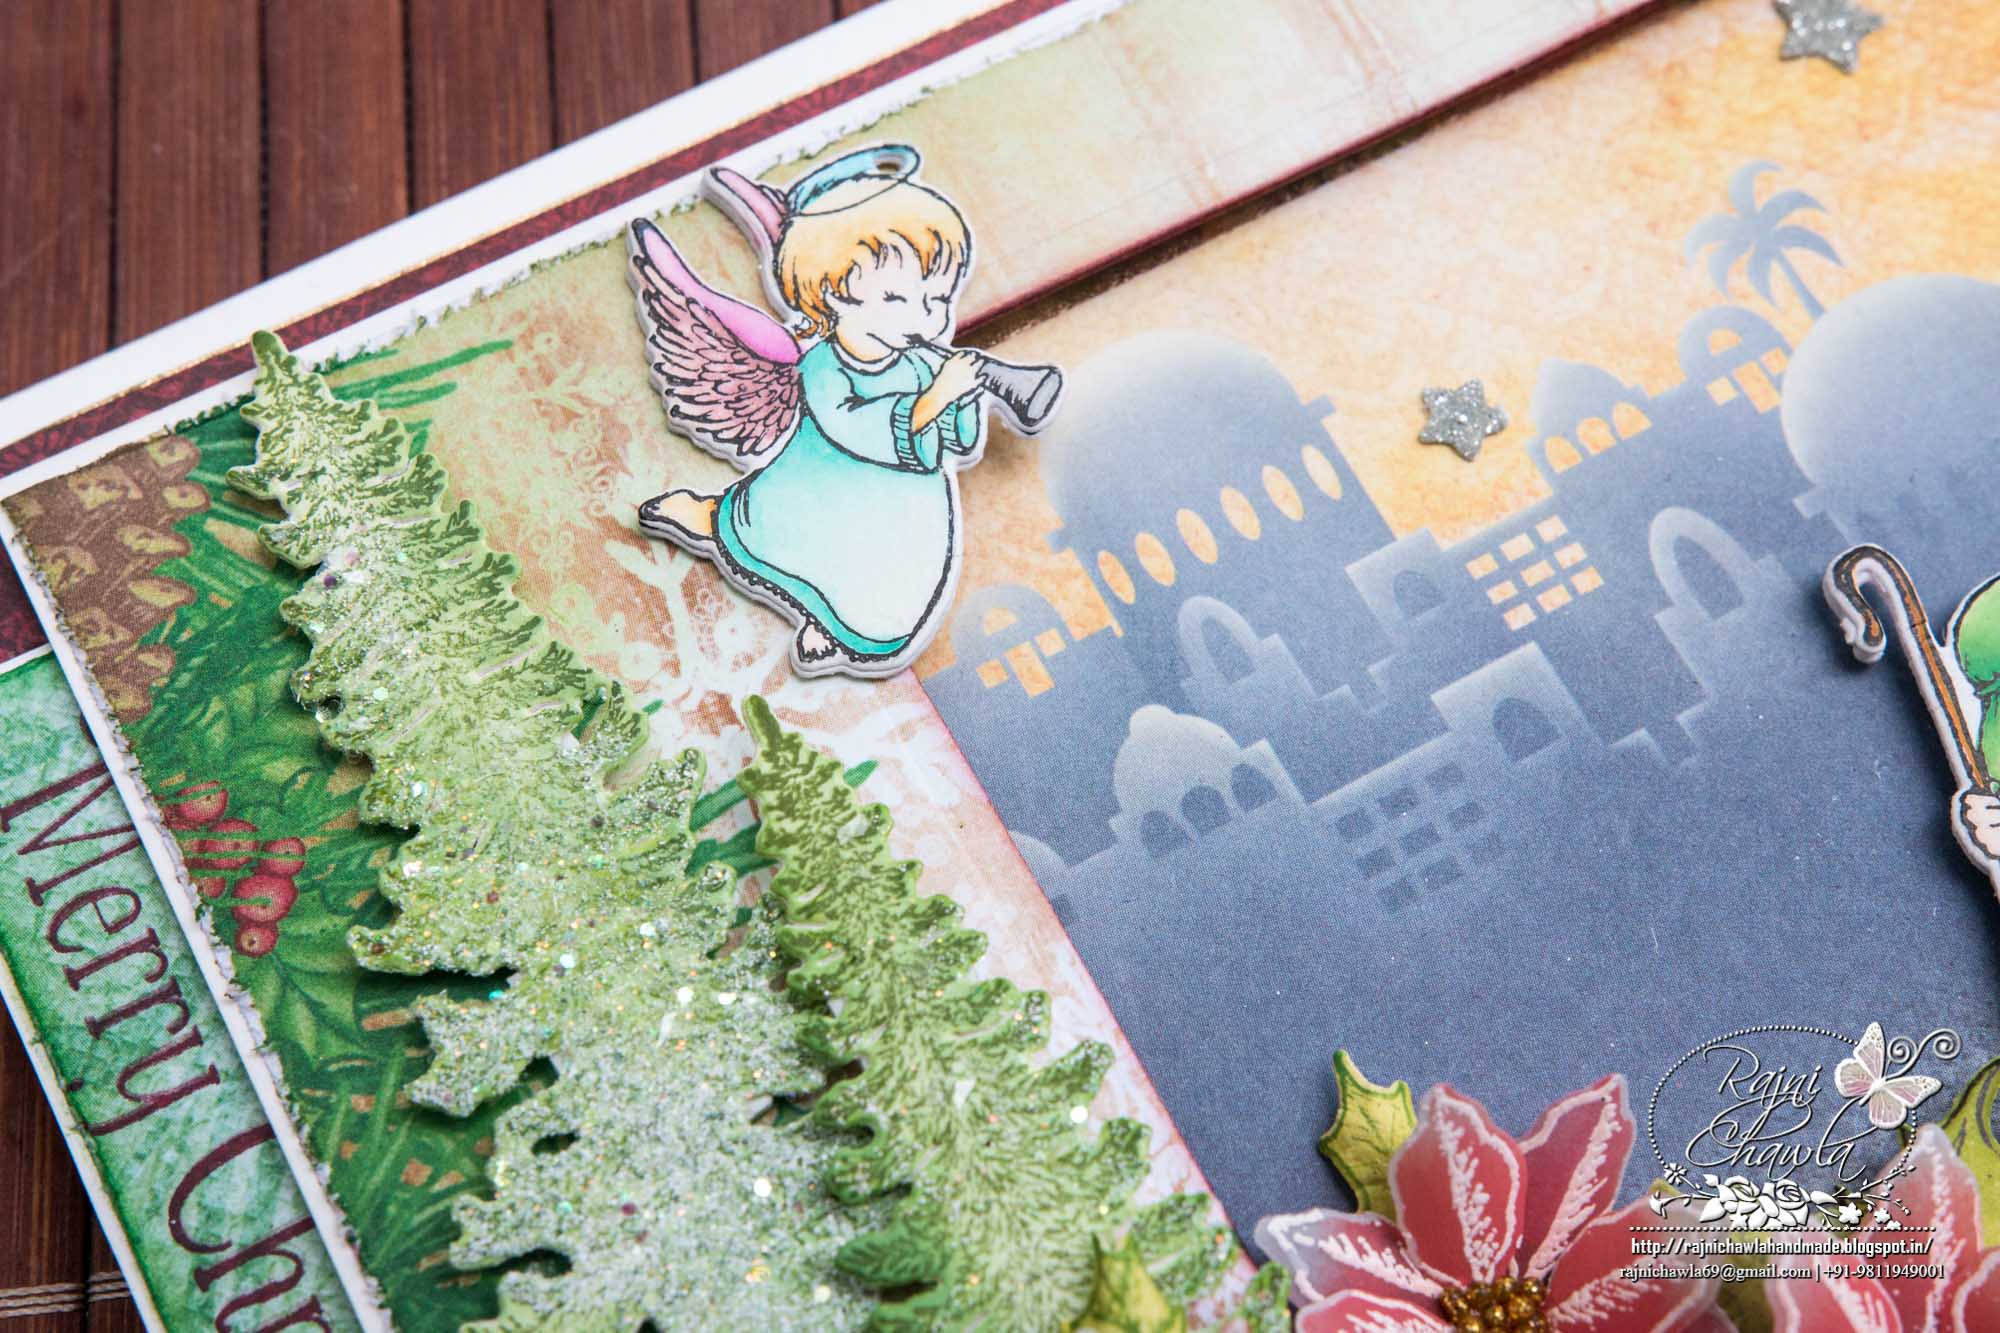
Instructions: The ready top fold card measures, 9″ by 5 3/4″. To create the topmost panel, choose the paper from the designer paper collection, measuring 5″ by 8″ and cut the window using Cut Mat Create 1B Die, as shown. Distress all the outer edges with a distressing tool or a sharp scissors. Take a smooth white cardstock,1/16th of an inch larger than the ready cut window panel. Mark the window with a pencil, align the die and cut the same window. Now mat both the layers together with the help of adhesive that dries clear. Further, create the layers using deep red paper and golden Mirror Cardstock. Mat all the layers using dimensional tape.
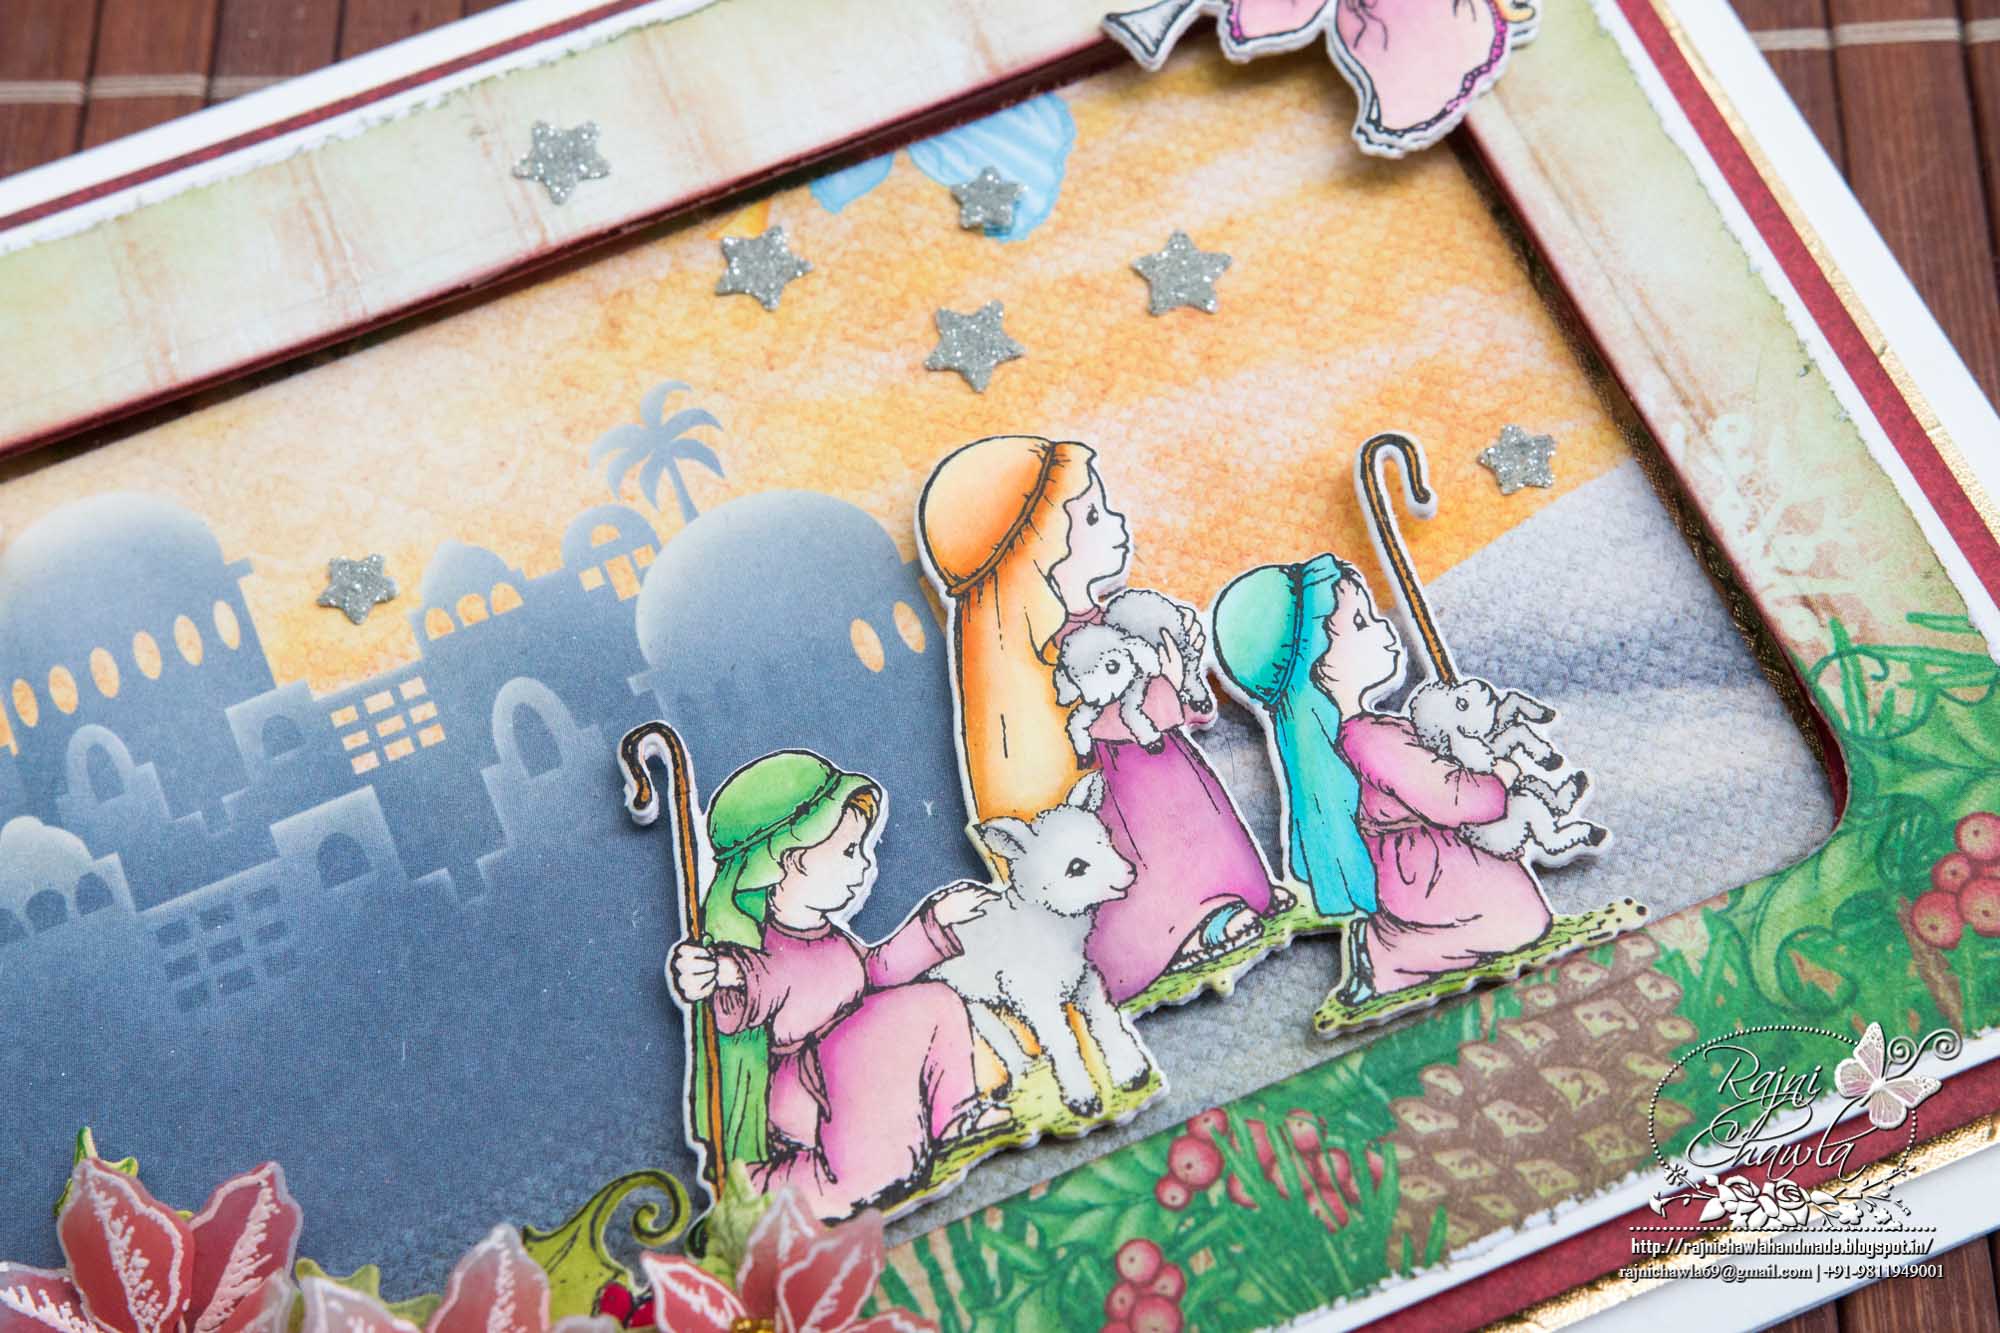
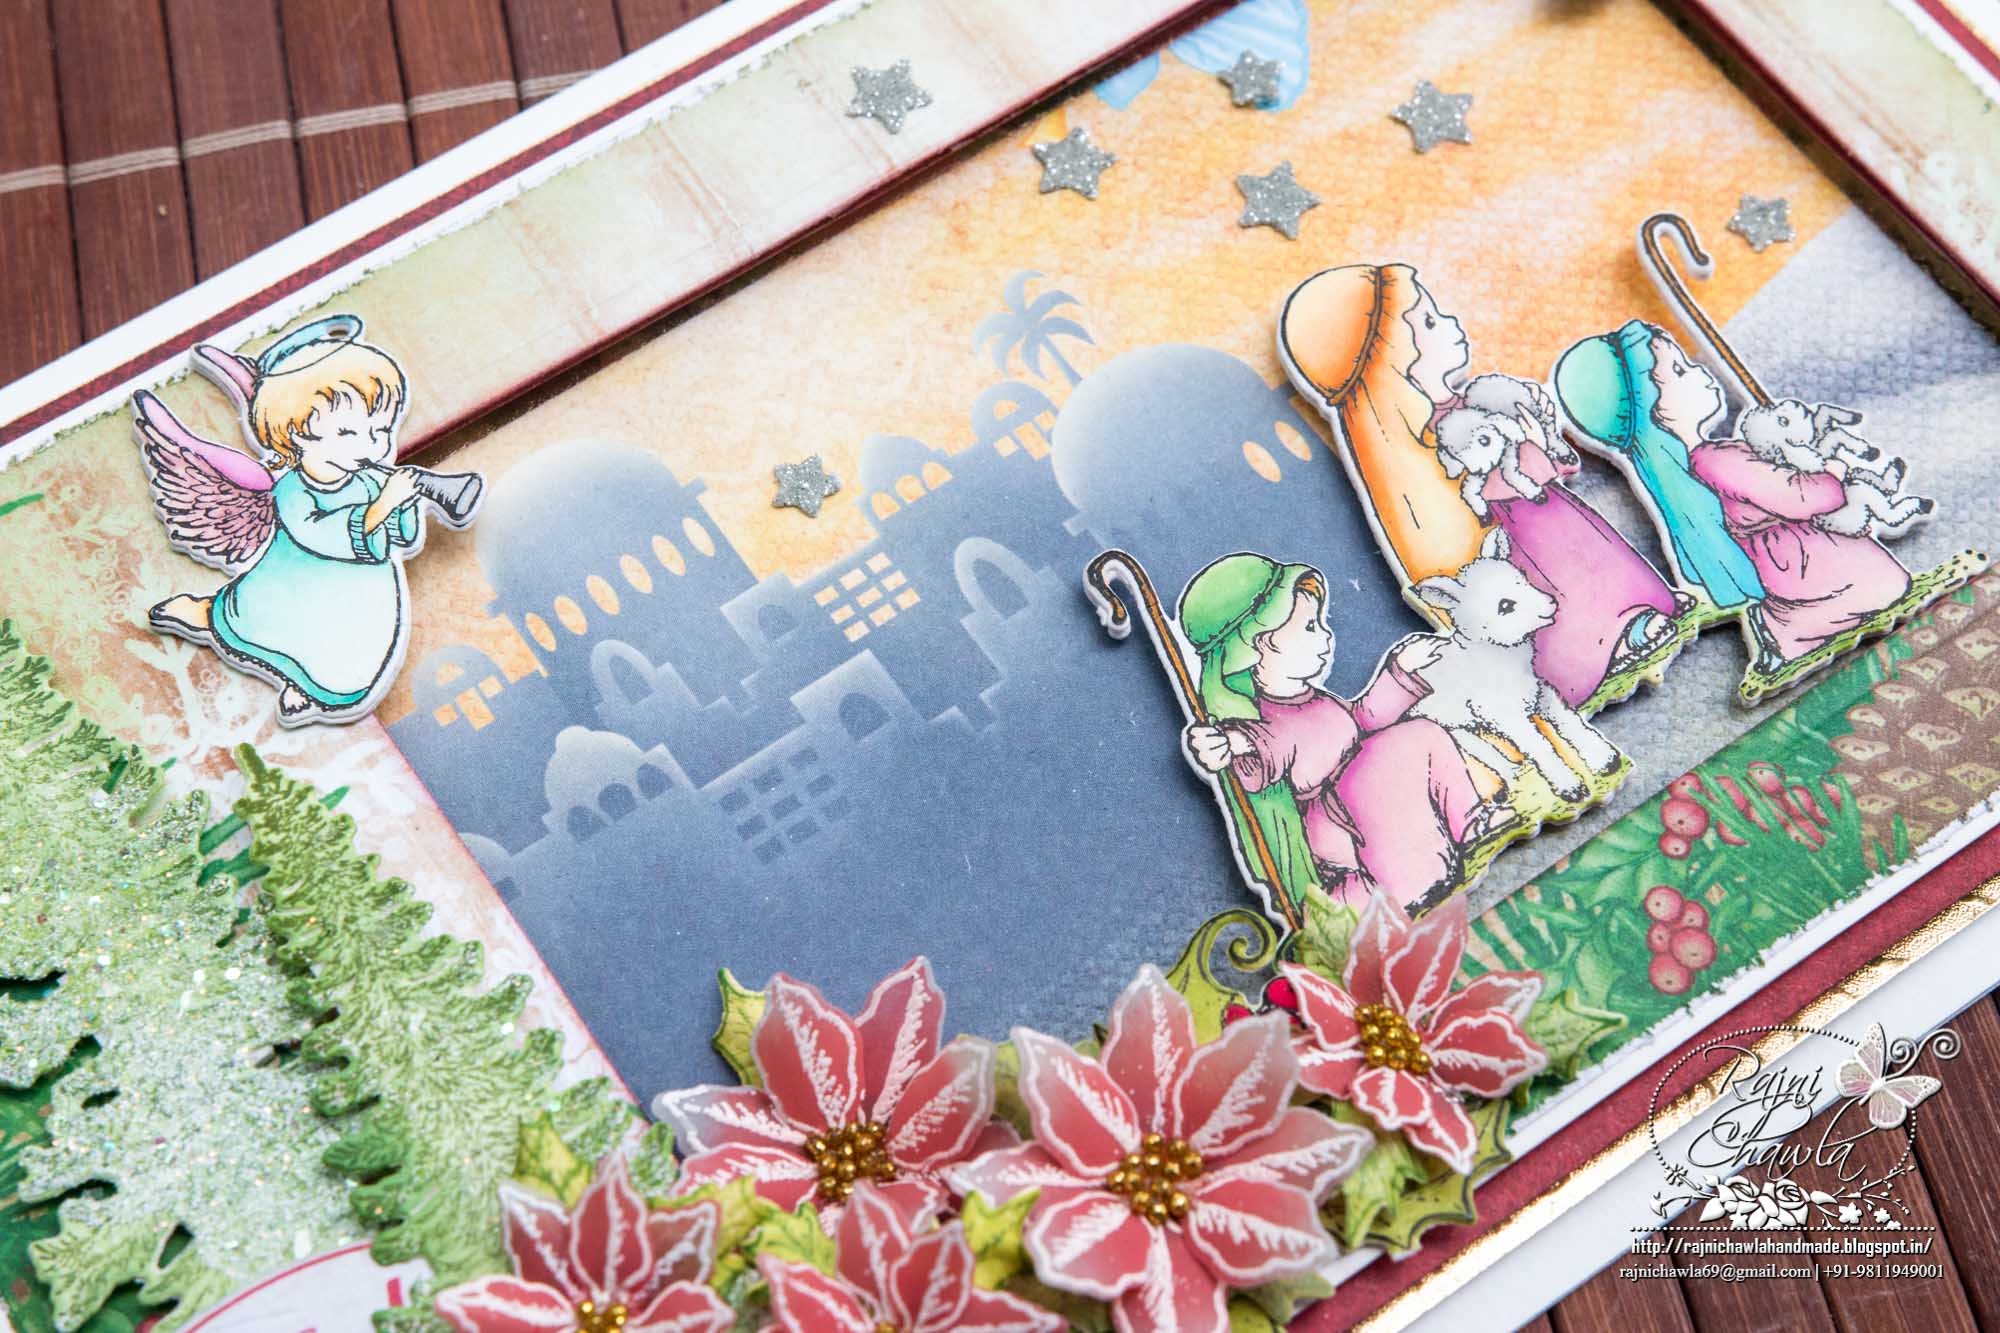
Stamp images from O Holy Night Cling Stamp Set using black archival ink, color them using Zig Clean Clear Brush Markers and cut them using their coordinating dies. Stack, 2-3 layers of the same die cuts to make the embellished pieces more studier look.
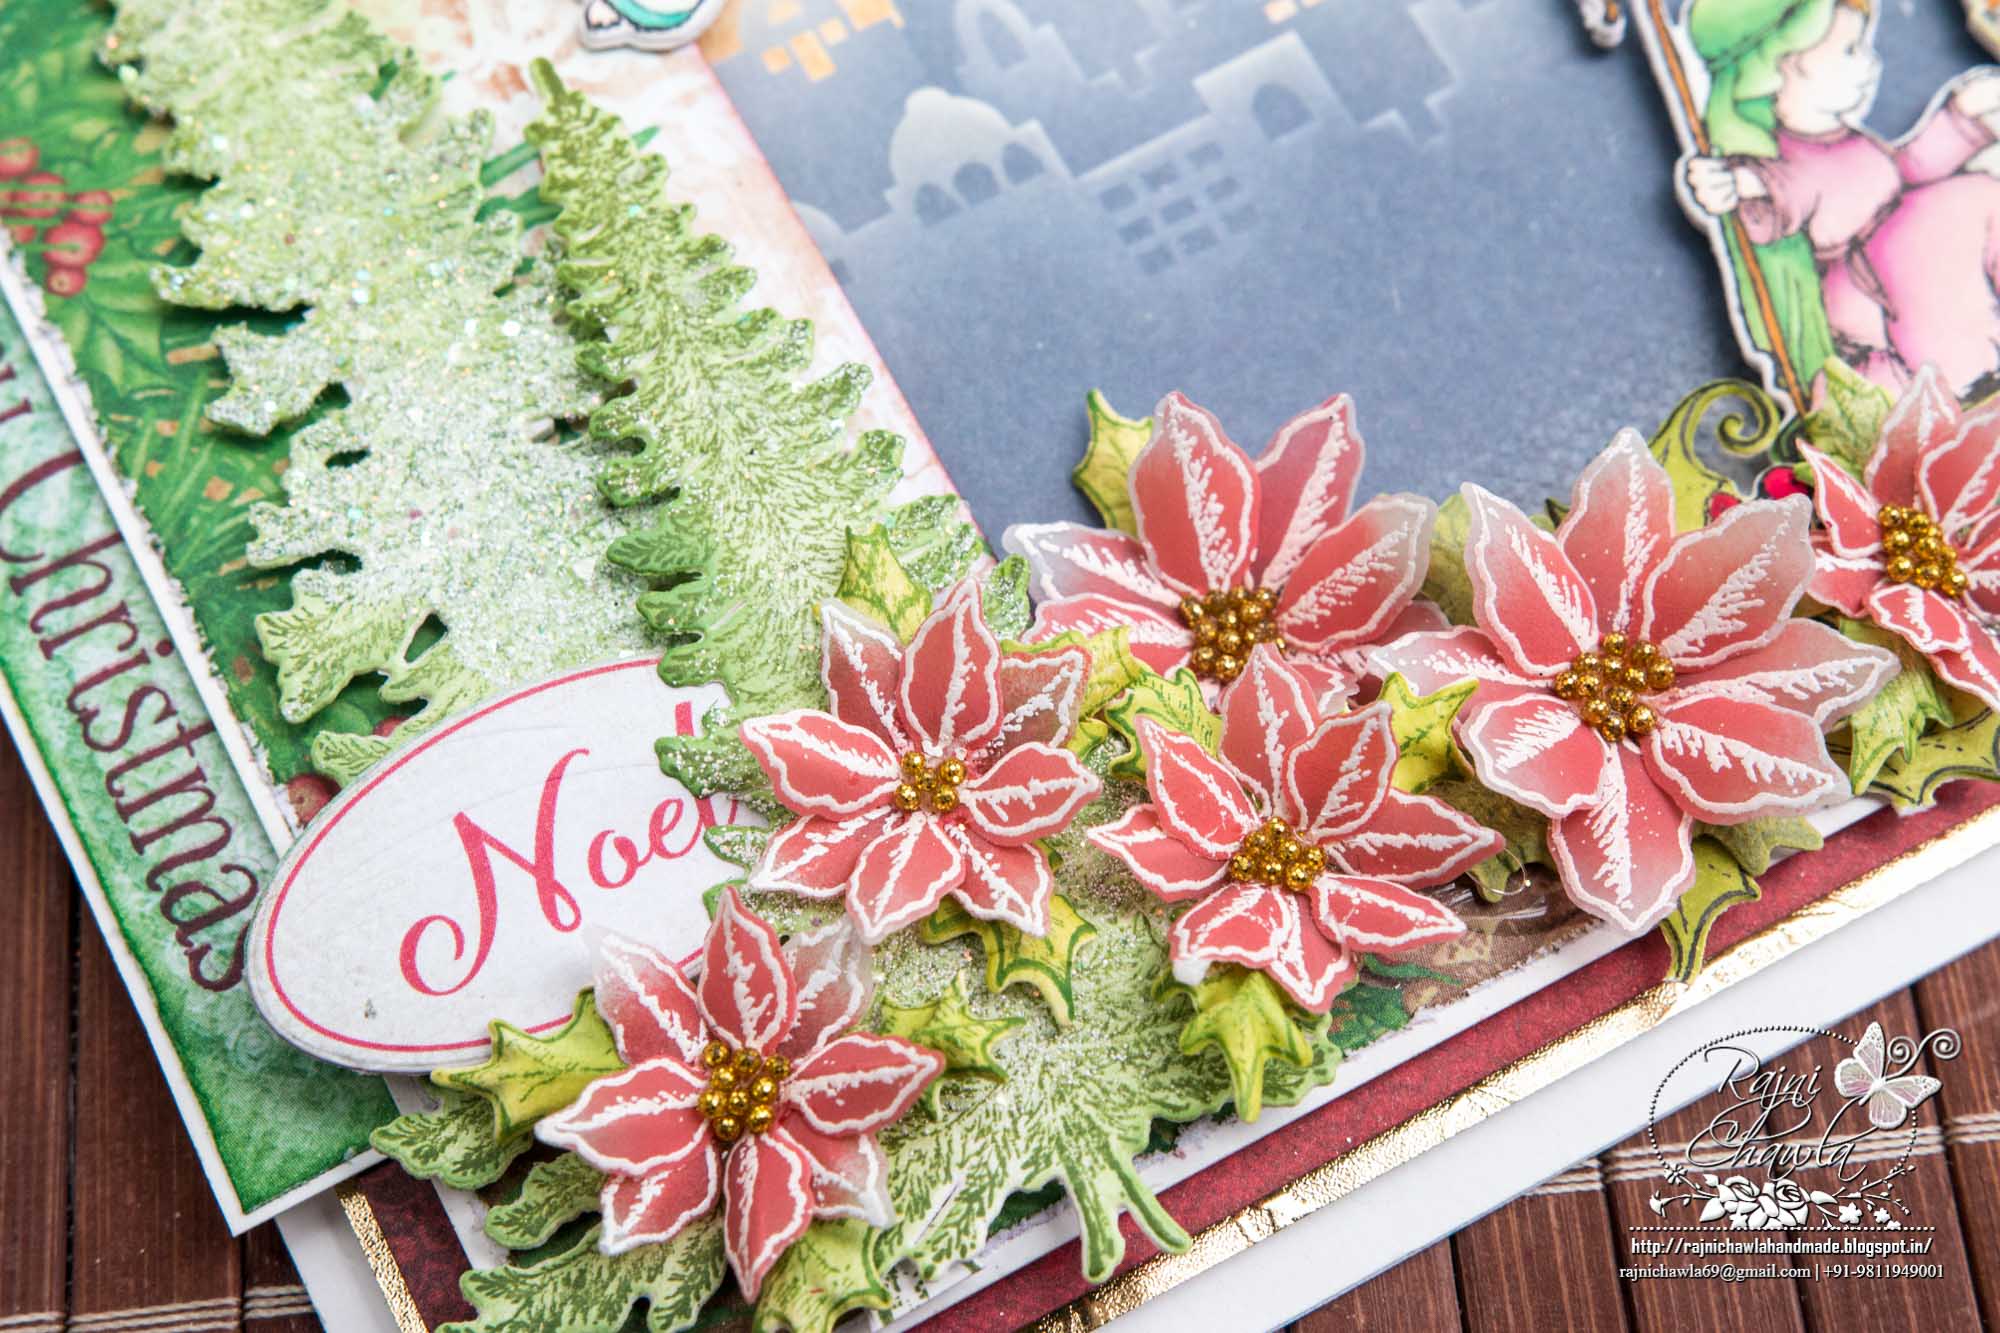
Stamp trees from Snow Kissed Spruce Cling Stamp Set, using Fern Green Archival ink and color them using Leaf Green Archival Ink. Cut them using their coordinating dies. Add Crystal clear and frosting powder with the help of adhesive that dries clear.
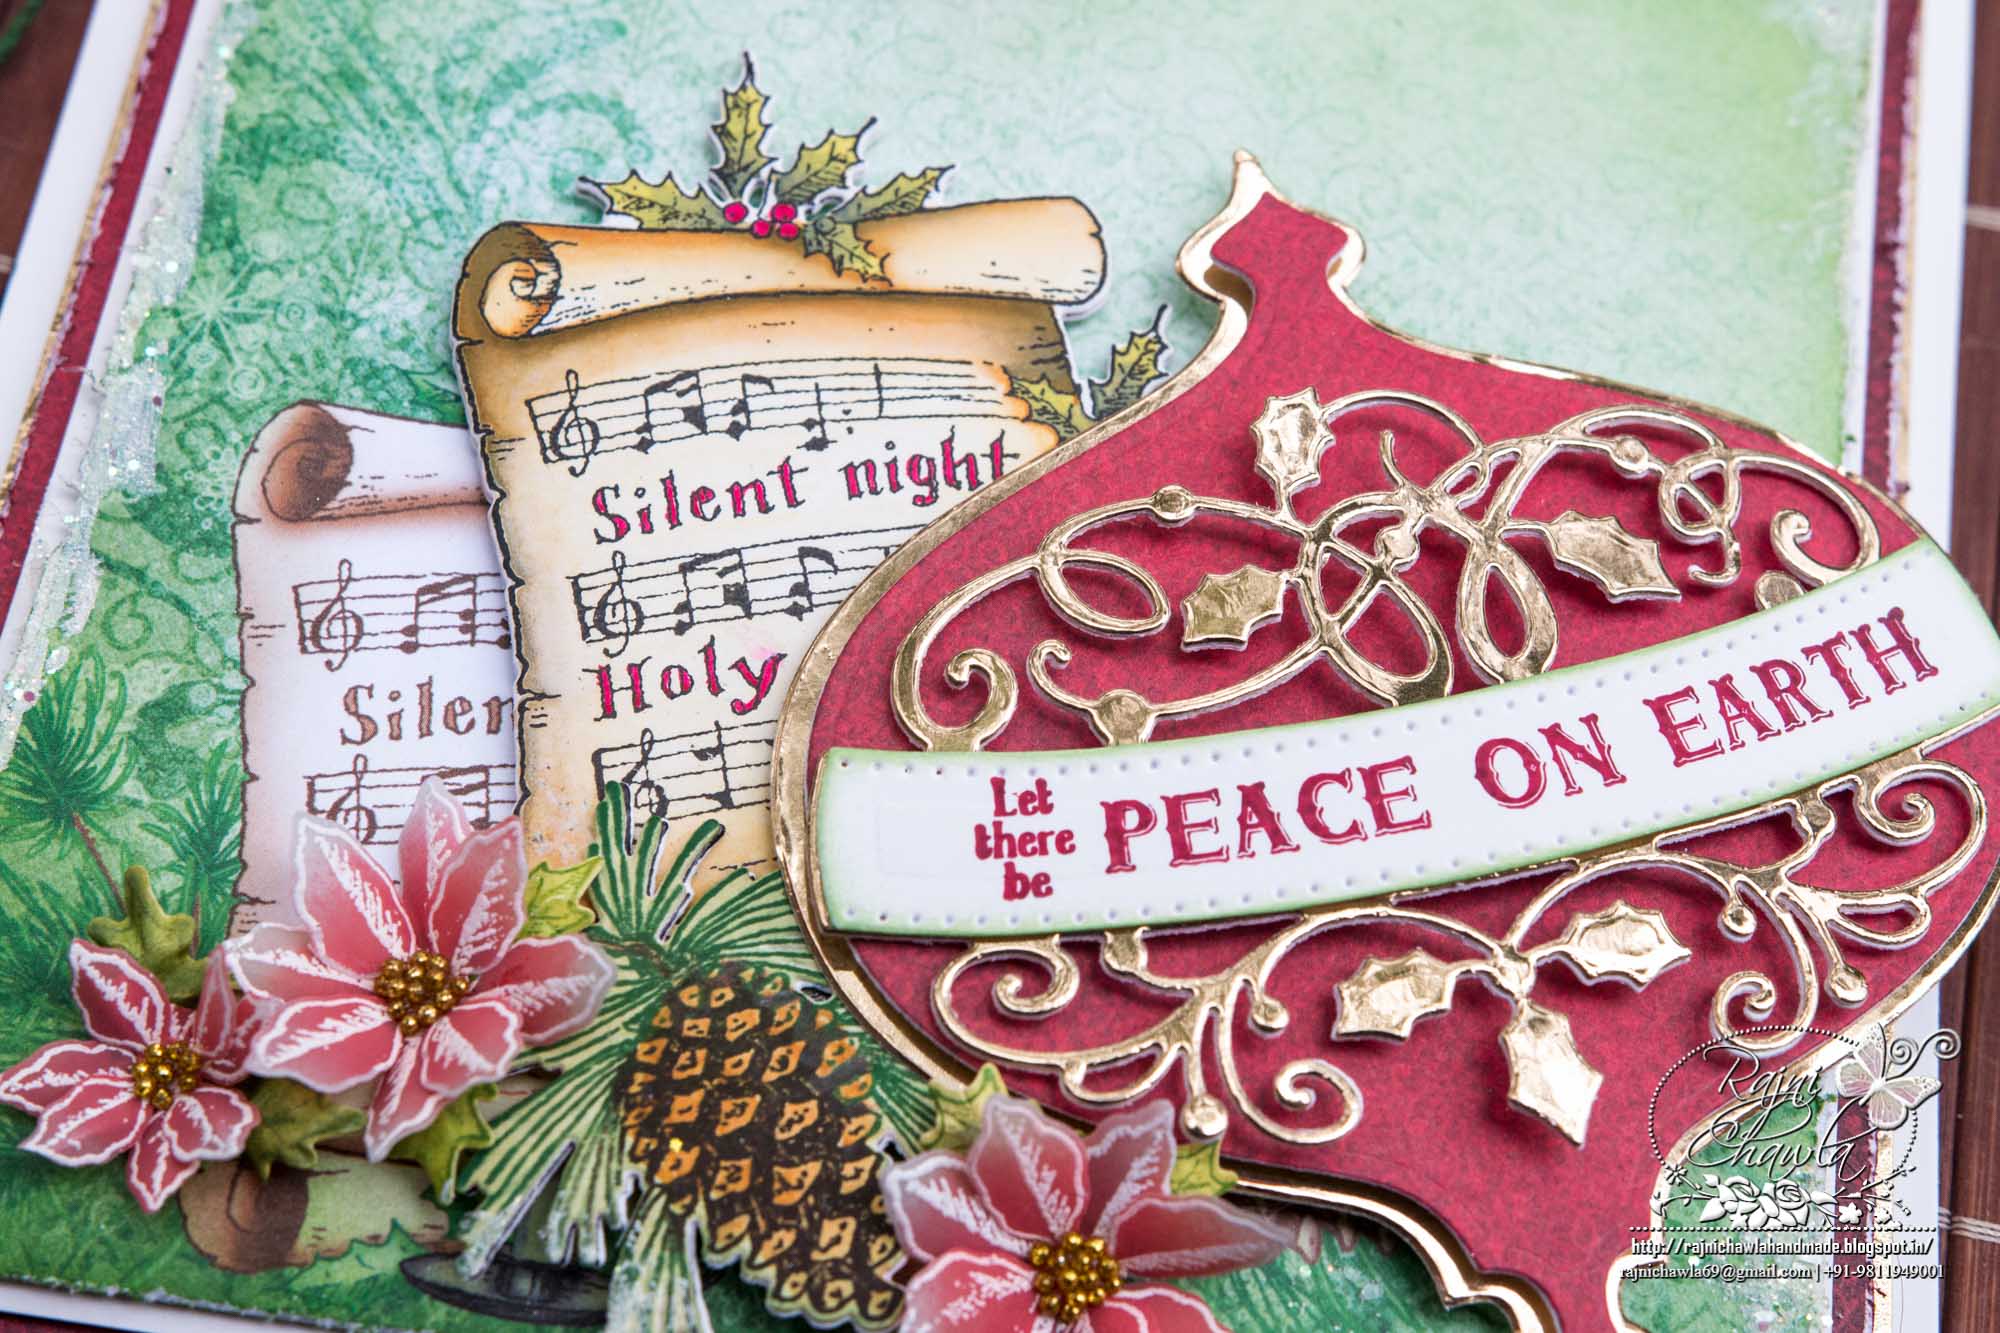
For Poinsettias, Stamp the images Poinsettia & Holly Clusters Cling Stamp Set, using white color box ink on Papericious vellum cardstock, sprinkle white heat embossing powder, dust extras in a funnel tray and heat set them using a heat tool. Cut all the images using their coordinating dies. Color the Poinsettias using Candied Apple Distress Oxides from the front. Let the color sit for a while then puff the images using a damp cloth. Shape all the flowers on the back of the stylus. For Poinsettia leaves, stamp the images from the same stamp using Fern Green Archival on white cardstock and color them using Leaf Green Archival Ink. Cut all the images using their coordinating dies and shape them on the back of stylus. Glue them to the flowers and add golden glittered micro beads to create the flower centers, using an adhesive that dries clear.
Once all the elements are ready, assemble the card as shown. Finish the card by adding a sentiment from Ornate Sleigh Cling Stamp Set and a tag from the designer paper collection.
Oh, this is absolutely gorgeous Rajni! Love the beautiful vellum flowers and your color is just perfect!