Happy Wednesday!!
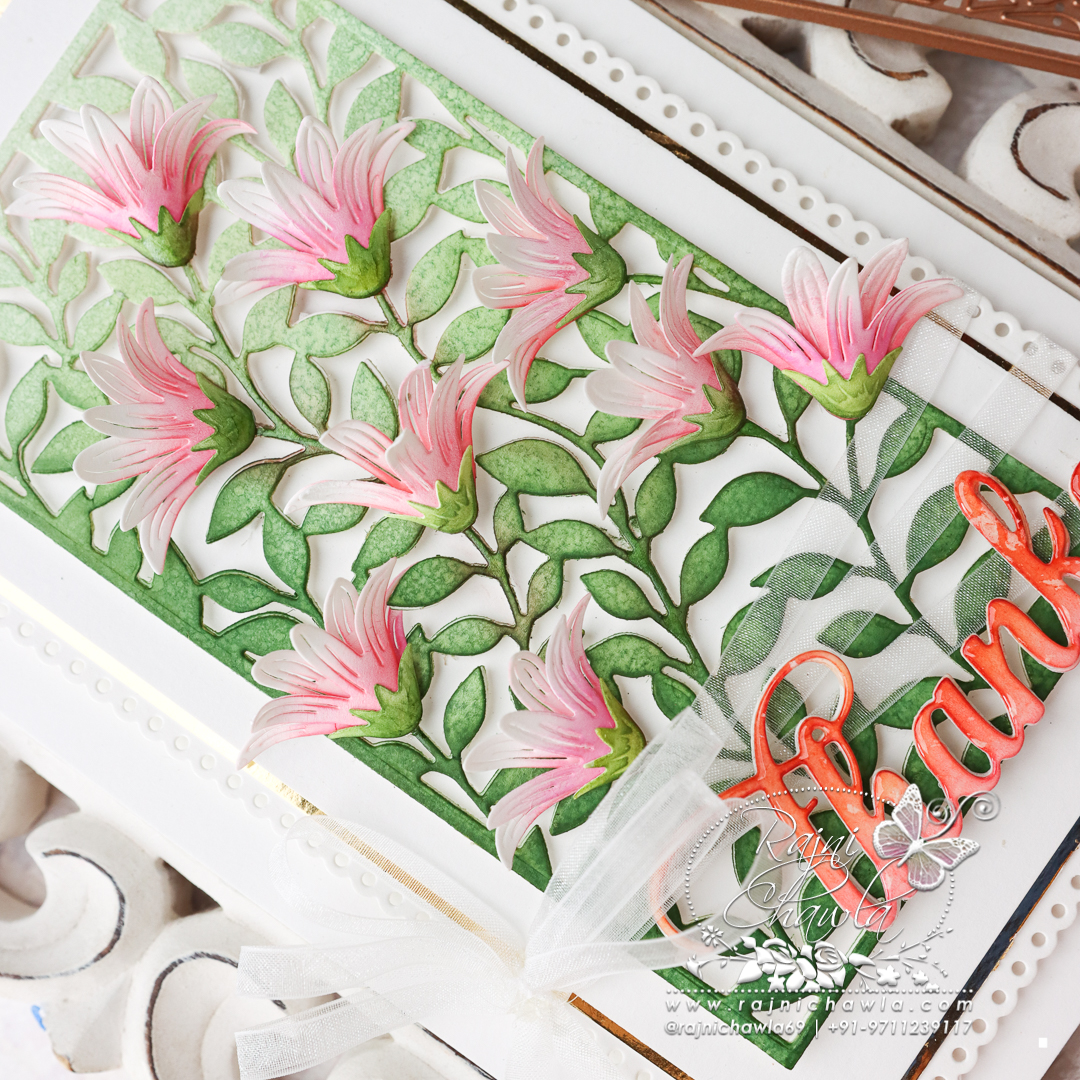
Once again it’s the new release day at Heartfelt Creations. We, designers, at Heartfelt Creations are showcasing the May release, Wild Poppy Collection. Here is my very first share for the same. In this card, I have focused on coloring the beautiful Poppy illustrations.
As usual, detailed pictures, supplies used, and instructions are shared below.
Stairway Gardens Die HCD1-7281
Eyelet Royale Die HCD1-7282
Floral Butterfly Accents Cling Stamp Set HCPC-3952
HCD1-7404 Wild Poppy Die
HCD1-7405 Wild Poppy Accents Die
HCD1-7406 Wild Poppy Bouquet Die
HCPC-3986 Wild Poppy Cling Stamp Set
HCPC-3987 Wild Poppy Accents Cling Stamp Set
HCPC-3988 Wild Poppy Bouquet Cling Stamp Set
HCDP1-2139 Wild Poppy Paper Collection
Celebrate Love Sentiments Cling Stamp Set HCPC-3847
Zig Clean Color Real Brush Markers – 48 Pack 478594
RACP482 Ranger Archival Ink Pad – Olive
RACP468 Ranger Archival Ink Pad – Jet Black
409311 Color In Watercolor Brush – Fine
PGM15015 Rajni Chawla’s Crystal Clear
Ranger Archival Ink Pad – Mulberry RACP994
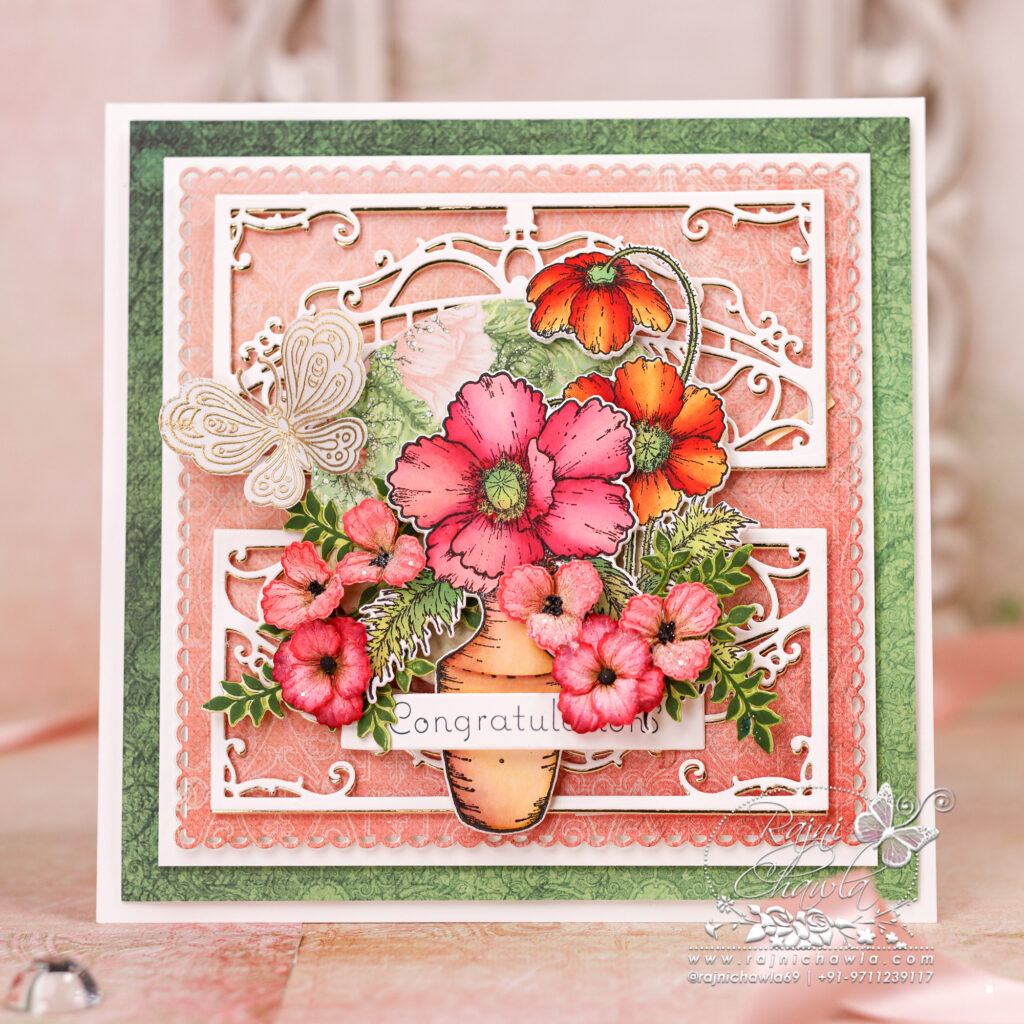
The ready top fold card from smooth white cardstock measures, 7″ X 7″. Choose a pattern paper from the designer paper and cut it measuring 6 1/2″ by 6 1/2″ and glue it on the card front.
Choose the pattern paper from the paper collection and cut an eyelet base using Stairway Gardens Die. Mat the die-cut on the white cardstock making a delicate border of 1/8″ on all sides. Cut two pcs each from white cardstock and Luxe gold cardstock using Eyelet Royale Die. Glue the gold one behind the white creating the shadow and layer them on the card front using glue dots.
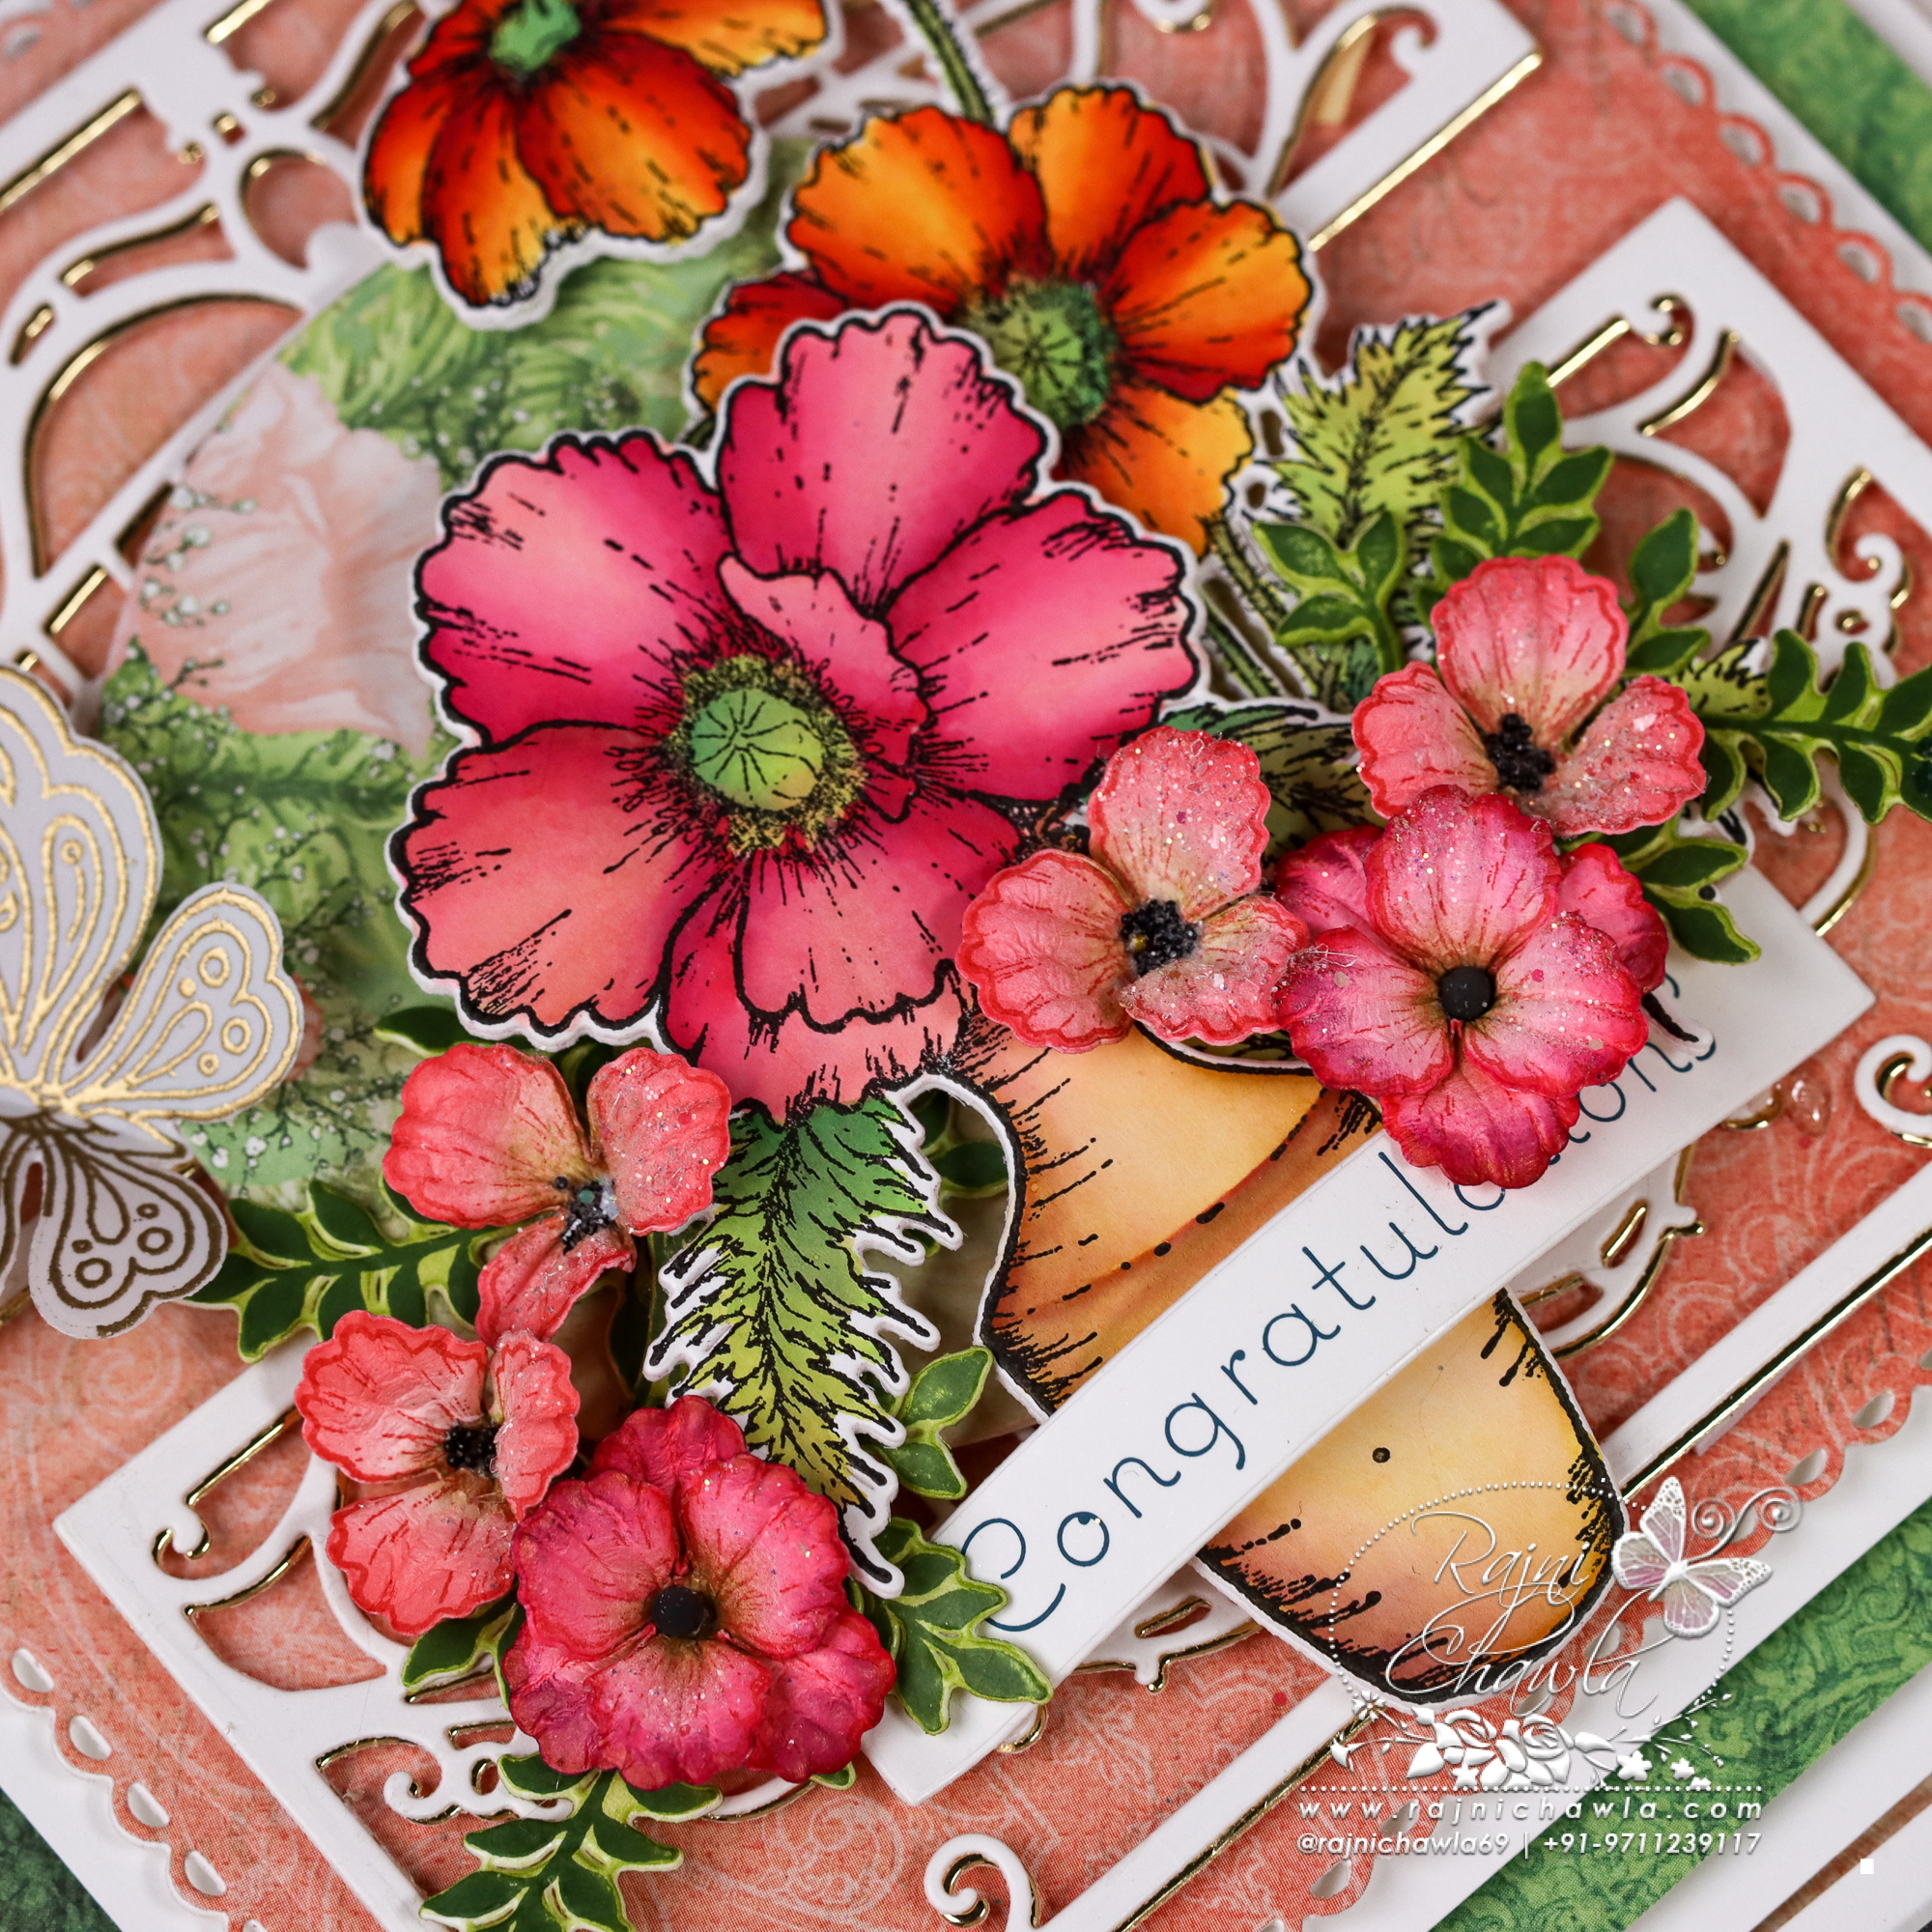
Stamp the images from Wild Poppy Accents Cling Stamp Set Wild Poppy Bouquet Cling Stamp Set with black archival ink and paint them bright using Zig Clean Clear Brush Markers. next, cut the images using their coordinating dies. Choose the coordinating pattern paper and cut the circle using the Eyelet circle die and layer it on the card center.
Stamp the butterfly image from Floral Butterfly Accents Cling Stamp Set with Versafine on Rajni Chawla’s Vellum Flowerite and sprinkle gold heat embossing powder. Dust extras and heat set the image using a heat tool. Cut the butterfly using its coordinating die. Shape the butterfly with your hands.
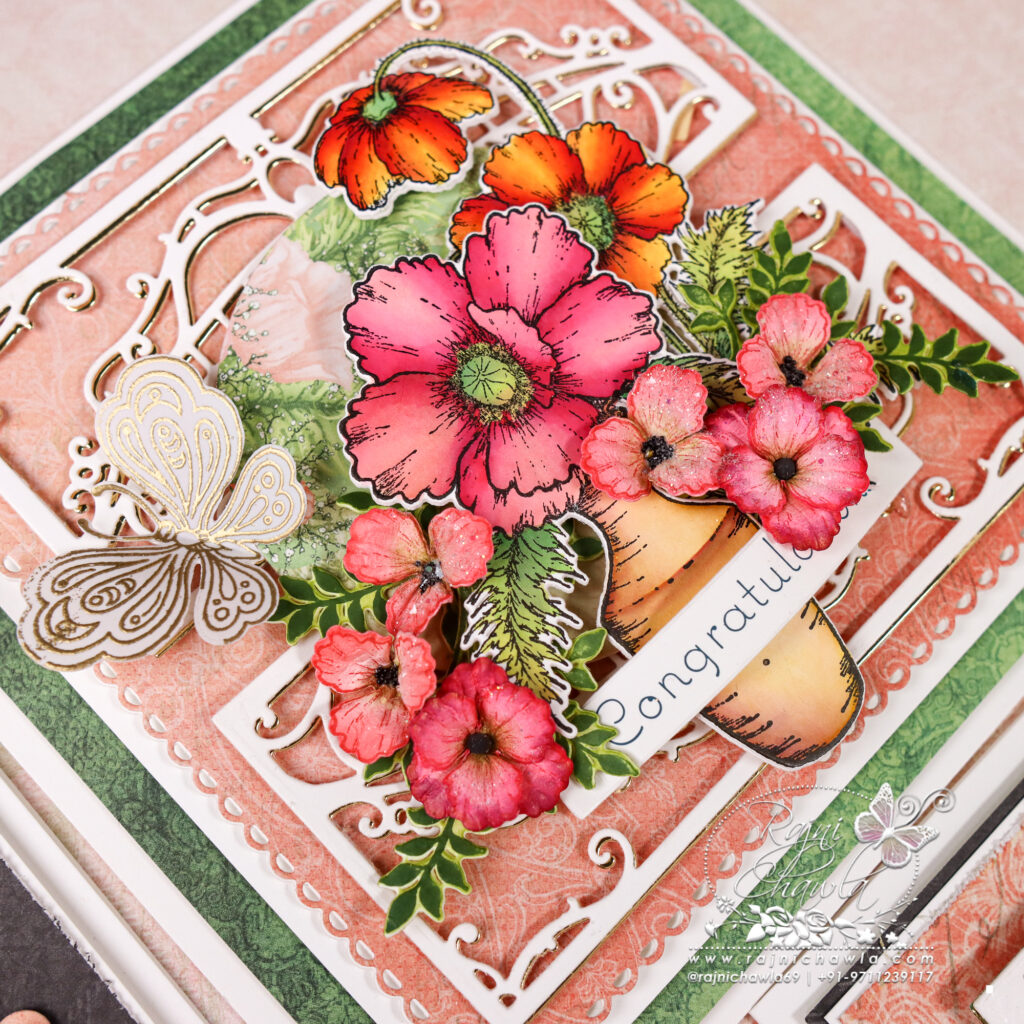
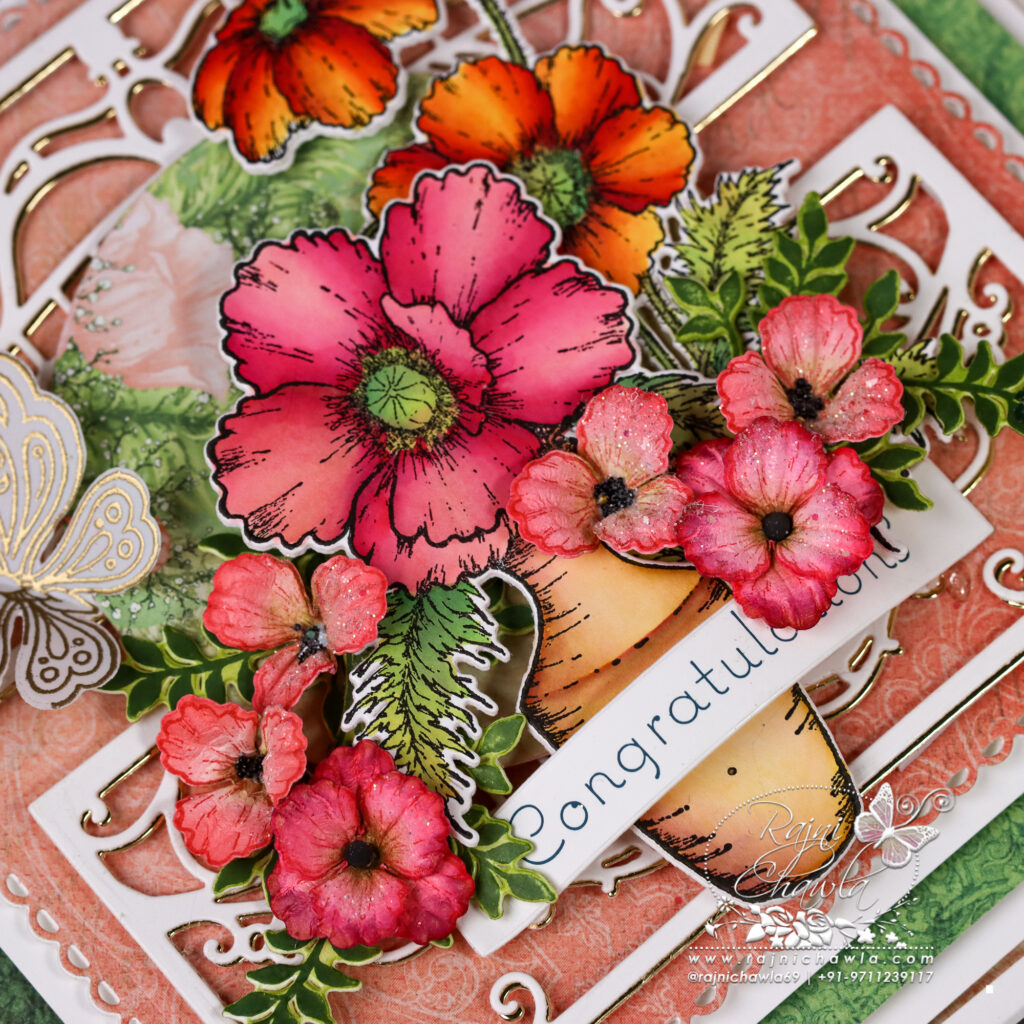
Poppies are first stamped using Carnation red and then cut using their coordinating dies. Paint the flowers with the Geranium red and shape them using the Deluxe Flower shaping kit. Add seed beads to the centers using a glossy accent. Stamp and cut 3 pieces of foliage using Holly Berry Spray stamp and die and color it using leaf green archival ink.
Once all the elements are ready, make a small bouquet of flowers with stamped images and the dimensional flowers, as shown, and finish the card by adding the sentiment strip and added glitters to the flowers.