


Good Morning and welcome back to another inspiration Wednesday with Heartfelt Creations. We, here at Heartfelt Creations are enjoying creating winter scenes using their latest Winter’s Eve Collection. If you have yet not started preparing Chrismas and holidays cards for your friends and family, then we have loads of inspiration for you on the Blog.
Products from Heartfelt Creations:
Window Box Fillers Cling Stamp Set HCPC-3795
Window Box Fillers Die HCD1-7149
Window Frame Cling Stamp Set HCPC-3794
Window Frame Die HCD1-7148
Winter’s Eve Paper Collection HCDP1-281
Celebrate the Season Die HCD1-7106
Ornate Sleigh and Presents Die HCD1-7104
Celebrate the Season Cling Stamp Set HCPC-3747
Ornate Sleigh Cling Stamp Set HCPC-3745
Cut Mat Create 2A Die HCD2-751
Festive Holiday Die HCD1-7146
Festive Holly & Cardinals Die HCD1-7145
Festive Holly & Cardinals Cling Stamp Set HCPC-3791
Stack and Store Daubers-Pack of 30 HCDA2-450
Rajni Chawla’s Crystal Clear PGM15015
Rajni Chawla’s Frosting Powder PGM15016
Deluxe Flower Shaping Kit HCST1-401
Other Products: Archival inks Black, Fern Green, Library Green, Plum, Magenta Hue, Fussy Cut Scissors, Smooth White Cardstock, Peeled Paint, Vintage Photo, Evergreen Bough, seed beads, 3D foam
For EZ tips to create your own warm and cozy winter scene click here.
For tips on how to cut intricate dies check out this tutorial.
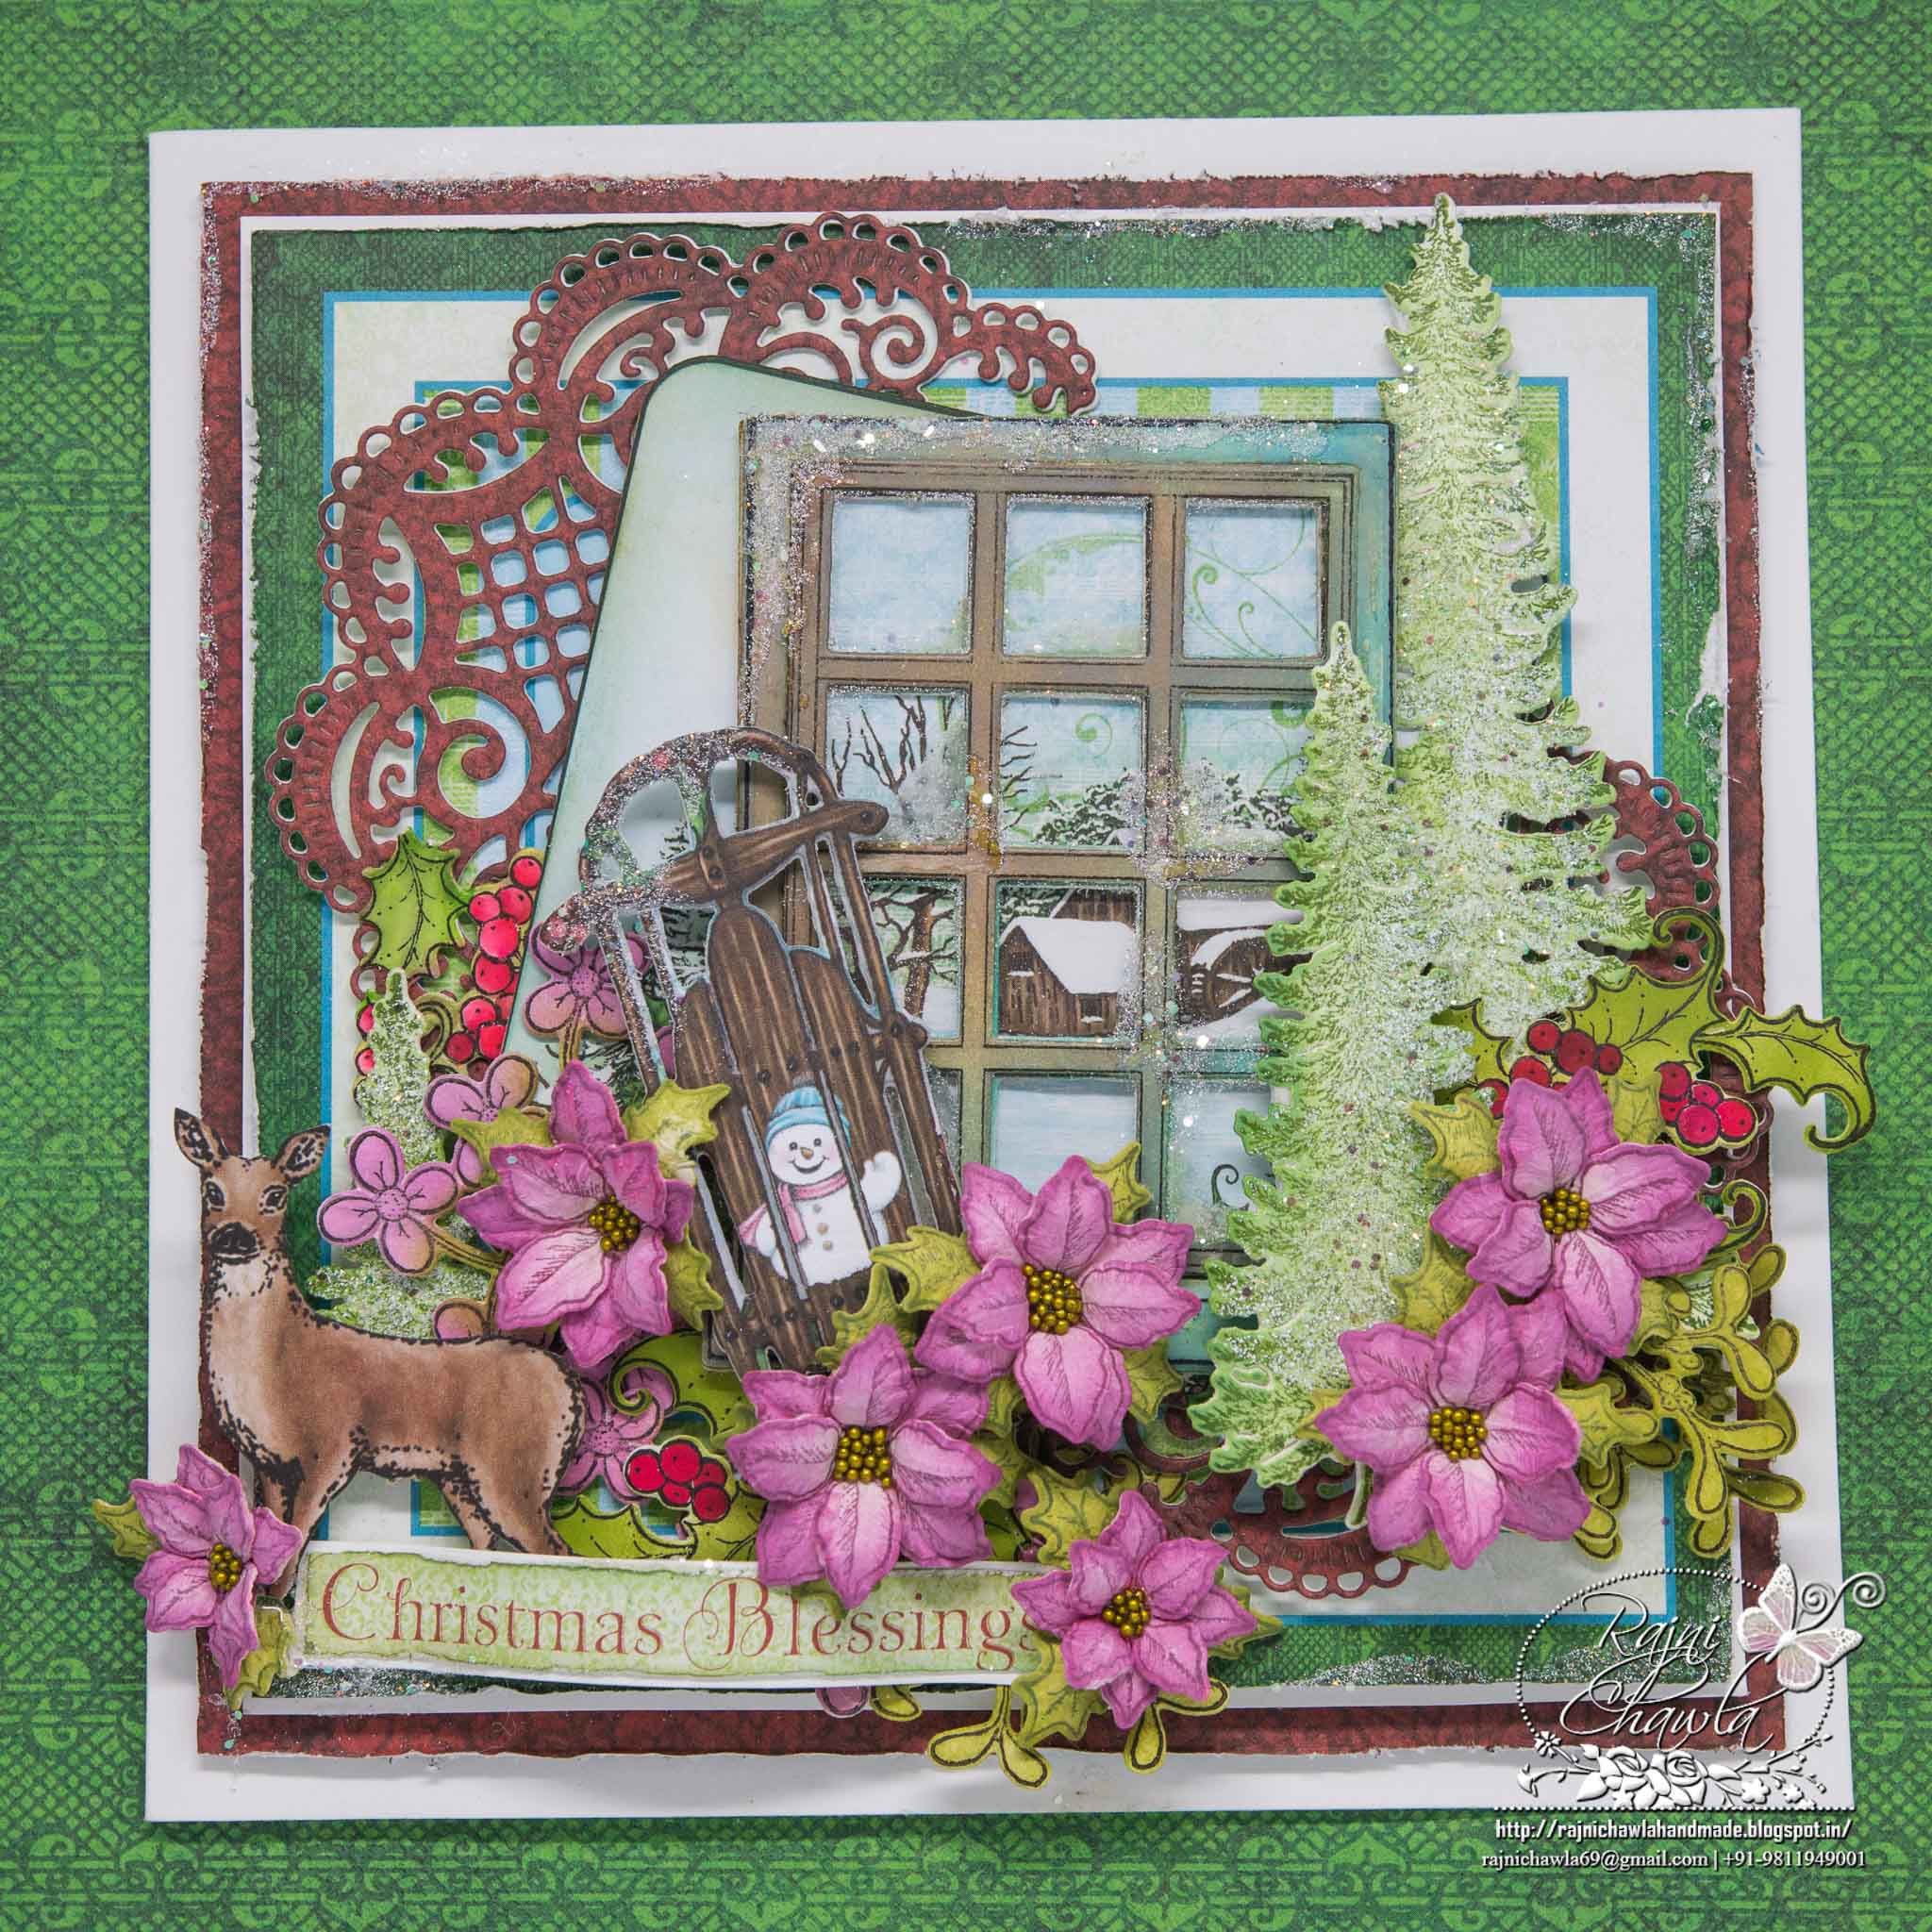
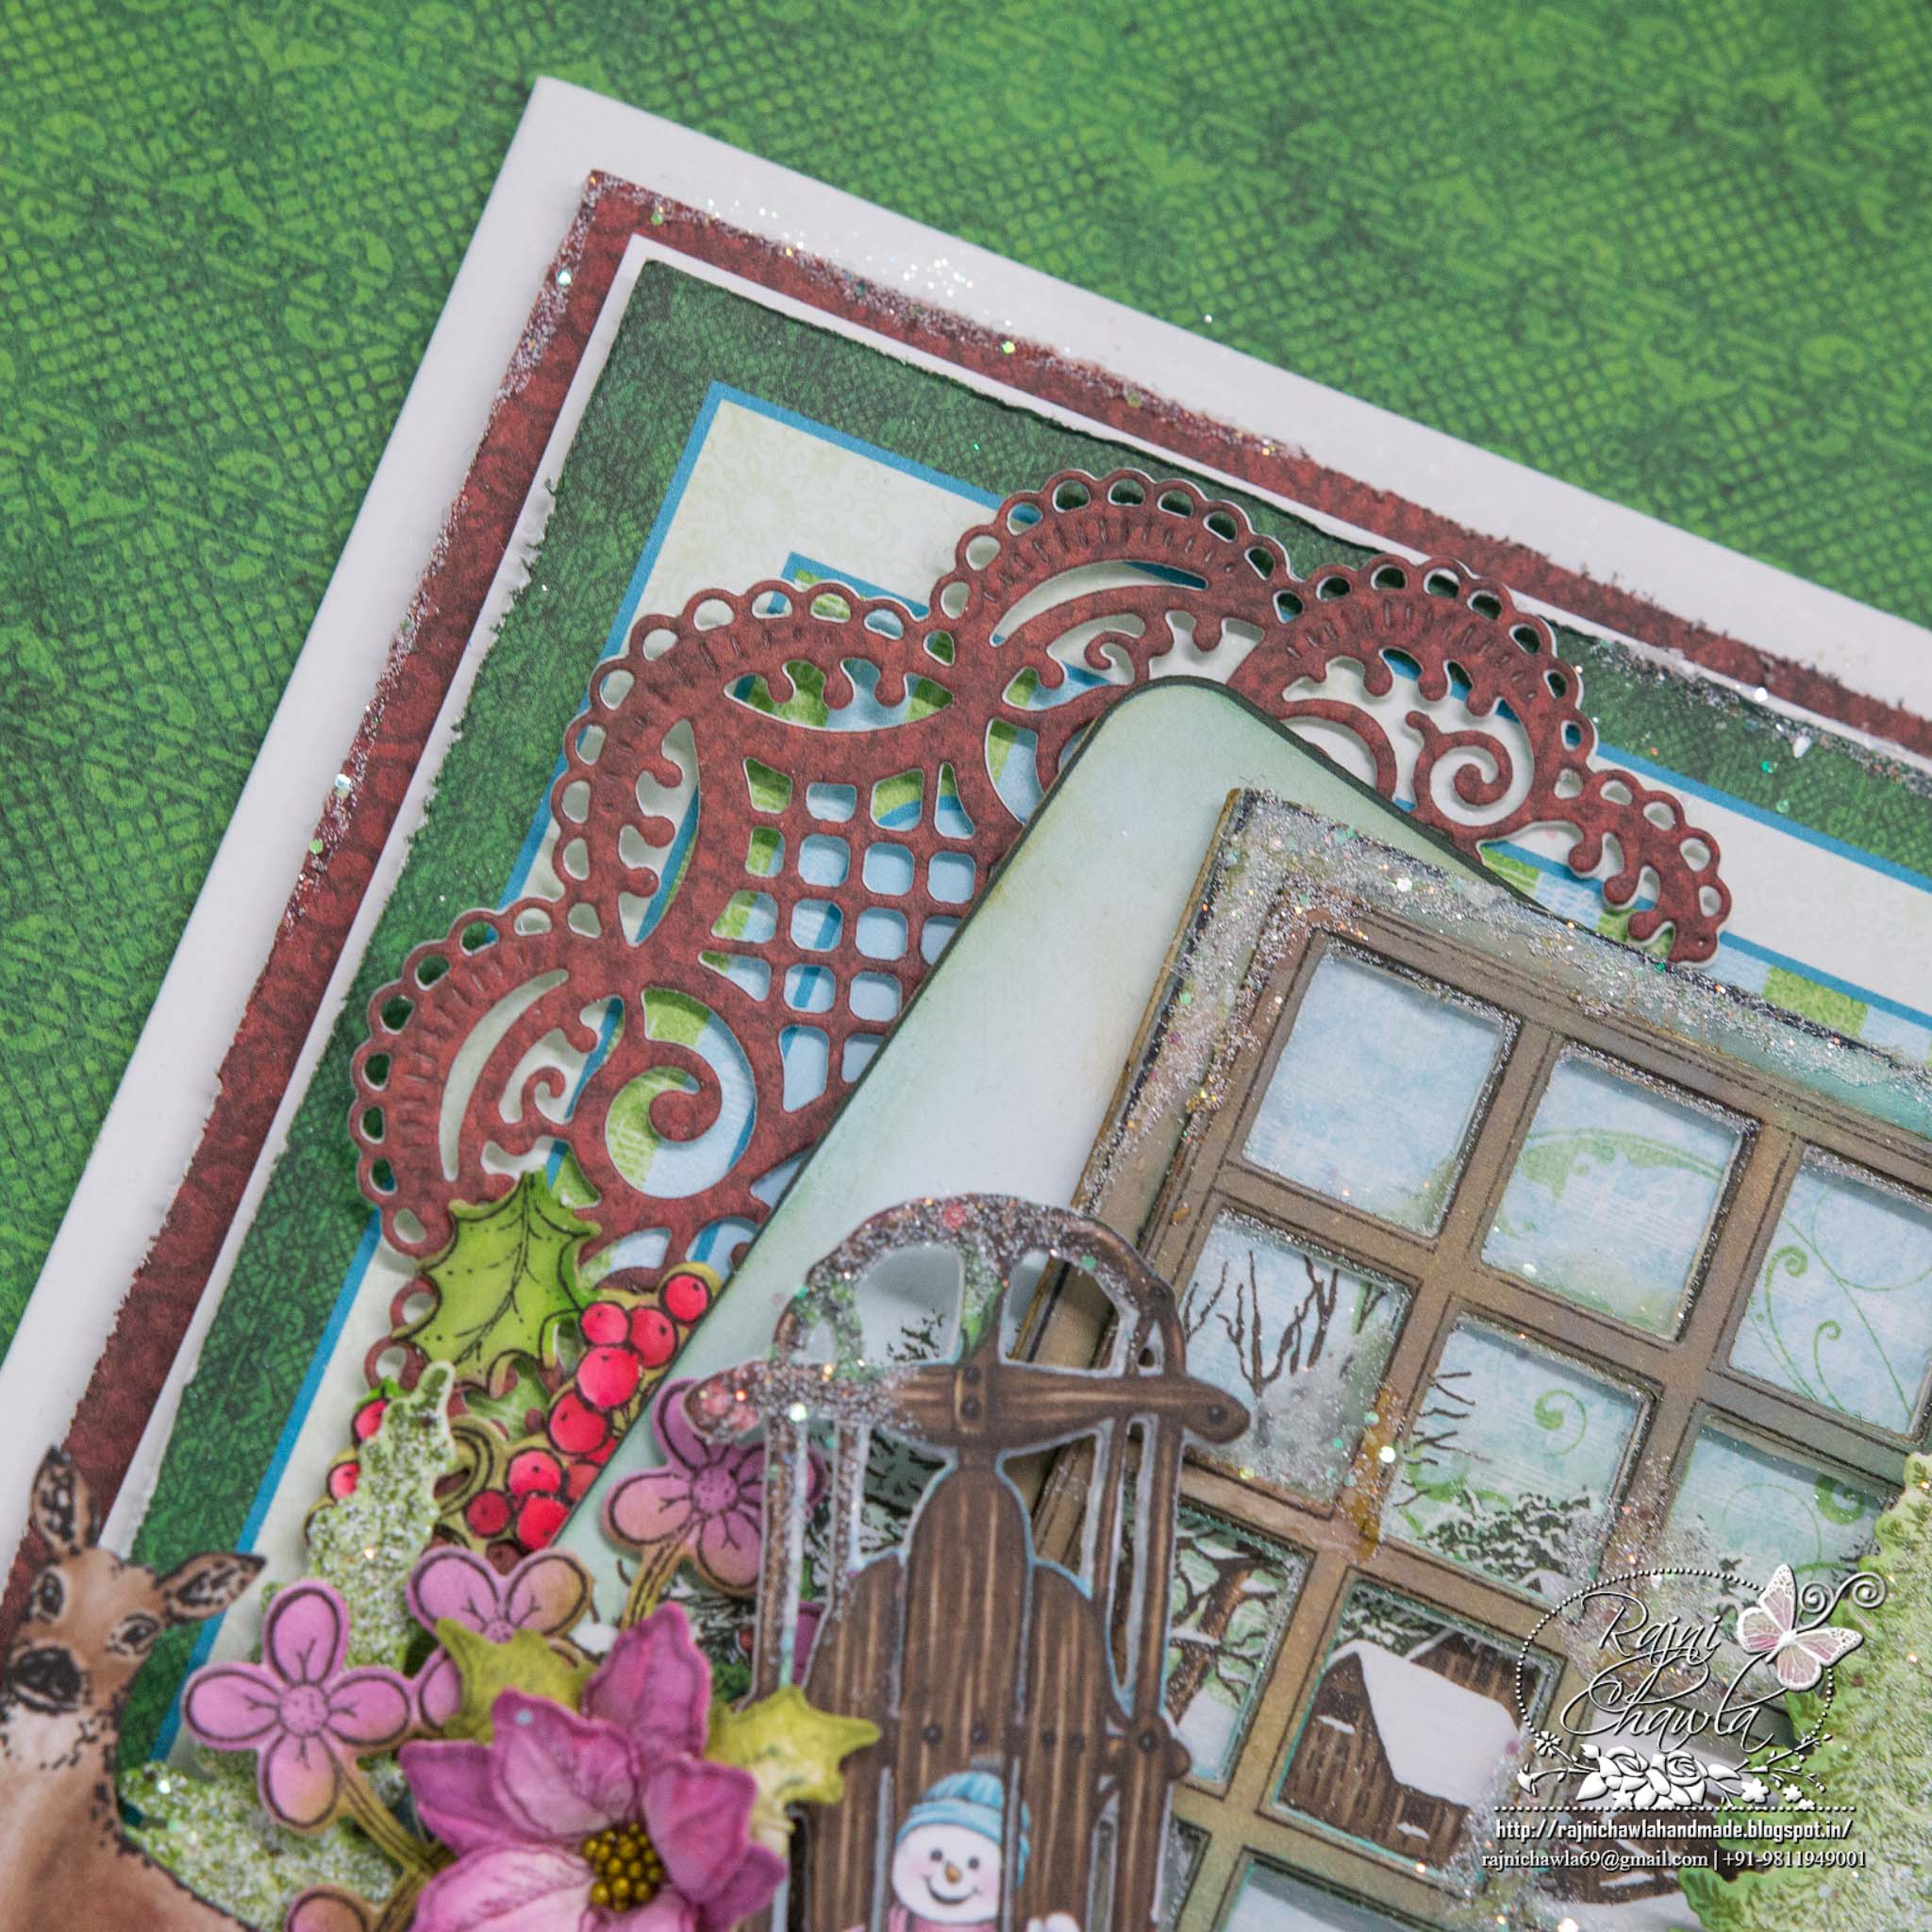
Instructions: The finished card measures 7″ by 7″. Choose a 6″ by 6″ panel from the designer paper collection. Prepare a white cardstock mat 6 1/8″ x 6 1/8″ and a maroon designer paper 6 9/16″ x 6 9/16″. Distress all the sides of the designer paper using scissors. Adhere together using foam dots between layers as desired.
Die cut the center panel using Cut Mat Create 2A die. Layer it as shown, using foam tapes.
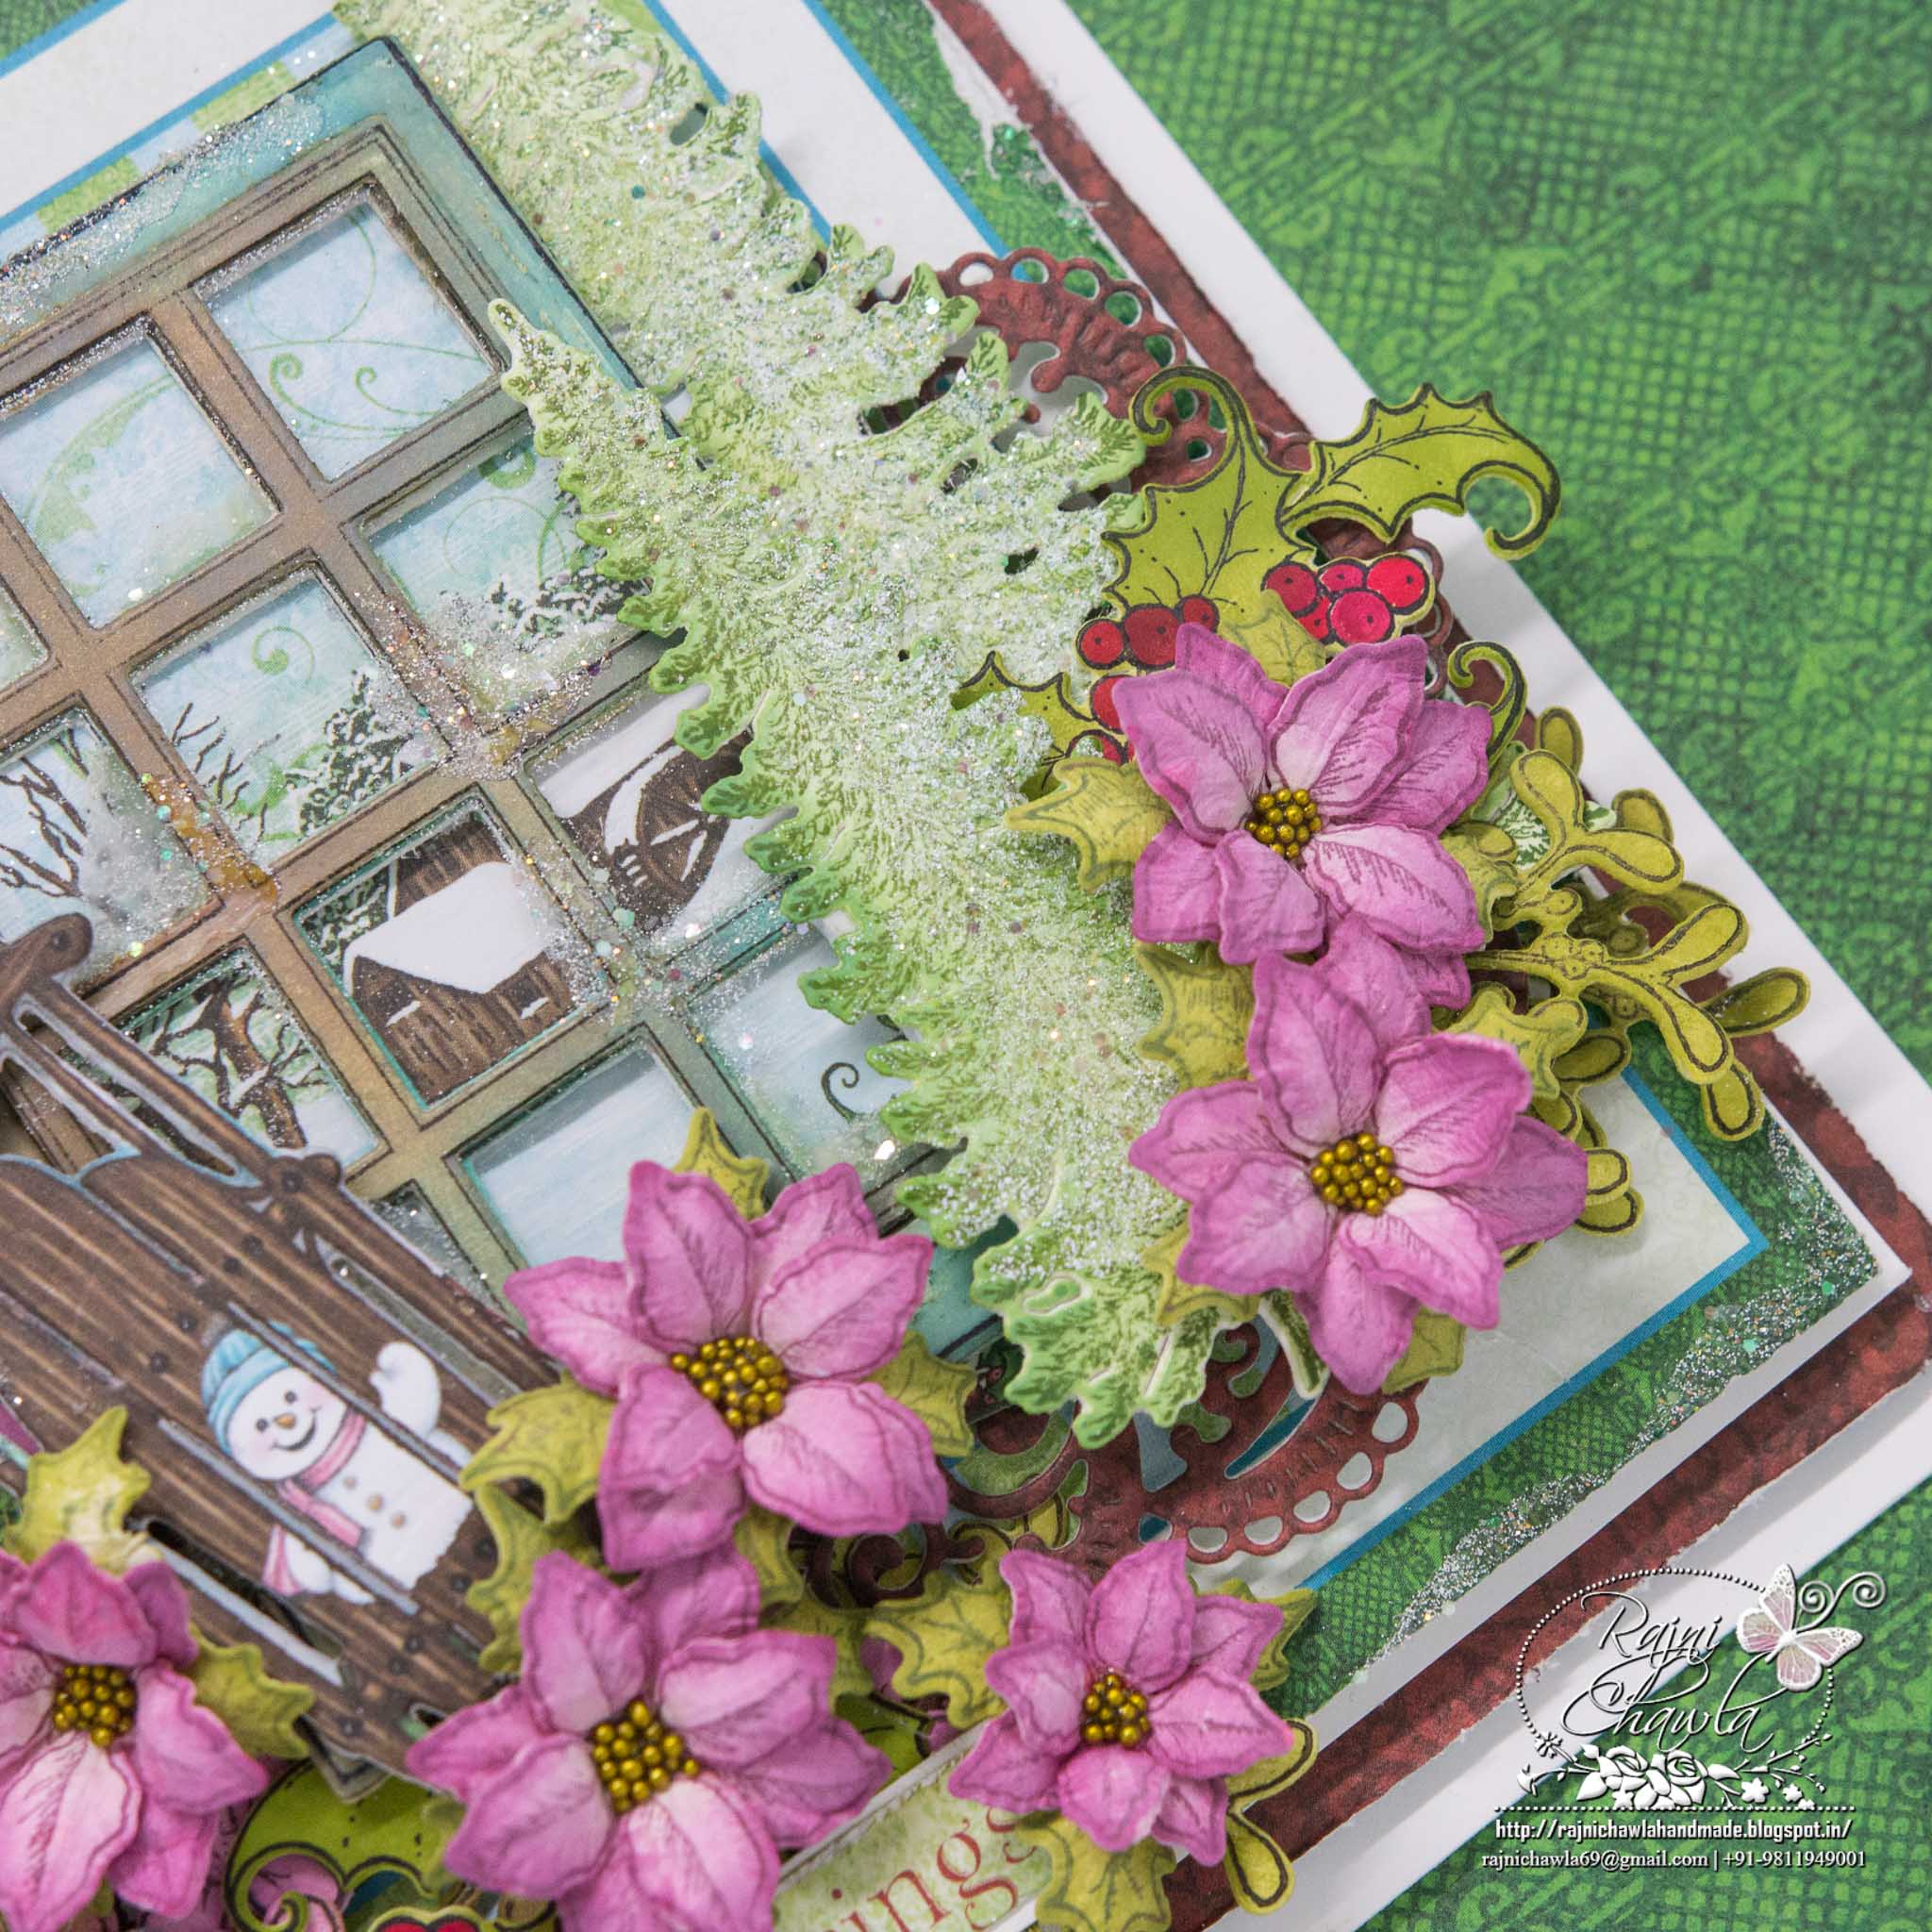
Stamp the window frame in black ink on white cardstock. Die cut with coordinating dies and color. Distress the window using Vintage Photo and Evergreen Bough. Randomly paint the window with an adhesive that dries white and sprinkle Frosting Powder to form snowy looks.
To create a see through the window paste 2-3 cut outs from Window Frame Die and adhering the acetate sheet between the top layer and the second layer. Choose a background and cut down to window size and adhere on the back of the window layers. Adhere the window on the center panel using glue.
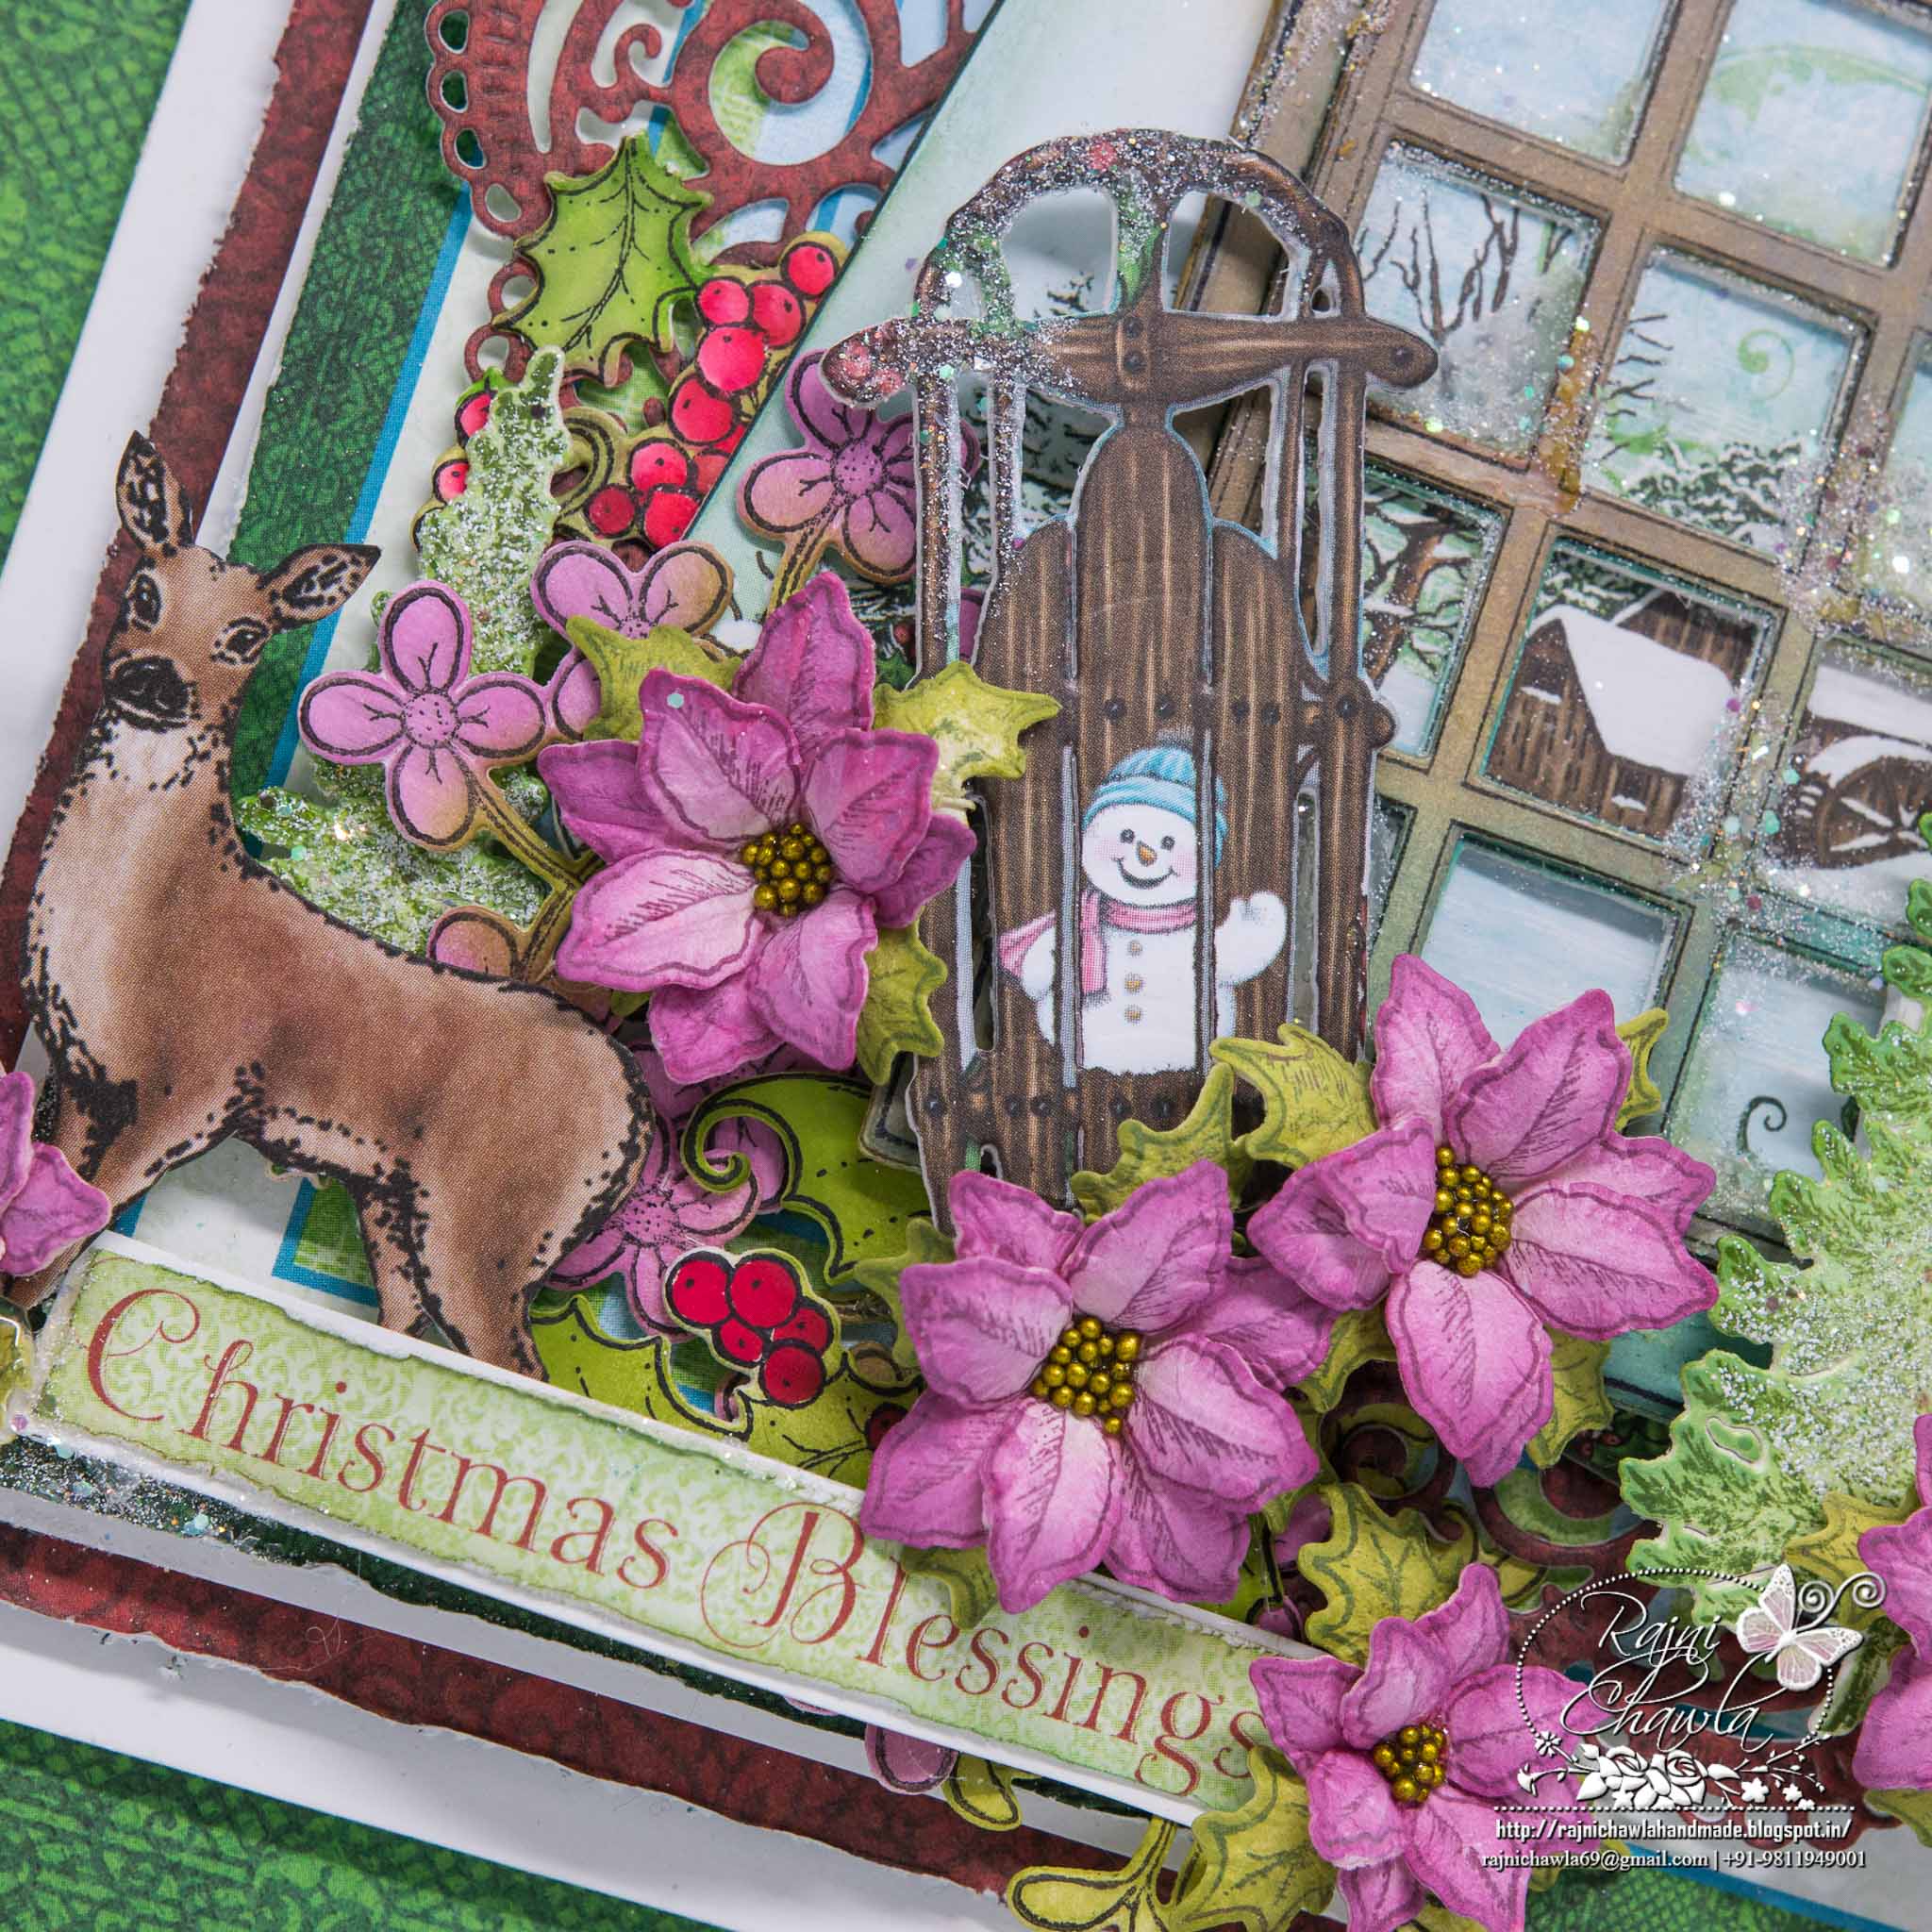
Die cut two decorative arches HCD1-7146 from maroon designer paper. Adhere on the two corners as shown. Stamp a few images of trees from Snow Kissed Spruce Cling Stamp using Library Green and Olive Green Archival Ink. Distress them a little with Peeled Paint. Apply glue that dries clear and Sprinkle Frosting Powder. Heat set if you want to add extra frost. Die cut sled image from designer paper using coordinating die. Fussy cut deer and sentiment from the paper pad.
Stamp a few poinsettia flowers from Celebrate the Season Stamp Set and Ornate Sleigh Cling Stamp Set on white cardstock and die cut using their coordinating dies. Stamp and color them with Carnation Red and Magenta Hue Archival Ink. Shape them using Deluxe Flower Shaping Kit. Add seed beads in the center and sprinkle some Crystal Clear and Frosting Powder using an adhesive that dries clear. Stamp poinsettia leaves on white cardstock with library Green ink and die cut. Color with Fern Leaf ink and shape using the Deluxe flower shaping kit.
Stamp Holly & Berries corner (HCPC-3791) and Window Box Filler flowers and holly (HCPC-3795) in black ink on white cardstock and die cut with coordinating dies. Shape using Deluxe Flower Shaping Kit.
Arrange images as shown and adhere using a clear drying adhesive and 3D foam dots as desired. Add dries white where desired (sled, trees, sentiment) and sprinkle Frosting Powder. Heat set if desired. I added dries clear glue around the maroon border and on flowers and sprinkled Crystal Clear.
What a beautiful card this is!
Gorgeous as always Rajni!
Such a lovely festive card 🙂
Gorgeous card!!
I know you get tired of always hearing the same comment from me but I’m usually speechless with the creativity and beauty found here!
This is so beautiful Rajni! I love your poinsettias and your sled is so cute!