


Good Morning All…
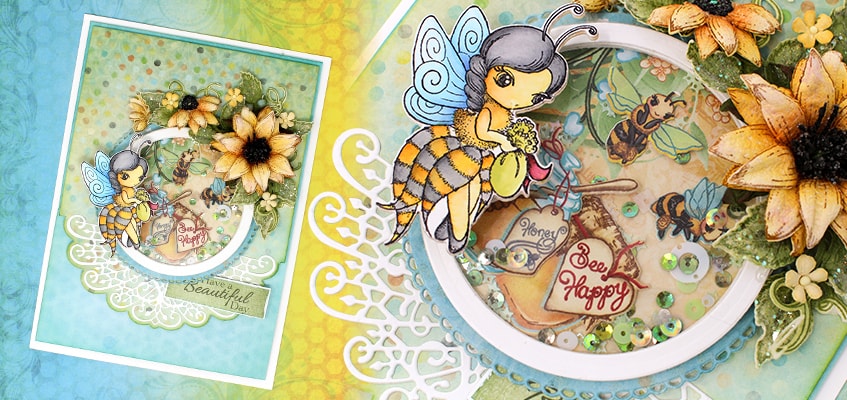
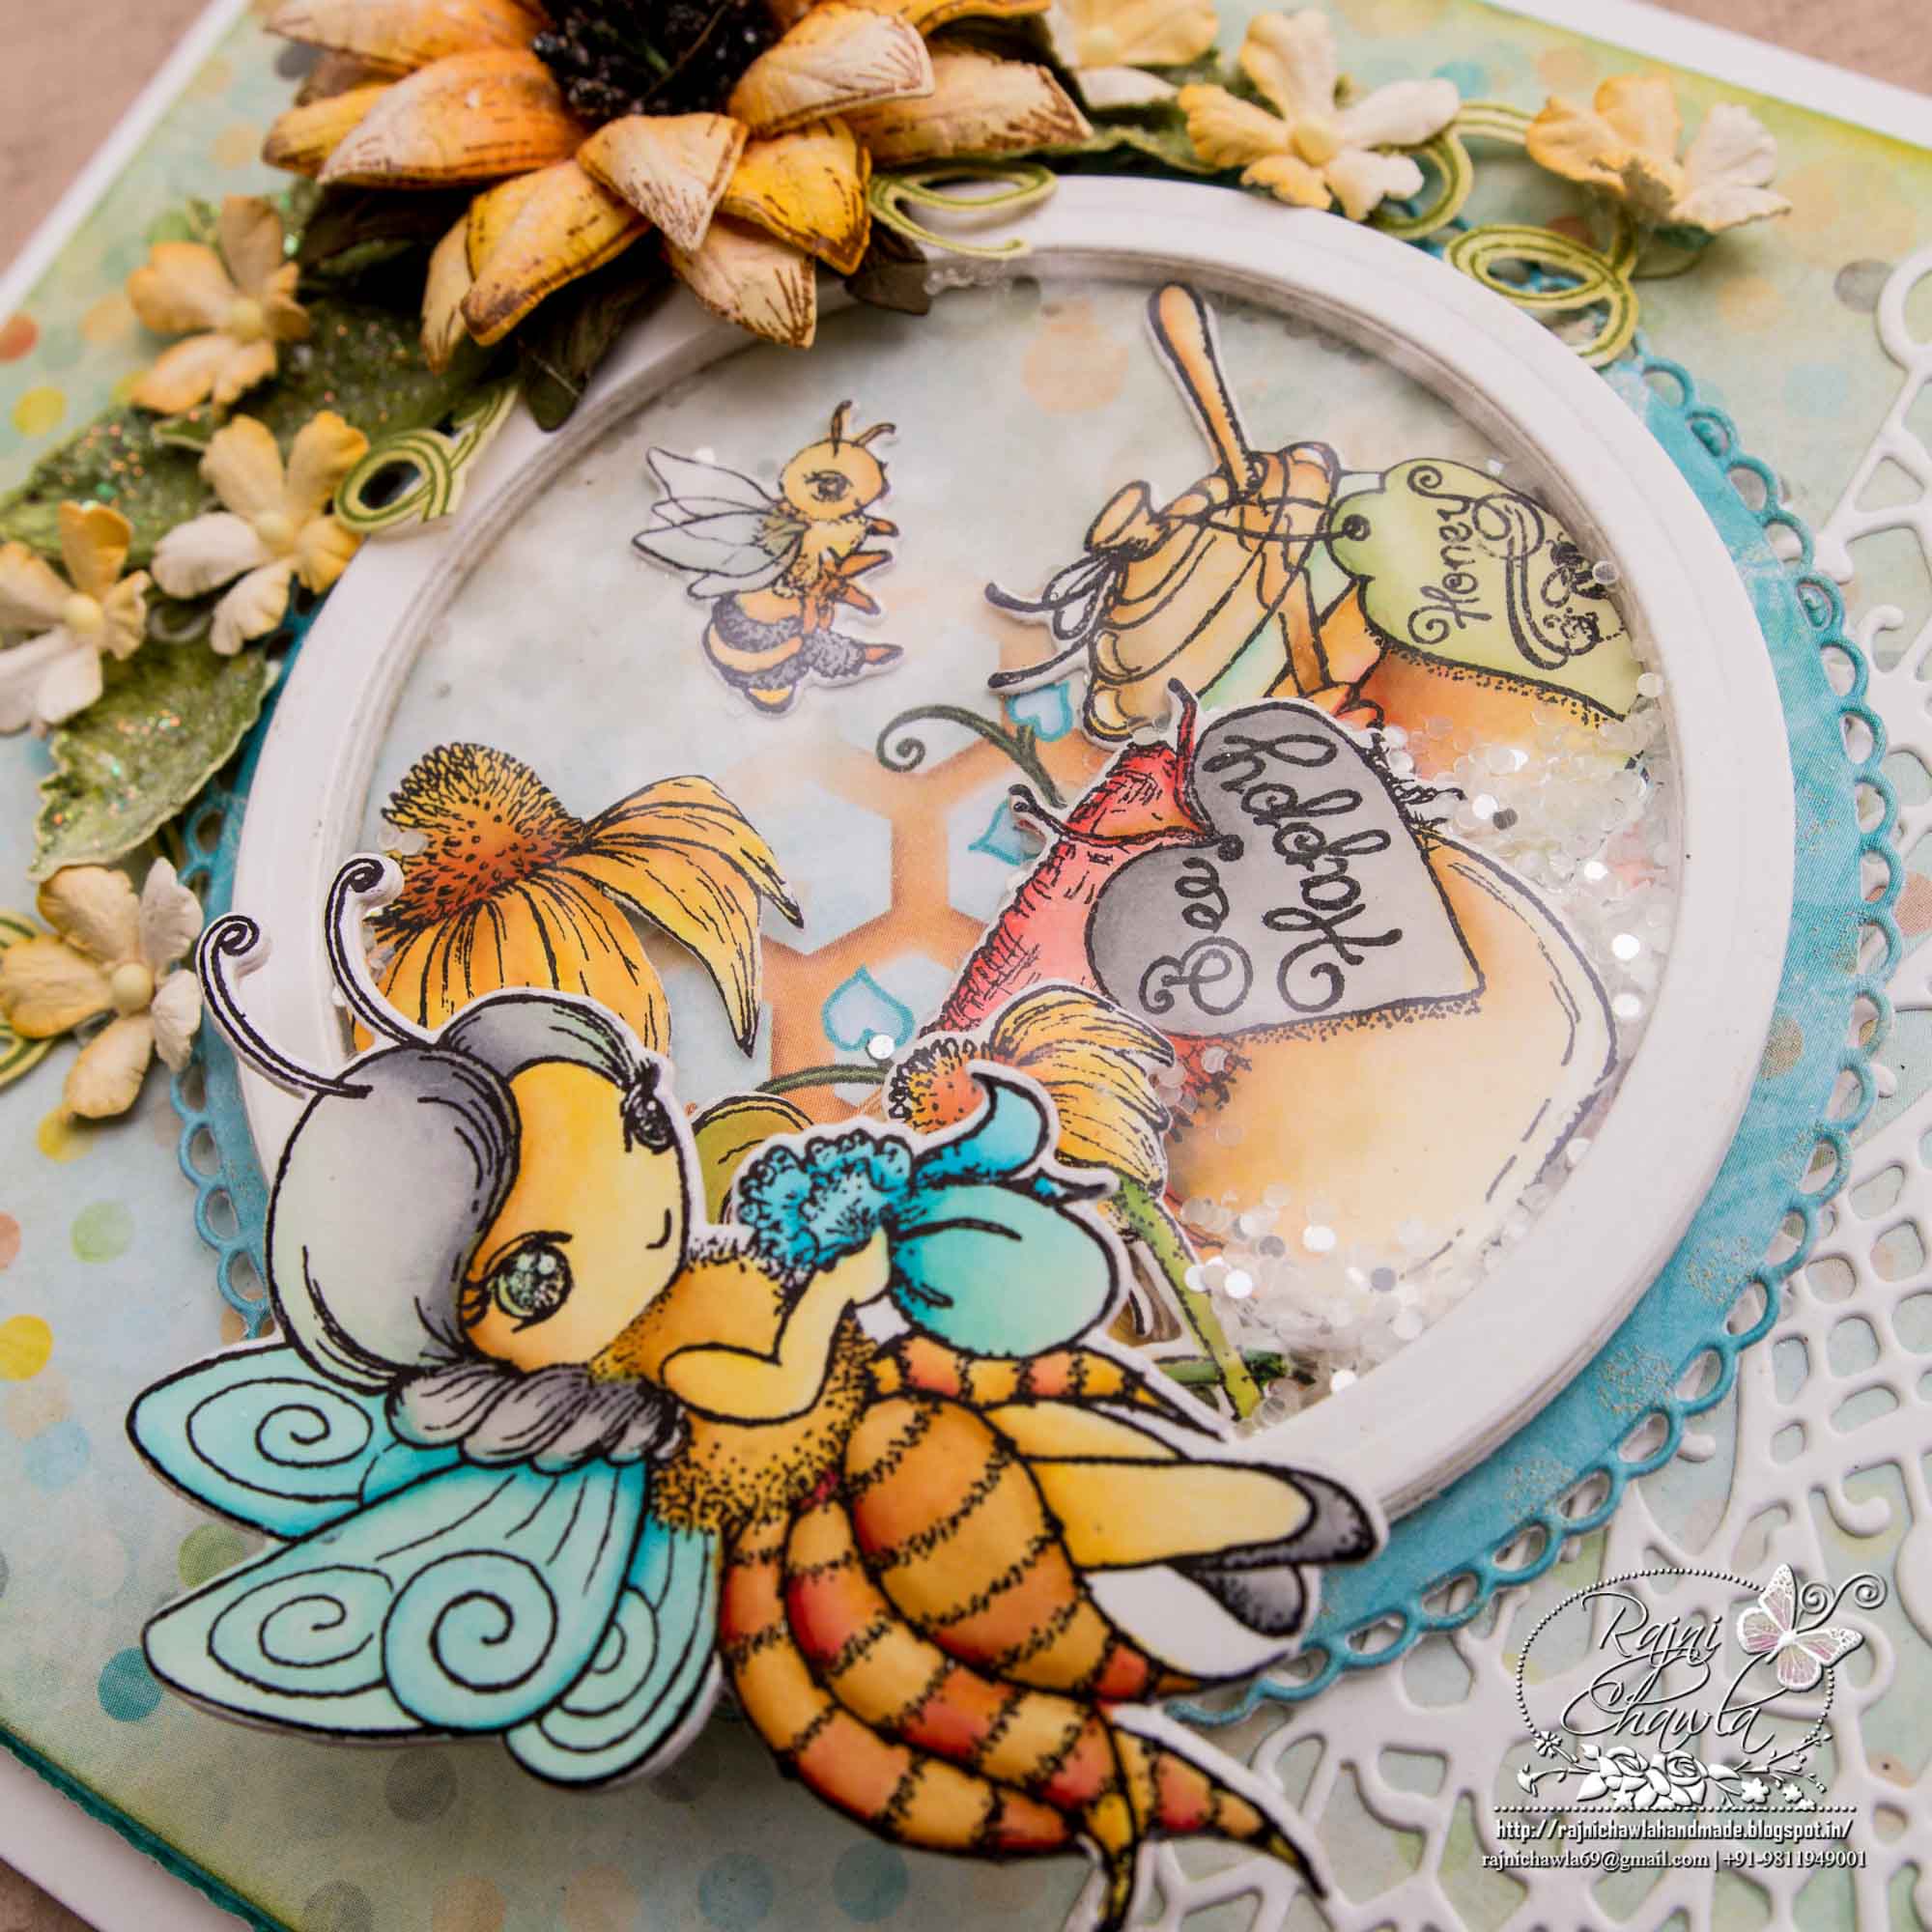
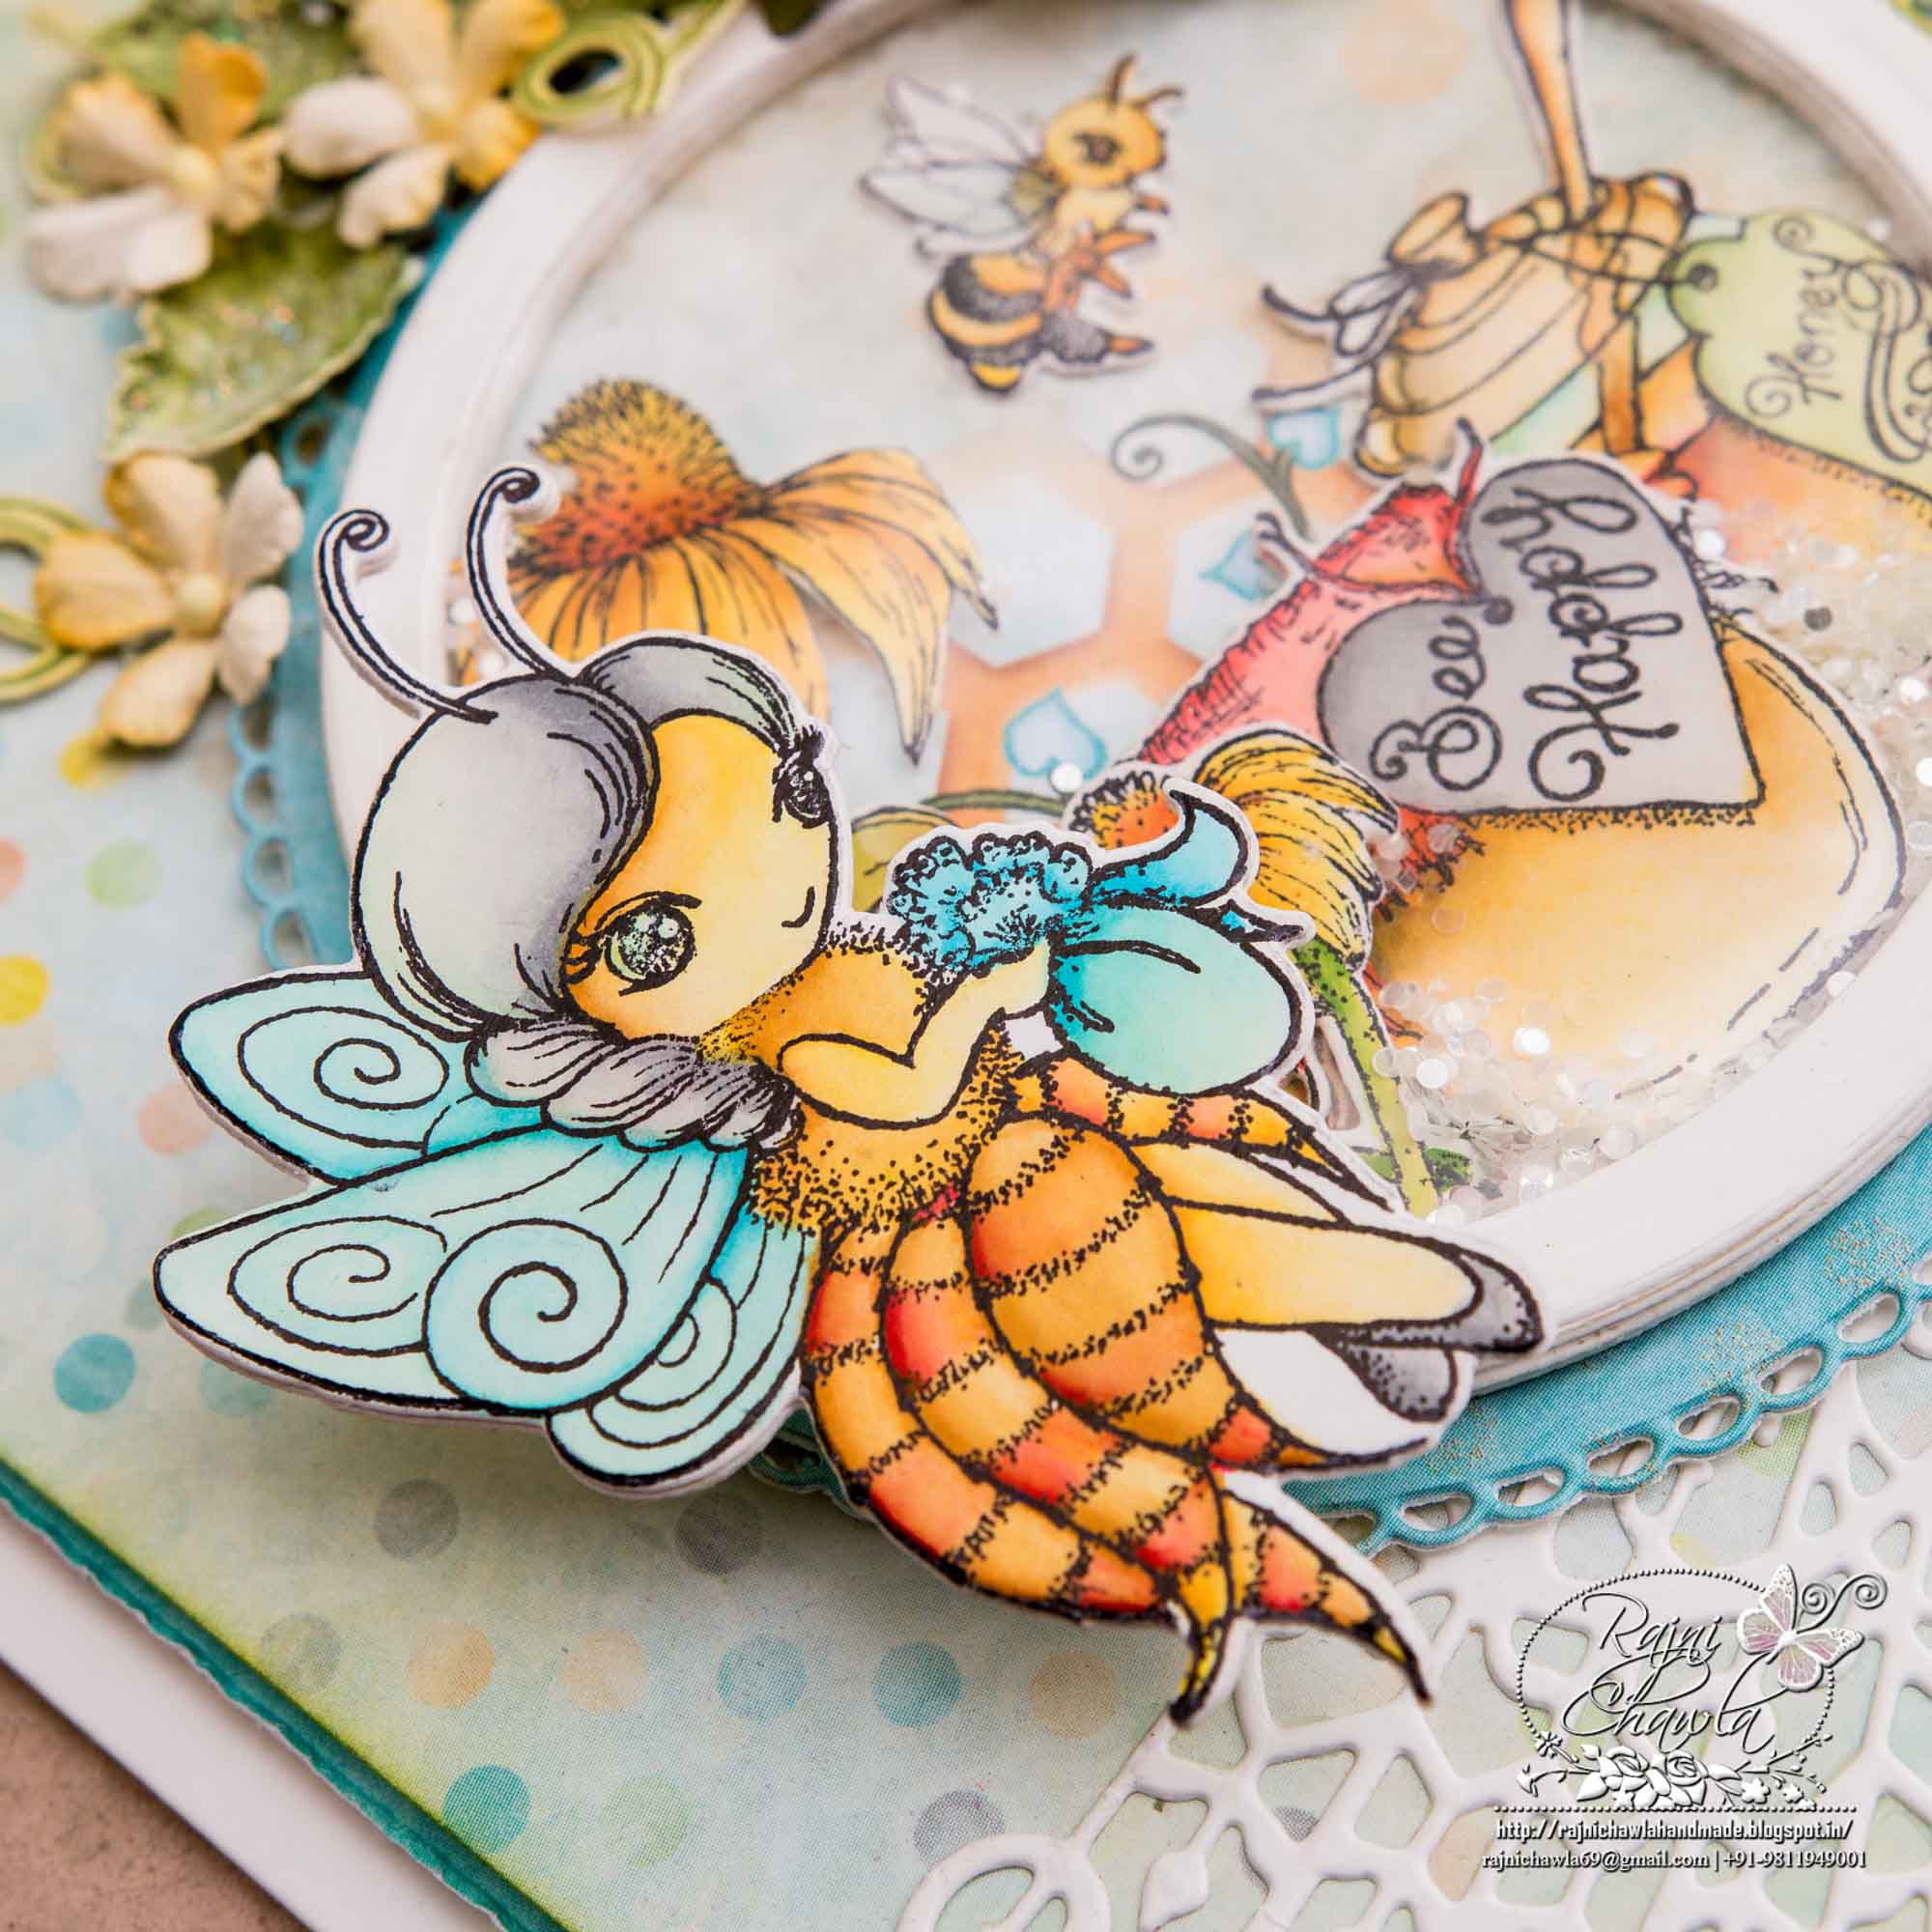
Hot sunny days of June and bad health issues have really made me lazy these days. Heartfelt has made me learn how to work in advance and I really love that. I made this card nearly 3 months back and painted these cute Bee images long back in winters. Finally, it’s time to share this pretty card. The colors are so cheerful and happy and the wobbling bee is just so Bee-autiful!!. The shaking elements and the painted honey jars and bees are adding an extra accent to the card. Here are few detailed pictures of the card.

Products from Heartfelt Creations:
HCD1-7183 Honey Bee Maidens Die
HCD1-7184 Honey Bee Bungalows Die
HCD1-7185 Sweet as Honey Die
HCPC-3829 Honey Bee Maidens Cling Stamp Set
HCPC-3830 Honey Bee Bungalows Cling Stamp Set
HCPC-3831 Sweet as Honey Cling Stamp Set
HCDP1-291 Sweet as Honey Paper Collection
HCD1-7180 Blossoming Coneflower Die
HCPC-3826 Blossoming Coneflower Cling Stamp Set
HCD1-753 Classic Sunflower Die
HCPC-3626 Classic Sunflower Cling Stamp Set
HCD1-7110 Classic Rose Die
HCPC-3752 Classic Rose Cling Stamp Set
HCD1-7125 Wildwood Florals Die
HCD1-7144 Decorative Medallion Die
HCD1-7154 Eyelet Circle & Basics Small Die
RACP436 Ranger Archival Ink Pad – Leaf Green
RACP962 Ranger Archival Ink Pad – Fern Green
RACP632 Ranger Archival Ink Pad – Buttercup
RACP663 Ranger Archival Ink Pad – Tea Rose
RACP475 Ranger Archival Ink Pad – Library Green
RACP468 Ranger Archival Ink Pad – Jet Black
HCS1-459-4 Rock Candy Stamens-Small
Other Products Used: Smooth white cardstock, Shaker elements, Wobble Spring, Distress inks: Peacock Feather and Peeled Paint, Glue dots, Acetate Sheet.
Videos Referred: For more tips on creating with the Sweet as Honey collection, watch the tutorial at https://youtu.be/89nlTDw3kOE
Instructions: The ready side-fold card measures 6″ by 8″. For the first layer, choose a light blue color paper from the designer paper collection and cut a piece measuring 5 1/2′ by 7 1/2′. Distress all the edges with Peacock Feather distress ink and further distress all the sides with sharp scissors.
For the second layer, choose a green color paper from the designer paper collection and cut 5 1/2″ by 7″. Distress the edges with peeled paint and cut the lower edge using a solid die from Decorative Medallion Die. Also, cut the decorative Medallion from white cardstock and glue on the cut base. Layer the panel on the prepared blue base and further layer it on the ready card base using glue dots.
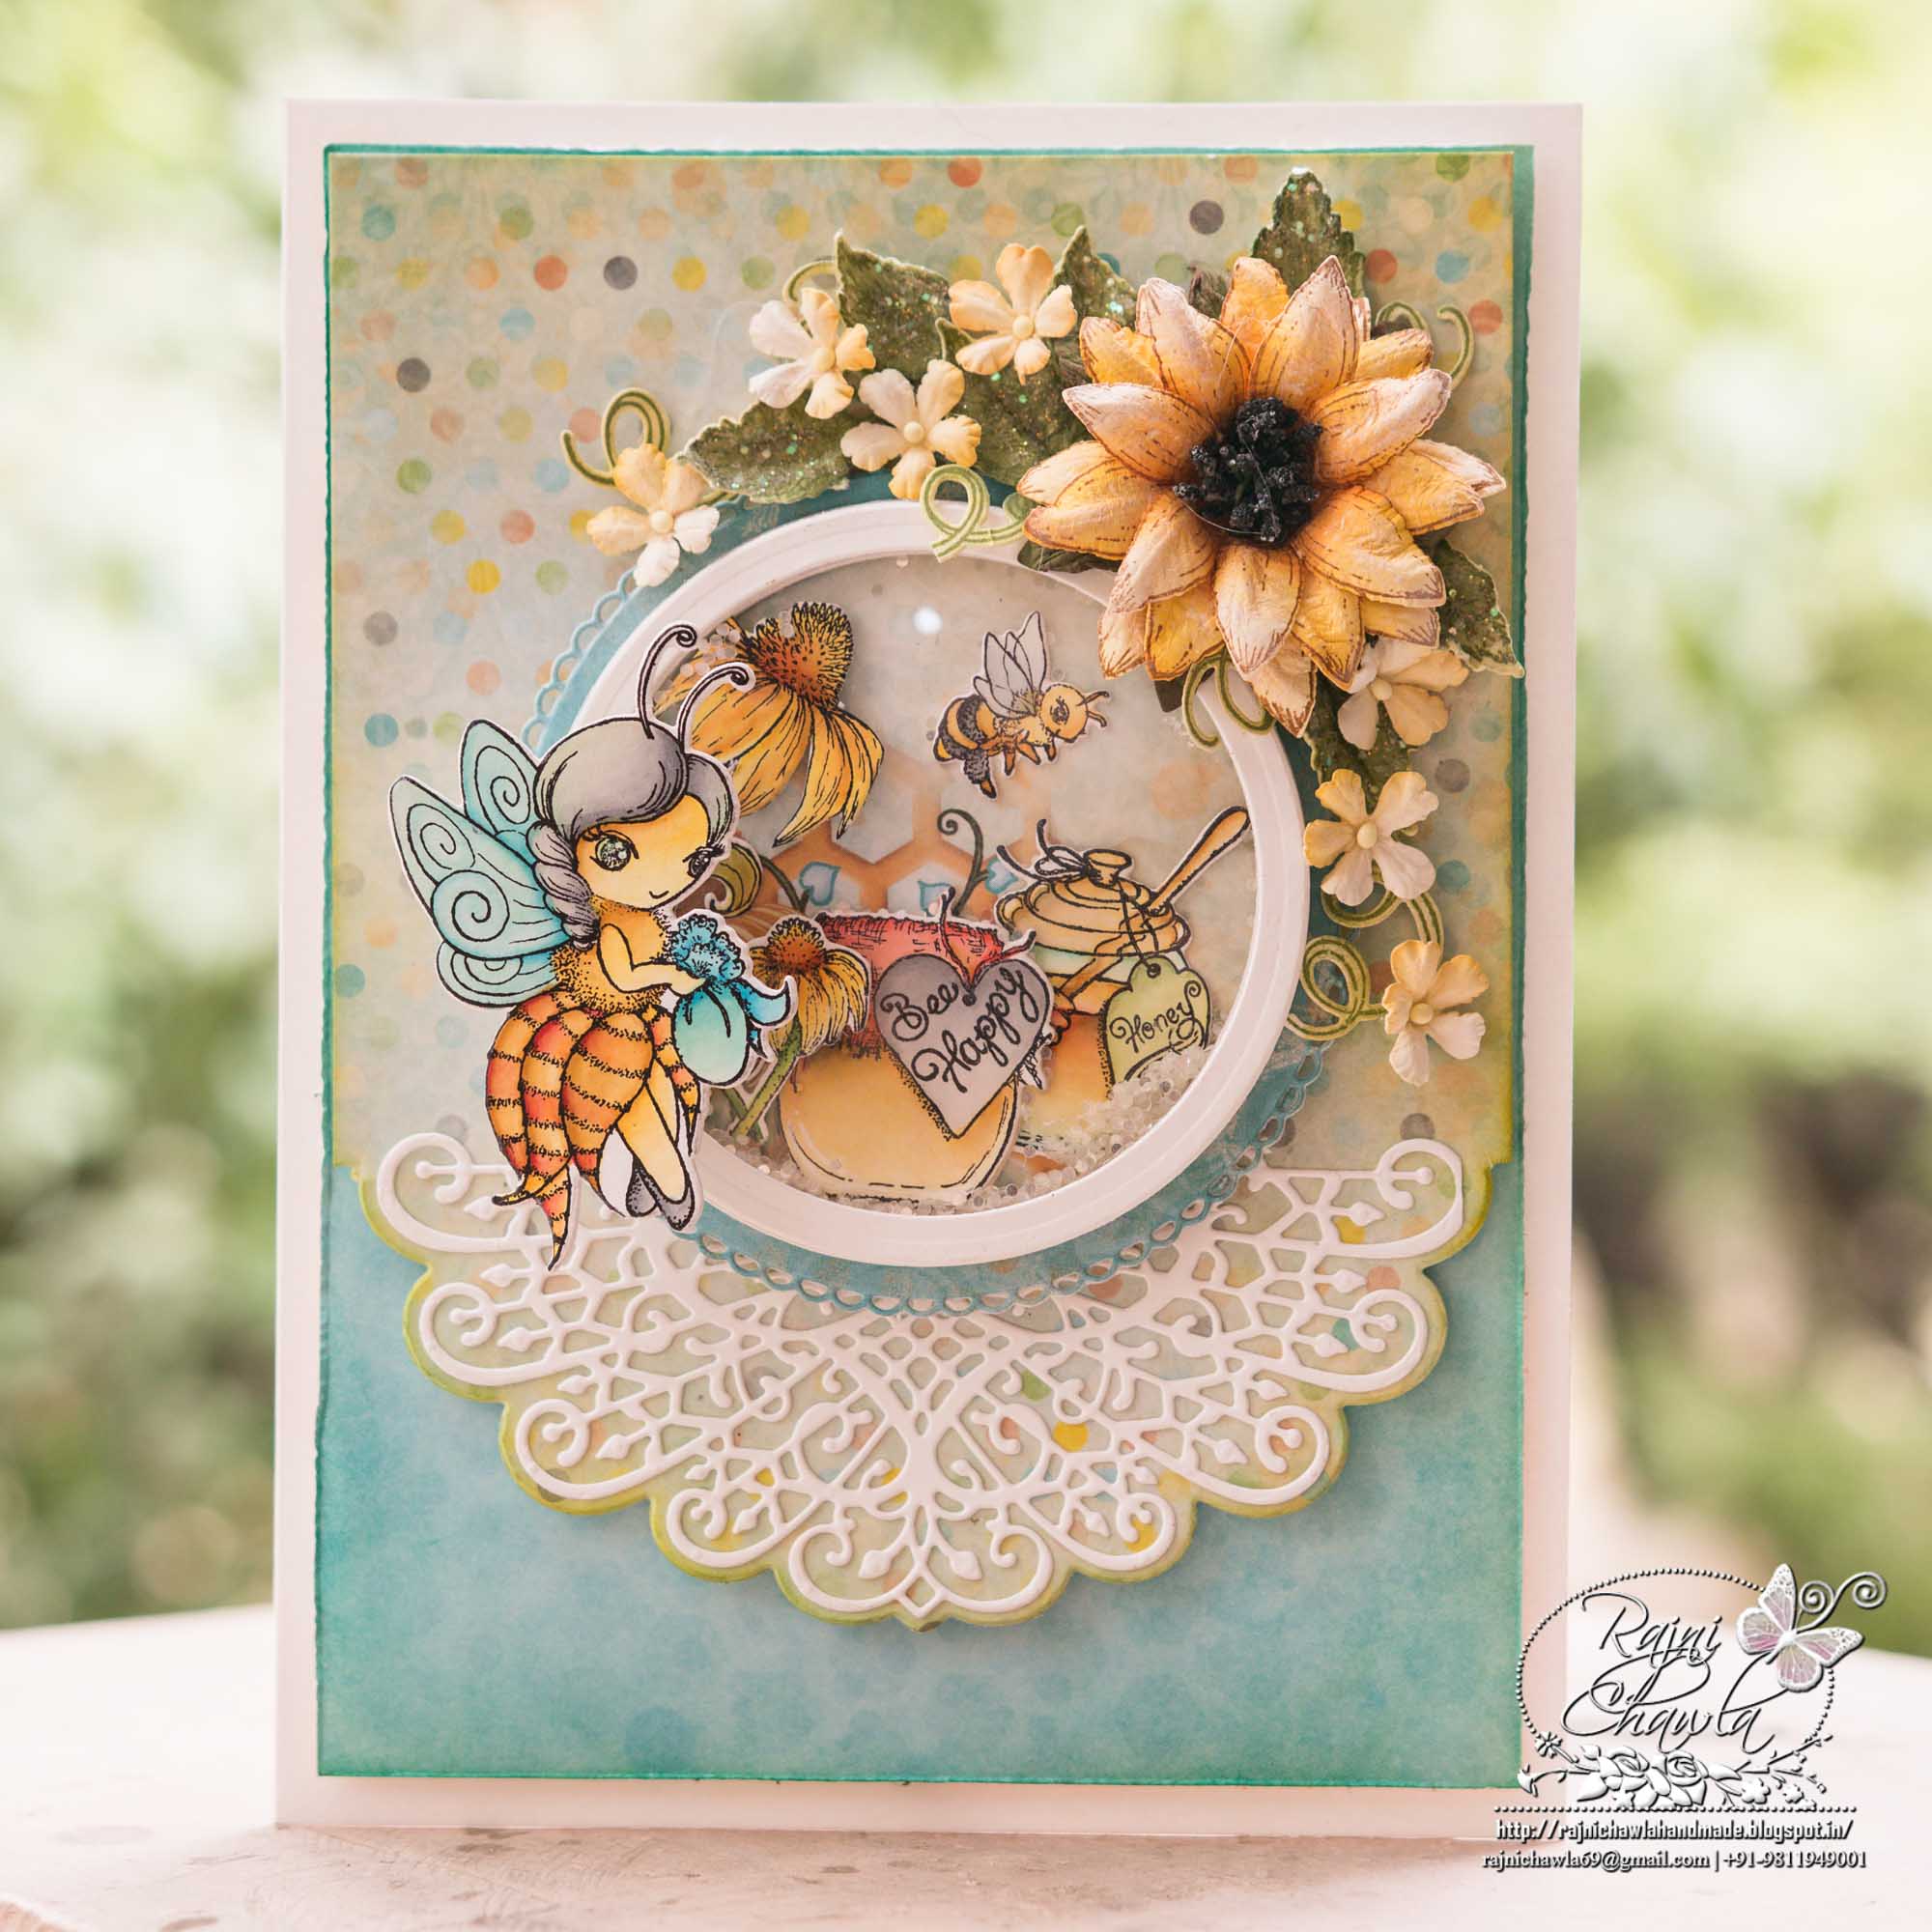
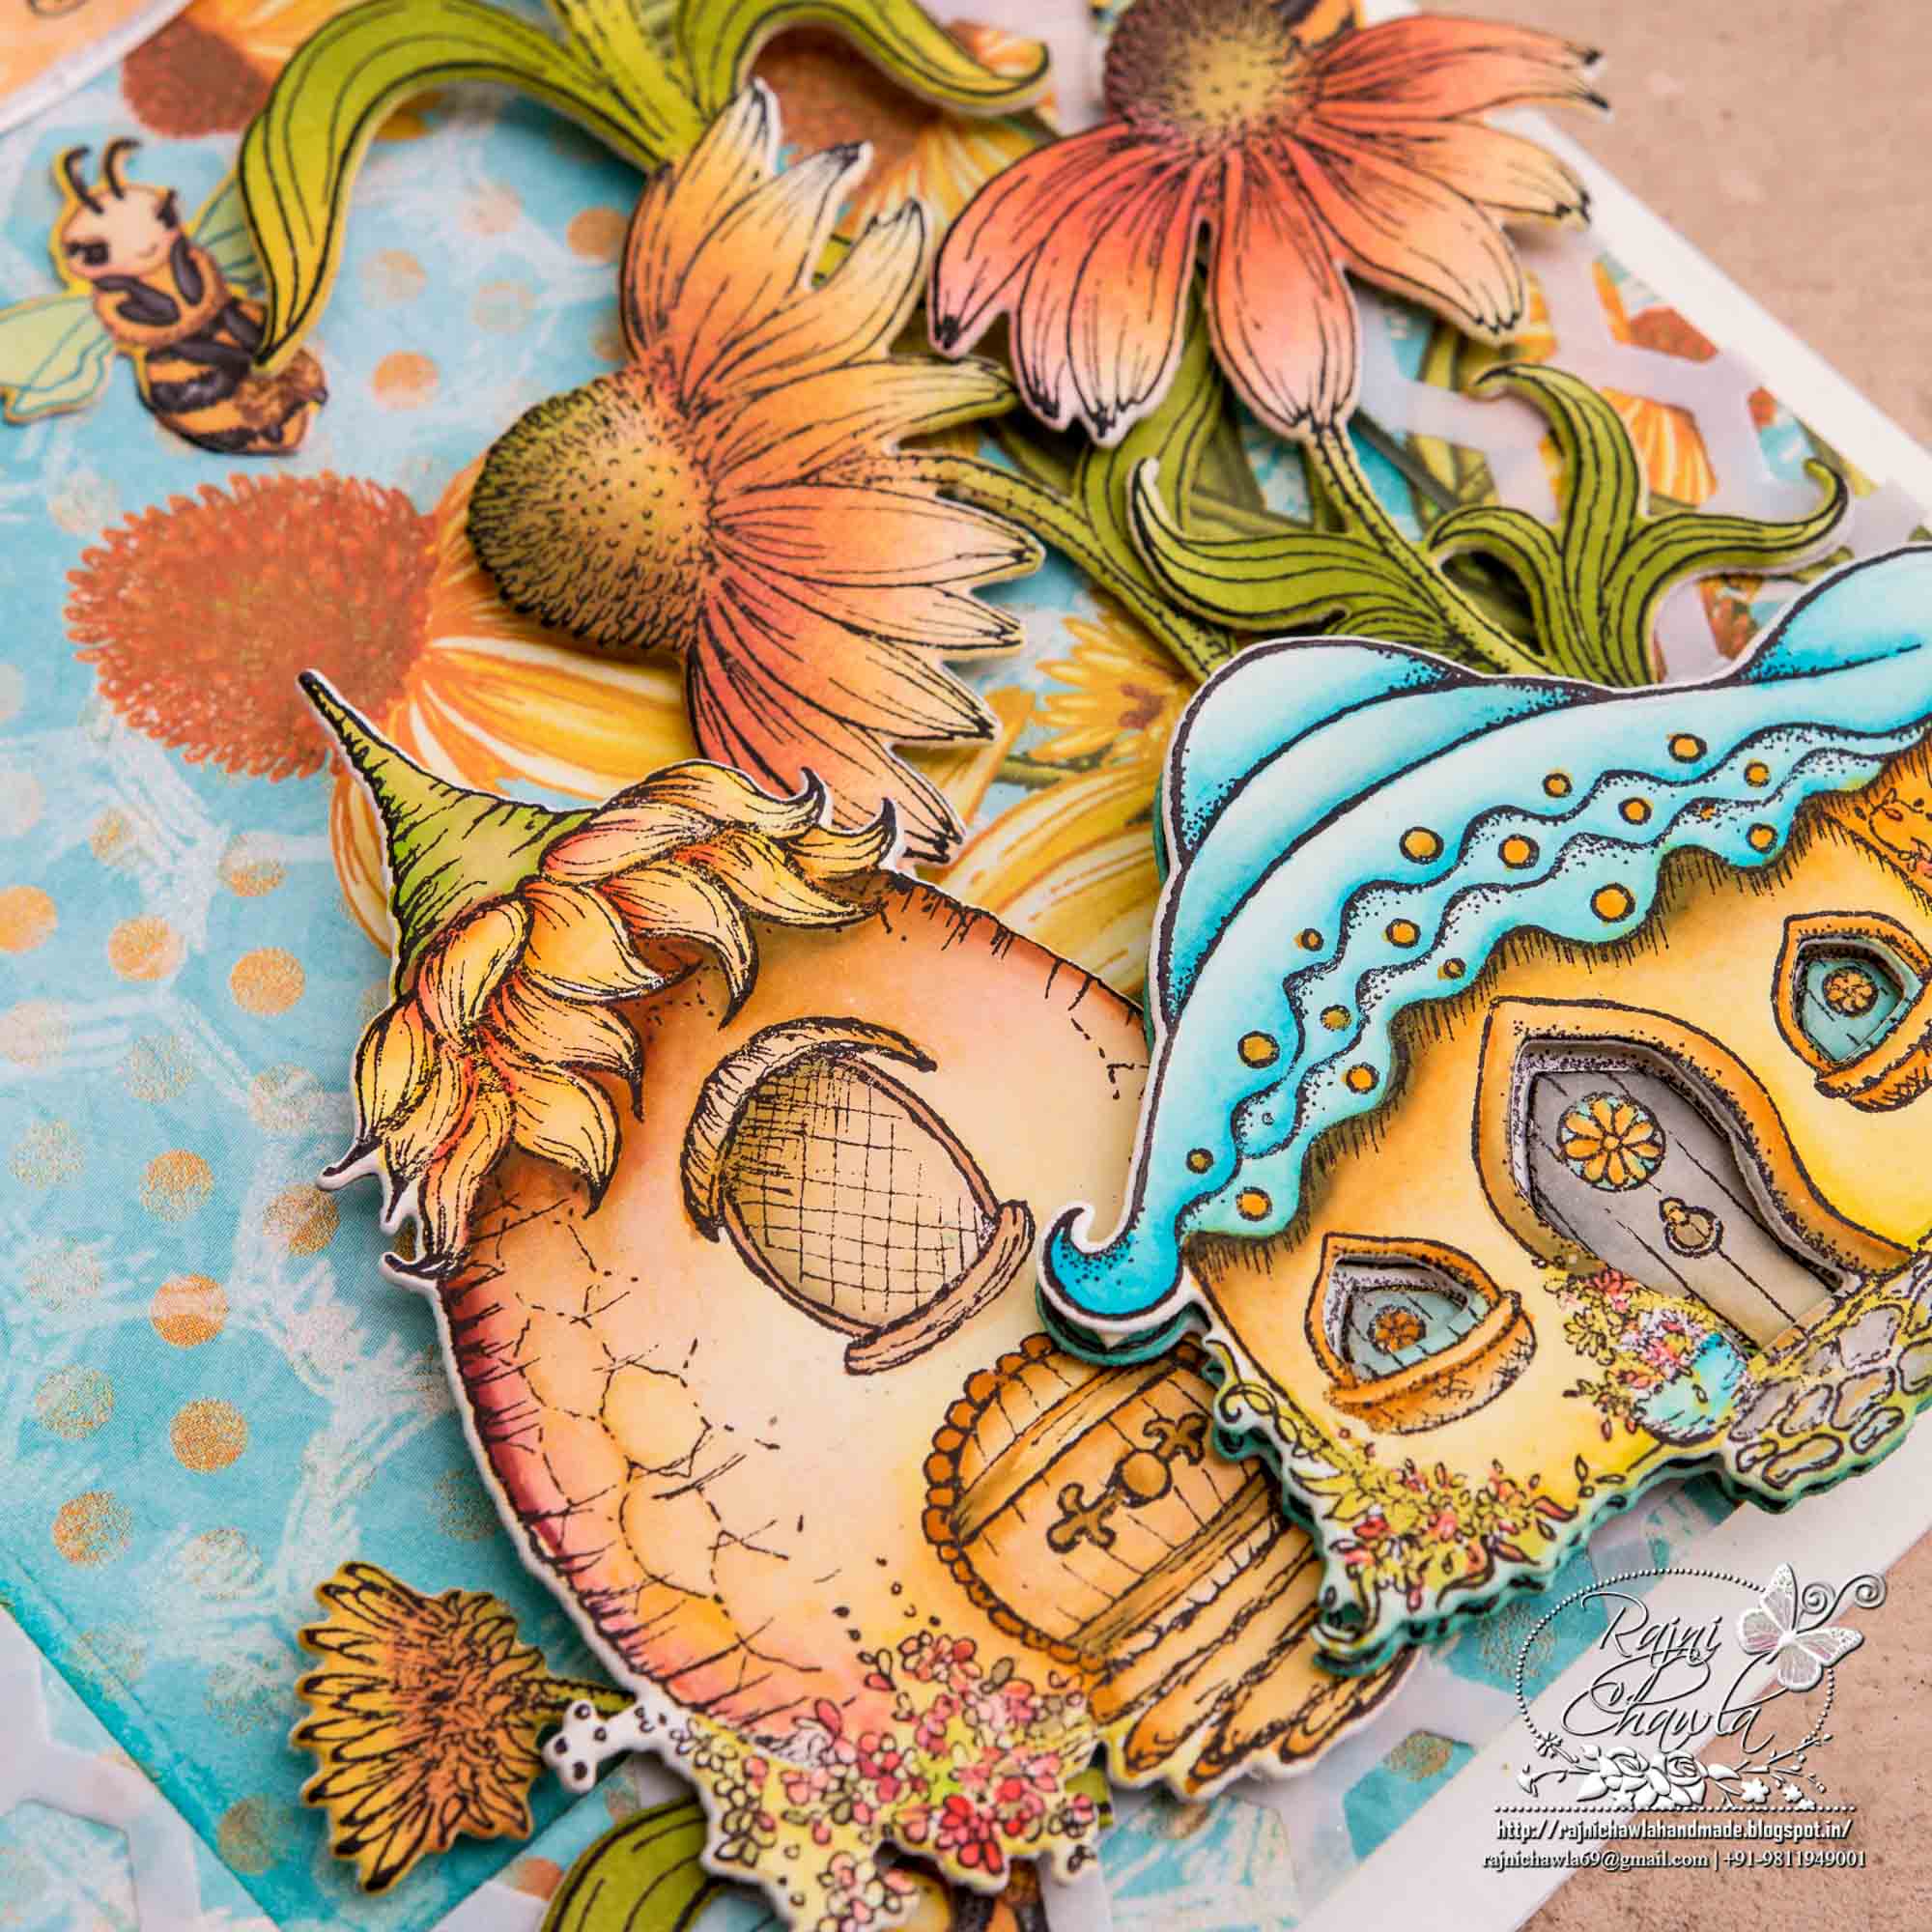
Stamp the images of honey jars, honey bees and cine flower using black archival ink and cut them using their coordinating dies. Color all the images with Zig Clean Clear Brush Markers.
For shaker, cut 7-8 circle frames using Eyelet Circle Die, one solid base from the designer paper collection and one solid circle from the acetate sheet. make a shaker window by gluing frame dies, add painted images as shown and add shaker elements. Close the shaker window with acetate top frame.
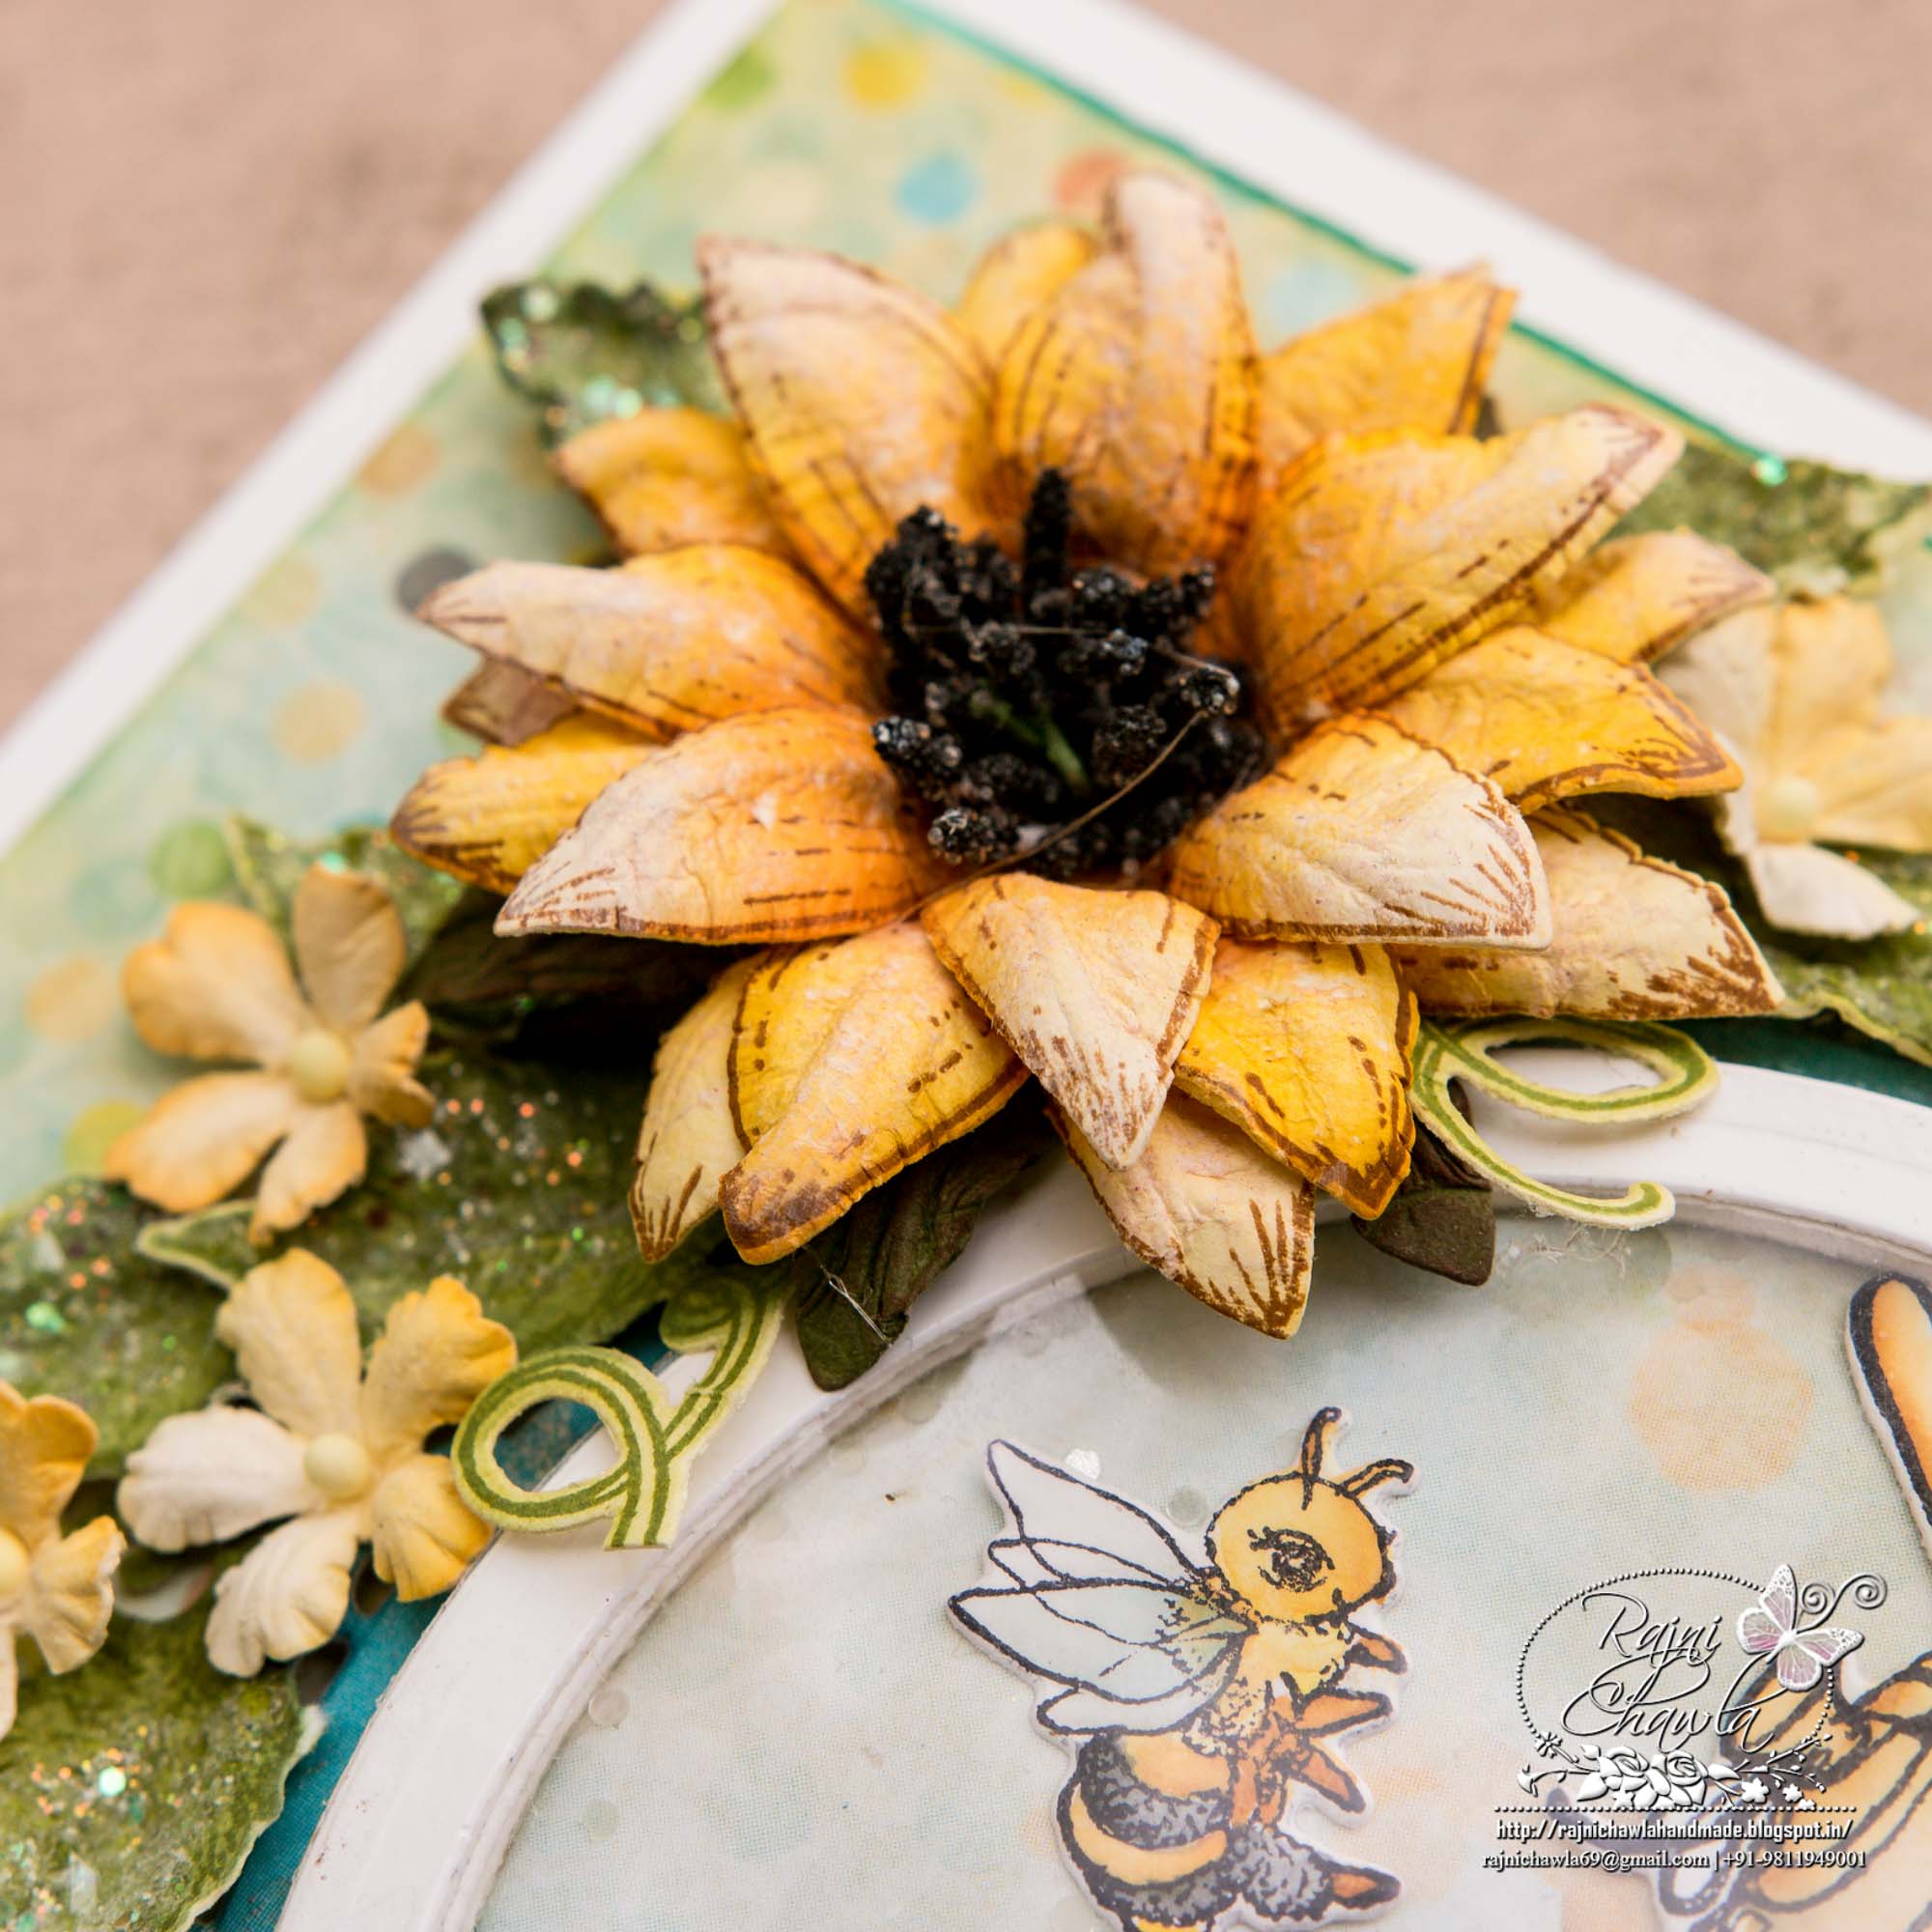
For flowers: To prepare sunflower, you need 3 pieces of largest flower images from Classic Sunflower Collection. Stamp the images with coffee brown archival ink, cut them using it’s coordinating die and paint them using Buttercup and Tea Rose archival inks. Shape the flowers using Deluxe flower shaping Kit and add black stamens from Rock Candy Stamens Collection. Filler flowers are created using Wildwood Floral die. For leaves, stamp the leaves from Classic rose stamp set with Library ink archival ink, paint them using leaf green and Fern Green archival inks and cut them using it’s coordinating die. Shape them using deluxe Flower Shaping Kit and add Crystal Clear Glitter.
Once all the elements are ready, assemble the card as shown. To finish the card, add a painted bee on the wobbler spring on the left side of the shaker window.
Beautiful – I love the wobbly bee!! And of course your flowers!!
How creative, I love that wobbly bee! Gorgeous as always my friend!
You are so incredibly talented! Love this gorgeous card and the wobbling bee!
This is lush Rajni. Love the sparkle.