Happy Wednesday!!
It’s an inspiration Wednesday for Heartfelt Creations. Continuing with Sweet Pea Collection, I have another card to share using the same collection.

HCD1-7391 Sweet Pea Die
HCPC-3980 Sweet Pea Cling Stamp Set
HCD1-7392 Vining Sweet Pea Die
HCPC-3981 Vining Sweet Pea Cling Stamp Set
HCPC-3982 Classic Floral Vase Cling Stamp Set
HCD1-7393 Classic Floral Vase Die
HCFB1-5010 3D Sweet Pea Shaping Mold
HCDP1-2137 Sweet Pea Paper Collection
HCD2-7383 Simply Classic Rectangle Frame Die
HCPC-3933 Floral Shoppe Fillers Cling Stamp Set
HCD1-7331 Floral Shoppe Fillers Die
HCPC-3847 Celebrate Love Sentiments Cling Stamp Set
HCGP1-488 Luxe Gold Cardstock
ANC822 I Cannot Tell A Lilac Prills
ANC832 Baby It’s Cold Outside Prills
359760 Embossing Powder – Gold
478594 Zig Clean Color Real Brush Markers – 48 Pack
RACP994 Ranger Archival Ink Pad – Mulberry
RACP494 Ranger Archival Ink Pad – Majestic Violet
RACP985 Ranger Archival Ink Pad – Cactus Flower
RACP500 Ranger Archival Ink Pad – Paradise Teal
RACP468 Ranger Archival Ink Pad – Jet Black
Other Supplies Required: Smooth white cardstock, Watercolor brush, Score Board, Die Cutting Machine, Versamark Ink, Funnel Tray, Foam dots, Deckled Edged Paper Trimmer
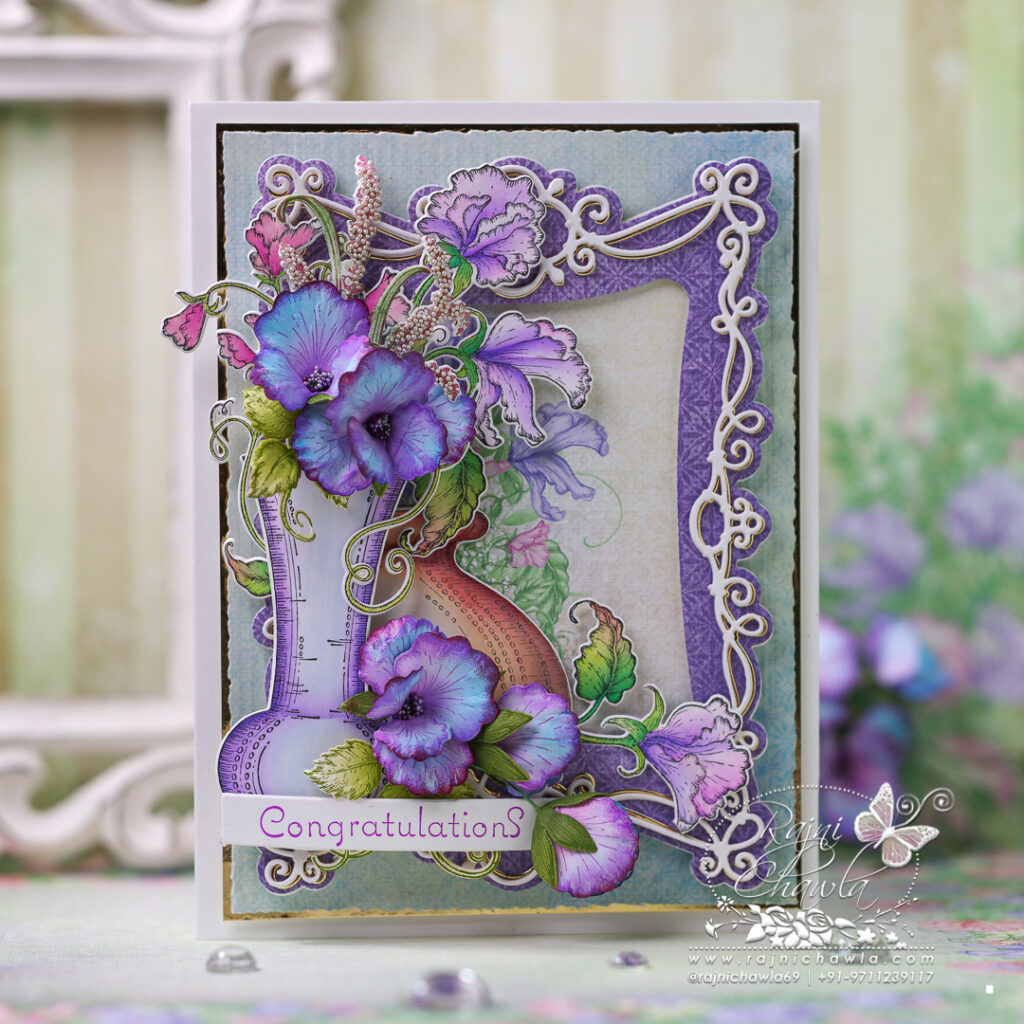
Instructions: The ready card base from smooth white cardstock measures, 5 1/2″ by 8 1/2″. Choose the designer paper from Sweet Pea Paper Collection and cut to size measuring 4 3/4″ by 7 3/4″ and cut it using deckled edge paper trimmer. Glue the panel on Luxe Gold cardstock creating a sleek border of 1/16″ on all the sides. Layer the panel on the ready card base using double-sided tapes for extra dimensions.
Cut all the required die cuts as shown in the pic from white and gold cardstock using Simply Classic Rectangle Frame Die. Glue the delicate outer white frame on a gold die-cut to add extra strength and to create a shadow. Cut the lower solid cover die from purple pattern paper. Glue the delicate frame on the solid purple frame as shown. and finally, layer the frame using double-sided tape o the ready card front. Cut the center window from the pattern paper and glue it in the provided empty window space.
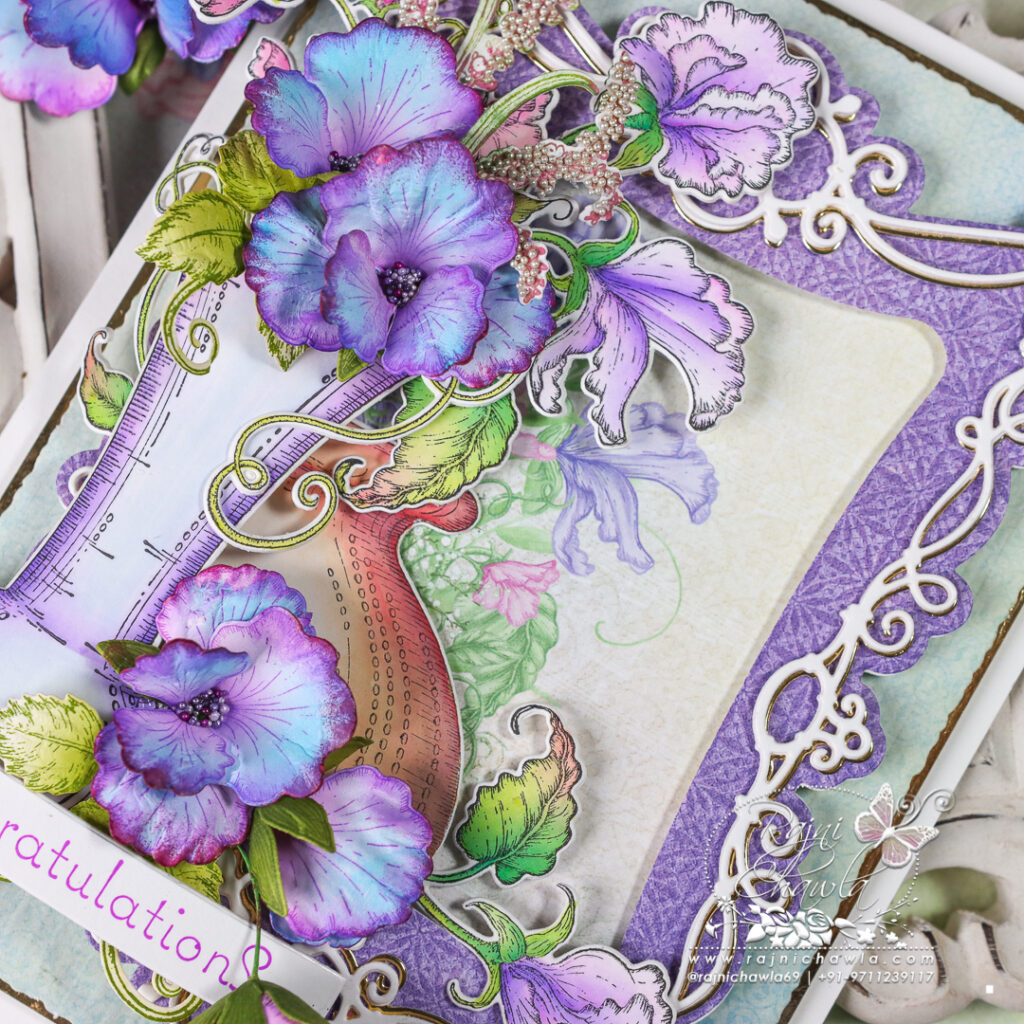
On smooth white cardstock, stamp the images from the Vining Sweet Pea Cling Stamp Set and Classic Floral Vase Cling Stamp Set with black archival ink and paint them using Zig Clean Clear Brush Markers. Cut the images using their coordinating dies. Cut and paste an extra layer of die-cut to add extra strength to the painted images.
Stamp a few fillers from Floral Shoppe Fillers Cling Stamp Set using Leaf green and Cactus Flower Archival ink and cut it using its coordinating die set. Sponge adhesive that dries clear on the fillers and sprinkle mixed shades of prills. Dust extras and also sprinkle some Rajni Chawla’s Crystal Clear Powder and keep them for drying.
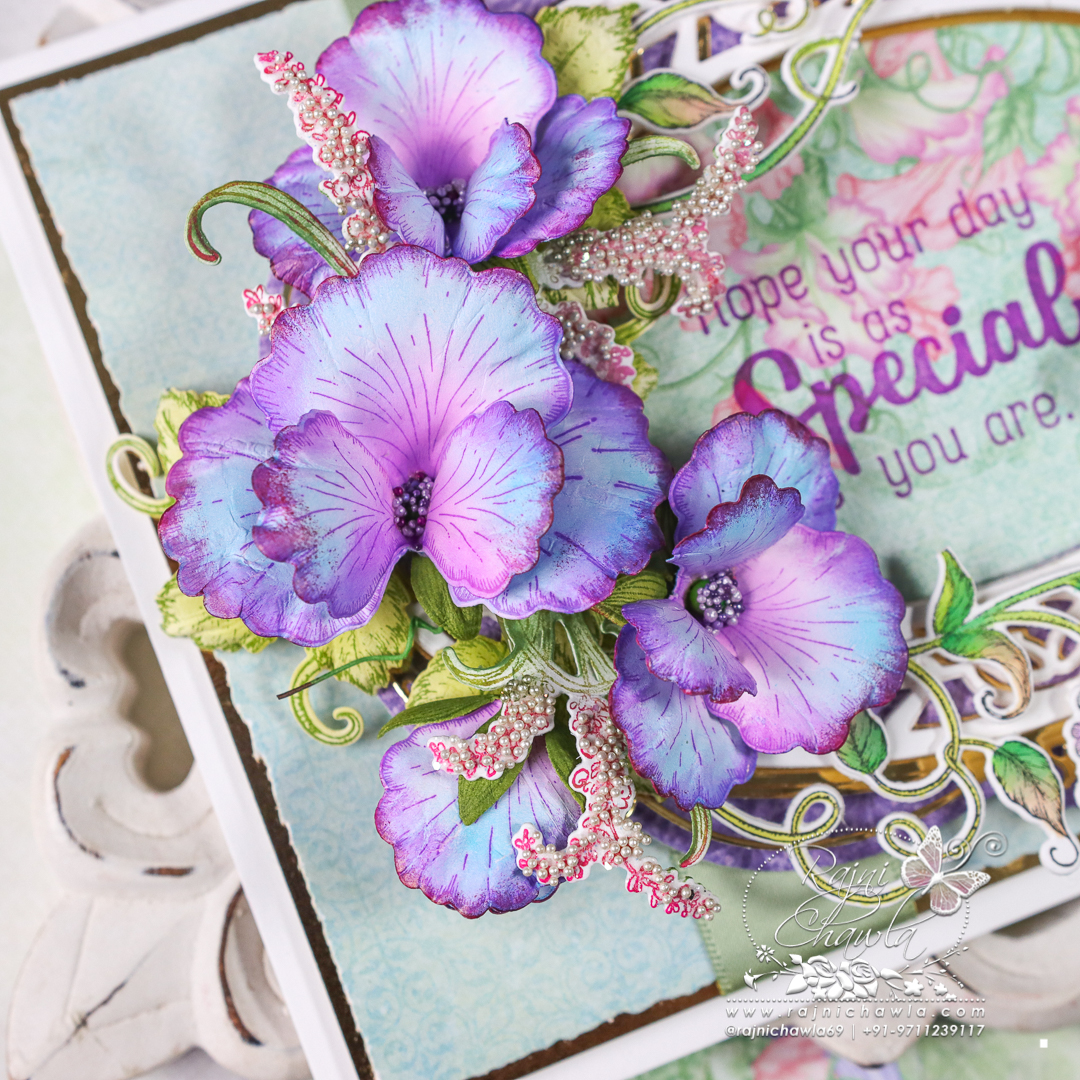
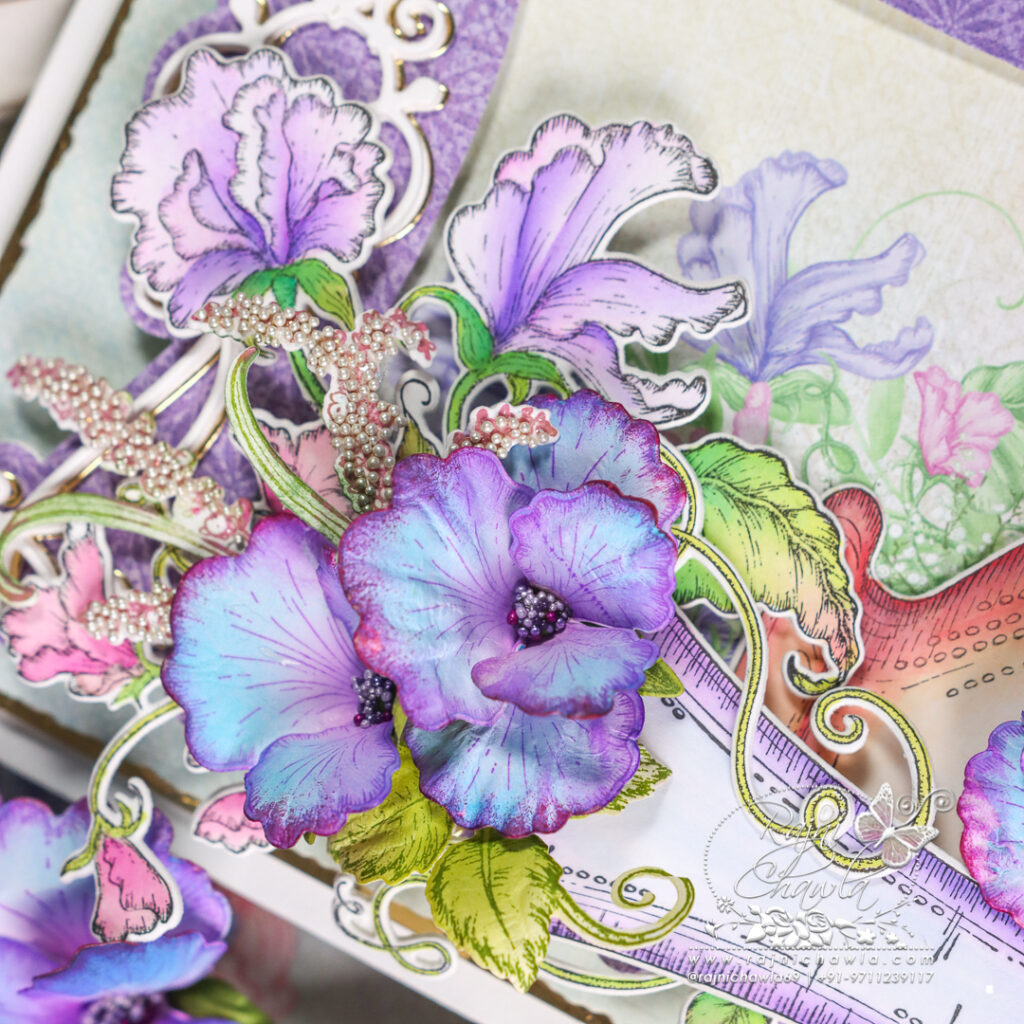
For Sweet Pea Flowers, stamp multiple petals of small and large sweet pea petals on deluxe flower shaping paper, using Majestic Voilet Archival ink. Color the petals using Cactus Flower and Paradise Teal. Highlight the flower using Mulberry archival ink. Mist the petals and shape them using its coordinating mold. Add green calyx and matching prills to finish the flowers. Prepare one large, 2-3 small flowers and a bud.
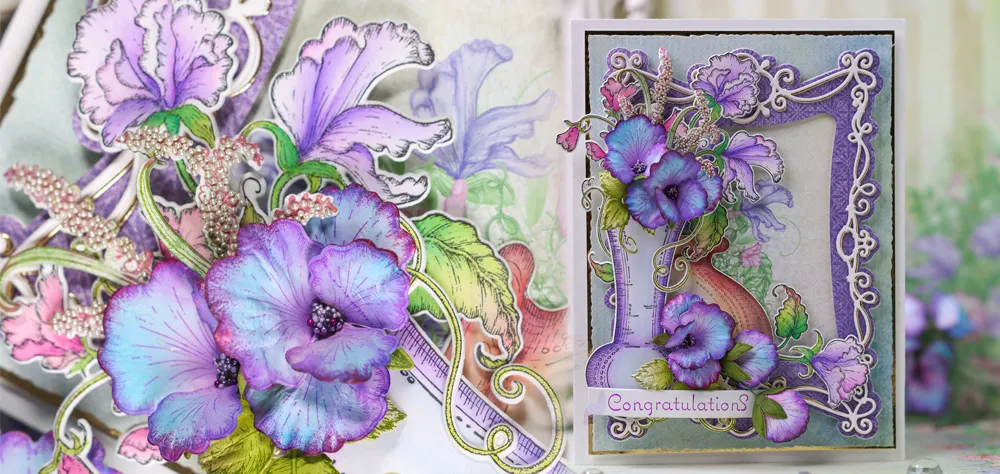
Stamp 2 sets of leaves using Leafy Accent stamp and Olive Green Archival ink and cut them using its coordinating die. Color the leaves using the same inks and shape them using a deluxe flower shaping kit. Once, all the elements are ready, assemble the card as shown and complete the card by adding a sentiment from Celebrate Love Sentiments Cling Stamp Set.