Good morning all…
Welcome back again!!
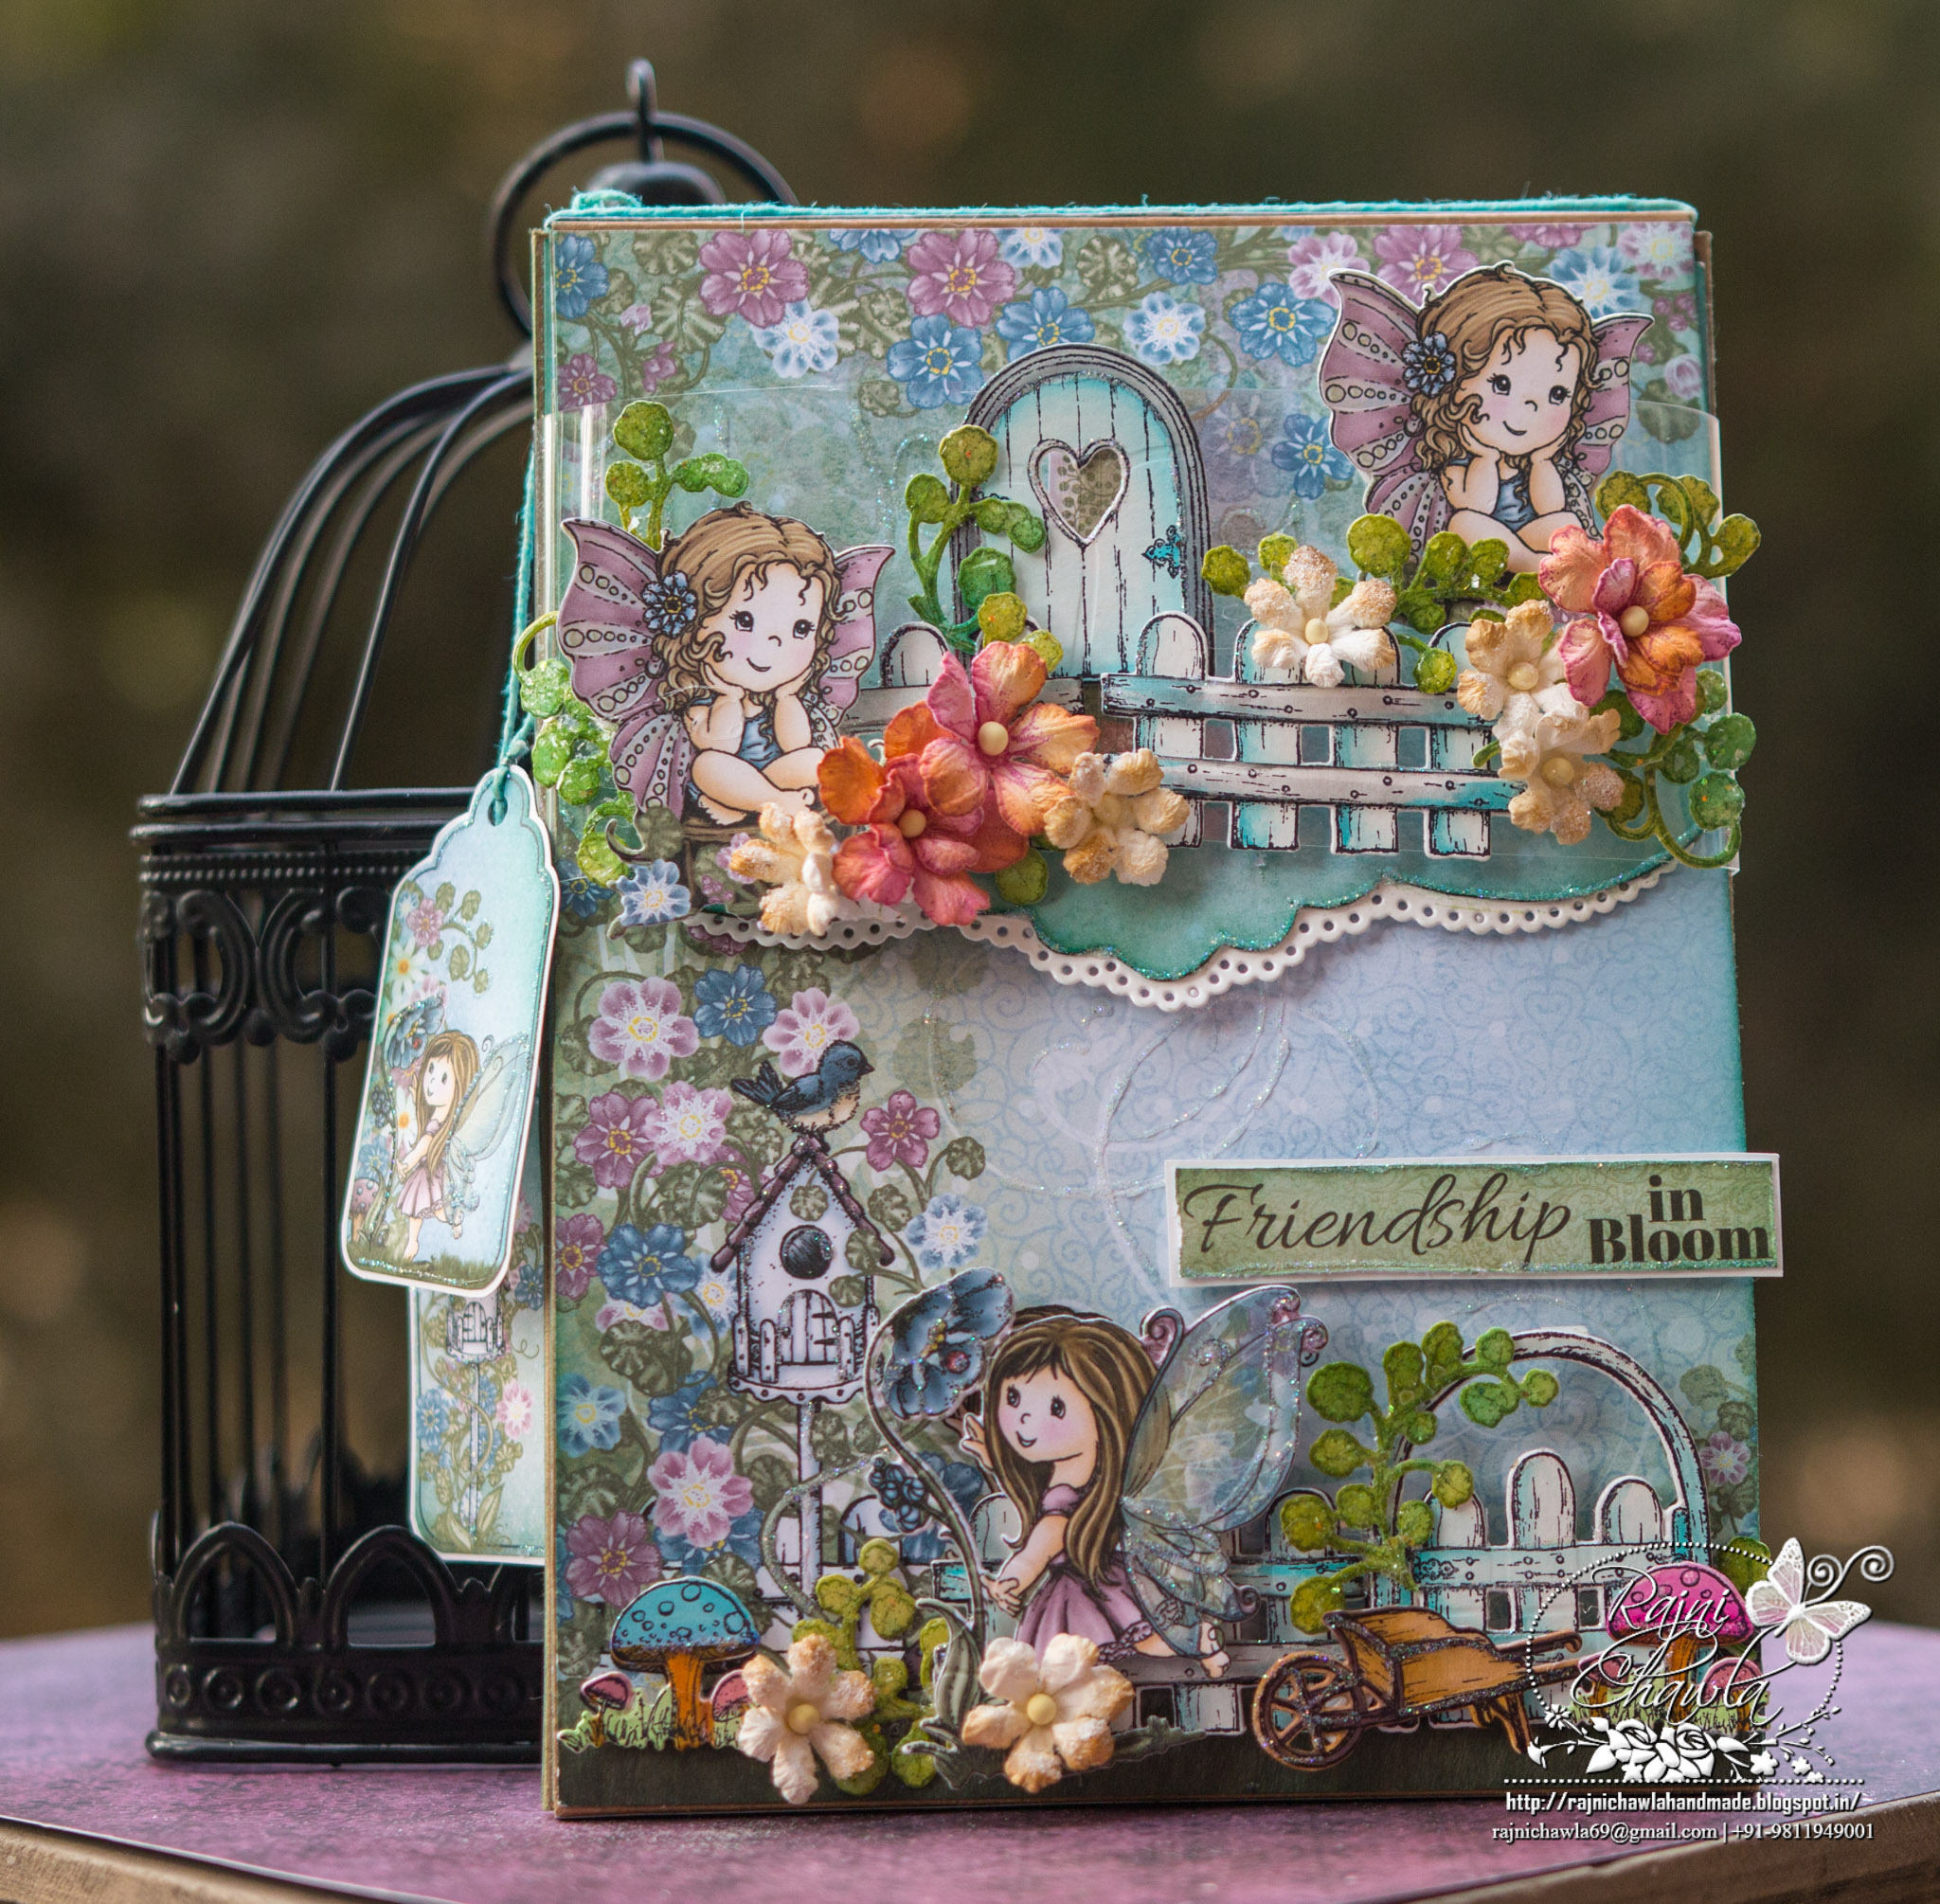
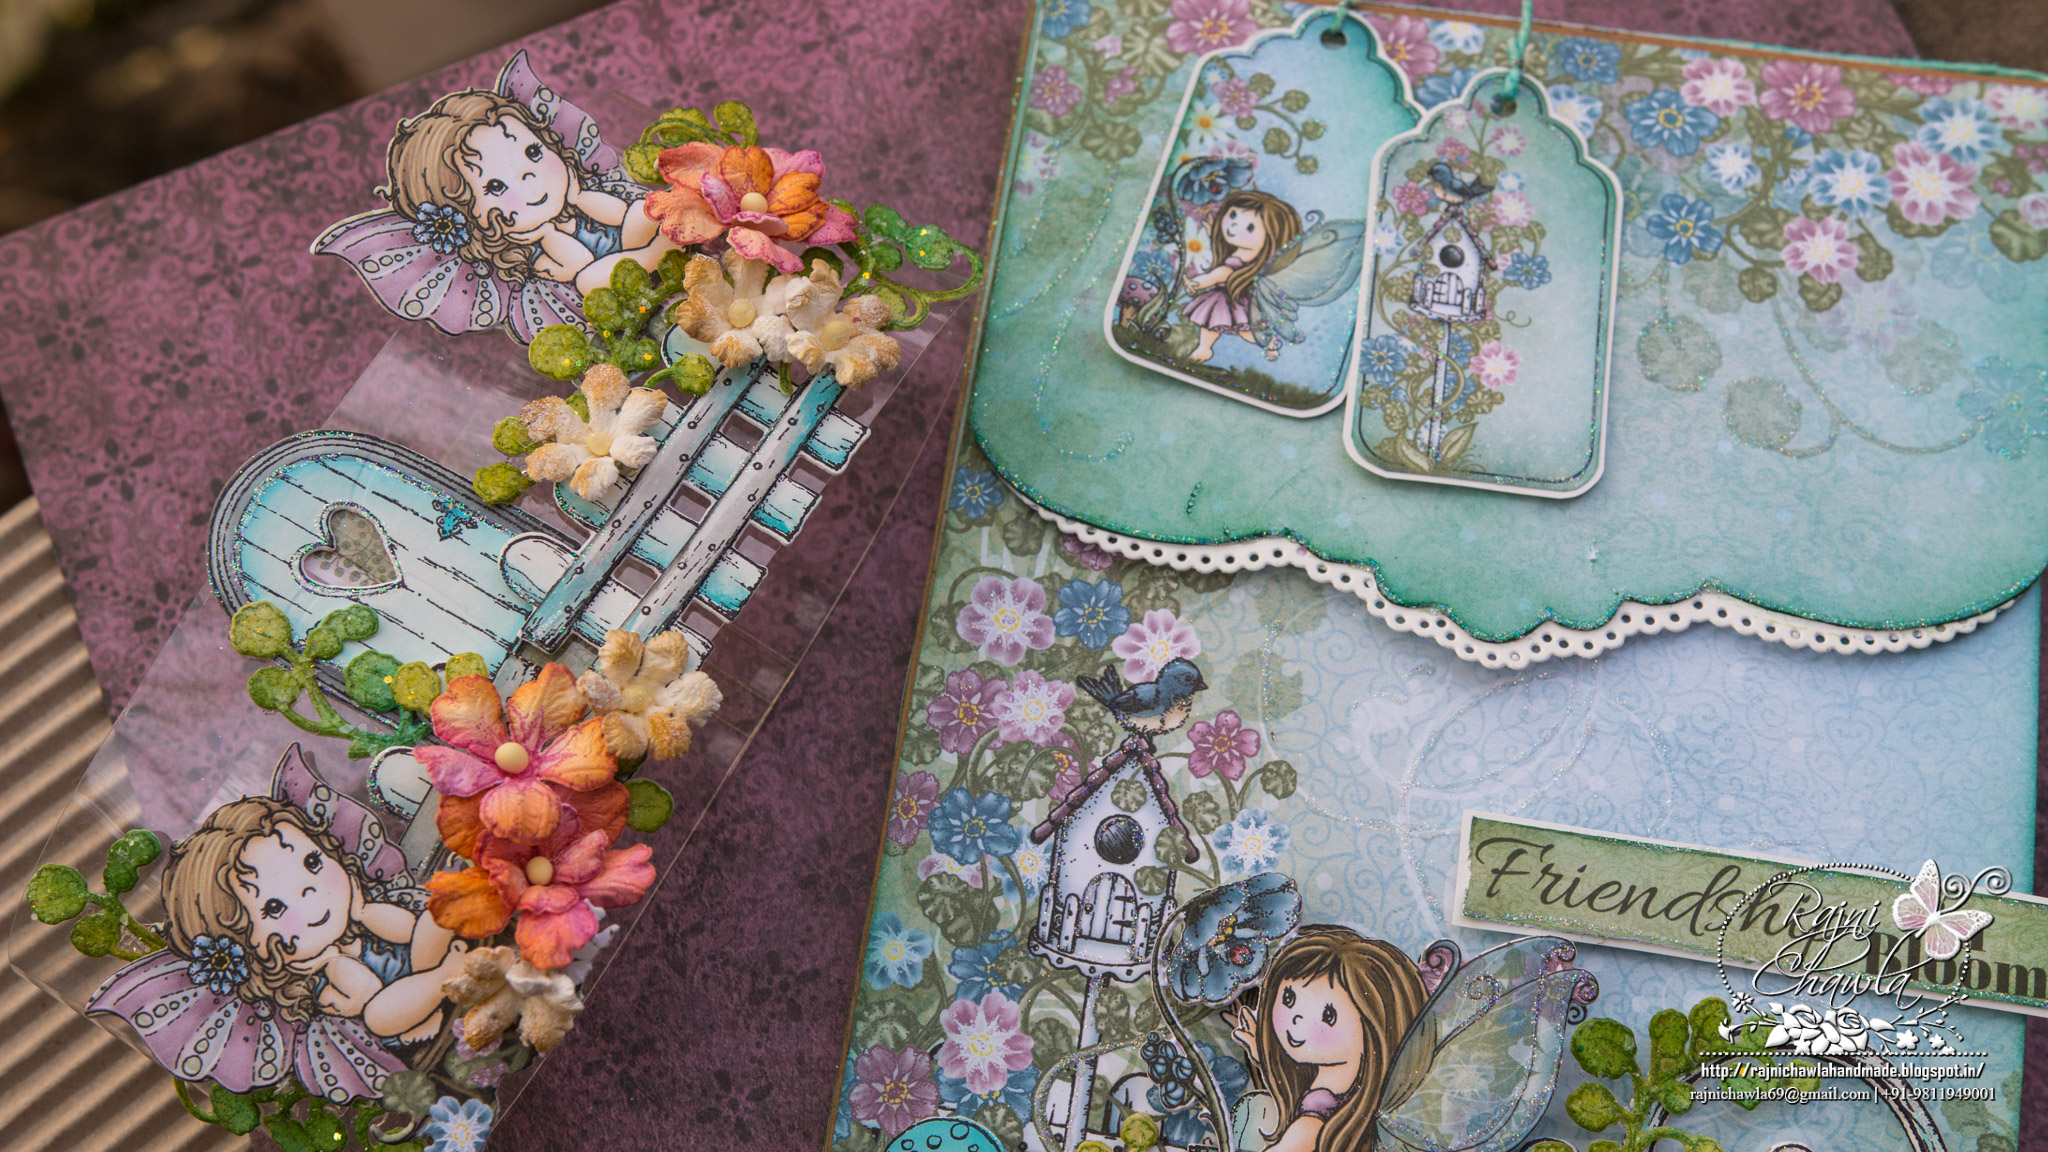
It’s time again for Wednesday inspiration for Heartfelt Creations January release, Wildwood Cottage Collection. Today I have a flip fold album to share.
Products from Heartfelt Creations:
Wildwood Cottage Paper Collection HCDP1-274
Wildwood Cottage Accents Die HCD1-7128
Wildwood Cottage Darlings Die HCD1-7126
Wildwood Florals Die HCD1-7125
Wildwood Cottage Accents Cling Stamp Set HCPC-3772
Wildwood Cottage Darlings Cling Stamp Set HCPC-3770
Wildwood Florals Cling Stamp Set HCPC-3769
Regal Borders and Pockets Die HCD1-779
Designer Dries Clear Adhesive, 159723
Deluxe Flower Shaping Kit, HCST1-401
Italiana Grapevines Cling Stamp Set, HCPC-3696
Italiana Grapevines Die, HCD1-772
Pocket and Flipfold Inserts E-Kraft HCFP3-439-3
Classic Border Basics Die HCD1-7119
Other Products used:
Zig Clean Clear Brush Markers: 003, 025, 026, 027, 034, 036, 037, 045, 046 and 031, Red tacky tape, white card stock, twine, Peacock Feathers distress ink, Crystal Clear glitters, Archival Ink Plum, Leaf Green, Olive Green, Magenta Hue, Tea Rose, Acetate sheet
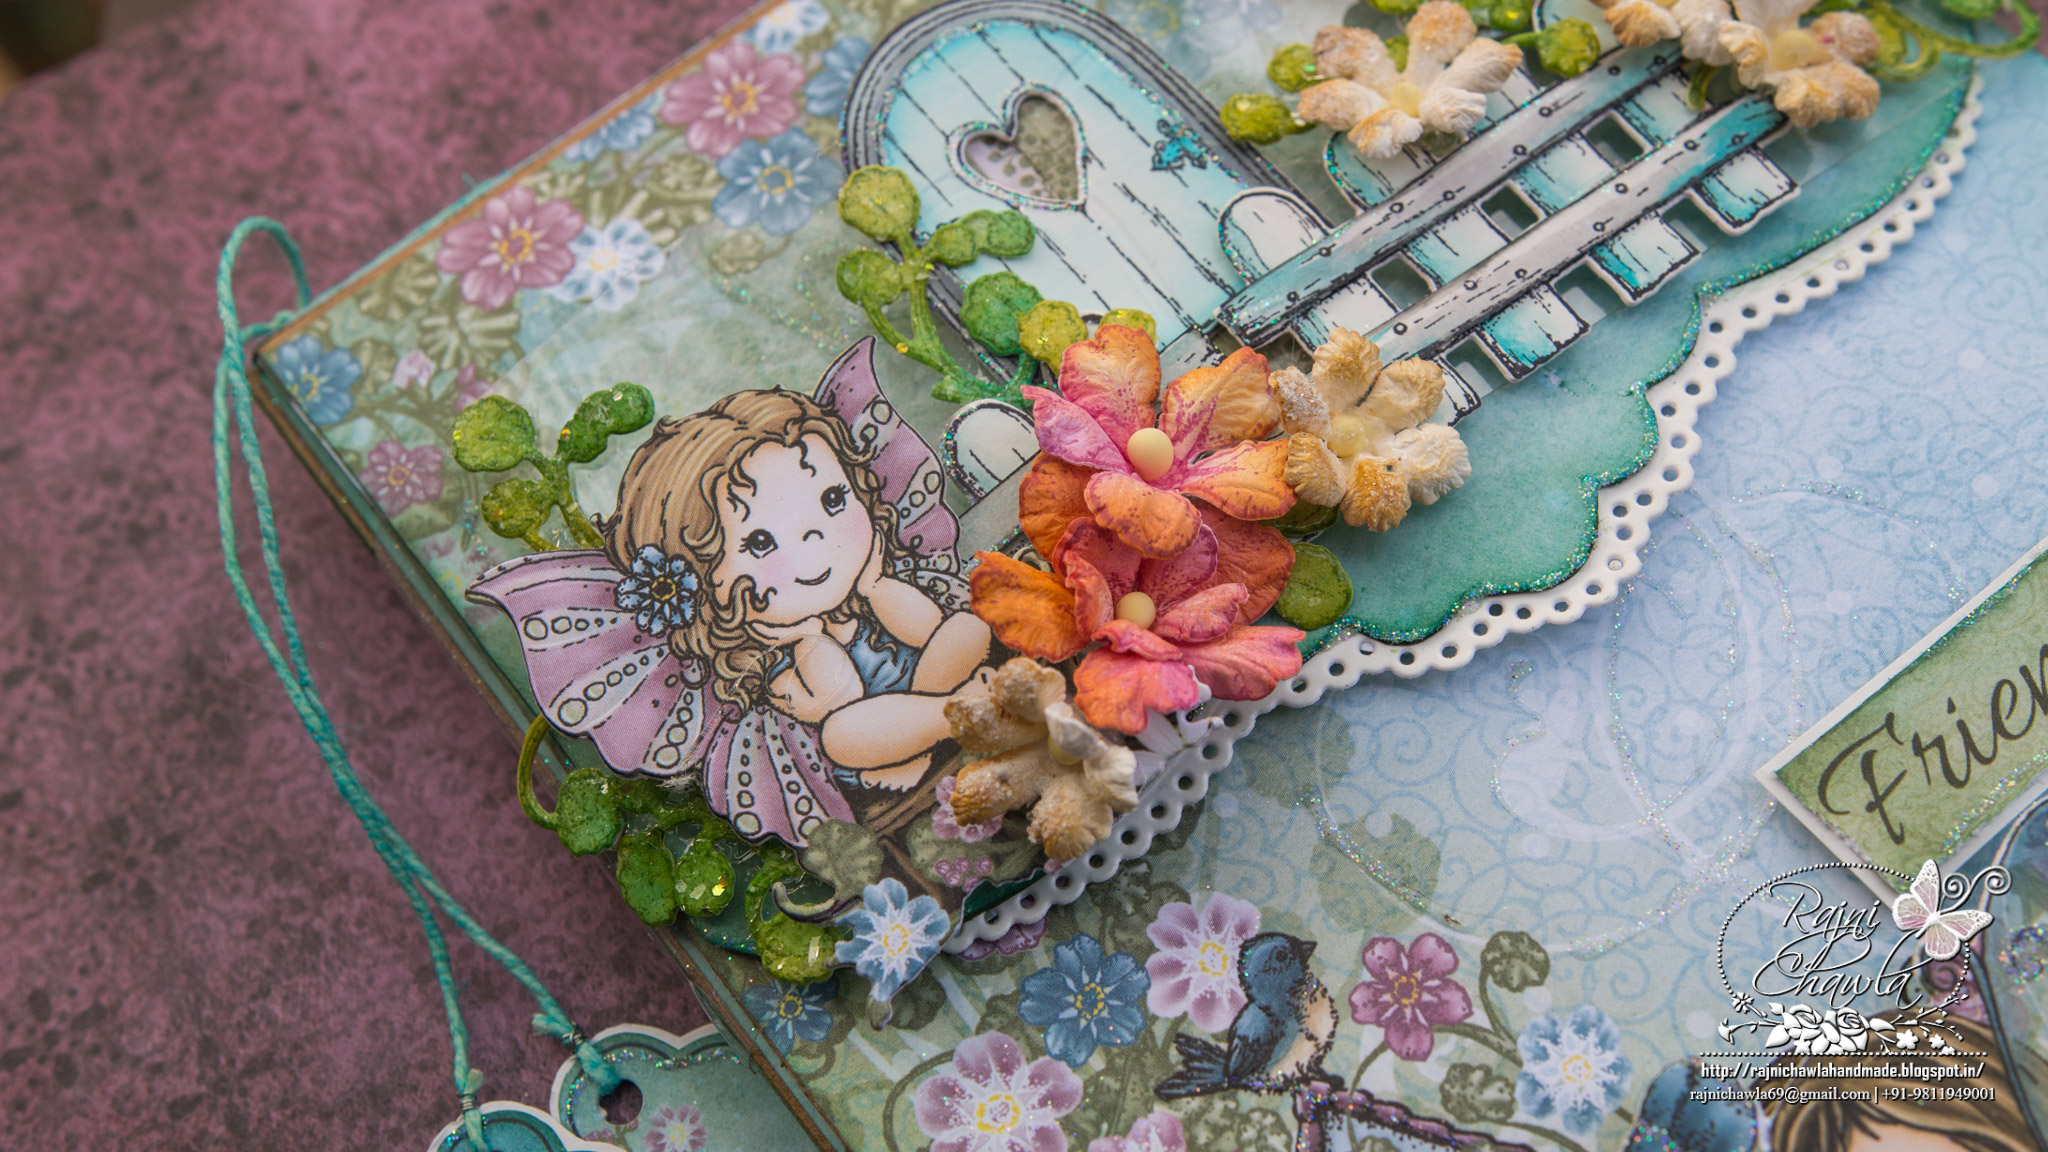
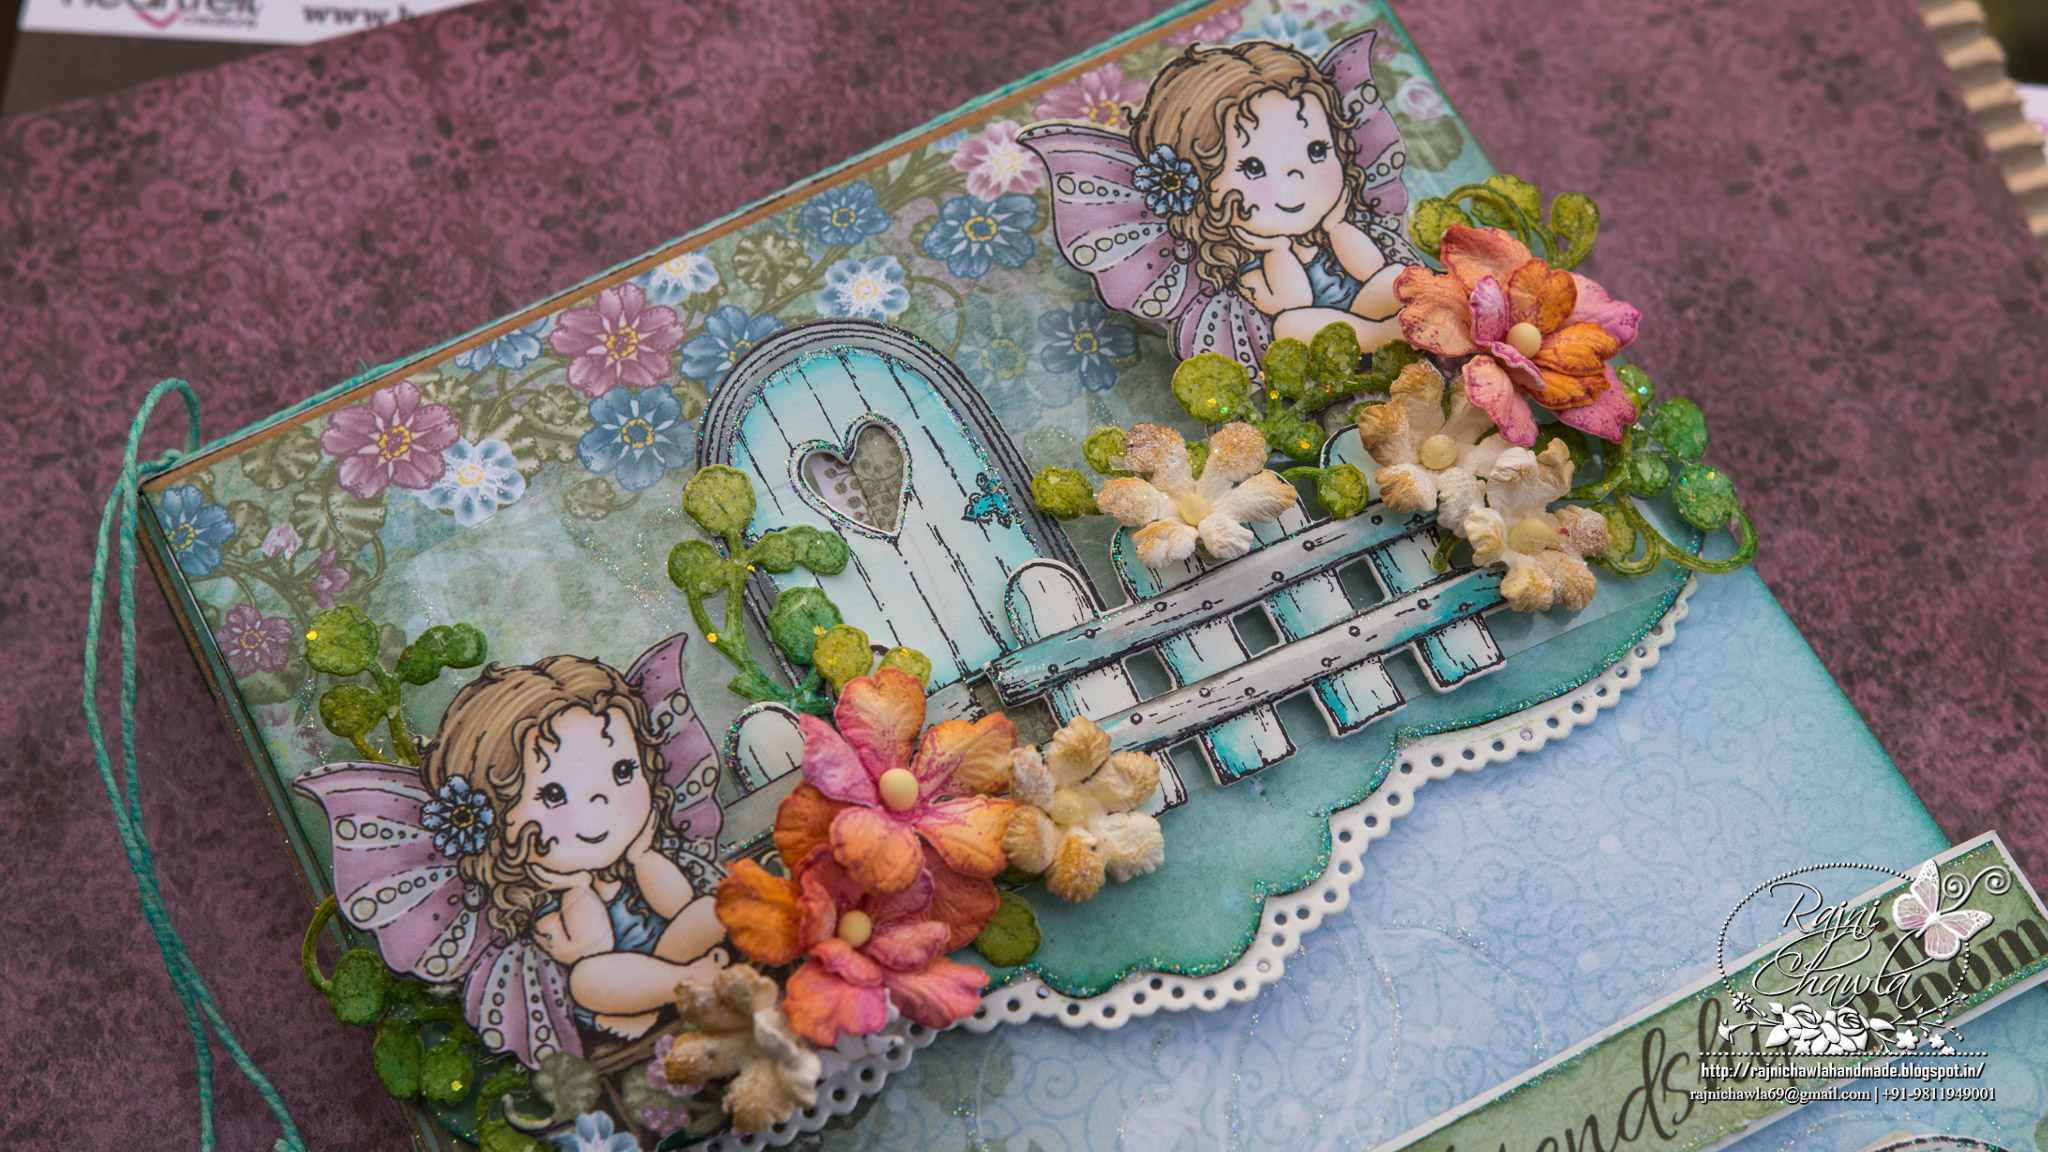
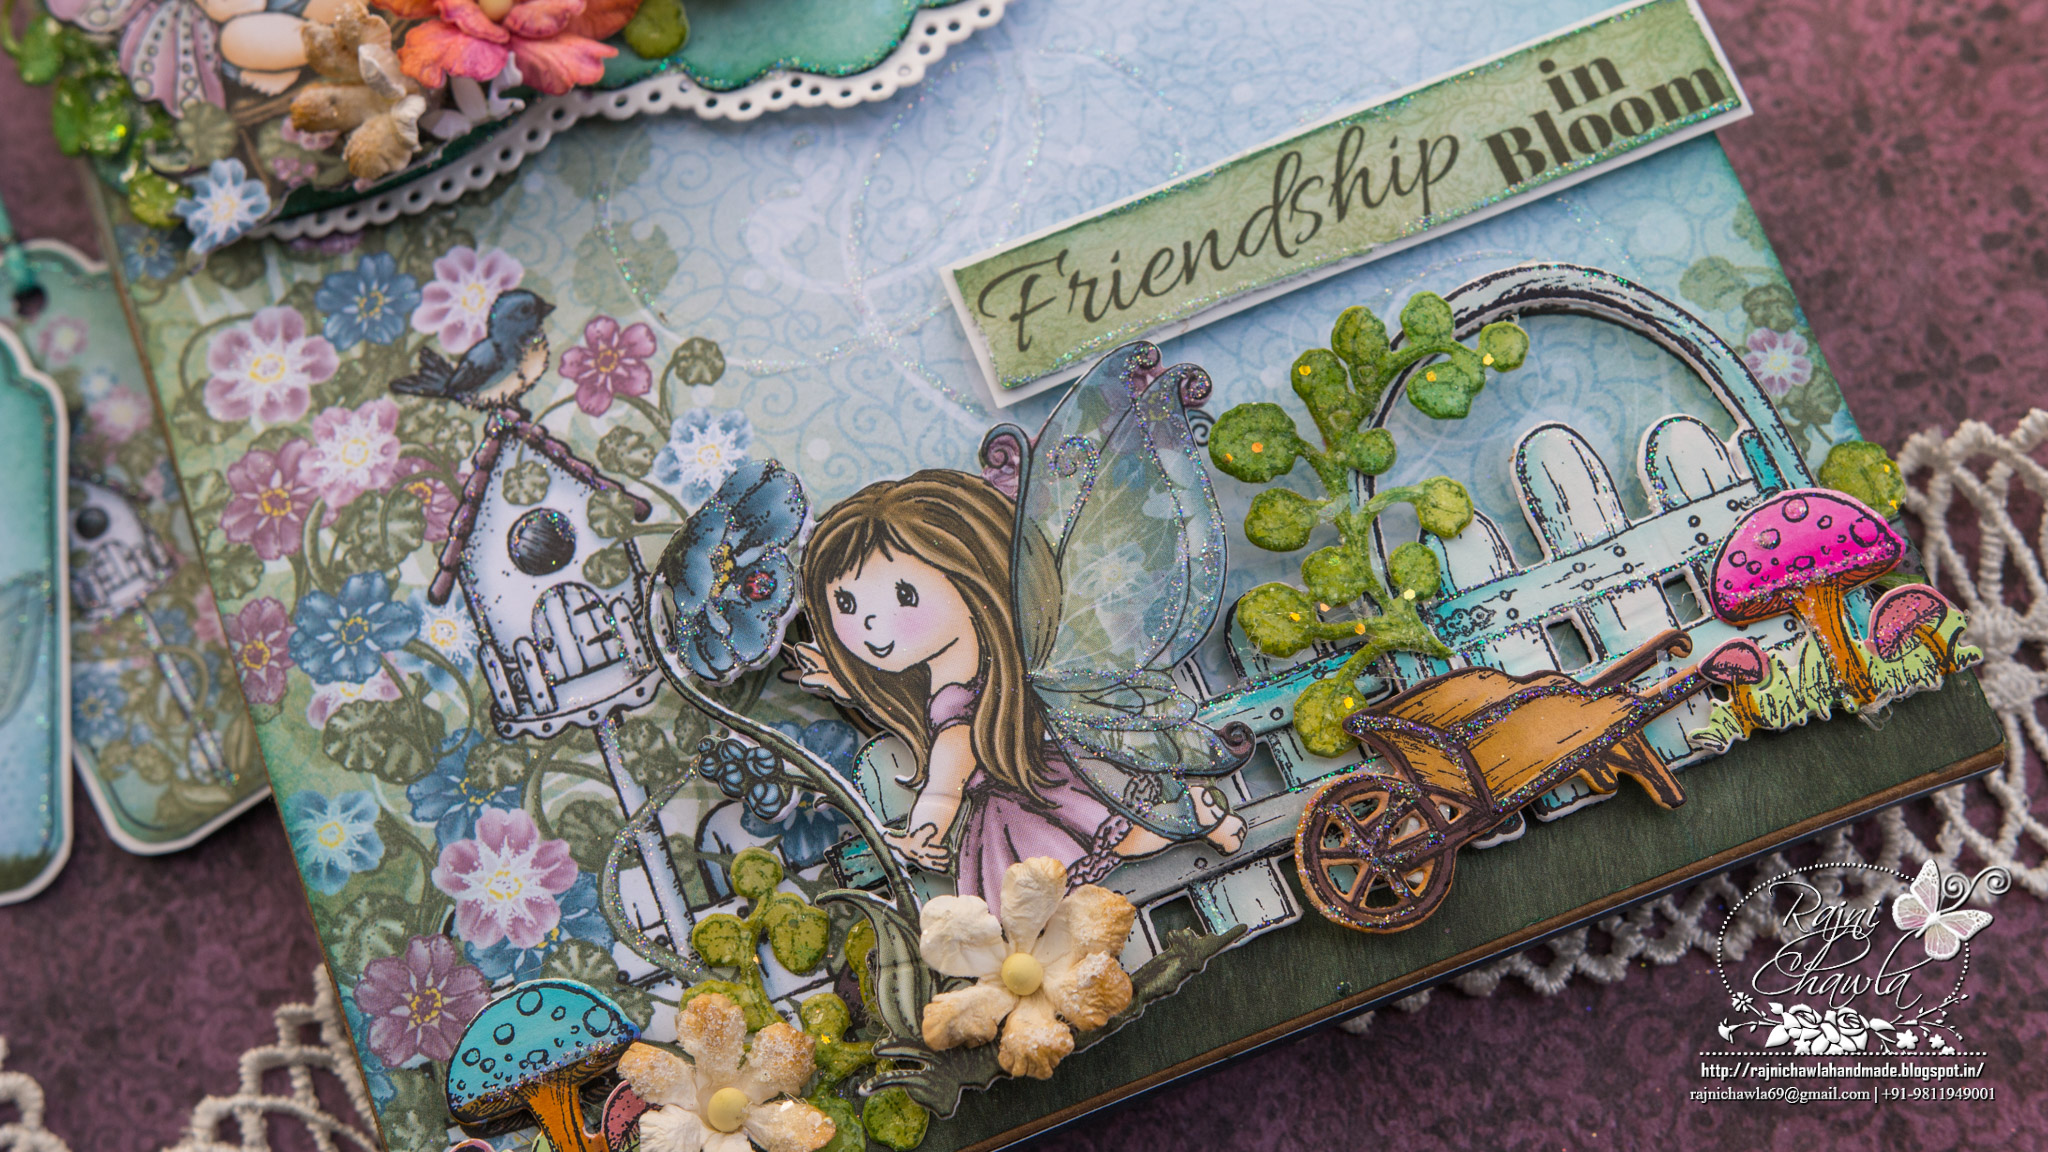
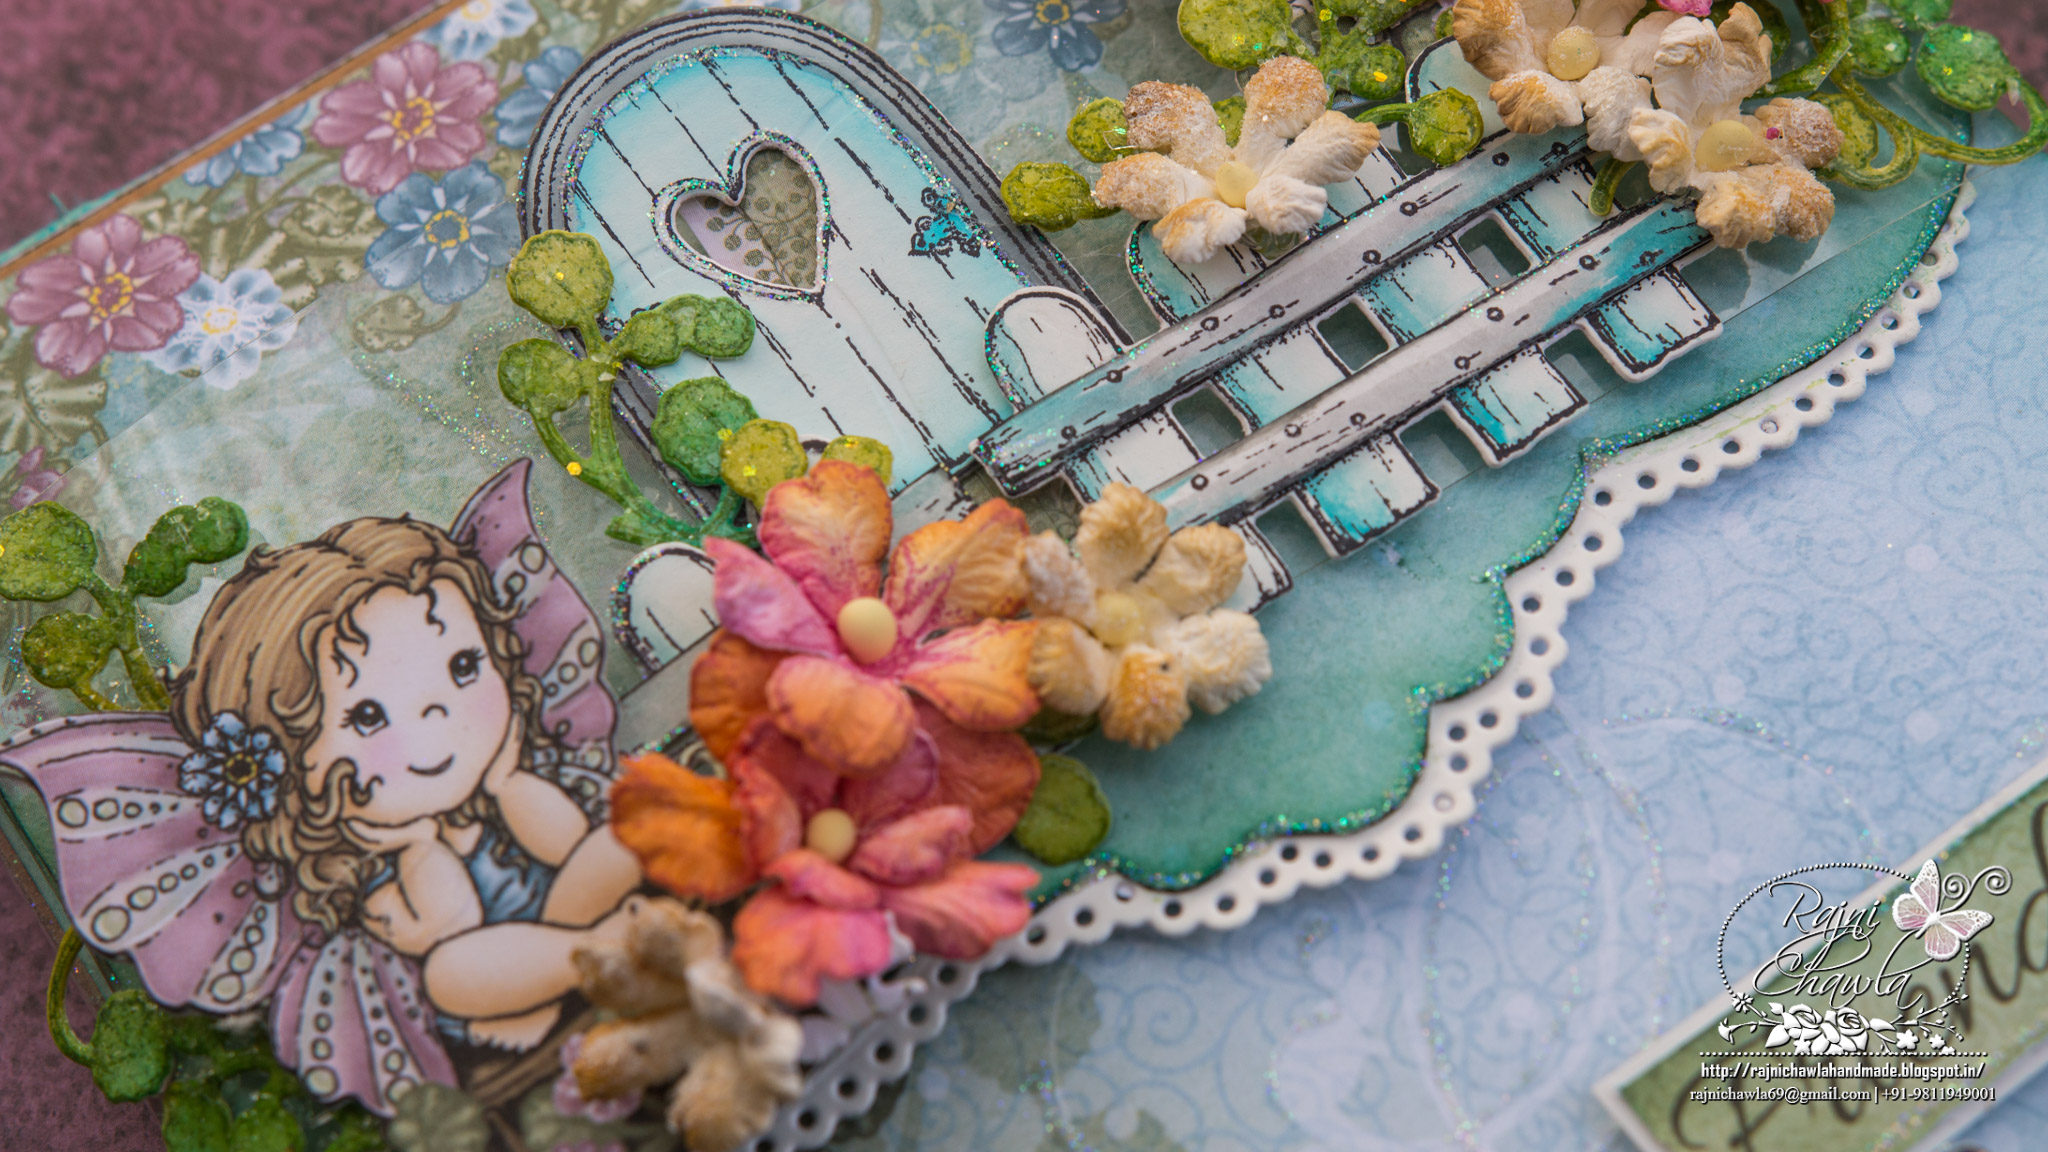
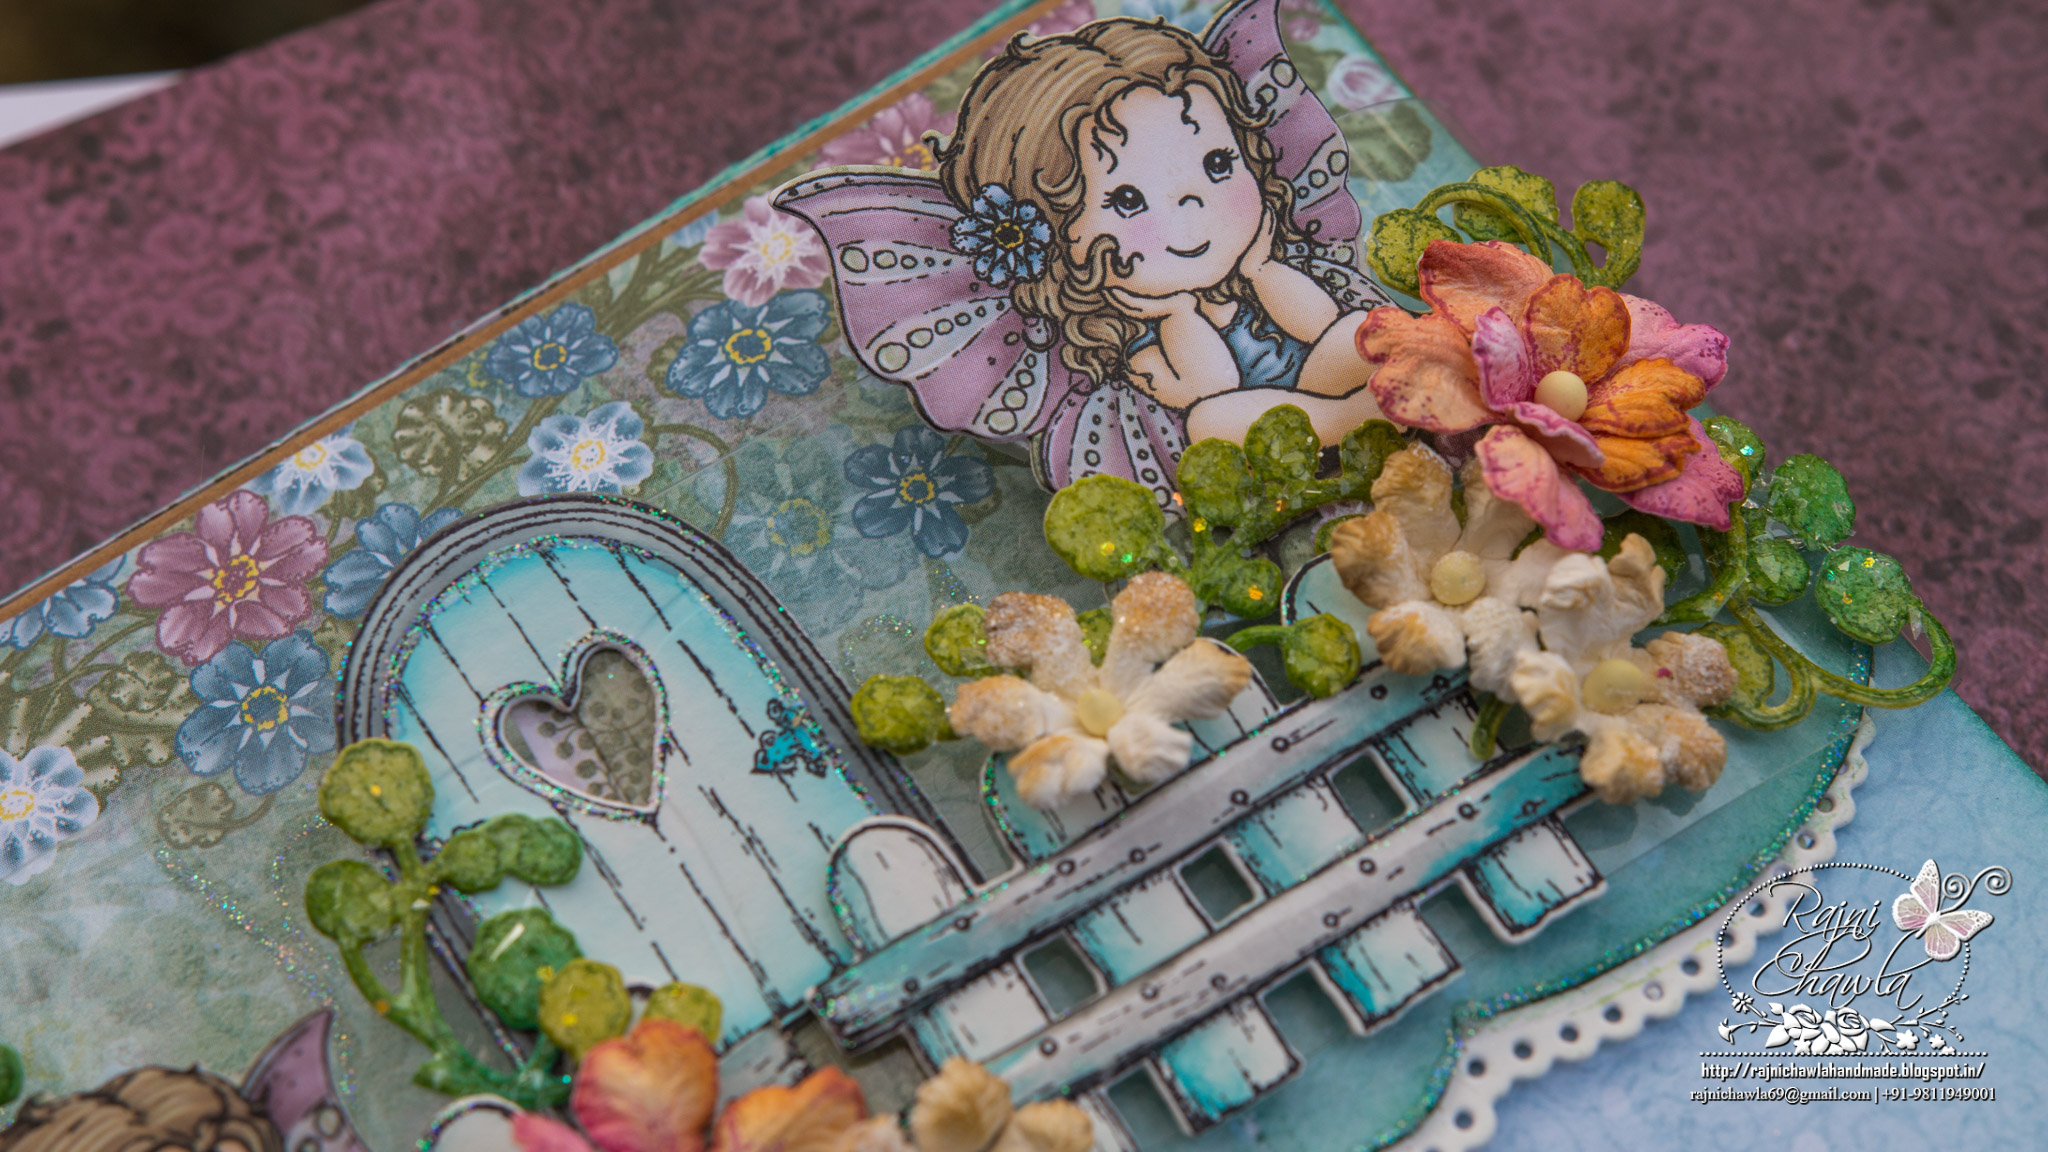
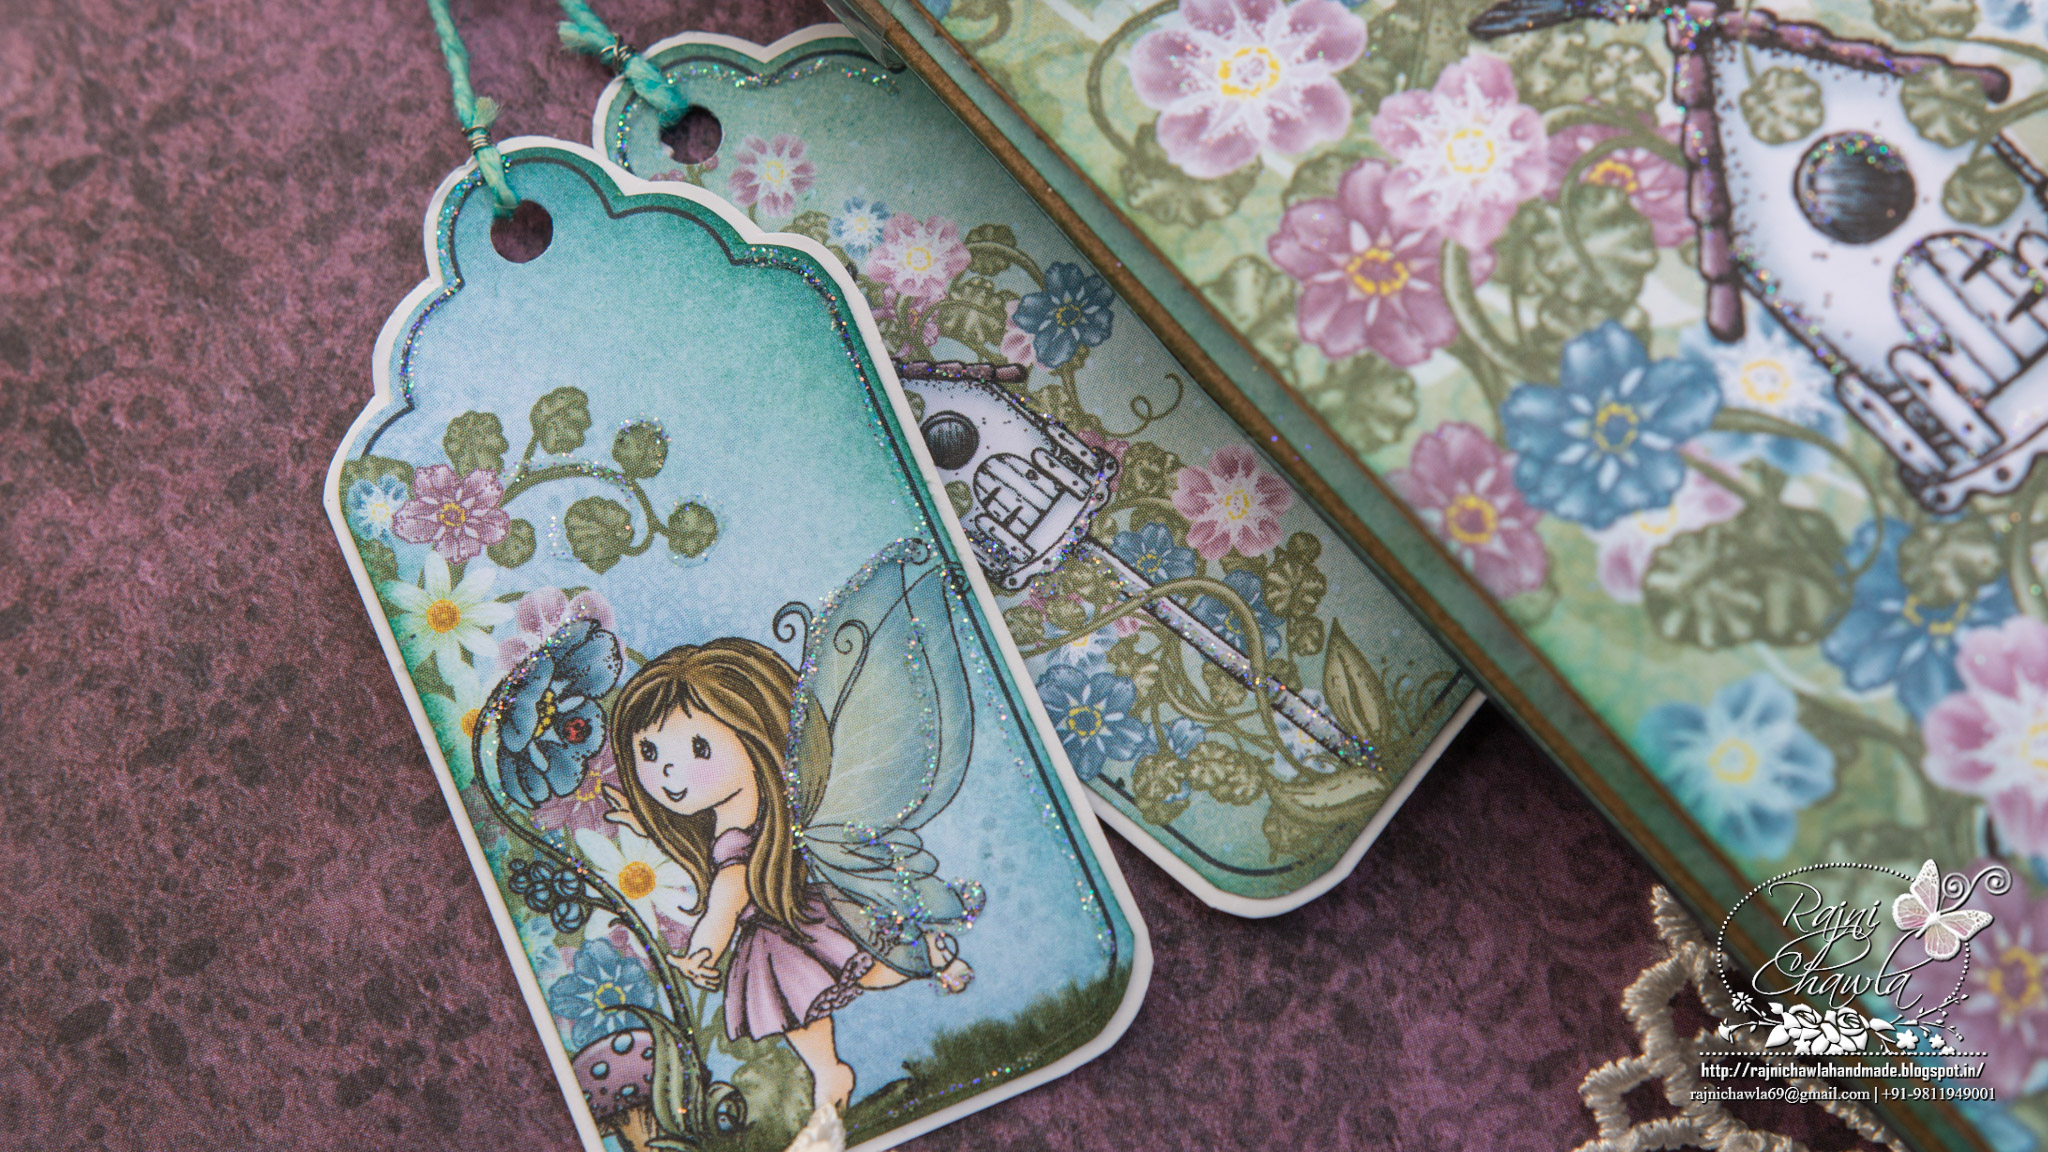
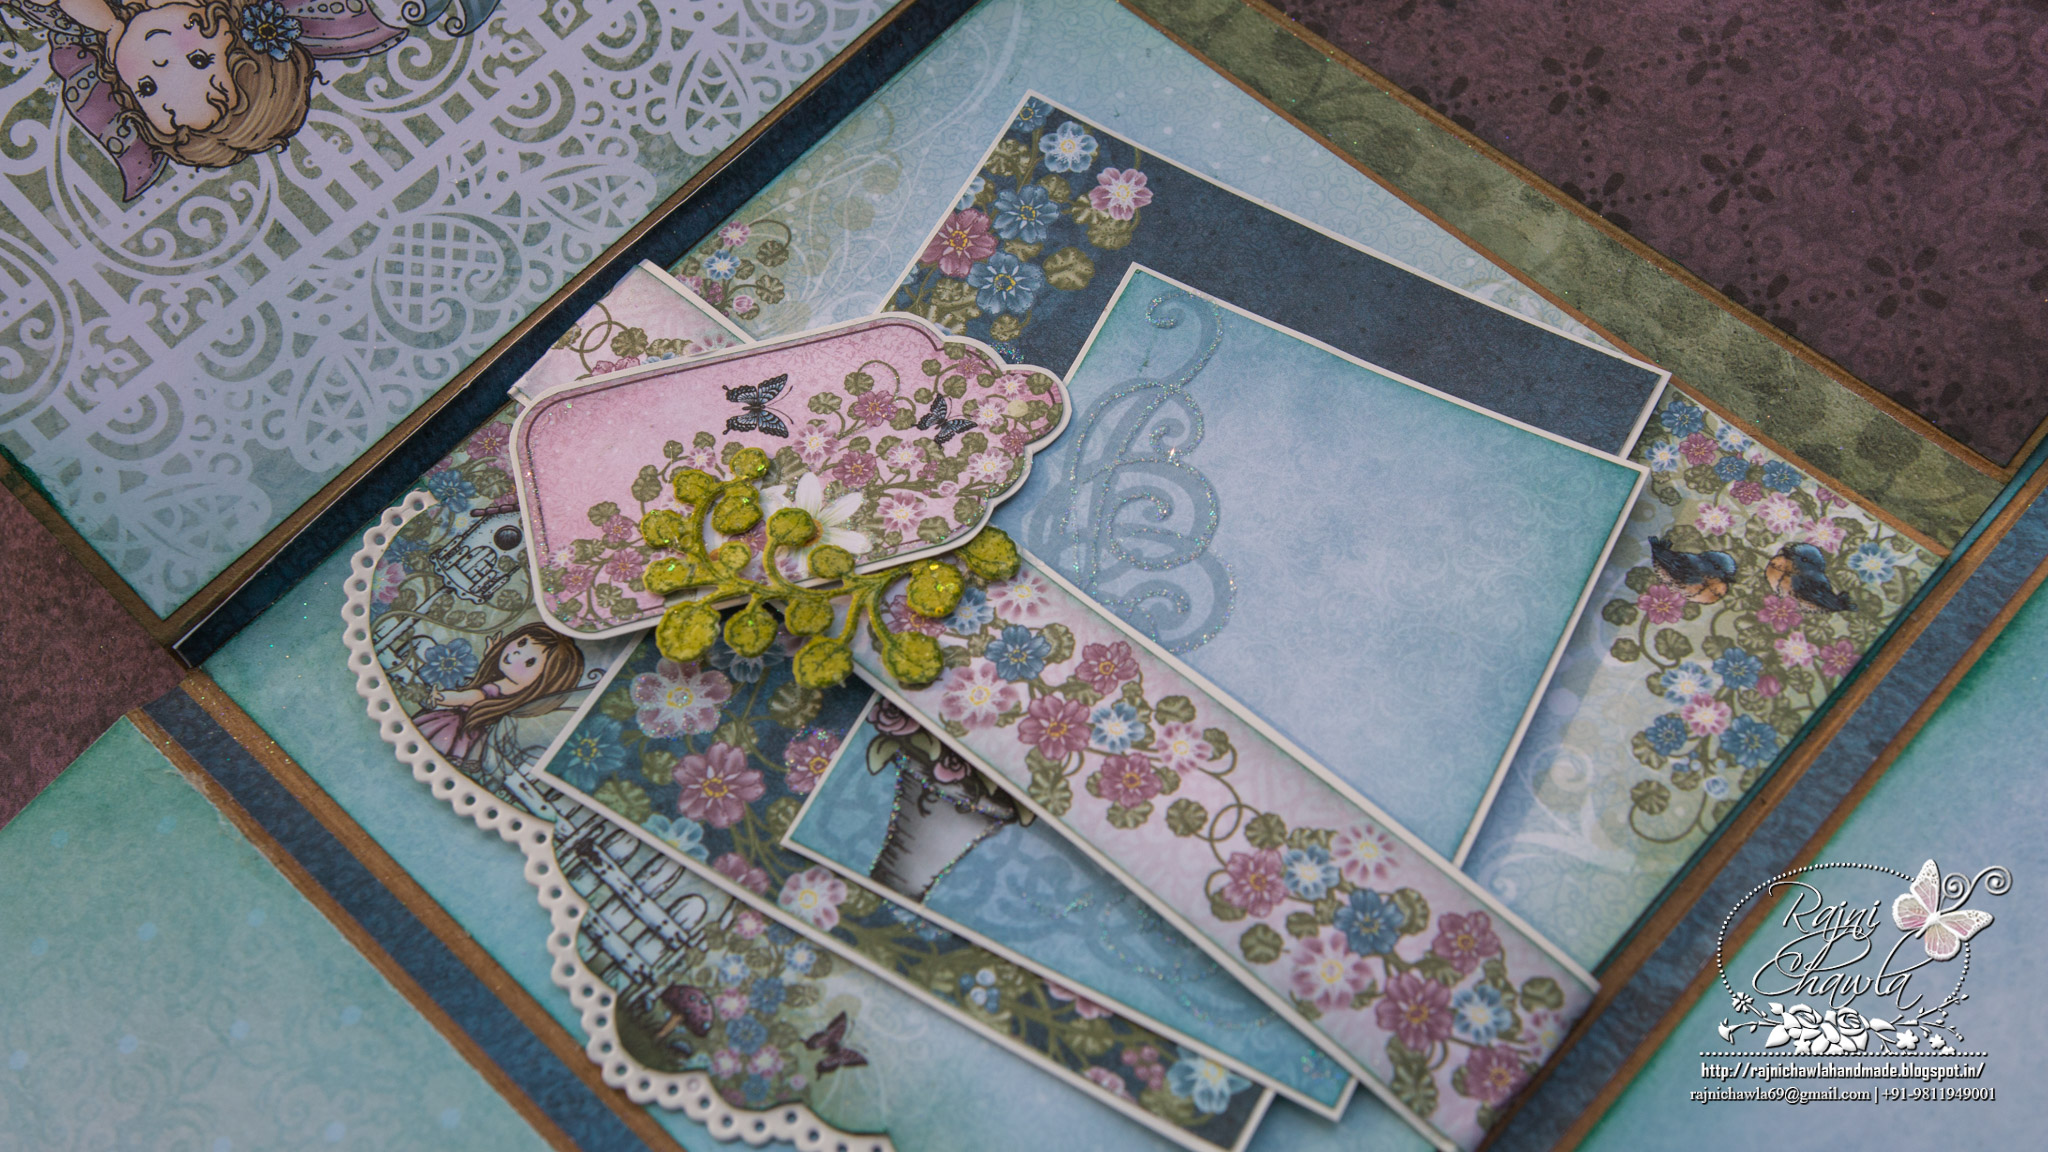
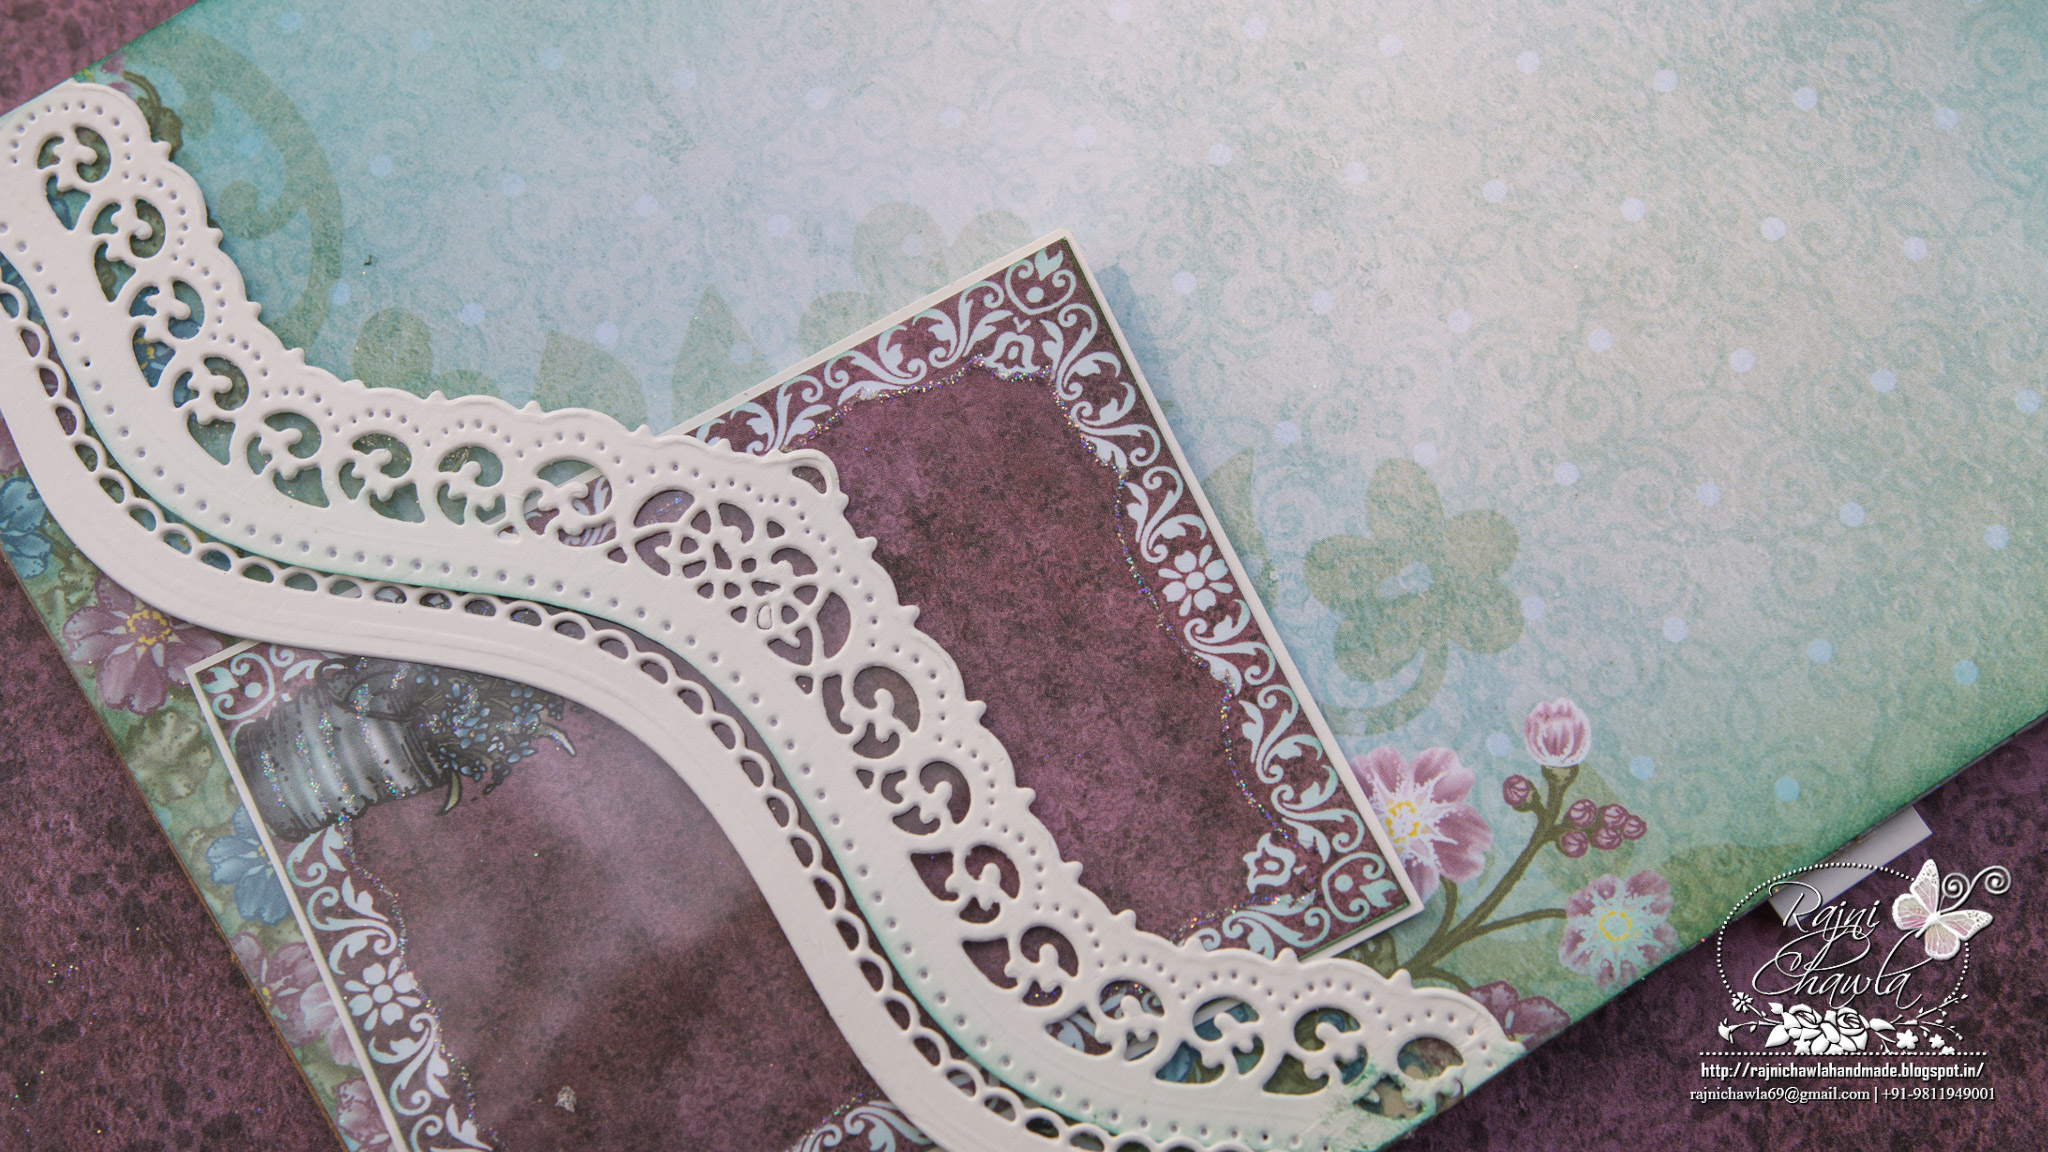
Instructions: To construct this album I have used Pocket and Flipfold Inserts E-Kraft as a base. Watch this video https://youtu.be/uKpGdatTbmk for easy steps to add Flip Fold Inserts E and F into your Flip Fold Albums. Choose the papers from the designer paper collection and cut them for all the inside panels, the cover, and the back. I have shaped down the inside flaps also by adjusting Border and the Regal Die on the edges. Once all the papers are decided and cut, cut white borders using The Border and Regal Die set. Adhere the white borders on the edges and then cover all the flaps with selected designer papers. All the flaps are finely scored and taped down using red tacky tape. All the inside folds have belly bands which can hold the tags on both sides. I have also made clear pockets on the both side flaps using Classic Border Basics Die and acetate sheet. For more detailed pictures you can visit my blog. After all the basic construction of album is done, it comes the time for it’s decoration. For flowers..Watch this video https://youtu.be/rdsIOVMXjIQ to learn how to create flowers with the Deluxe Flower Shaping Kit. I have stamped multiple images from Wildwood Florals Die with Plum Archival and cut them using its coordinating die. The leaves are all stamped with Library Green Archival inks and painted using Leaf Green and Olive Green Archival. The flowers are shaped using Deluxe flower shaping kit and the leaves and vines are kept flat without embossing. The leaves are simply glittered using an adhesive that dries clear. Fairies are from the paper collection itself and are cut using their coordinating dies. For rest of all other embellishments, I have stamped various images from the same collection, with black archival ink on smooth white card stock. All the images were then painted using Zig Clean Clear Brush Markers. The shades used are 003, 025, 026, 027, 034, 036, 037, 045, 046 and 031. Add a little glitter to all the embellishments. Though I have added magnets for making a closure for the album, I decided to further make a belly band across the album using Acetate sheet. Once all the embellishments are ready to assemble them together to create a scene on the belly band and the base of the album. Lastly, I have added a twine across the top hinge and tucked two tags on it’s ends.




Gorgeous album! I so love the cute little fairies <3
Thank you🙂
Wowie!!! Love love love it. So beautiful
Thank you 🙂
I want to come and live in your craft room! I would love to study under you for your flowers. Such beautiful textures and always so perfection! Well done again!
Thank you🙂
Most welcome….I would love your company.
Jaw dropping, eye popping gorgeous!!!!! Your flowers always look so real! You are my hero!
Thank you🙂
Thank you🙂
I am glad that I inspire you.
You are an amazing artist! This is absolutely gorgeous!
Thank you🙂
Thankyou Rajni i admire your work and always get excited ehdn you post. When are you coming to Australia?
Thank you….one day, I hope so of meeting all who are connected through my craft.
Rajni, I am so in awe of your flowers!!! I am especially in awe of the texture of them, they LOOK real which I think is absolutely amazing! How you make your petals look so delicate and real is just unbelievable to me. Your coloring of them is wonderful too, but this time I am obsessed by the texture of each petal. SOMEDAY, I hope I am BLESSED to be able to meet you in person and actually SEE in person how you create, but also to have the joy of meeting you. I feel like we are already friends and that brings me a great deal of joy. When you receive a new Design Team assignment or have another great success, I feel such joy for you! I am thrilled by your success and I know it is just the very beginning for you. Anyone with this level of talent has so much more to give and to show and to teach, and I am excited to watch and see all that you will achieve. Plus, I’ve had the pleasure of getting to know you a bit and I feel so very blessed. You are a treasure in every way, Rajni!!! 🙂
Loving this latest project, I’m always excited when you post a new project!!!
Hugs to you, my new friend,
Joanne