Good Morning, all!!
Back again with another beautiful inspiration using slimline dies, lately released by Heartfelt Creations. Today, I have 2 cards to share in 2 separate posts where I will inspire you to simply chop and alter the die cuts to create various sizes of cards.
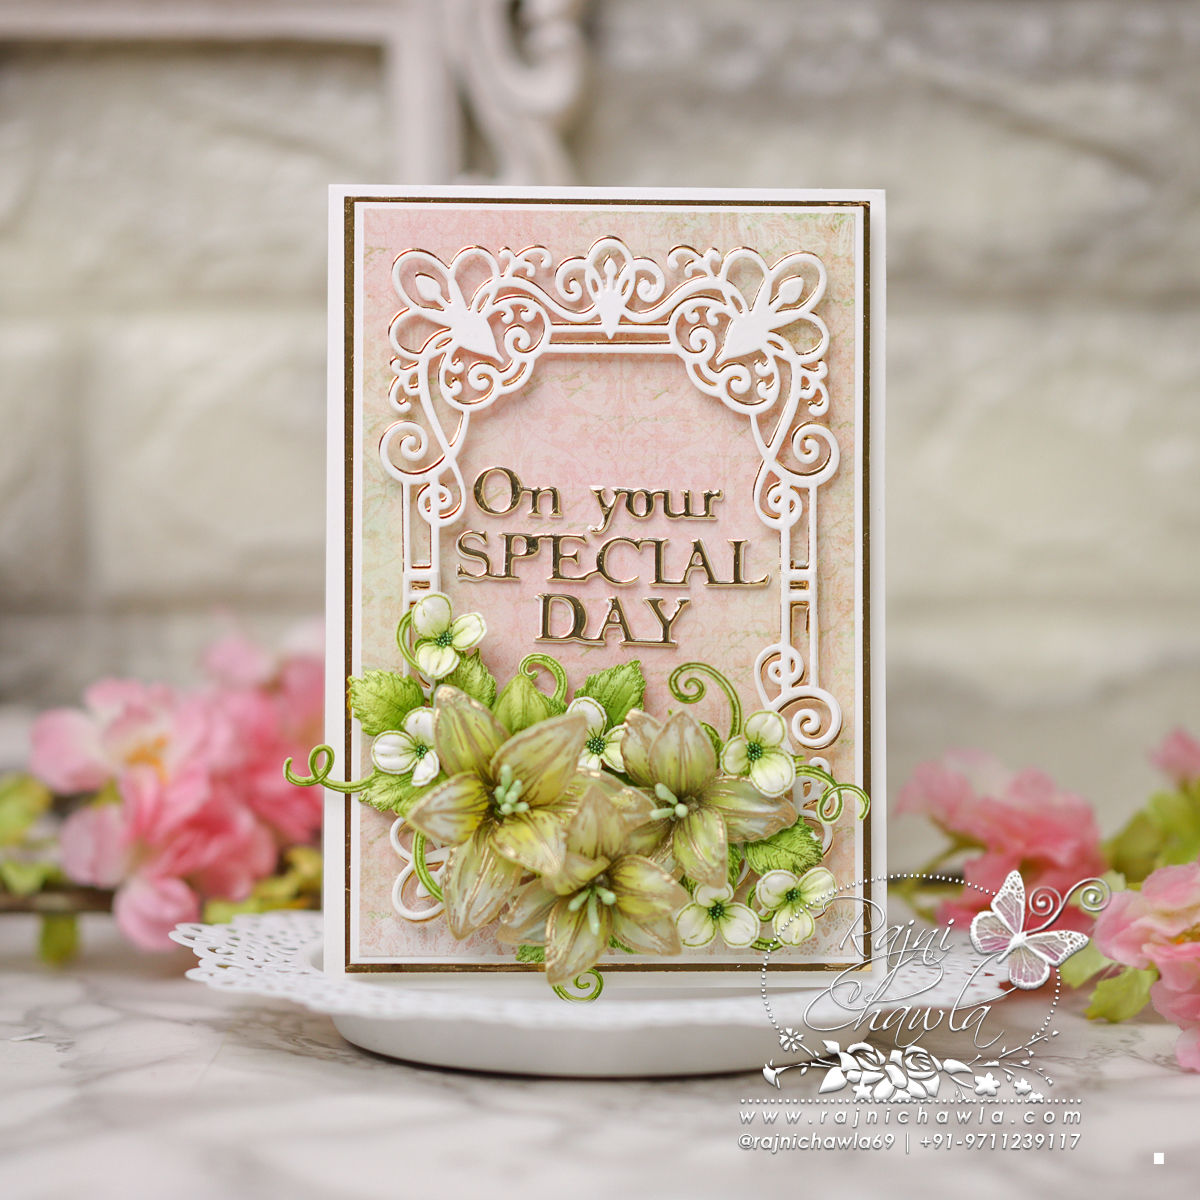
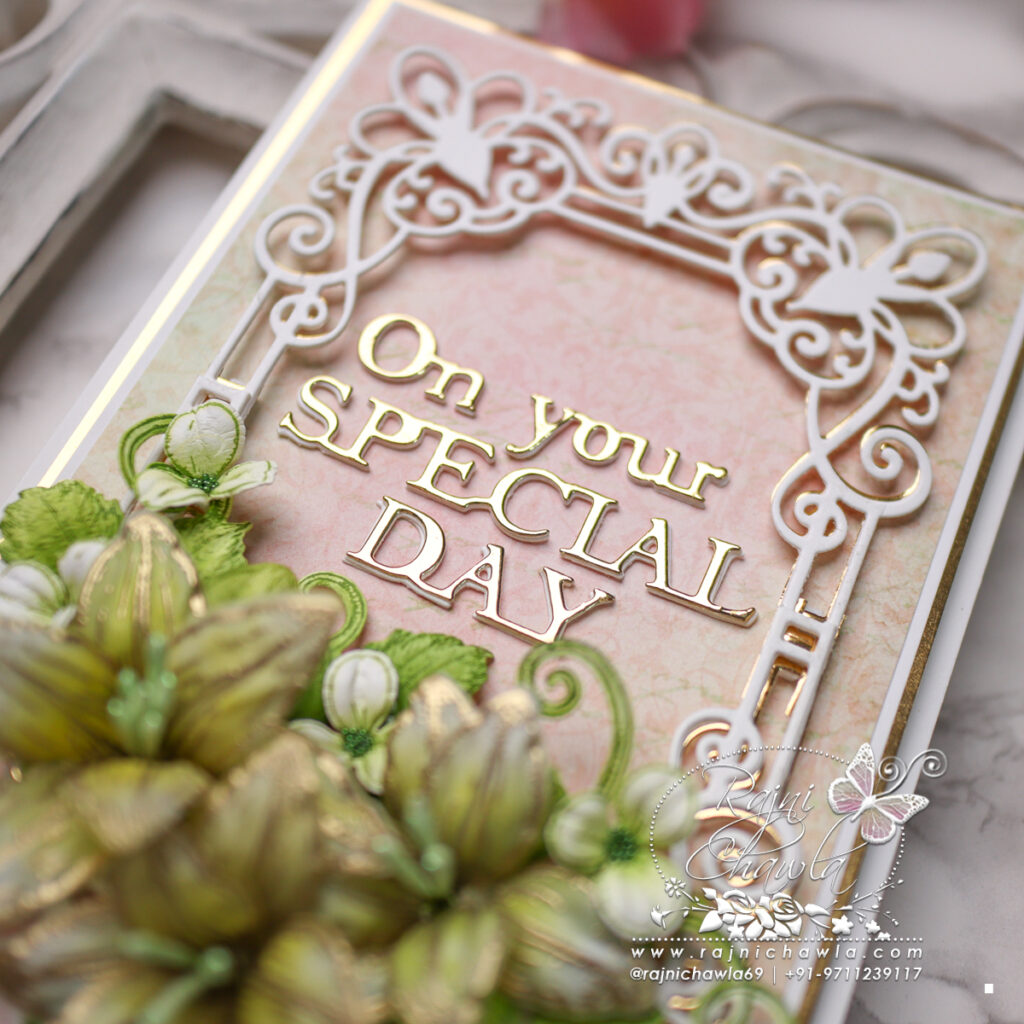
So, here is the second one where I chopped the center parts and created a regular mini slimline card.

The ready side-fold card from smooth white cardstock measures 4 1/4″ by 5 1/2 “. To prepare the card cut the smooth white cardstock measuring 8 1/2″ by 5 1/2”. On the 8 1/2″ side, score at 4 1/4″ and crease well.
Choose the paper from the designer paper collection and cut a piece measuring 3 3/4″ by 5″. Mat the Luxe gold cardstock behind the panel creating a delicate border of 1/8″ on all sides and layer the panel on the card front.
Cut one piece each from white and gold cardstock using Slim Elegant Rectangle Die and glue the gold die cut on the bottom, creating a delicate shadow. Once dry, chop the filigree sides of the die cut and create a backdrop for the card front by layering the die cuts on the top and bottom of the card front.
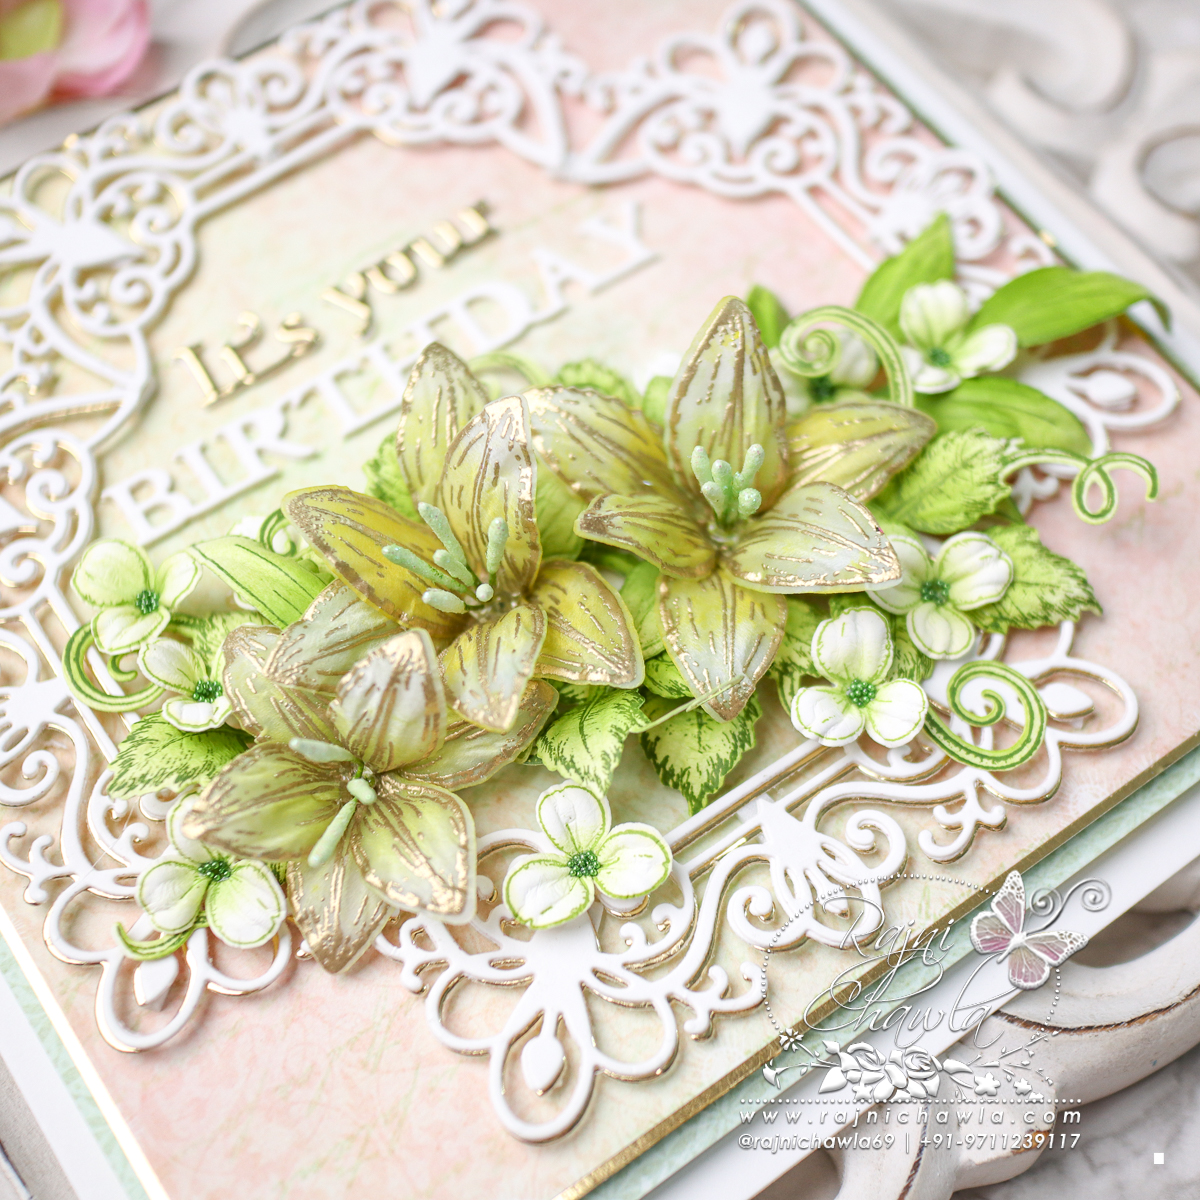
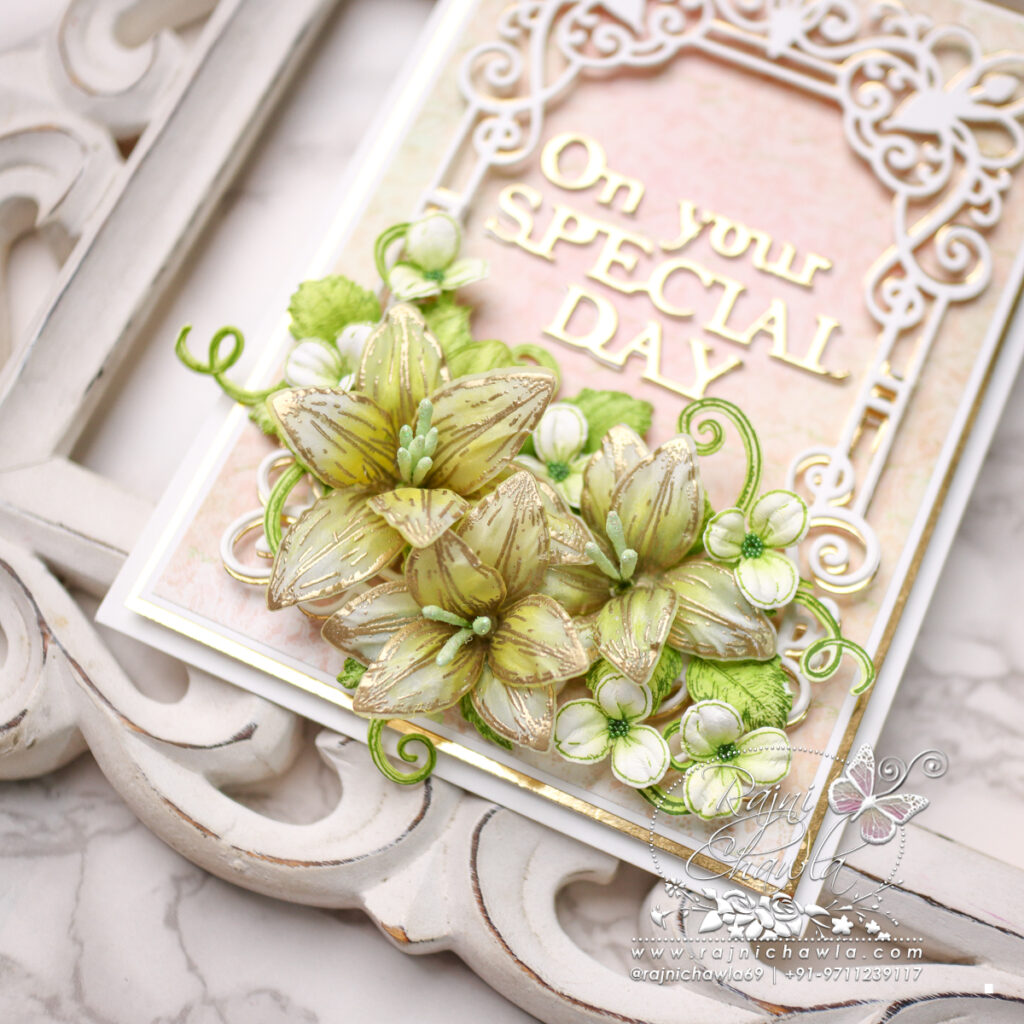
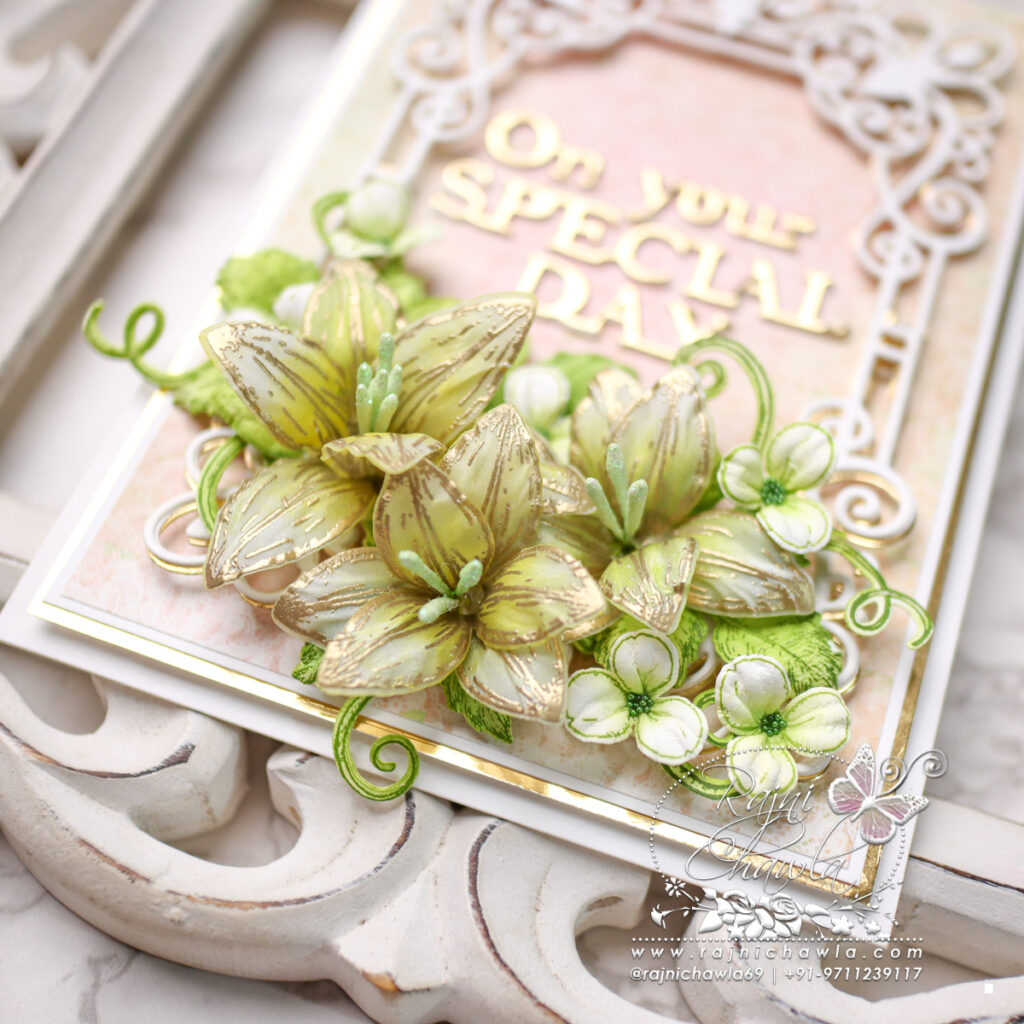
For yellow-golden vellum Lilies, Stamp the flowers on Vellum Flowerette cardstock using Versamark ink and sprinkle golden heat embossing powder. Dust extras in the funnel tray and heat set the flower petals. Cut the petals using its coordinating die. Color the petals using Mustard Seed distress Oxide and shape them using flower shaping tools. Form the flowers and prick the center to add Petite Pollen Stamens – Medium. Prepare 1 medium flower of 3 petals and 2 small flowers of 2 petals each.
Stamp, color, and cut a few Wisteria flowers using Leaf Green Archival ink, color them in the center using the same ink and shape them using a flower shaping kit. Add flower beads using a glossy accent and use these flowers as fillers.