Good Morning Lovely People…
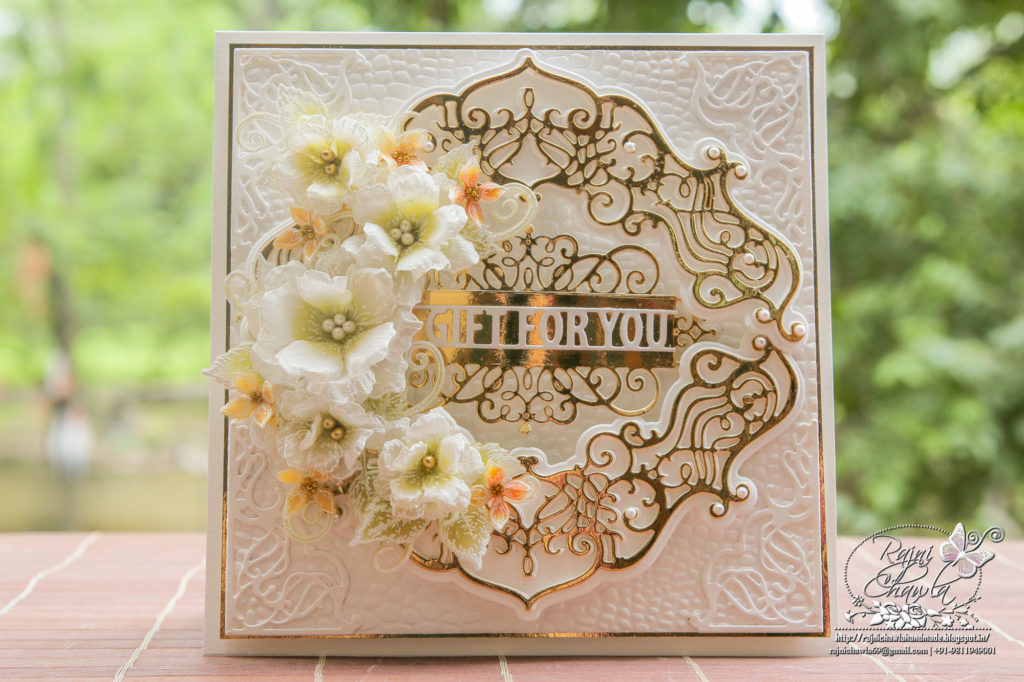
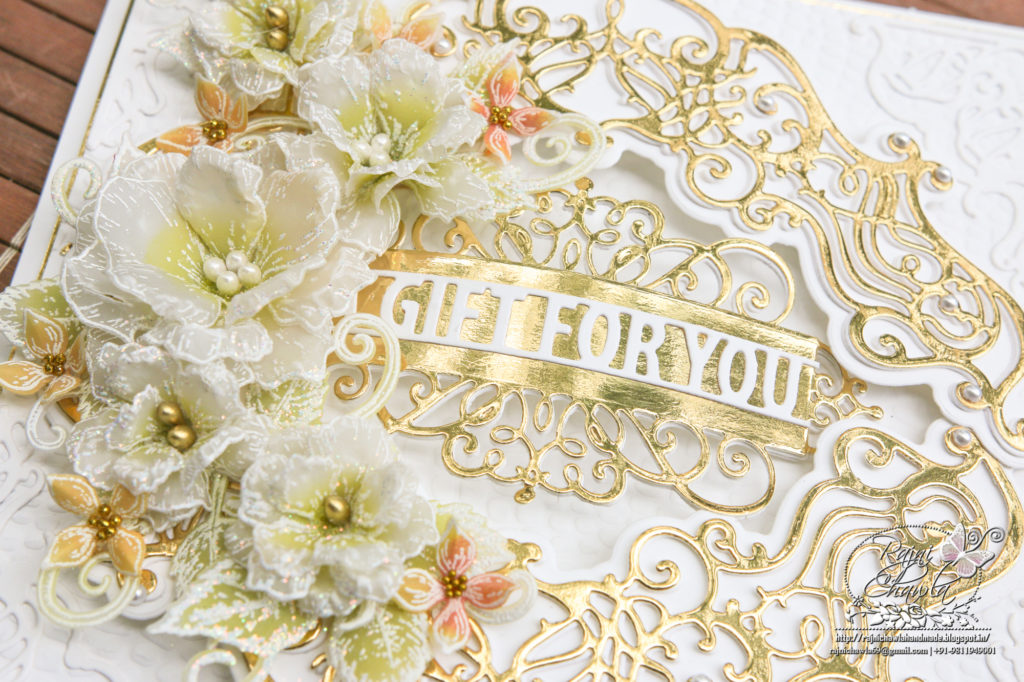
Welcome back to inspirational Wednesday for Heartfelt Creations. Today I have this white and gold elegant birthday card to share.
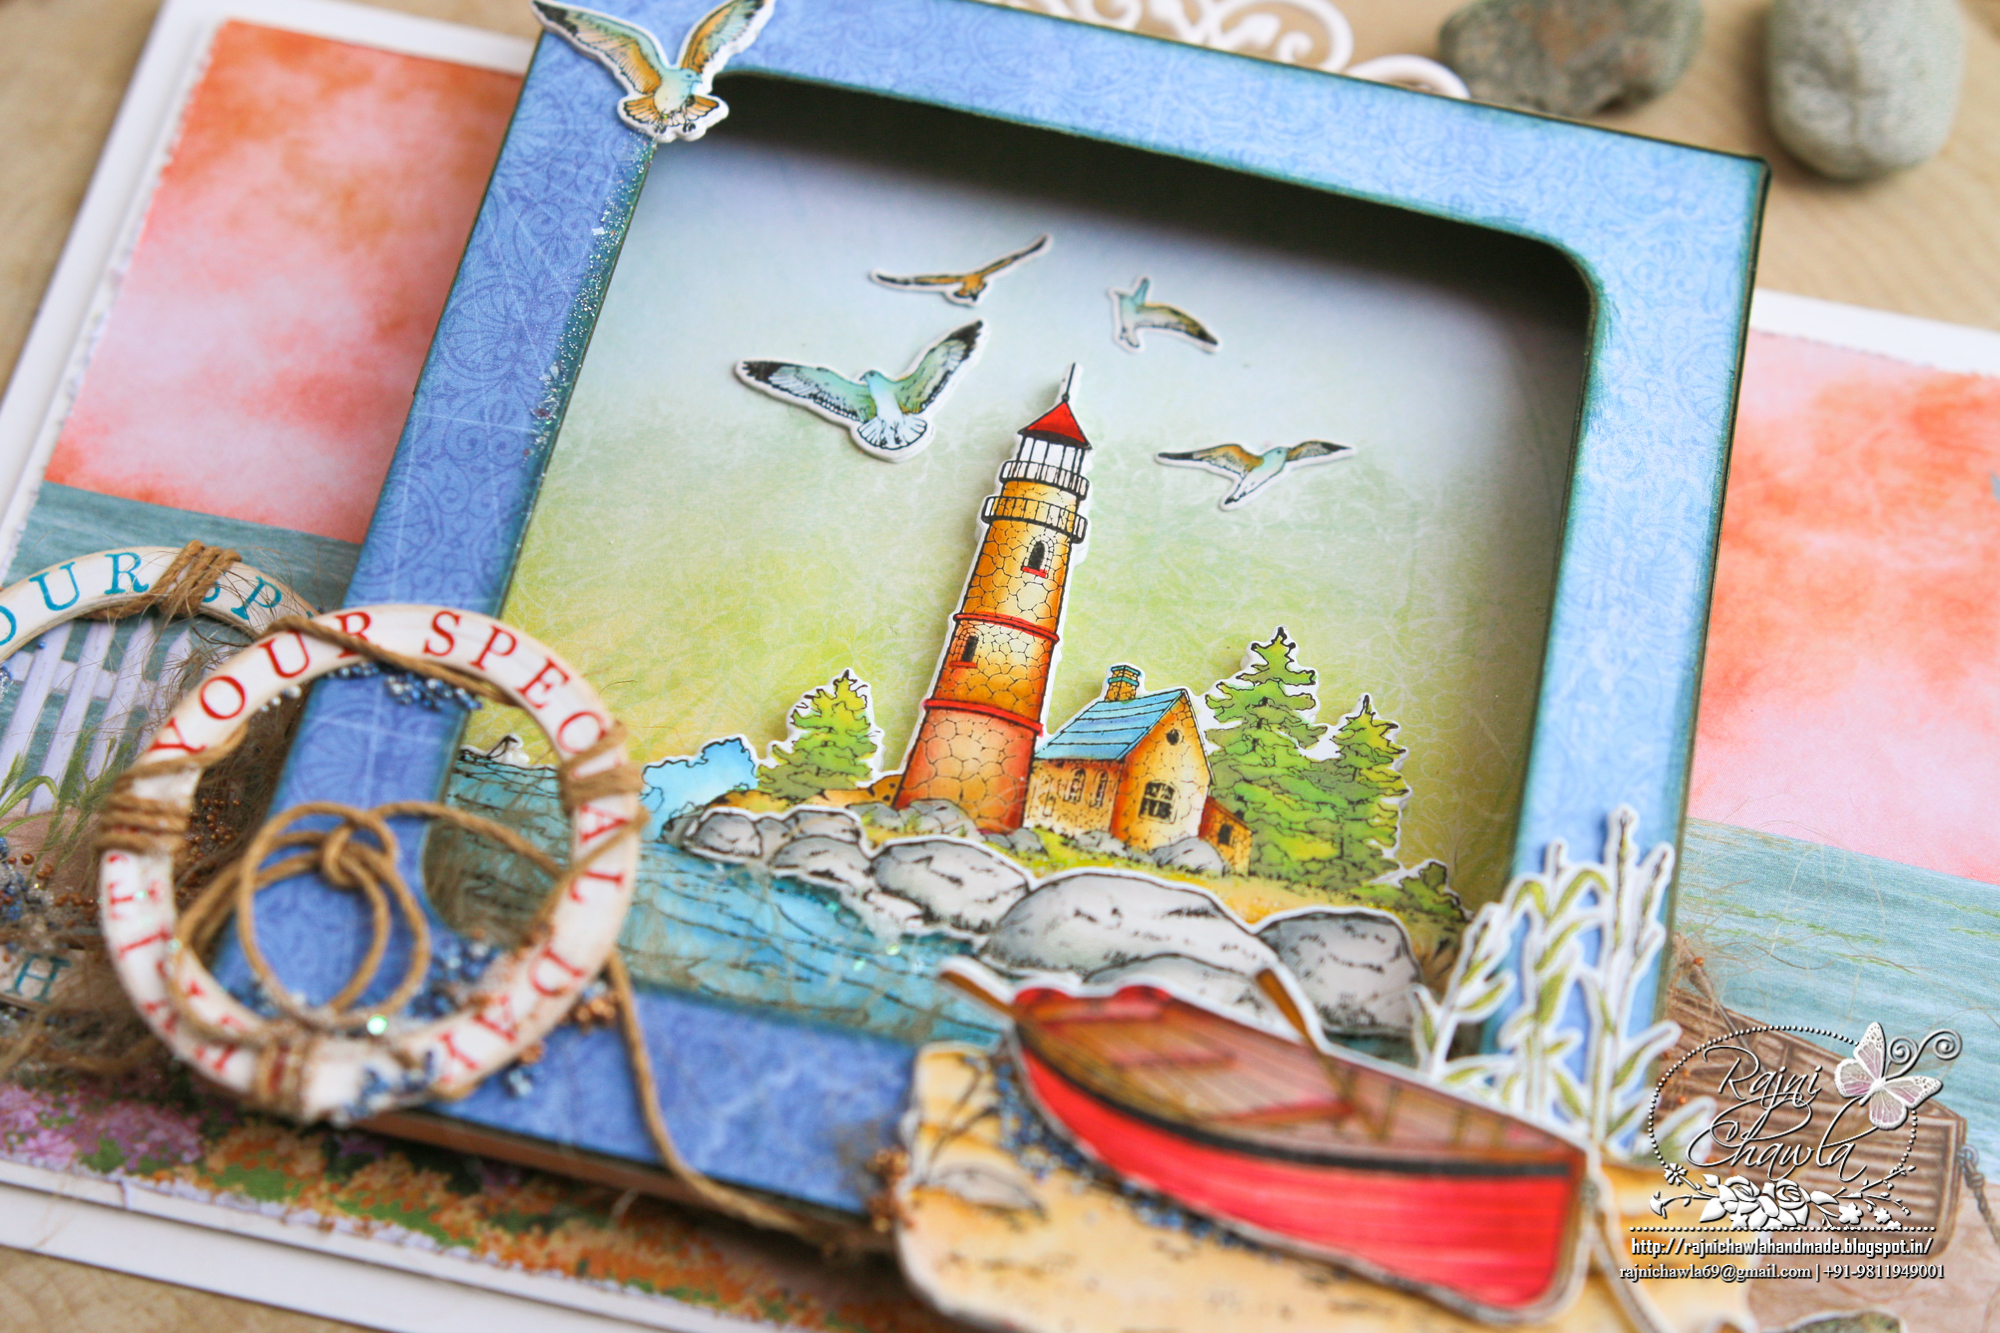
Drop by the company’s blog to see amazing inspirations by the design team. Also, there is the peek to their upcoming collection, Wilderness Retreat Collection.
You can click the link to see the complete preview here.
Supplies from Heartfelt Creations:
HCD1-7263 Swirly Accent Spray Die
HCD1-7203 Ornamental Tags Die
HCD1-7110 Classic Rose Die
HCPC-3752 Classic Rose Cling Stamp Set
HCFB1-462 3D Rose Shaping Mold
HCD1-7111 Classic Rose Vines Die
HCD1-7170 Lush Lilac Die
HCPC-3816 Lush Lilac Cling Stamp Set
18002 Rajni Chawla’s Vellum Flowerite – 10 Sheets
HCS1-459-1 Assorted Pearl Stamens-Small
RAHT Heat It Craft Tool
PGM15016 Rajni Chawla’s Frosting Powder
HCDA2-450 Stack and Store Daubers-Pack of 30
159723 Designer Dries Clear Adhesive
Other Products Used!: Smooth White Cardstock, Creative Expressions Embossing Folder -Snake Skin, Hero Arts White Pigment Ink, Superfine White Heat Embossing Powder by Get Inspired., Distress Oxide Peeled Paint and Marmeld Spice, Glitter Balls.
Instructions: The ready top-fold card from smooth white cardstock measures 7″ by 7″. To create the top front panel, cut a white cardstock measuring 6 1/2″ by 6 1/2″. Secure the paper in the embossing folder and run it through the die-cutting machine. To the embossed panel, mat a golden mirror sheet creating a delicate border of 1/16″ all around. Further layer the panel on the ready card base.
Die-cut Swirly Accent Spray Die twice on white cardstock and 2 times on golden mirror sheet and stack them to create 2 sets of die cuts keeping golden little shifted right as shown. Mat these on the white base die cuts from the same die set. Shape them a little to create dimensions and secure them on the ready card panel with the help of double-sided tape.
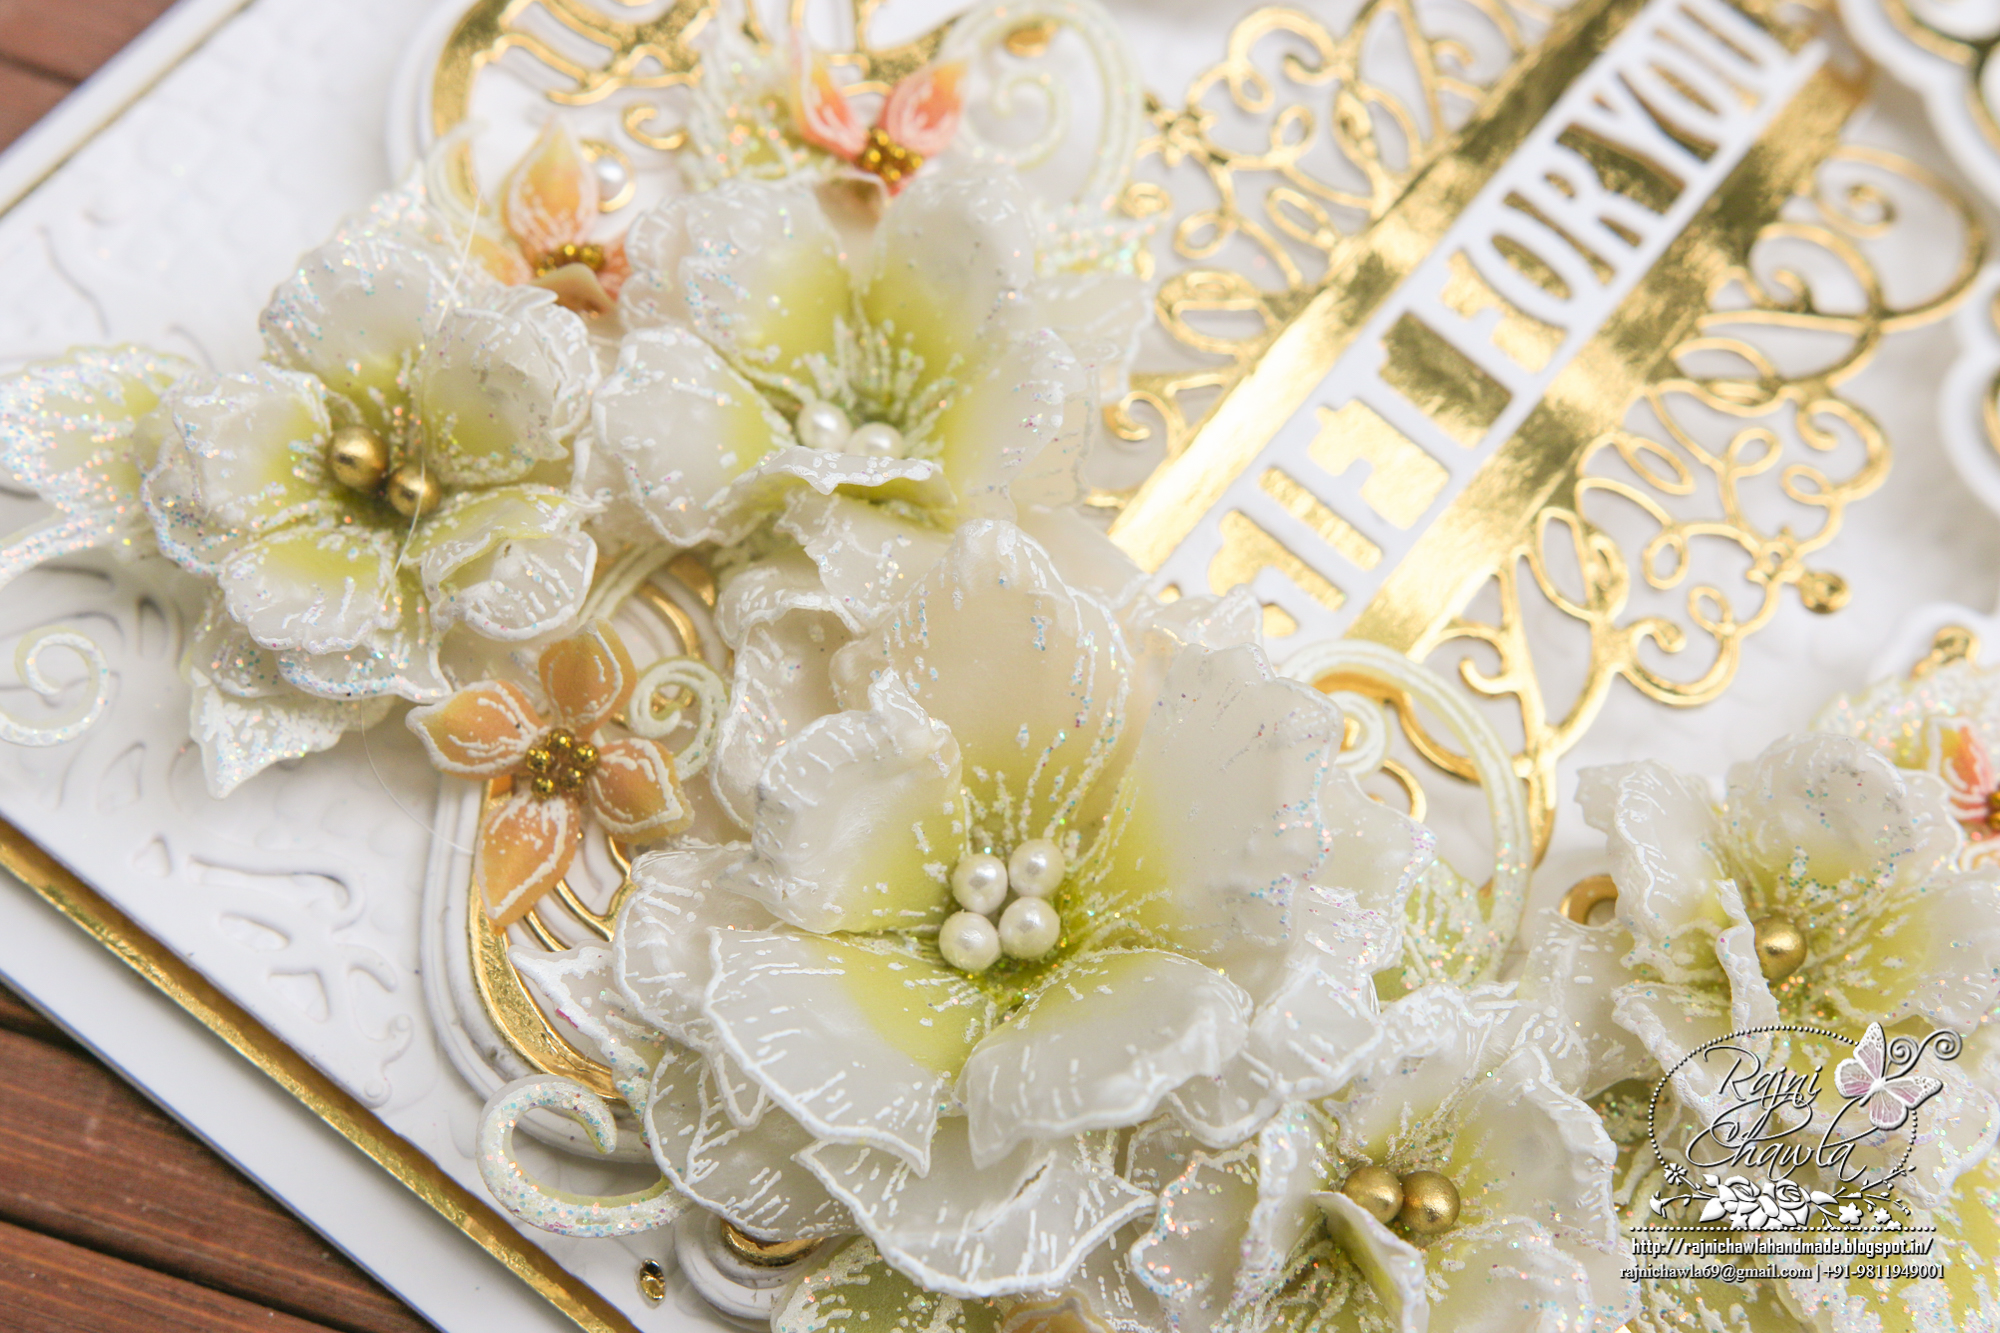
Cut Ornamental Tags Die twice on white cardstock and twice on golden mirror sheet. stack them together keeping golden on top and add a white sentiment die-cut on the top. Shape a little and secure it on the card panel with hot glue as shown.
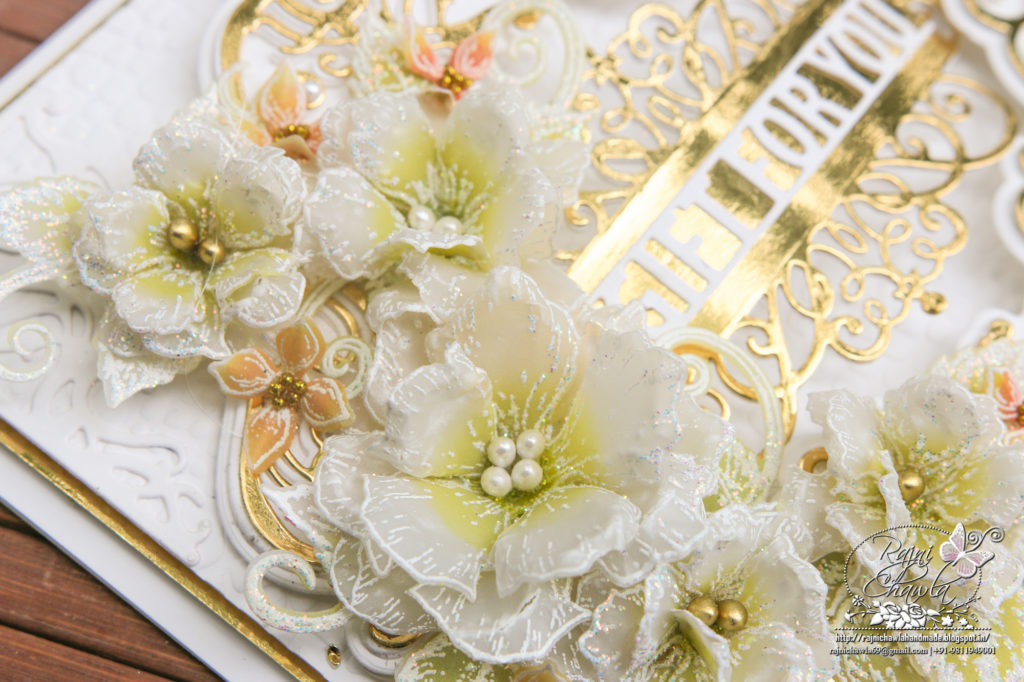
For Vellum Roses and leaves, Stamp the images from Classic Rose Stamp Set and Classic Rose Vines Cling Stamp Set and Lush Lilacs with white pigment ink on Vellum, Sprinkle white heat embossing powder and dust extras in the funnel tray and heat set. Color the flowers using Distress Oxide Peeled Paint in the center. Shape the flowers using a 3D flower shaping mold. Press the centers and glue them together to form beautiful flowers. Prick the flower centers using needle tool and secure golden color pearl stamens using tacky glue. Shape the tiny Lilacs on needle tool and To the tiny add golden glitter balls using an adhesive that dries clear.
Once all the elements are ready, assemble a flower bouquet as shown and complete the card by adding extra sparkle using Rajni Chawla’s Crystal clear with the help of adhesive that dries clear.