


Good morning,
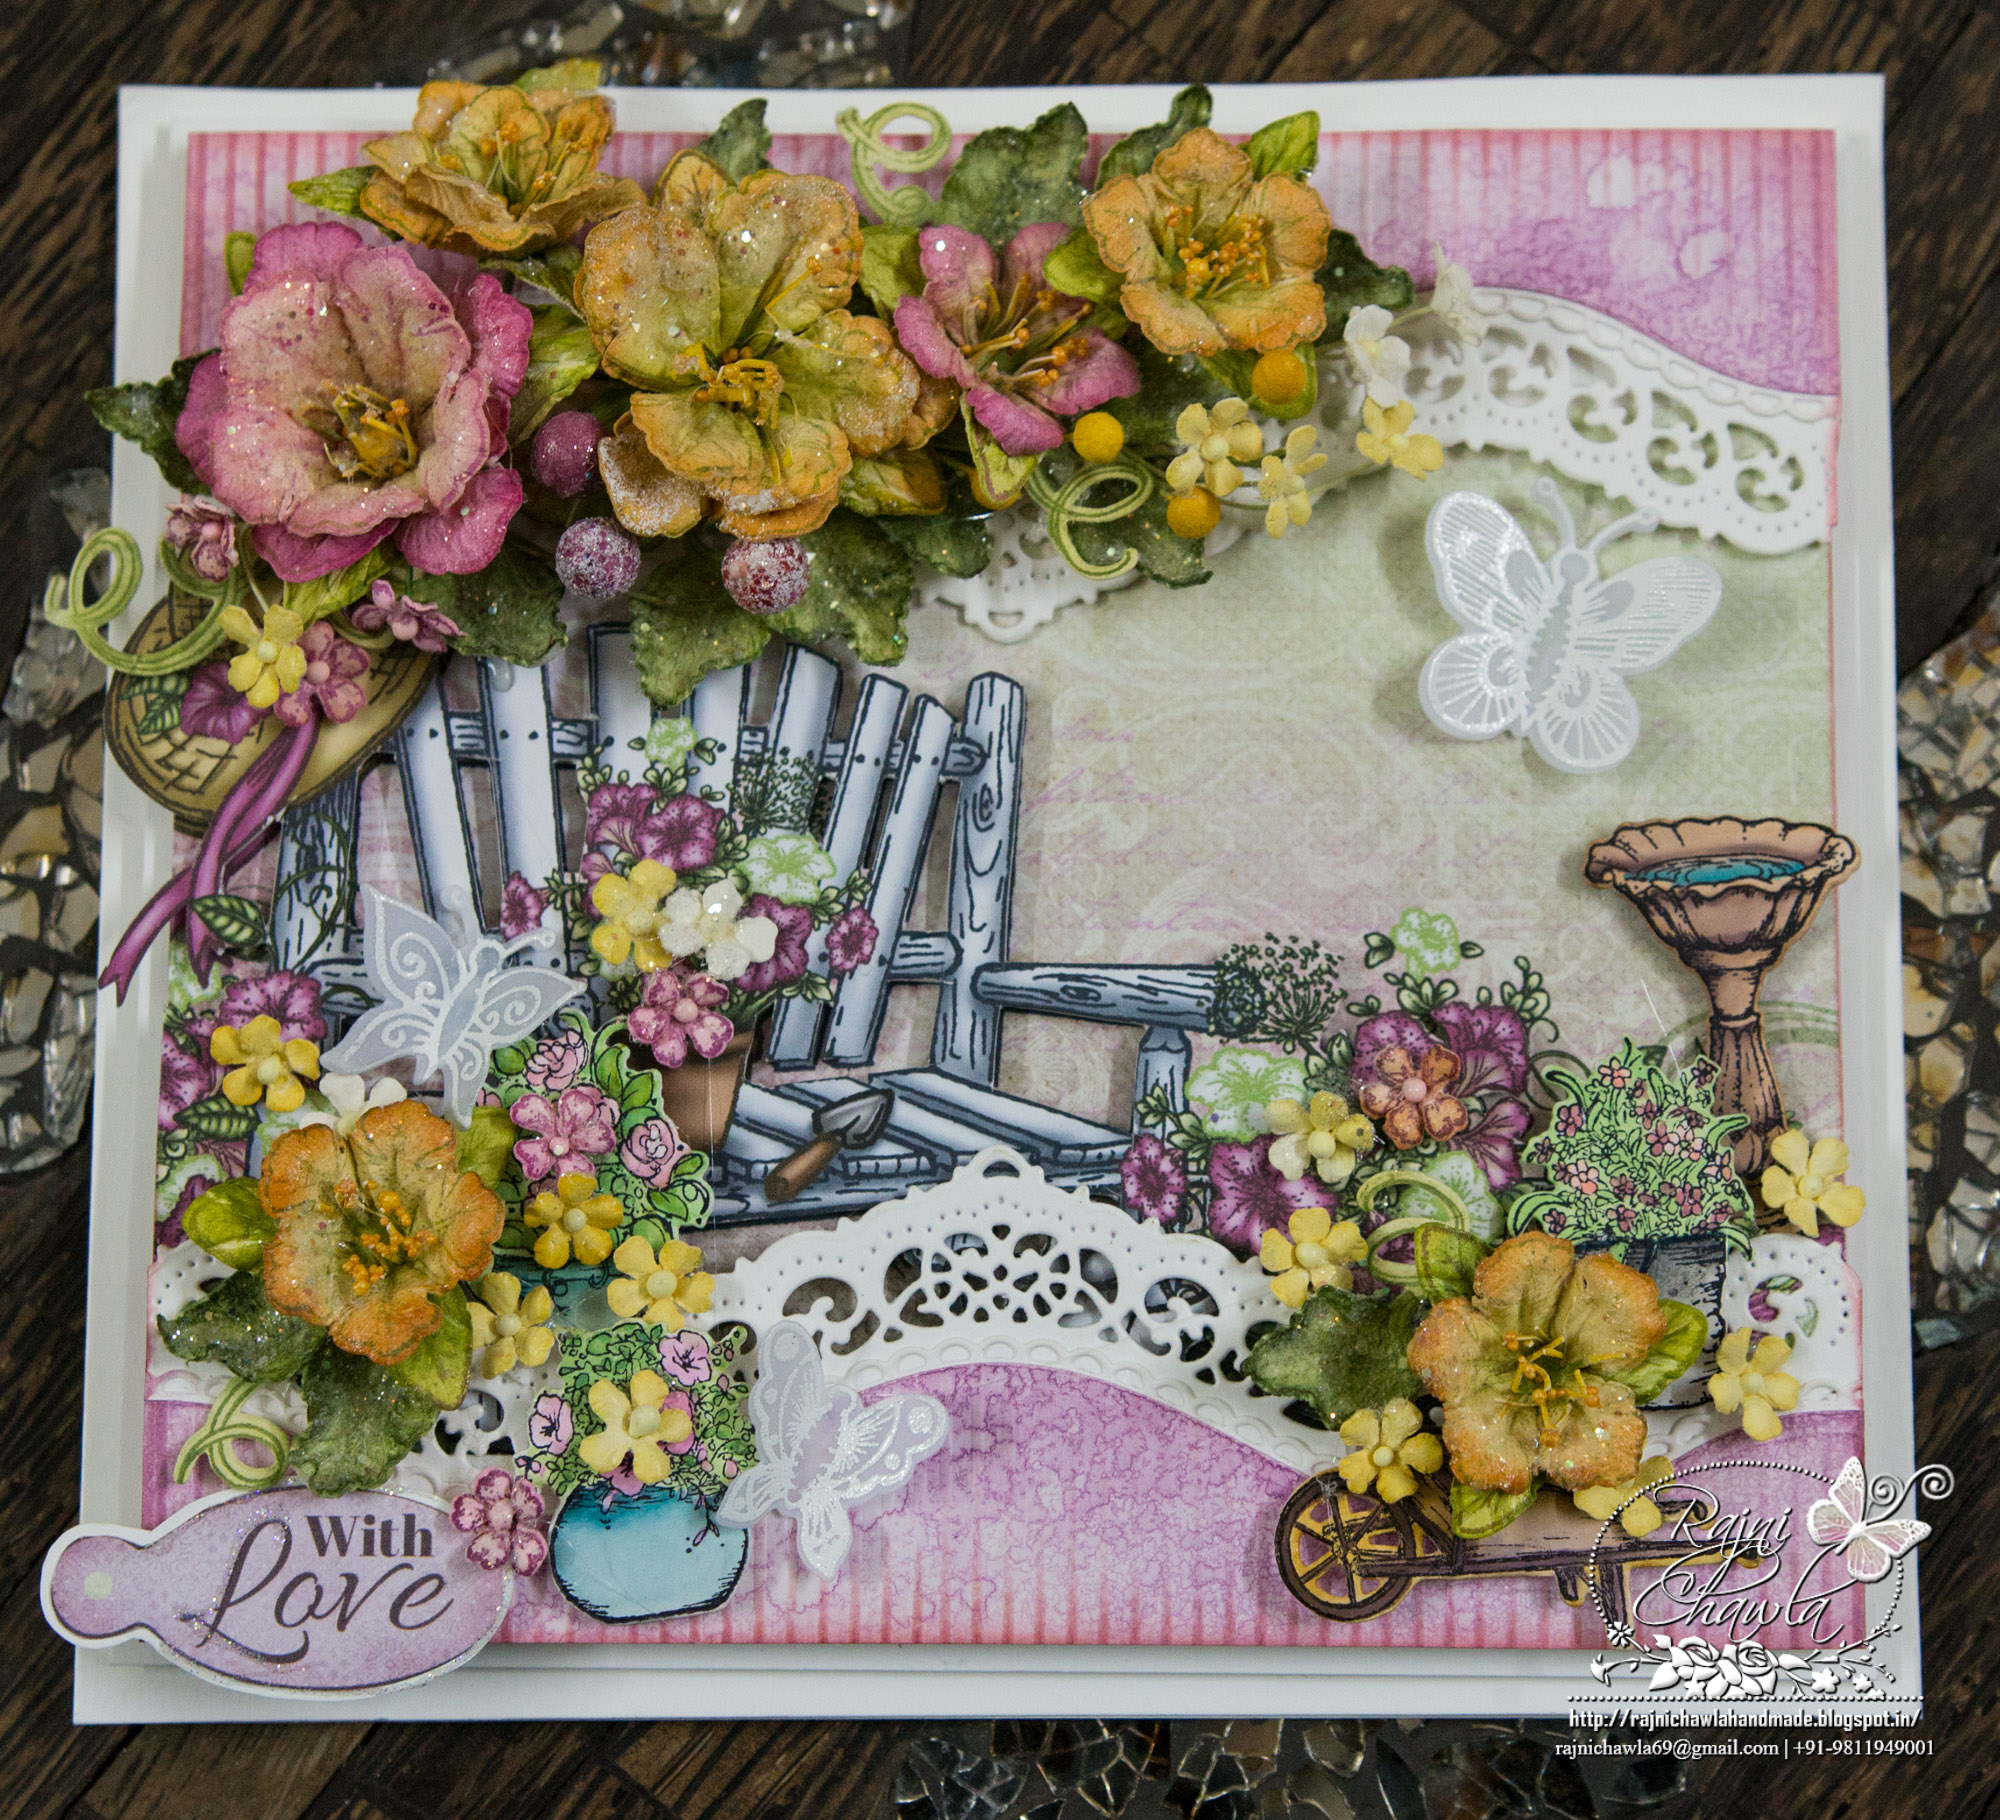
Welcome back again to Heartfelt Creation’s Inspiration Wednesday. Today. I have a summer’s Garden card to share. I took beautifull garden bench with flowers around as the focal image for my card.
Products From Heartfelt Creations:
ColorBox Fluid Chalk Ink Pad – Berrylicious, 71053
ColorBox Fluid Chalk Ink Pad – Harvest, 71082
Deluxe Flower Shaping Kit, HCST1-401
Designer Dries Clear Adhesive, 159723
Metal Tip for Adhesive Bottles, 352854
Butterfly Medley Die, HCD1-759
Butterfly Medley Cling Stamp Set, HCPC-3650
Classic Border Basics Die, HCD1-7119
Wildwood Cottage Accents Die HCD1-7128
Wildwood Cottage Accents Cling Stamp Set HCPC-3772
Wildwood Cottage Darlings Cling Stamp Set HCPC-3770
Wildwood Cottage Darlings Die HCD1-7126
Scor-Pal Measuring & Scoring Board, 173842
Classic Border Basics Die, HCD1-7119
Classic Petunia Bouquet Cling Stamp Set, HCPC-3787
Classic Petunia Bouquet Die, HCD1-7141
Rajni Chawla’s Crystal Clear, PGM15015
Rajni Chawla’s Frosting Powder, PGM15016
Other Products: Smooth white cardstock, Vellum, Archival ink Plum, Black, Coffee, Library Green, Leaf Green and Olive Green, Rock Candy Clear Crackle, paper cutter or Xacto knife, White Heat Embossing Powder, Versamark Ink, Heat gun. Different sized Styrofoam buds, Acrylic paints, double sided tape.
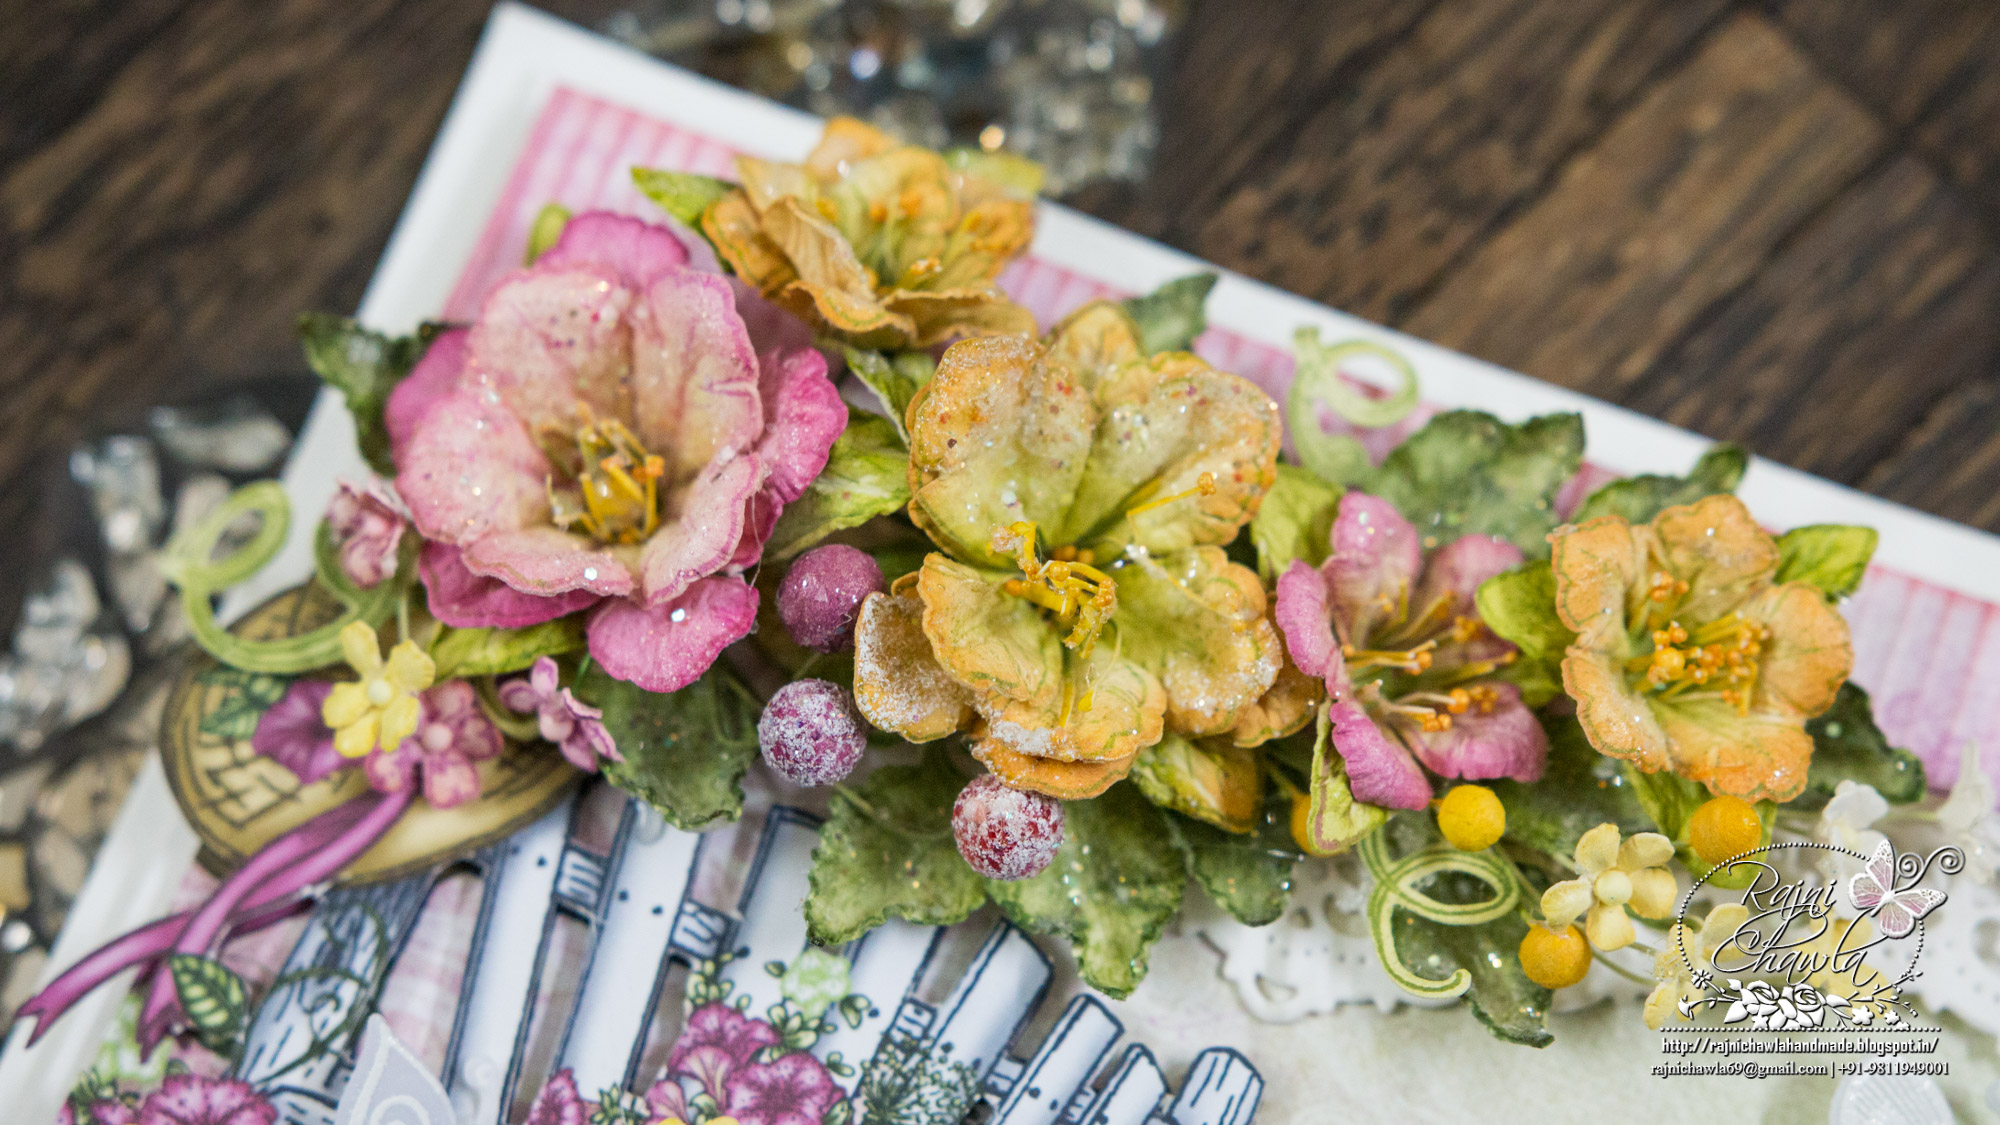
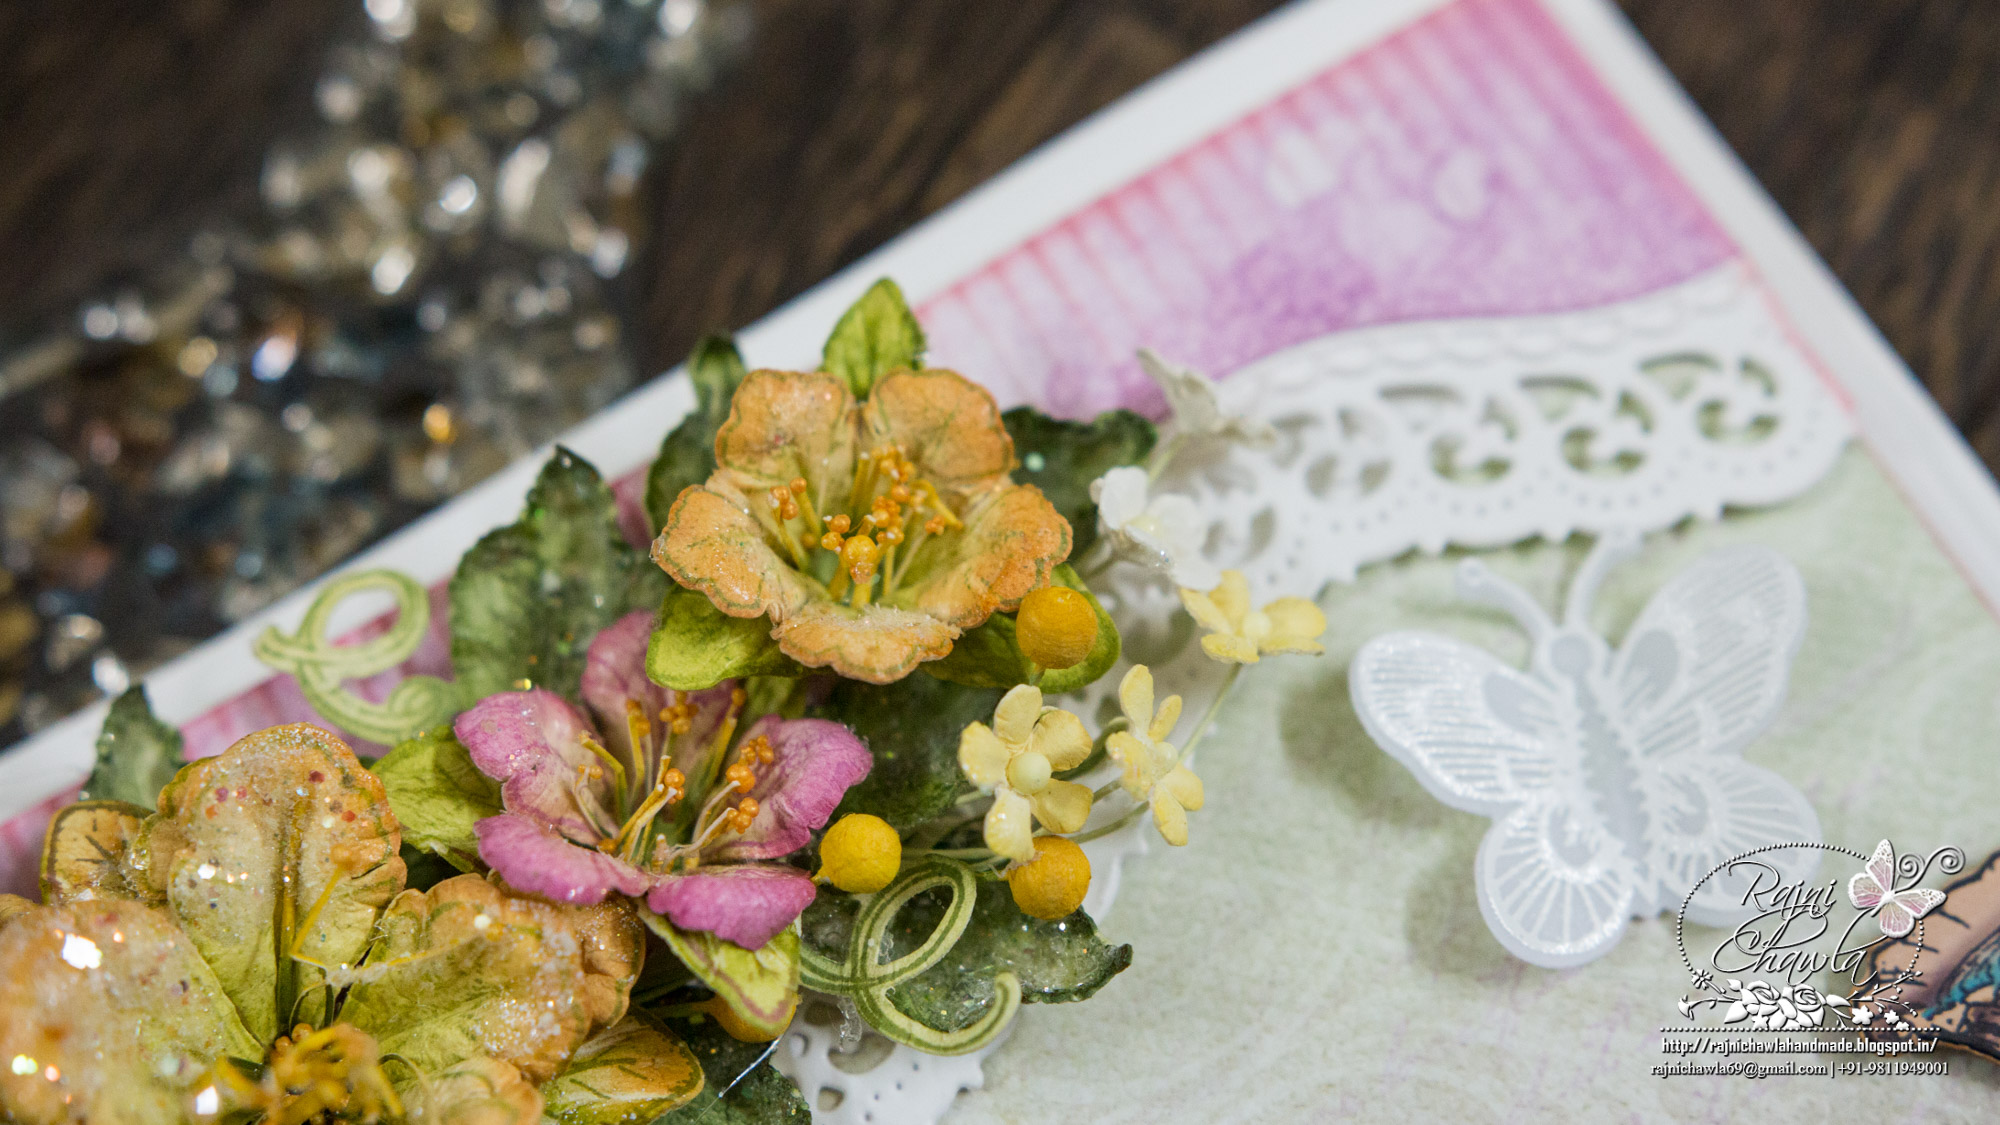
Instructions: For Petunia flowers, stamp and cut the multiple images of various sizes and paint them using Colorbox Harvest and Berrylicious. Shape the flowers on Deluxe flower shaping kit. For shaping of flowers, check Emma Lou’s video. All the flowers and leaves are dressed up with Crystal Clear. The tiniest flowers used on the card are from the Wildwood Cottage Collection. After shaping the flowers, I have added small wired pollen in the center with the glue that dries clear. For berries, I have used various sizes of styrofoam buds, painted them with acrylic paint and then added frosting powder using Distress rock candy clear crackle. Heat a little to get the desired look.
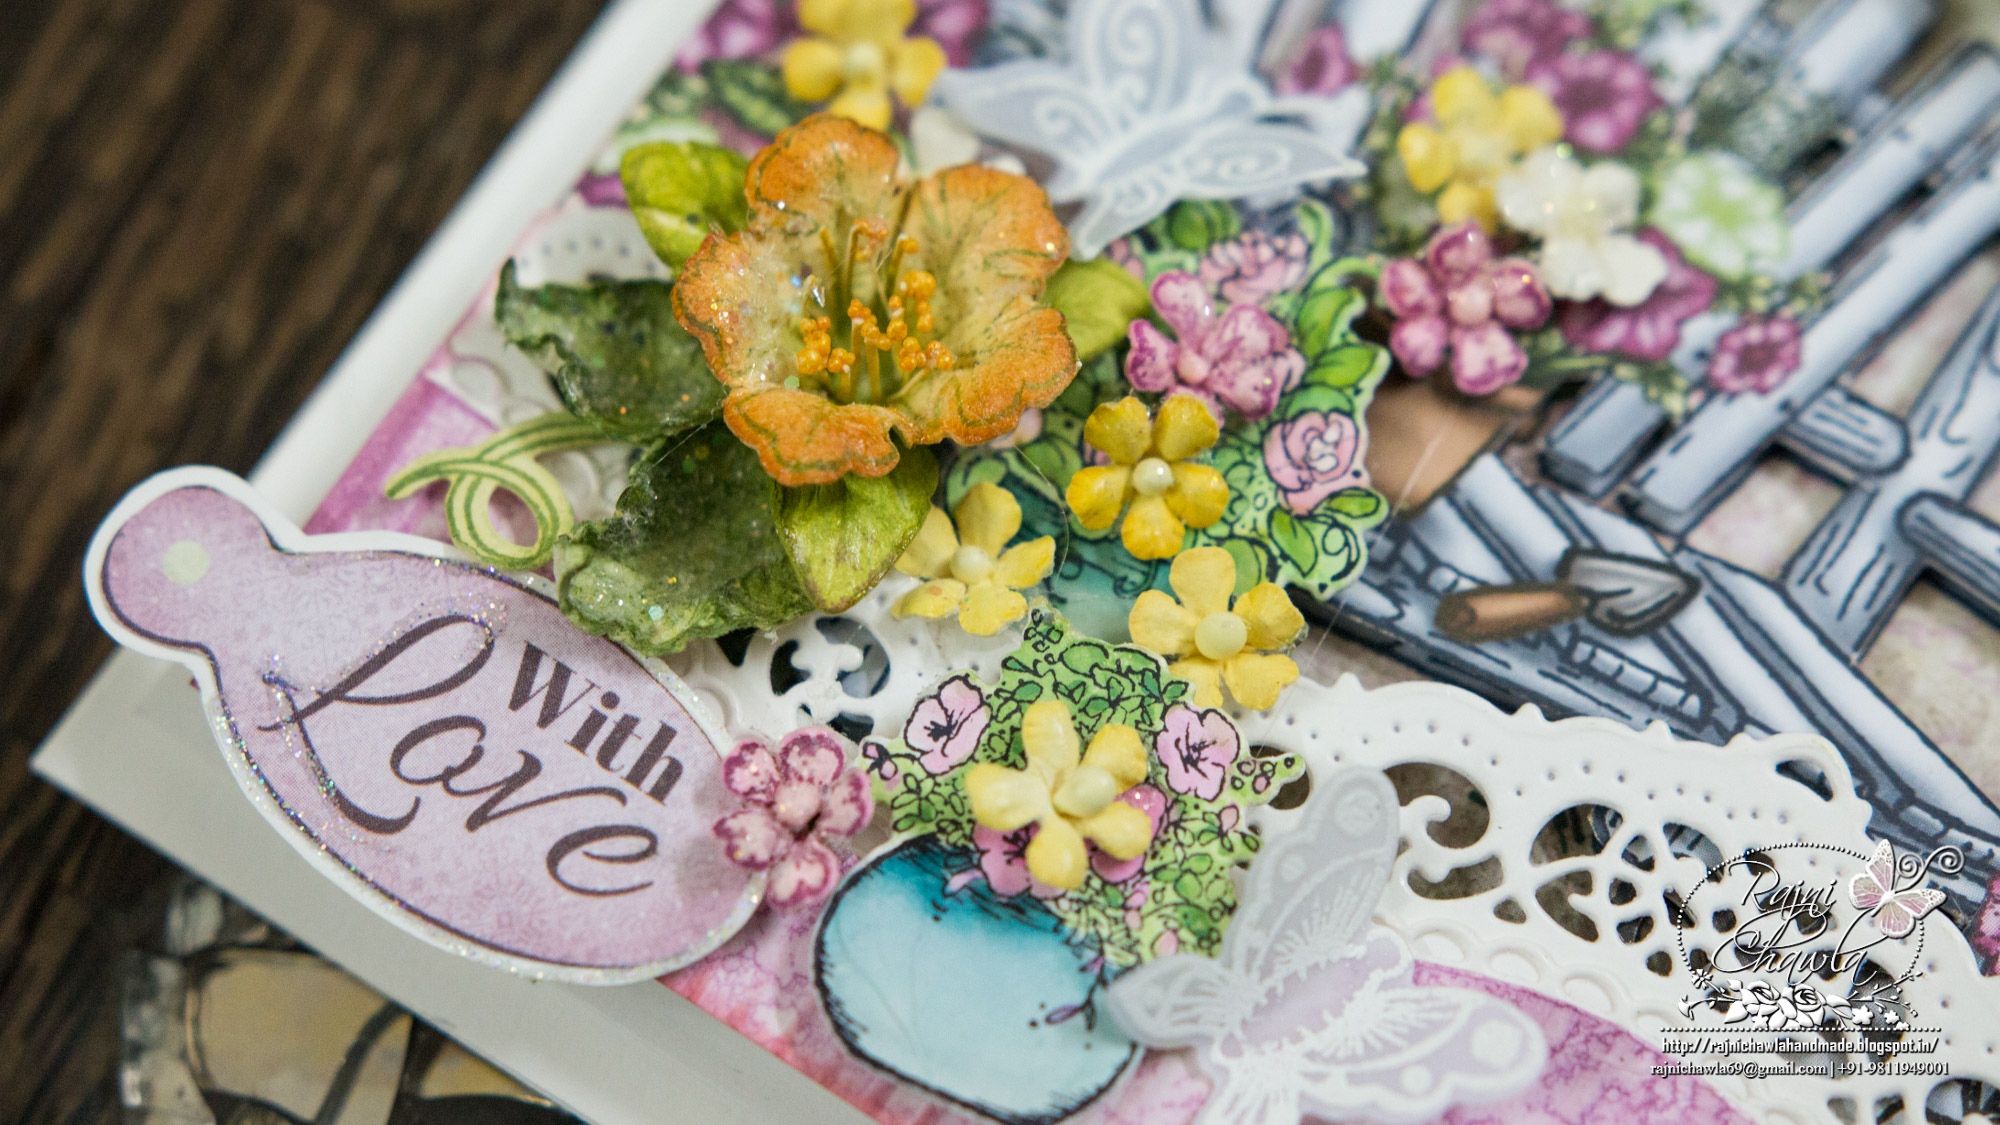
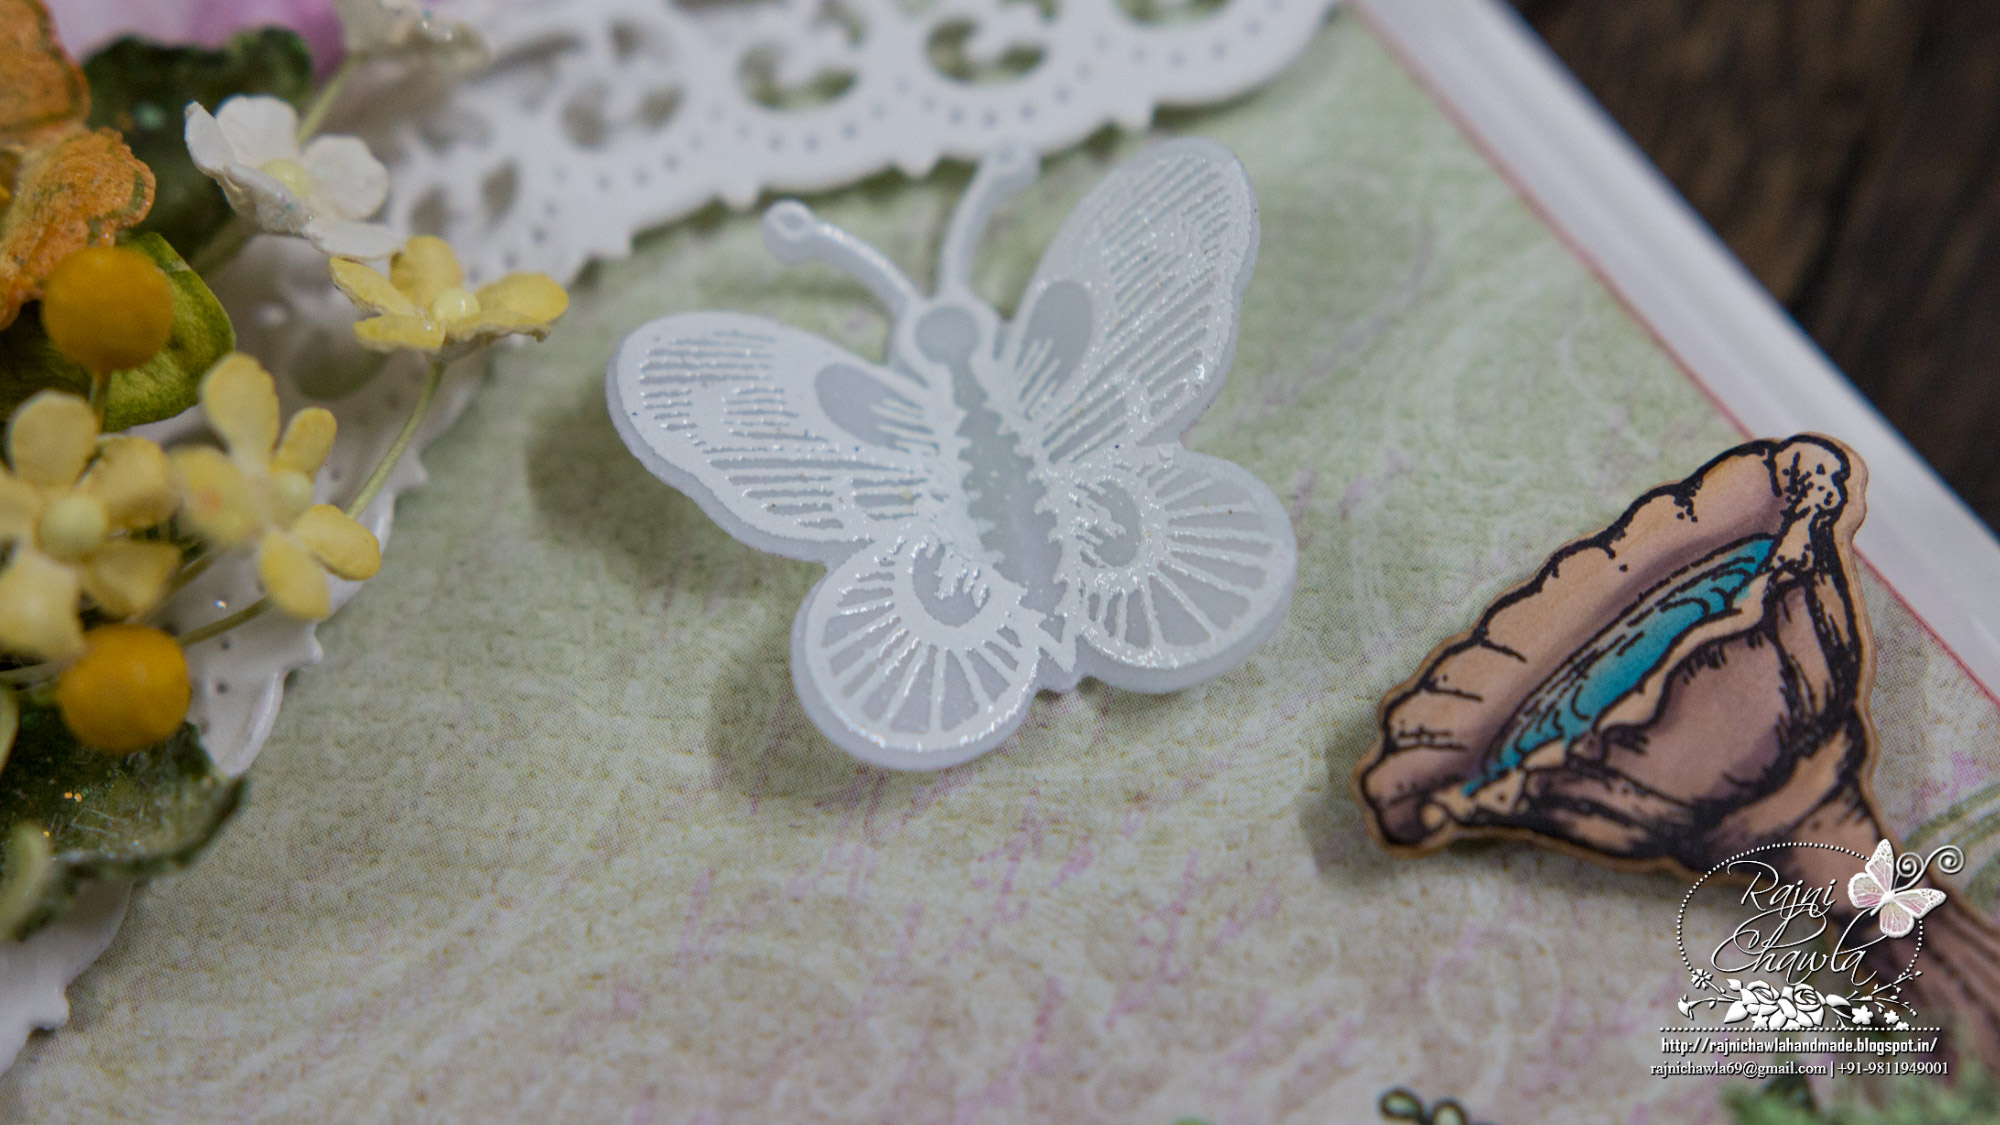
For Butterflies, Stamp the images with Versamark on vellum, sprinkle white heat embossing powder, dust extras, and heat set using the heat tool. Cut the images with coordinating die. The flower pots, cart, and flower vase is stamped with black archival and then painted with Zig Clean Clear markers. Once all the elements are ready, choose a designer paper with bench image and cut it to 6″ by 7 “. Neatly cut the bench image using Xacto knife and keep it aside. Now for the to the base of the card cut white card stock measuring 6″ by 7″ and layer the bench pattern paper on it. Using double sided tape now layer already cut image exactly on the empty space. For the top and bottom lacy border, cut 2 strips of white cardstock, lightly distress it using Picked Raspberry. Cut one edge using Classic Border Basics Die, and add white fancy lace to it. Before adhering the white lace, don’t forget to score the pink distressed panel each time at 1/8″. Adhere the whole top panel first on another white card mat and then to ready top fold, measuring 6 1/2″ by 7 1/2”. Finally, add a sentiment cut out from the same paper collection to finish up the card.

Gorgeous card!! I’m so in love with your coloring and the effects of frosting powder and clear glitter!! Too good mam 🙂
Absolutely Stunning Hugs S xx
Rajni, your creation is simply beautiful but I’m not surprised! I’m always rewarded when I visit your blog. So much beauty; you are truly an inspiration to me!
So much gorgeousness!!!!! I love everything about this one!
As always Rajni, this is ABSOLUTELY GORGEOUS!!! You are so incredibly talented and so generous with sharing your artistry!
Excellent and beautiful card this week!
your garden scene is just beautiful! It makes me want to be right there sitting on that bench!
…as always a beauty…hugs