


Good Morning friends…
Here in India, the temperature is getting higher day by day and days are becoming hotter and restless. I try to keep myself busy in my craft room with full AC on. Past many months I have been working hard creating a variety of cards using my vellum flowers. It’s sooooo much fun creating with vellum. So easy, so delicate and so elegant. For today’s Heartfelt inspiration I have 2 cards to share using Butterfly Dreams Collection and Sweet Peony Collection. The layout is exactly the same…flower stamps and dies used are the same, yet the cards are so different. Intricate Swirl Die if cut twice creates a beautiful doily and makes the floral arrangement on the card stand out well. So let’s get started and have some more fun creating few more spring cards.
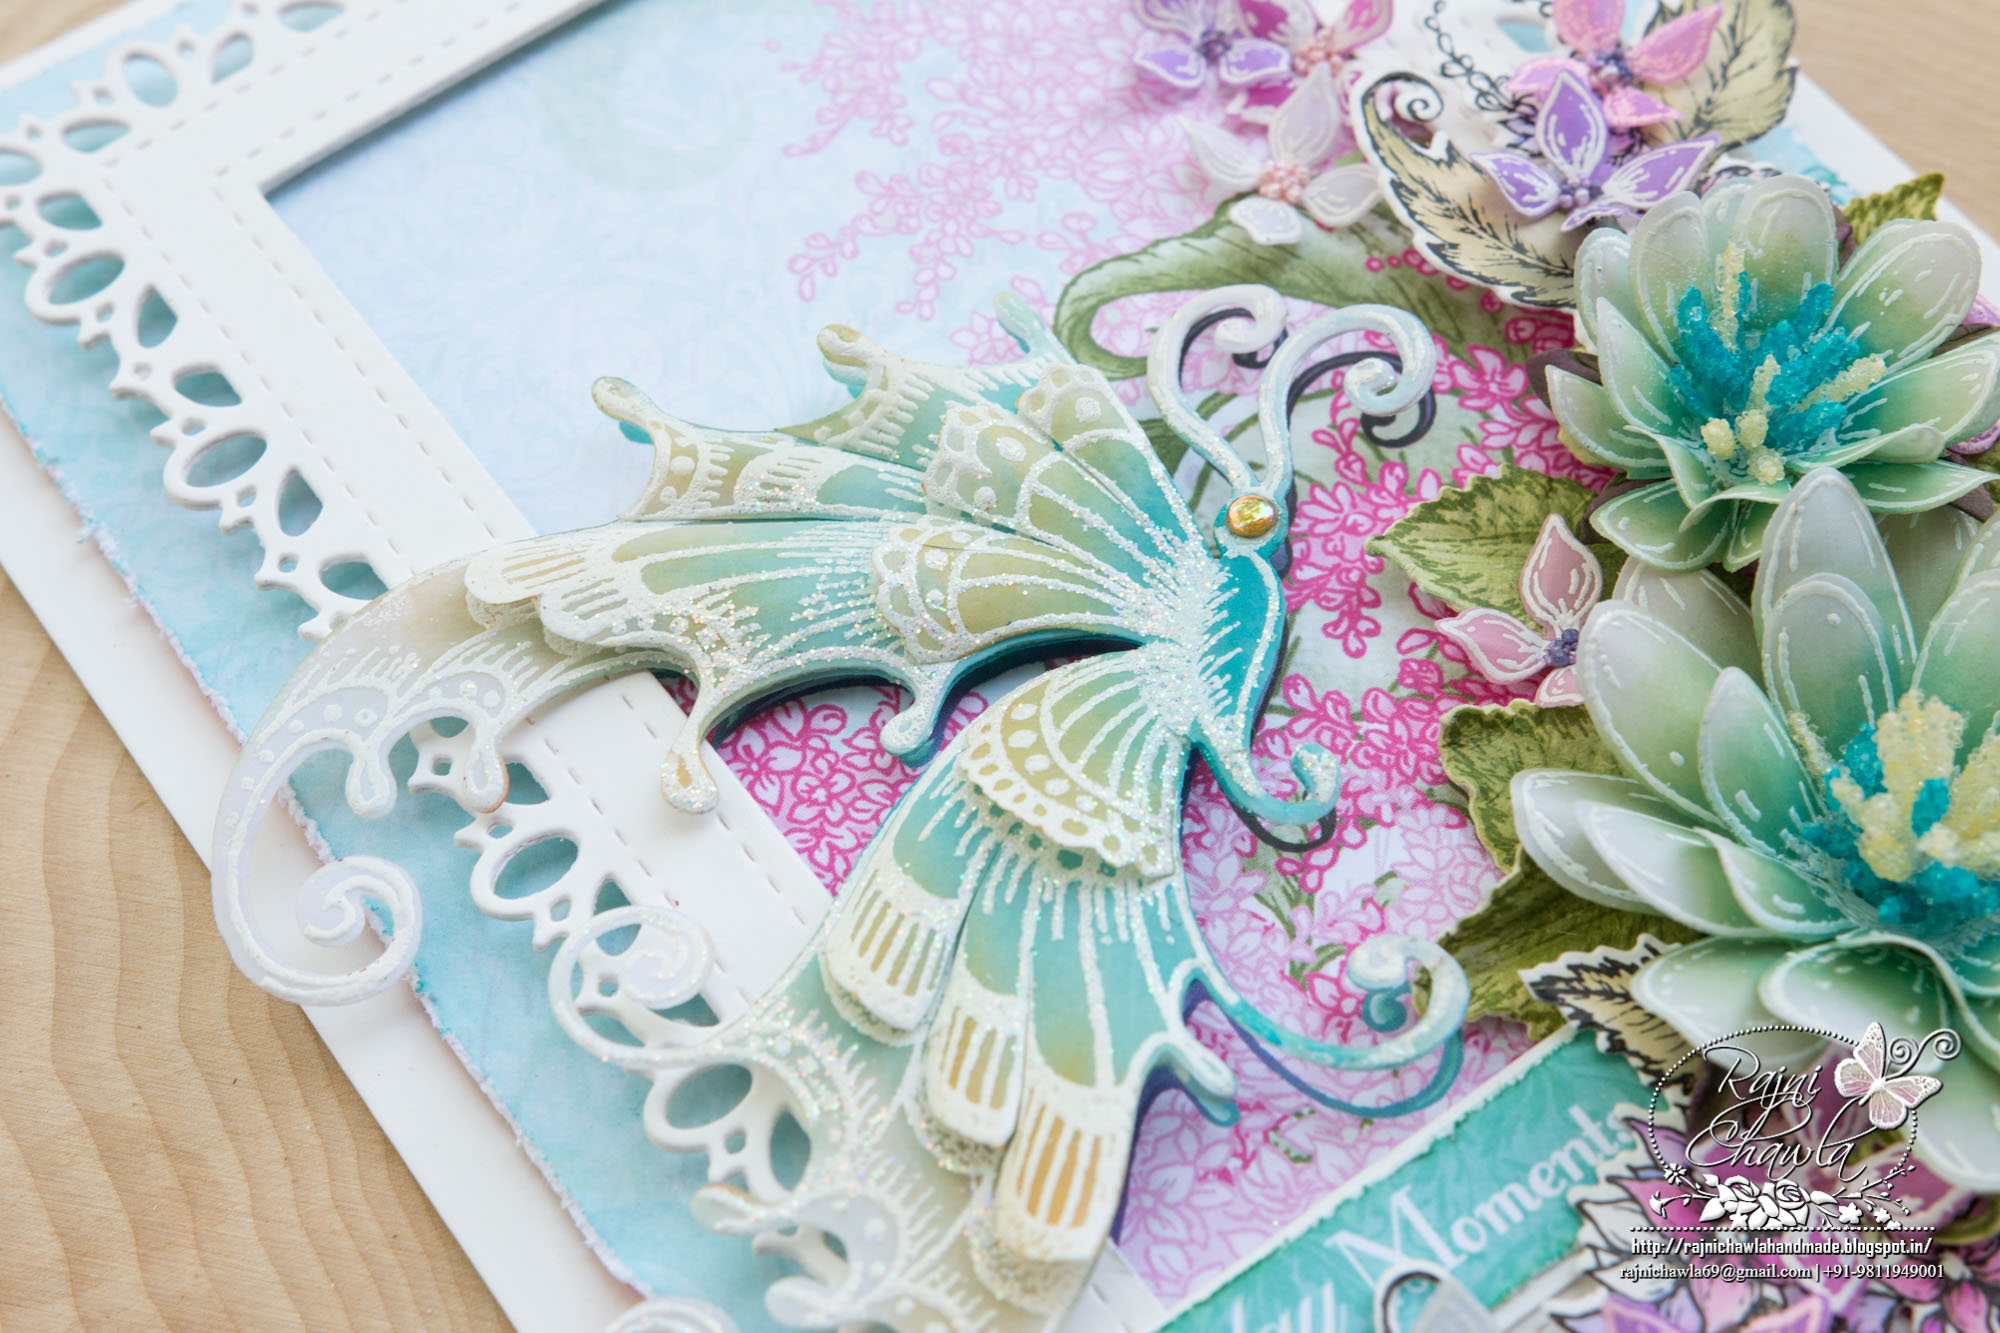
Card 1: Hello Spring

 Products From Heartfelt Creations:
HCD2-7191 Intricate Swirl Frames Die
HCD1-7178 Fluttering Butterfly Die
HCPC-3824 Fluttering Butterfly Cling Stamp Set
HCD1-7177 Butterfly Dreams Border Die
HCPC-3823 Butterfly Dreams Border Cling Stamp Set
HCDP1-289 Butterfly Dreams Paper Collection
HCD1-7174 Large Sweet Peony Die
HCPC-3820 Large Sweet Peony Cling Stamp Set
HCD1-7110 Classic Rose Die
HCPC-3752 Classic Rose Cling Stamp Set
HCD1-7125 Wildwood Florals Die
HCD1-745 Luggage and Tags Die
RACP436 Ranger Archival Ink Pad – Leaf Green
RACP962 Ranger Archival Ink Pad – Fern Green
HCS1-459-4 Rock Candy Stamens-Small
RAHT Heat It Craft Tool
HCDA2-450 Stack and Store Daubers-Pack of 30
359503 Funnel Tray
RPEJ685 Embossing Powder – White
Other Products Used: Papericious Vellum, Twinkling Spark, Papericious Twinkling Spark, Natural color twine, Copper Colored Metallic Cardstock, Oxide inks fossilized amber, Seedless Preserves., Hero Arts White Ink.
Videos Referred: For more tips on creating with the Sweet Peony collection, watch the tutorial Here
For more tips on creating with the Butterfly Dreams collection, watch the tutorial Here
For more tips on creating with the Frame a Card Leafy Borders, watch the tutorial Here
instructions: The ready side -fold card measures, 6″ by 8″. Cut and layer a piece of copper colored cardstock measuring 51/2″ by 71/2″ on the card base.
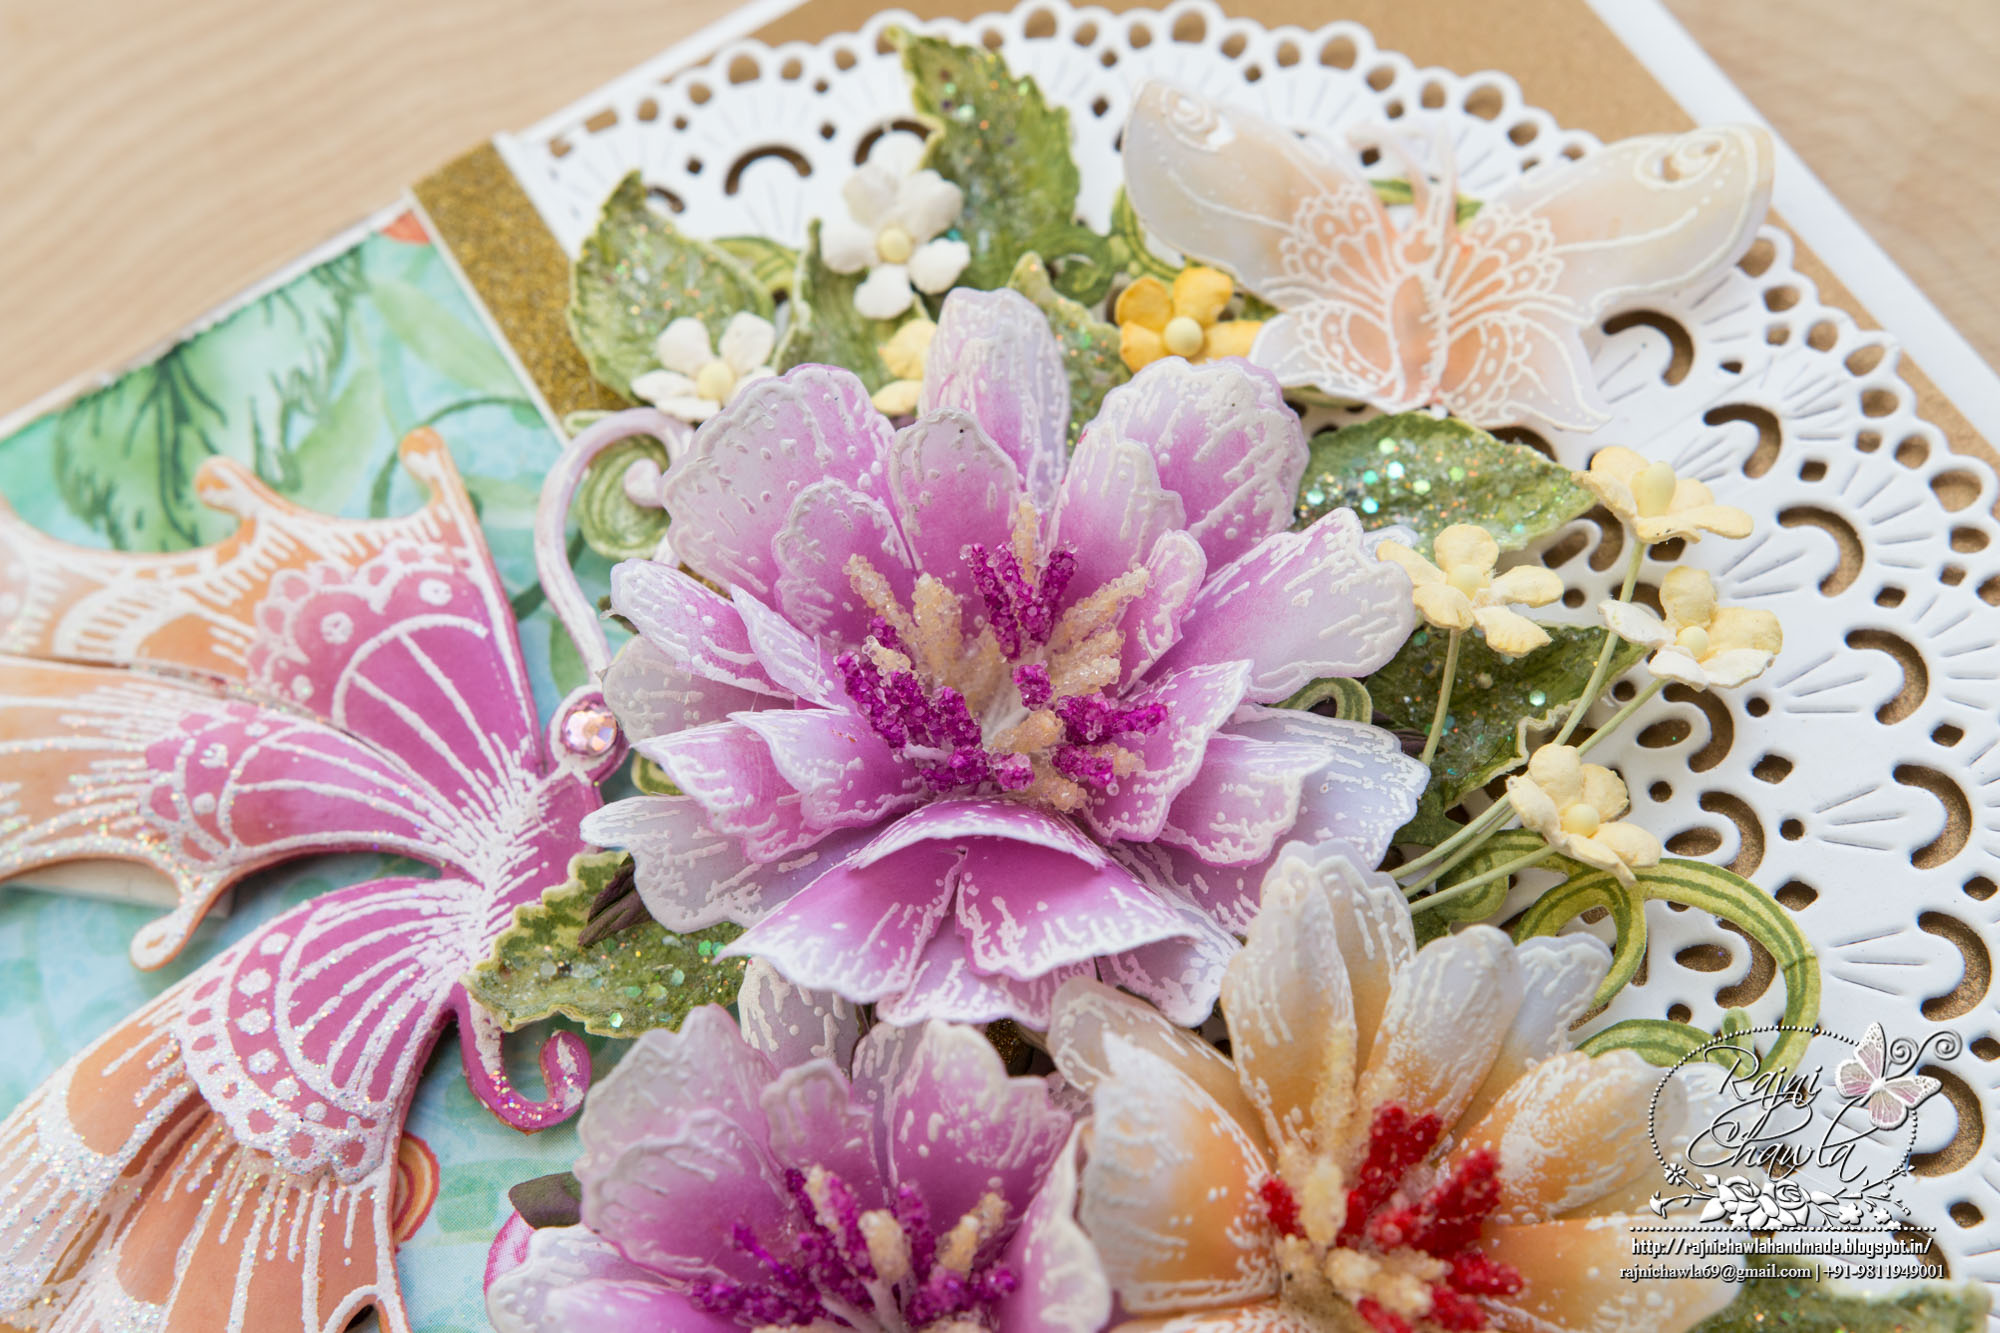
To create the topmost layer, choose a paper from the designer paper collection and cut a piece measuring 5″ by 51/2″. To the longer edge adhere a half doily cut from the white cardstock using Intricate Swirl Frames Die.
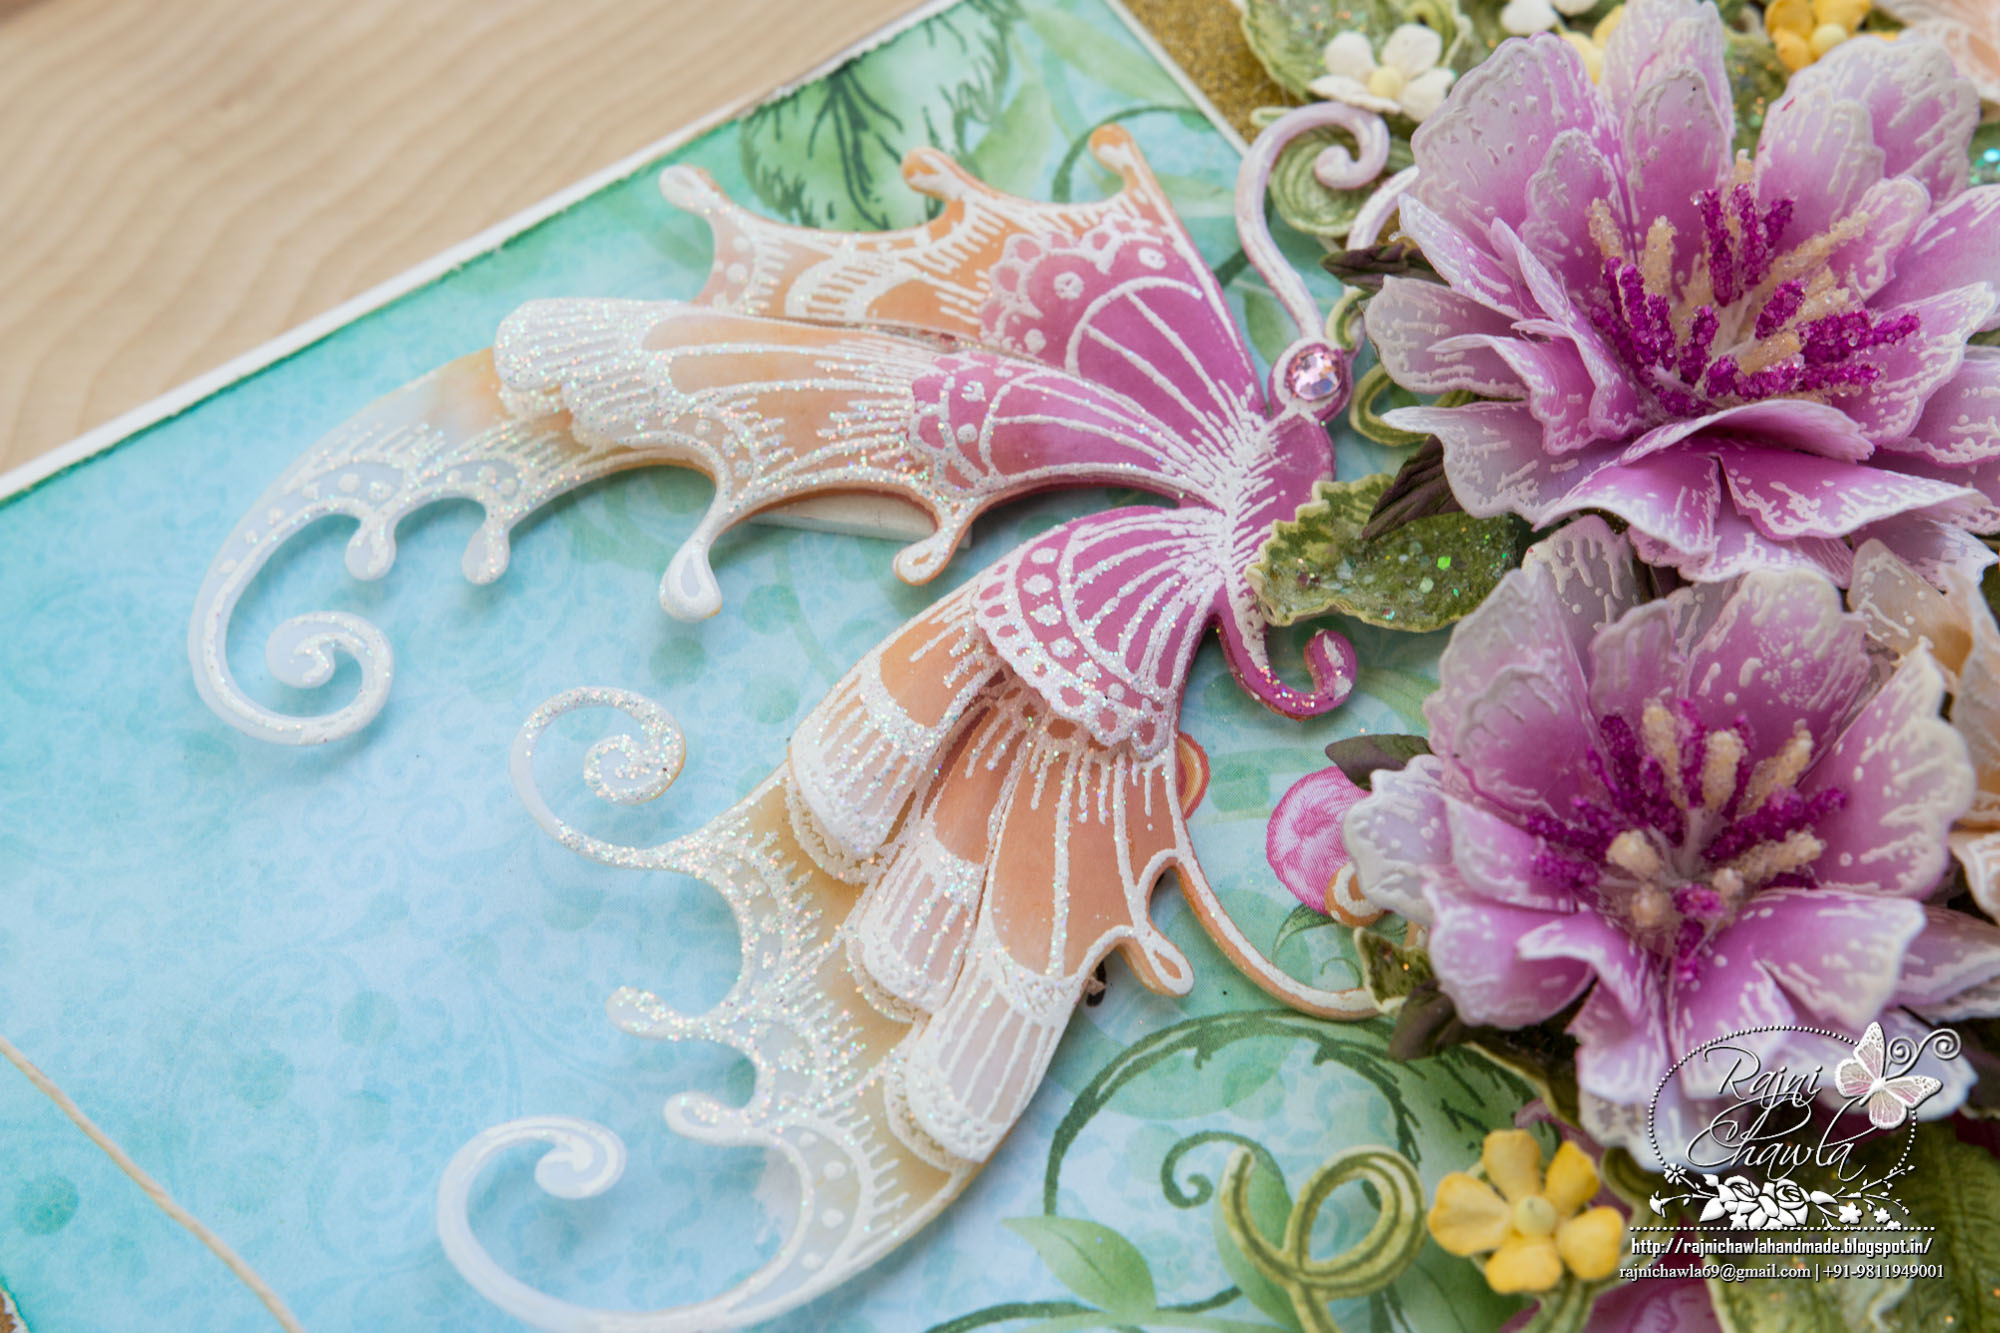
To create Vellum Peonies, stamp the images of large and small peonies from the Sweet Peony stamp set with Hero Arts White ink on Vellum and heat emboss with white heat embossing powder. Cut the flowers with it’s coordinating die. You will need 2 large and one medium flower petal to create one bigger peony and 3 medium sized flower petals to create one small peony. Color the images with Seedless Preserves oxides for pink flowers and fossilized amber for Yellow Flower. Glue the layers with Aleen’s Fast Grab Glue and set it aside for a minute. Prick a hole in the center of the flowers. Take 10-12 mix color rock candy stamens, hold them in the center and wind a thread wire around the center of the stamens. Hold them tight and screw the wire and pass the bunch through the whole. Glue them tight using hot glue. Cut the threads of the stamens at the back and add a green color sepal made using Classic Sunflower Die on the back of the flower.
For Butterfly, white heat set three butterfly images on vellum and cut 2 layers as shown. Color the butterflies using Seedless Preserves and Fossilized Amber oxide inks. Shape the top 2 layers and glue all the layers together. Add some Swarovski for extra interest. Heat the ready butterfly with a heat gun and without wasting time sprinkle Twinkling Spark Glitter. Dust extras and heat set it again. It will make glitter stick to the details of the butterfly.
For Leaves, Stan\mp the images of leaves from Classic Rose stamp, cut them using its coordinating die and paint them using Leaf Green and Olive Green Archival Inks. Shape them using Deluxe flower shaping tool and add Crystal Clear using an adhesive that dries clear.
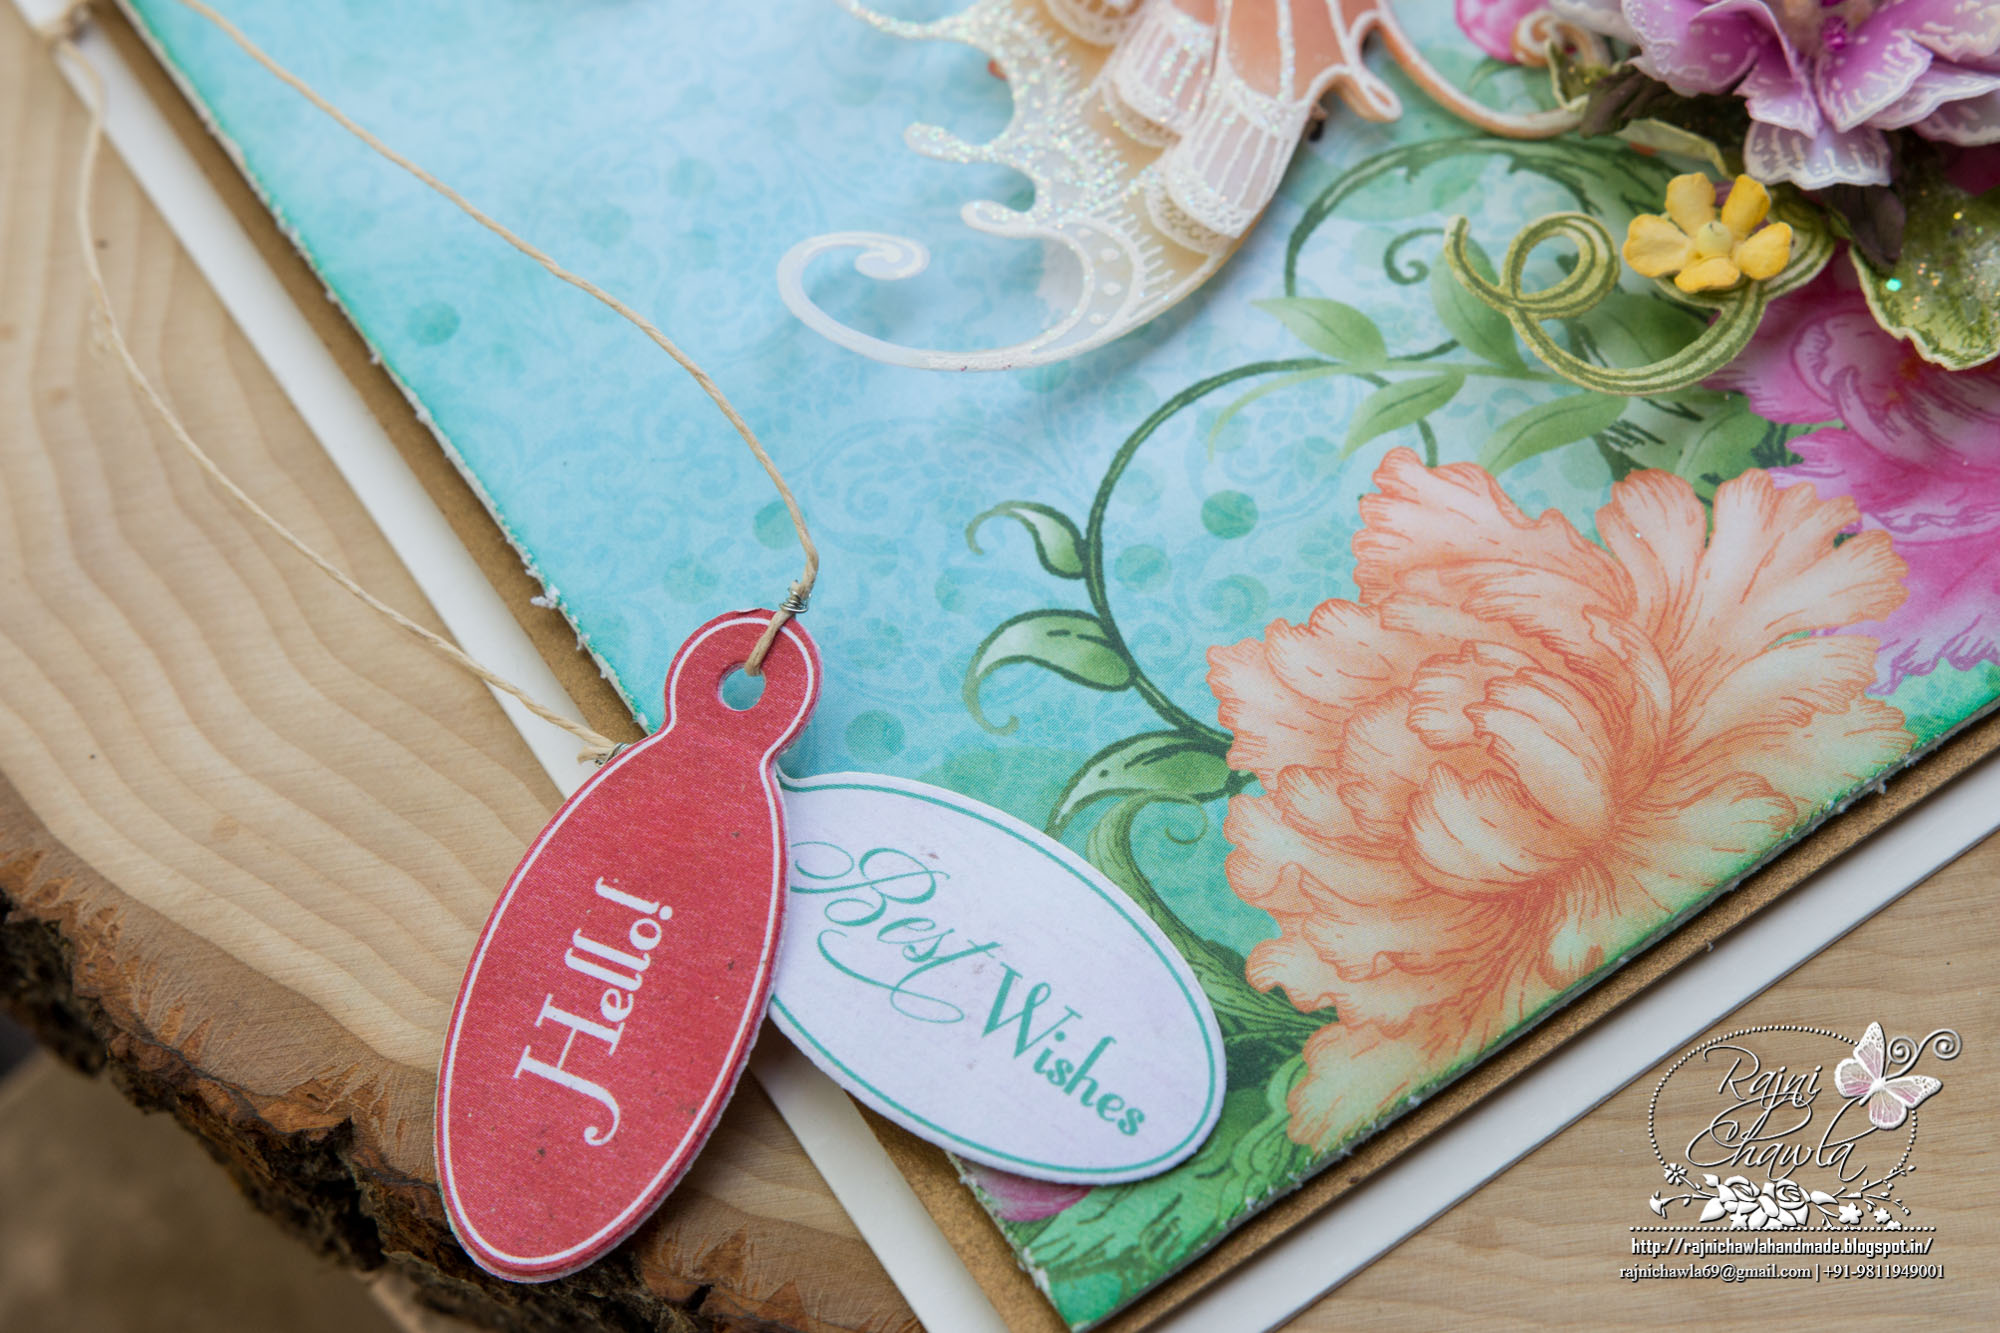
For the sentiments, cit the tags from the designer paper collection, using Luggage and Tag die. Hang the tags on the side of the panel using Papericious Natural color twine. Once all the elements are ready, decorate the card by creating a bouquet on the right side, as shown and adhere the ready butterfly.
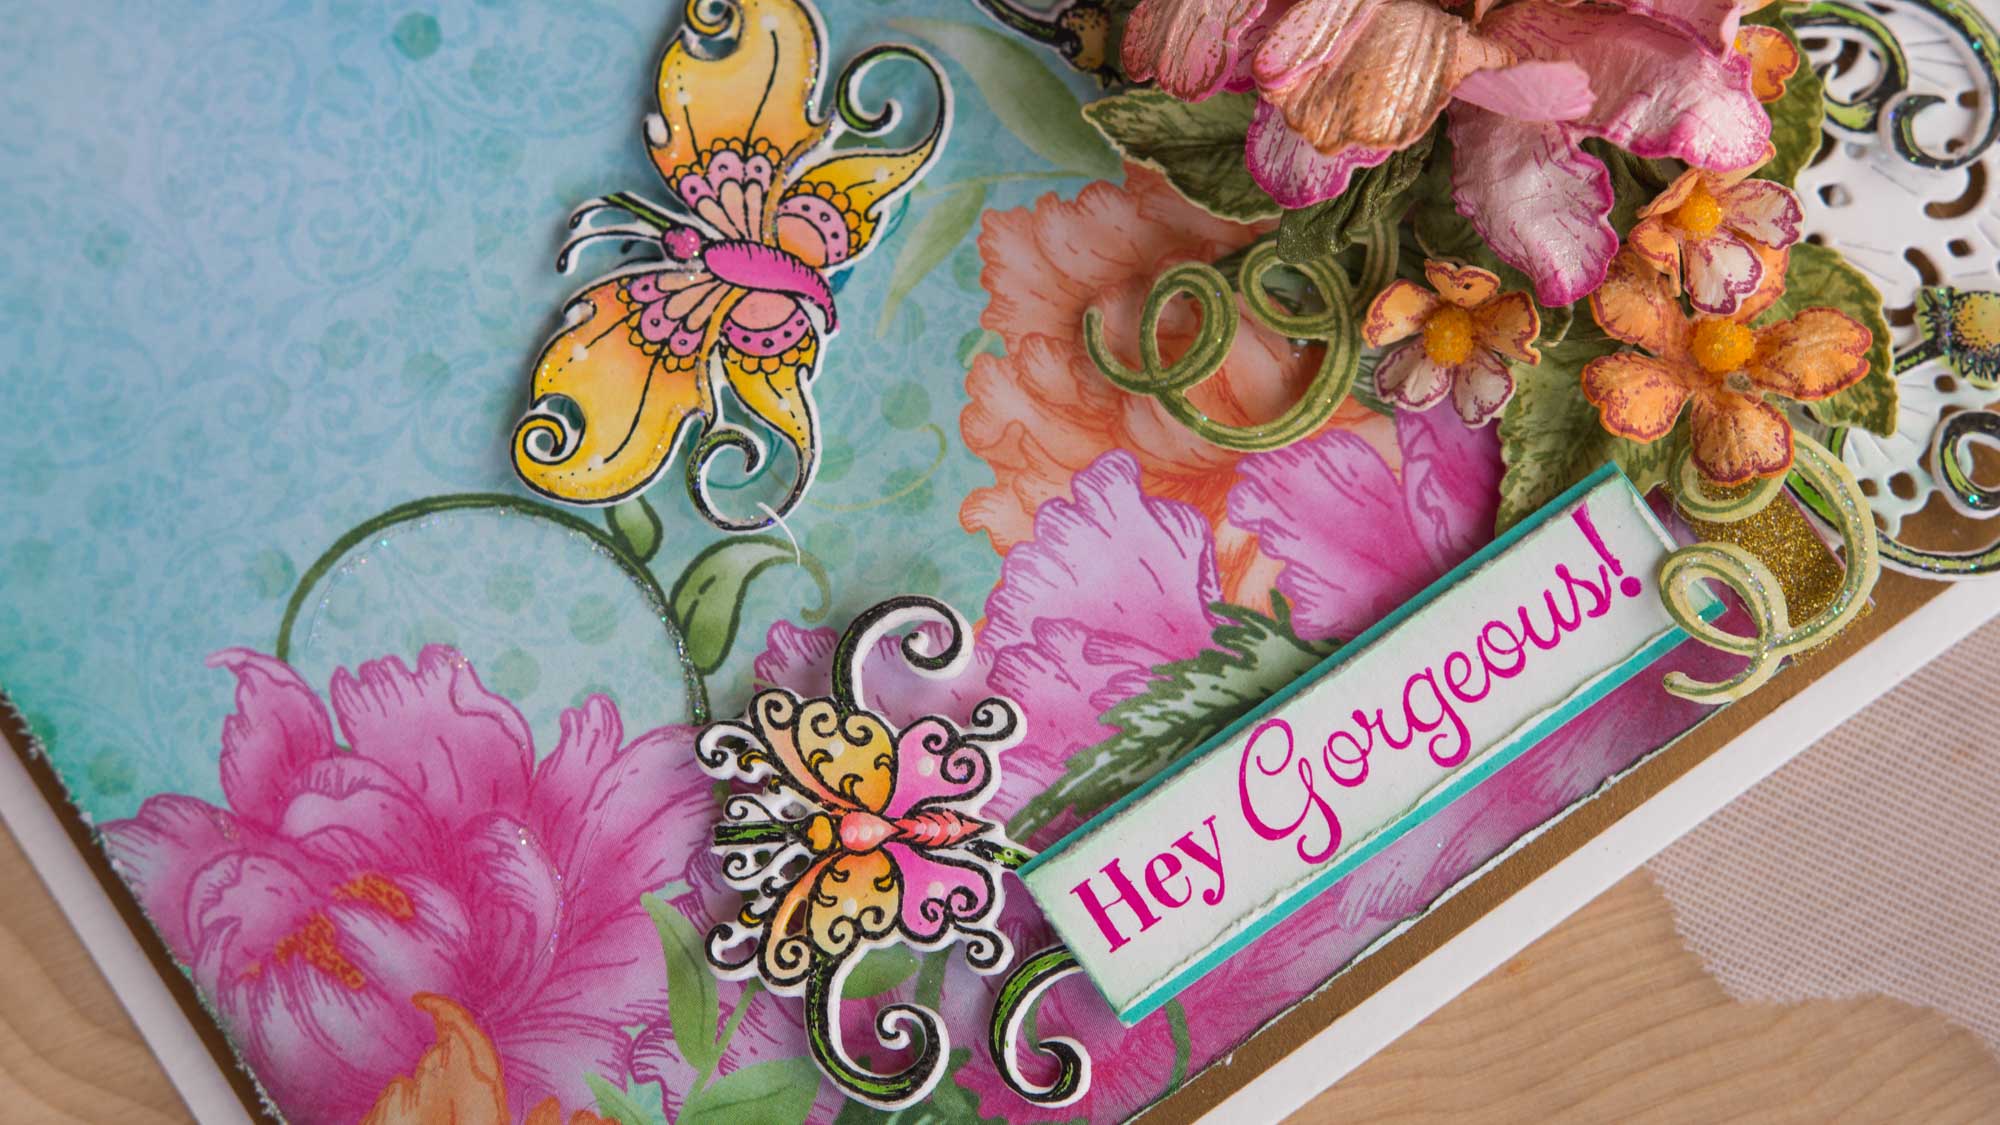
Card2: Hey Gorgeous

Products from Heartfelt Creations:
HCD2-7191 Intricate Swirl Frames Die
HCPC-3823 Butterfly Dreams Border Cling Stamp Set
HCD1-7177 Butterfly Dreams Border Die
HCPC-3823 Butterfly Dreams Border Cling Stamp Set
HCDP1-289 Butterfly Dreams Paper Collection
HCD1-7174 Large Sweet Peony Die
HCPC-3820 Large Sweet Peony Cling Stamp Set
HCD1-7110 Classic Rose Die
HCPC-3752 Classic Rose Cling Stamp Set
HCD1-7125 Wildwood Florals Die
HCPC-3804 Heartfelt Love Sentiments Cling Stamp Set
PGM15015 Rajni Chawla’s Crystal Clear
RACP436 Ranger Archival Ink Pad – Leaf Green
RACP962 Ranger Archival Ink Pad – Fern Green
HCS1-459-4 Rock Candy Stamens-Small
RAHT Heat It Craft Tool
HCDA2-450 Stack and Store Daubers-Pack of 30
359503 Funnel Tray
RPEJ685 Embossing Powder – White
Other Products Used: Smooth White Cardstock, Copper Colored Metallic Cardstock, Zig Markers.
Videos Referred: For more tips on creating with the Sweet Peony collection, watch the tutorial at https://youtu.be/L9_MLkvpGPQ.
For more tips on creating with the Butterfly Dreams collection, watch the tutorial at https://youtu.be/uCKKJfAQFHA.
For more tips on creating with the Frame a Card Leafy Borders, watch the tutorial at https://youtu.be/K_1152Kd2Ls.
Instructions: The ready side -fold card measures, 6″ by 8″. Cut and layer a piece of copper colored cardstock measuring 51/2″ by 71/2″ on the card base.
To create the topmost layer, choose a paper from the designer paper collection and cut a piece measuring 5″ by 51/2″. To the longer edge adhere a half doily cut from the white cardstock using Intricate Swirl Frames Die.
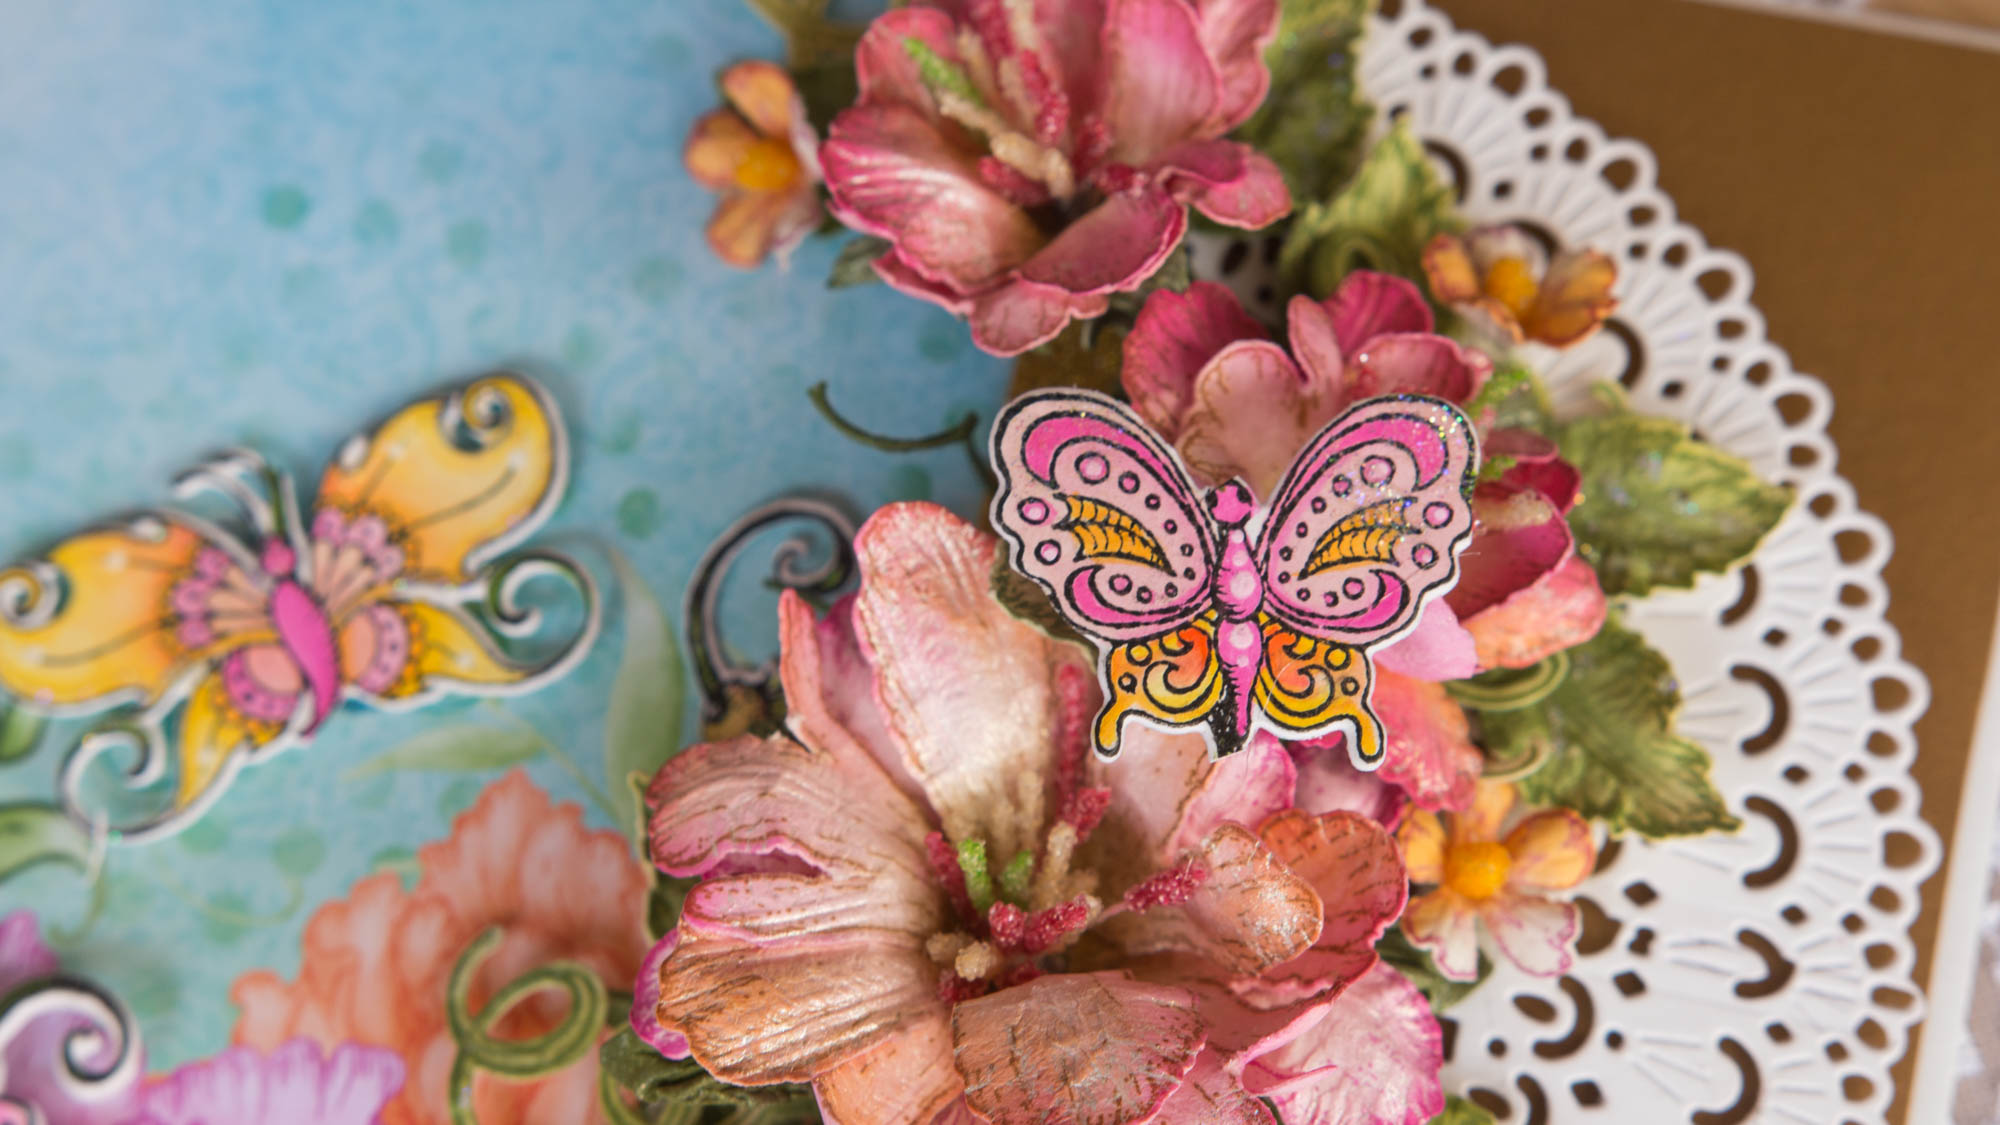
Flowers: Stamp second large and third large images of peonies using archival ink, Plum. Cut them using their coordinating dies. Color the flower centers with leaf green. Also, color the flower petals with Rose Madder and highlight the edges with Magenta Hue. Also, color the back side of the petals. Shape the flowers using Deluxe Flower Shaping Kit. Glue 2 petals each and press the center with a smaller ball tool. Prick a hole in the center and add a bunch of beaded thread stamens. Create 1 big, and 2 small flowers.
Leaves: Stamp bunch of leaves from Classic Rose stamp using archival, Library Green and cut the images with it’s coordinating die. Color them using Leaf Green and Olive Green archival inks. Shape them using Deluxe Flower Shaping Kit. Also, stamp, cut, paint and shape foliage from Simply Classic stamp and die set.
Filler Flowers: For filler flowers, stamp, cut, paint and shape few smallest flowers from Wildwood Floral Collection I have used Magenta Hue and Rose Madar Archival inks to paint these flowers.
For Butterflies: Stamp an image from Butterfly Border Stamp set with black archival ink, cut them using it’s coordinating die and color the image using Zig Clean Clear Markers. Cut and separate all the butterflies and adhere them as shown.Create a bouquet of flowers and complete the card by adding a sentiment from Heartfelt Love Sentiment Stamp Set.
Gorgeous cards Rajni! Your talent is unlimited! ❤️
These vellum flowers and your stamen are just gorgeous my friend!! I LOVE all your cards!