Hello, crafty friends…
Happy Wednesday. It’s inspiration Wednesday, today and I have this beautiful special wishes card to share.
Supplies from Heartfelt Creations:
HCD1-7248 Regal Frame & Accents Die
HCD1-7263 Swirly Accent Spray Die
HCD2-7307 Royal Elegance Frames Die
HCD1-7341 Delightful Daffodil & Butterfly Die
HCDP1-2124 Delightful Daffodil Paper Collection
HCPC-3943 Delightful Daffodil & Butterfly Cling Stamp Set
478594 Zig Clean Color Real Brush Markers – 48 Pack
RACP468 Ranger Archival Ink Pad – Jet Black
HCGP1-488 Luxe Gold Cardstock
HCPC-3847 Celebrate Love Sentiments Cling Stamp Set
RACP962 Ranger Archival Ink Pad – Fern Green
Other Supplies Needed: Score Board, Bone Folder, Foam Dots, Die Cutting Machine, Scissors, Adhesive that dries clear
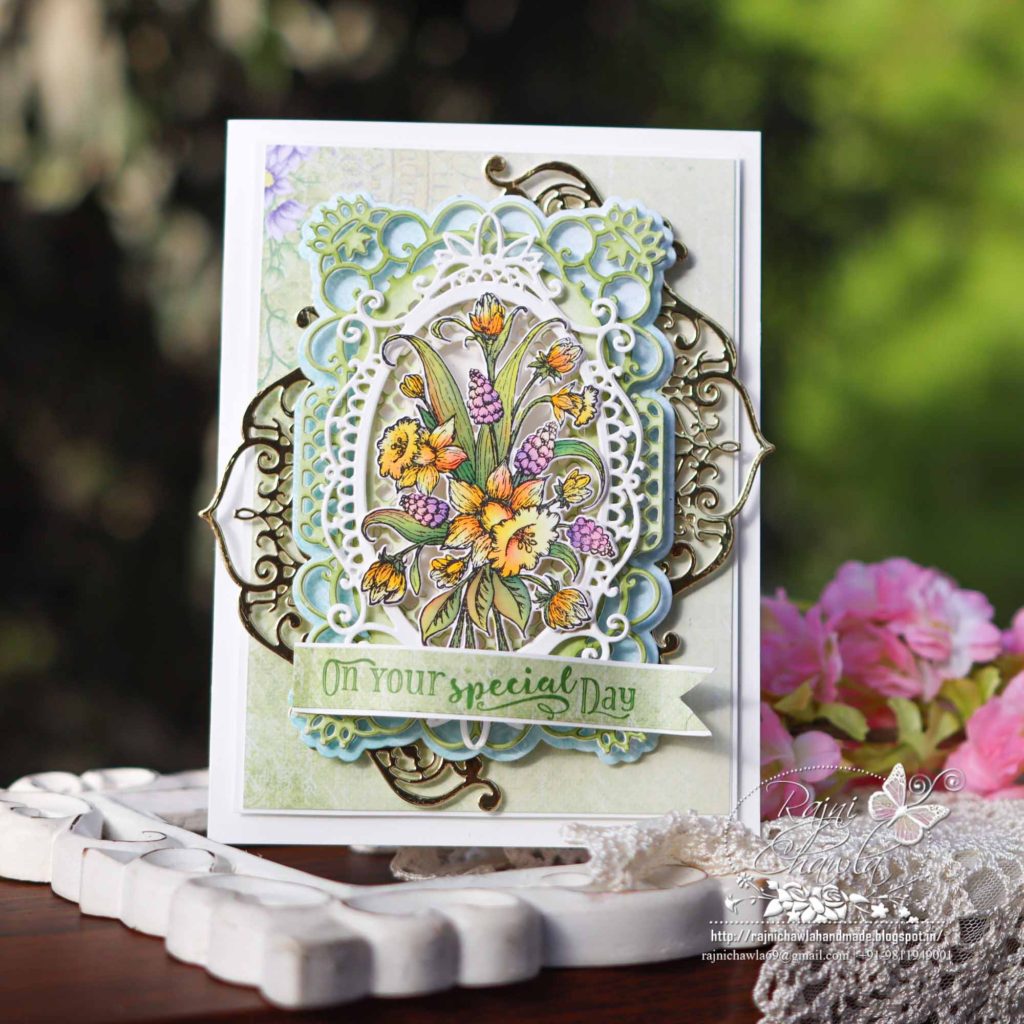
Instructions: The ready top fold card measures 8″ X 6″. To create the card base cut two pieces measuring 8″ X6″ and 8 1/2″ by 6″. Score the 8 1/2″ side at 1/2″ and crease. Glue the other cut piece on top creating a top fold card.
To create the front panel, choose a pattern paper from the designer paper, Delightful Daffodil Paper Collection, and cut to size measuring 7 1/2″ X 5 1/2″ and glue it on the white cardstock making a border of 1/16″ on all the sides.
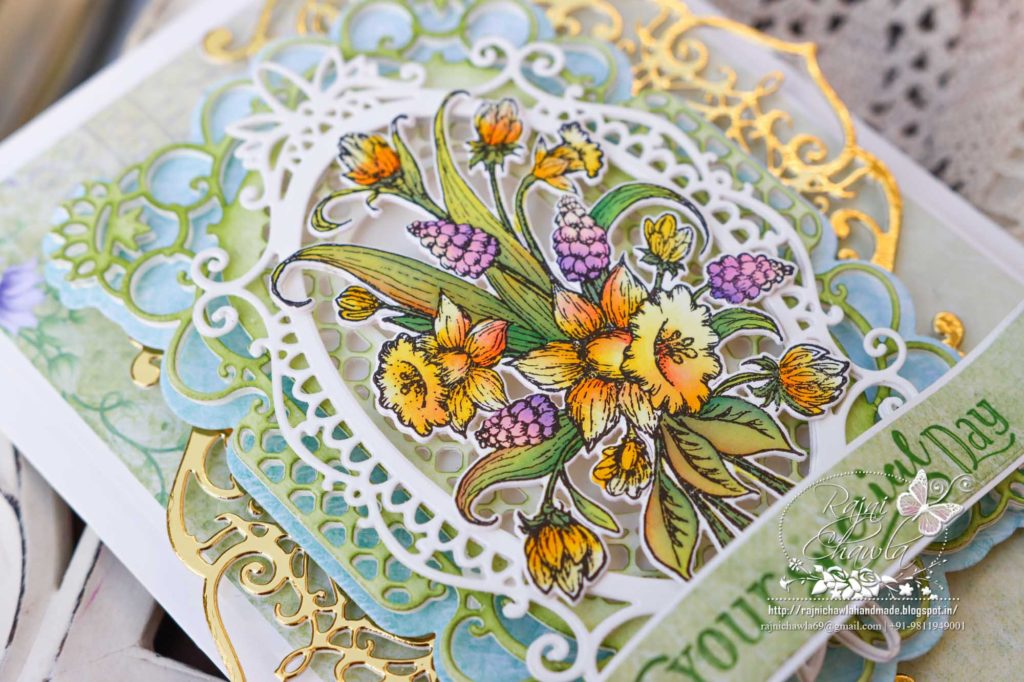
Cut 2 frames in white using Regal Frame Die and stack them together using an adhesive that dries clear. Next color the die cut piece using Fern Green Archival ink. Die-cut the solid piece from the same die set from the designer paper collection and layer it behind the inked frame using foam dots.
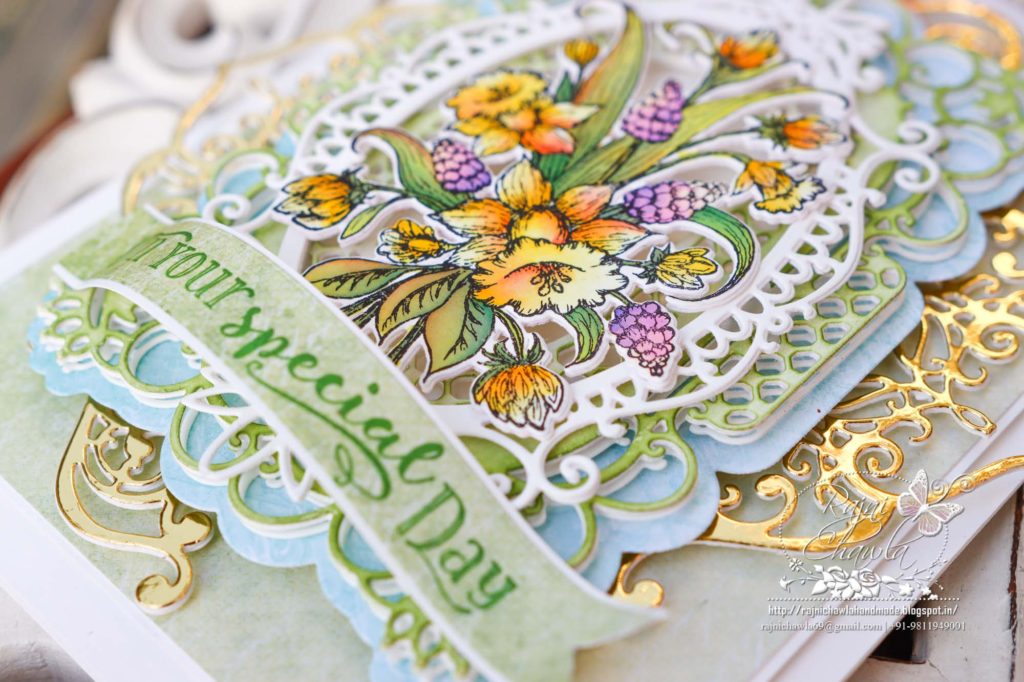
Next, Die cut 2 pieces of oval frames using Royal Elegance Frames Die set and stack them together. Also, cut 2 swirly die cuts from Luxe Gold cardstock using Swirly Accent Spray Die.
Once all the die cuts are ready, layer and assemble them on the ready card front as shown.
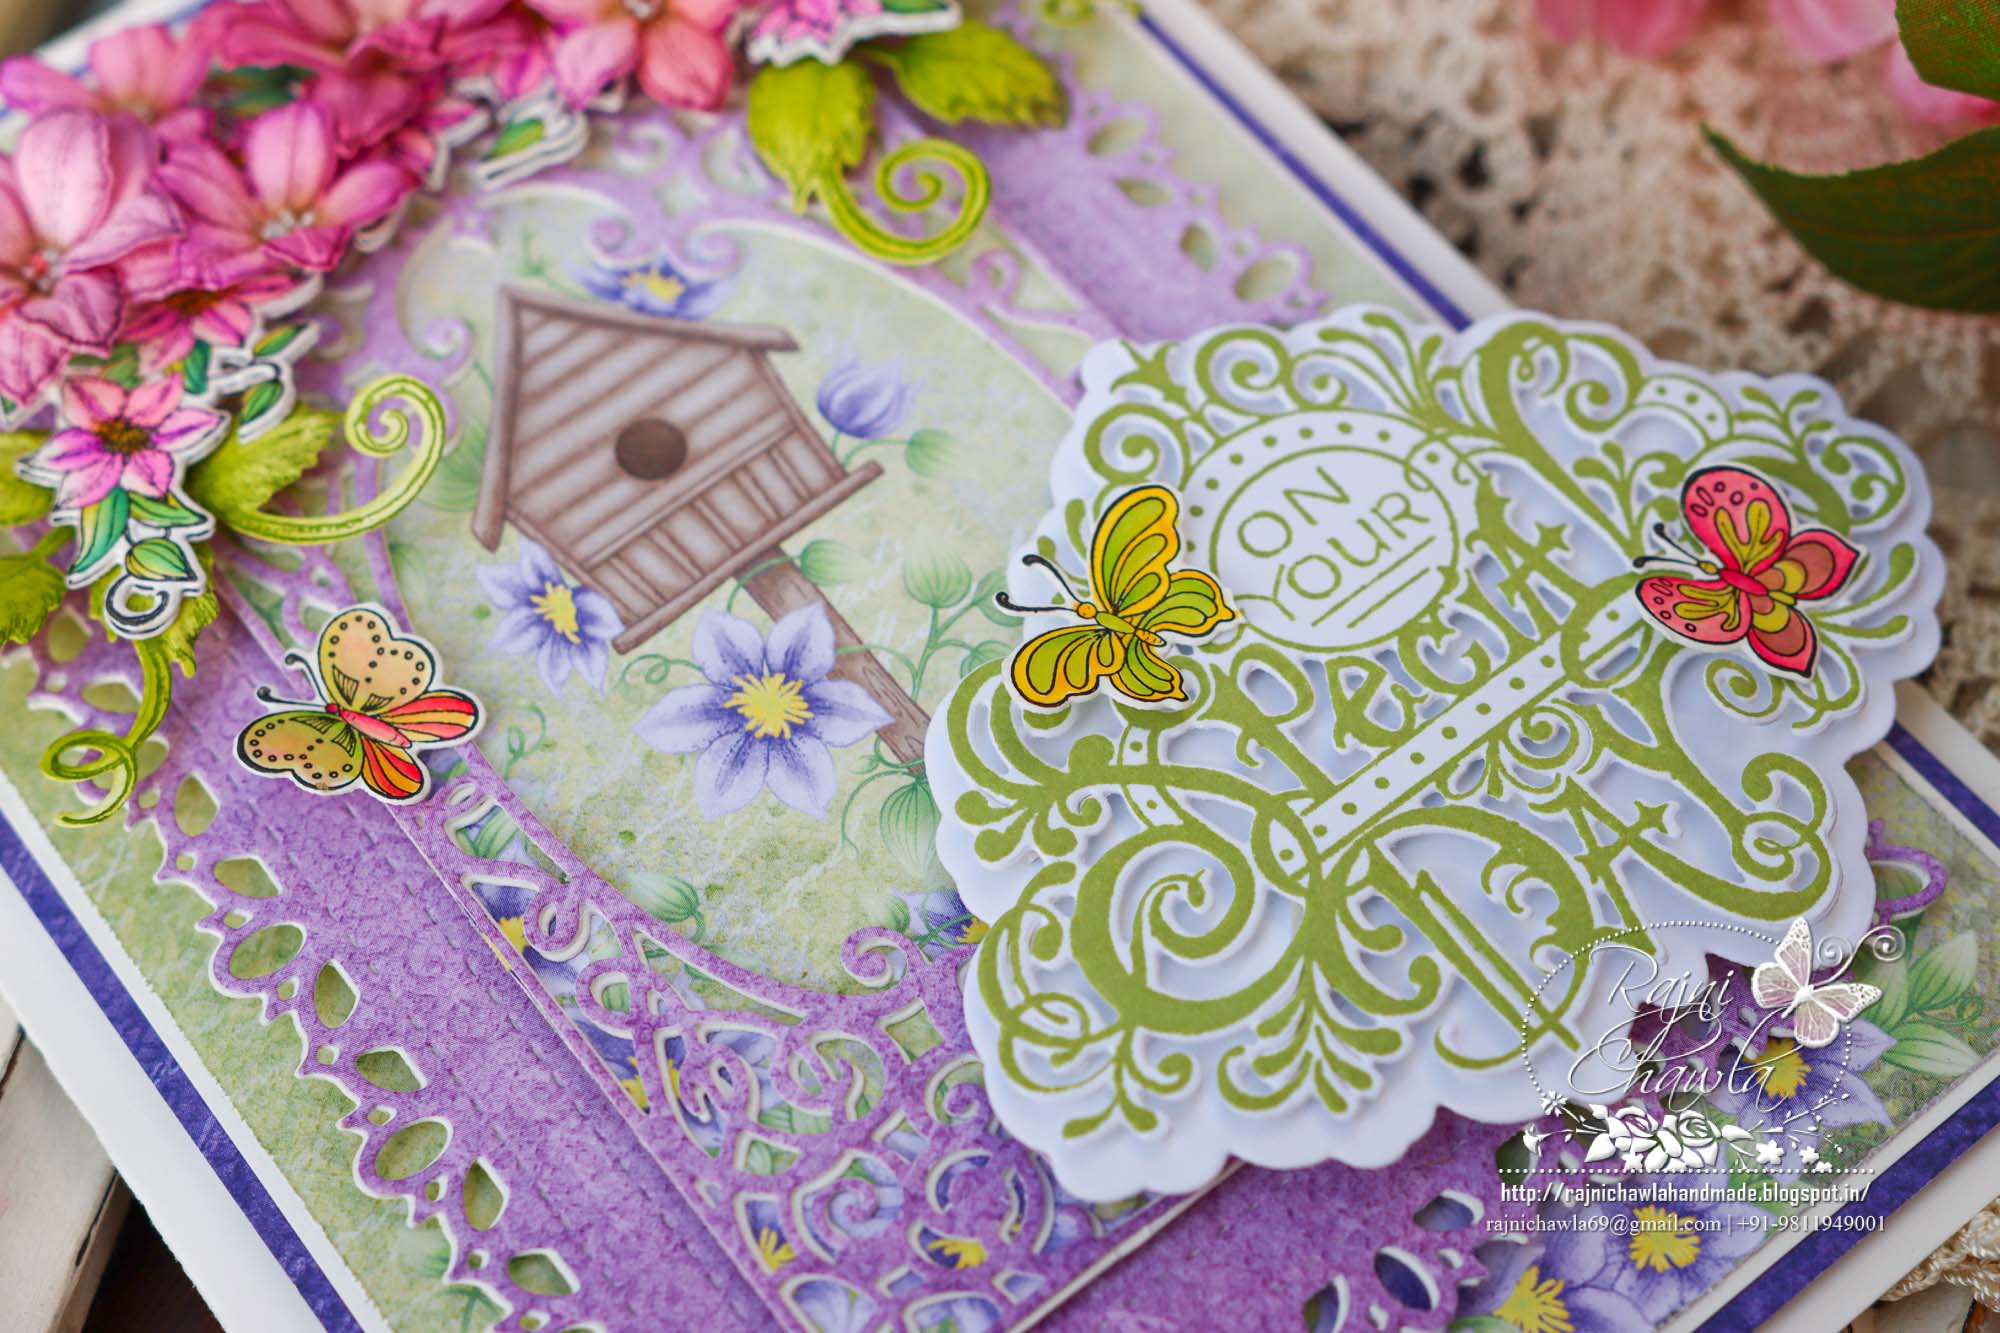
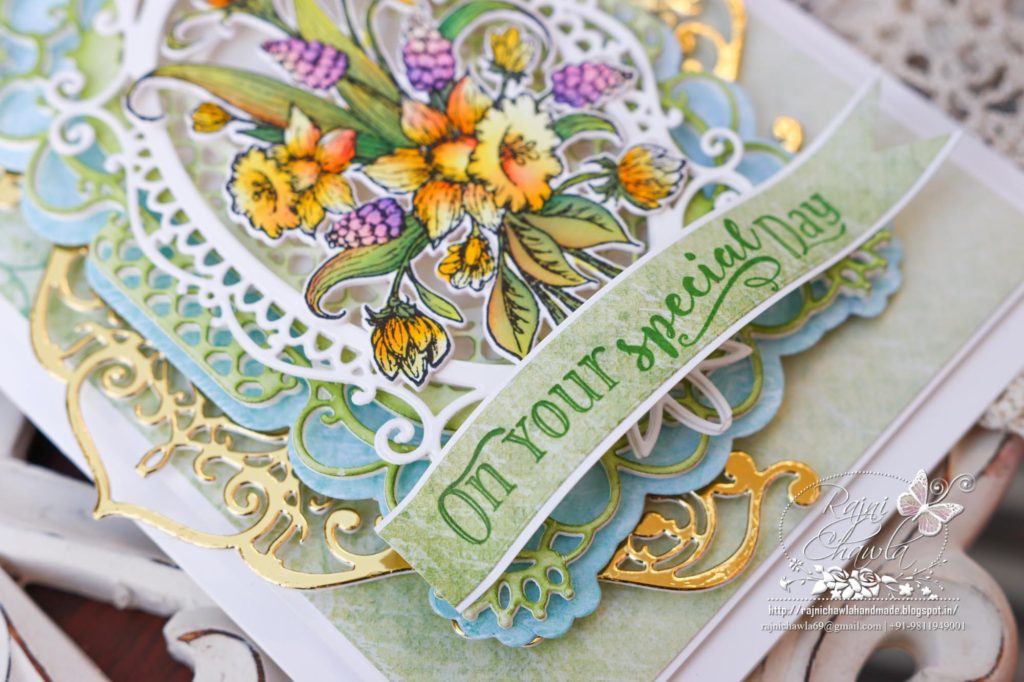
Stamp the image with black archival from Delightful Daffodil & Butterfly Cling Stamp Set on smooth white cardstock and paint it using Zig Clean Clear Brush Markers. Die-cut the image using its coordinating die set. Layer the image using as a focal point on the ready card panel.
Prepare the sentiment strip by stamping the sentiment from Celebrate Love Sentiments Cling Stamp Set using Fern Green Archival ink on the piece of green pattern paper.