Good Morning All…
Welcome to my blog again!!
Continuing with Climbing Clematis Collection, I have another beautiful card to share.
Supplies from Heartfelt Creations:
HCD1-7355 Clematis Die
HCPC-3954 Clematis Cling Stamp Set
HCDP1-2128 Climbing Clematis Paper Collection
HCD2-7192 Eyelet Lace Frames Die
HCPC-3835 Leafy Accents Cling Stamp Set
HCD1-7193 Leafy Accents Die
HCPC-3932 Floral Shoppe Accents Cling Stamp Set
HCD1-7330 Floral Shoppe Accents Die
HCPP1-475 Deluxe Flower Shaping Paper Pack of 50 – White
HCPC-3935 Fancy Special Day Cling Stamp Set
HCD1-7320 Fancy Special Day Die
DMCT4185 Groove Golf Tool Set
ANC804 Heart of Gold Prills
RACP985 Ranger Archival Ink Pad – Cactus Flower
RACP436 Ranger Archival Ink Pad – Leaf Green
RACP962 Ranger Archival Ink Pad – Fern Green
RACP614 Ranger Archival Ink Pad – Magenta Hue
RACP632 Ranger Archival Ink Pad – Buttercup
RACP494 Ranger Archival Ink Pad – Majestic Violet
Other Supplies Needed: Smooth White Cardstock, Heat Tool, Die Cutting Machine, Score Board, Funnel Tray, Bone Folder, Glossy Accent, Foam Tapes.
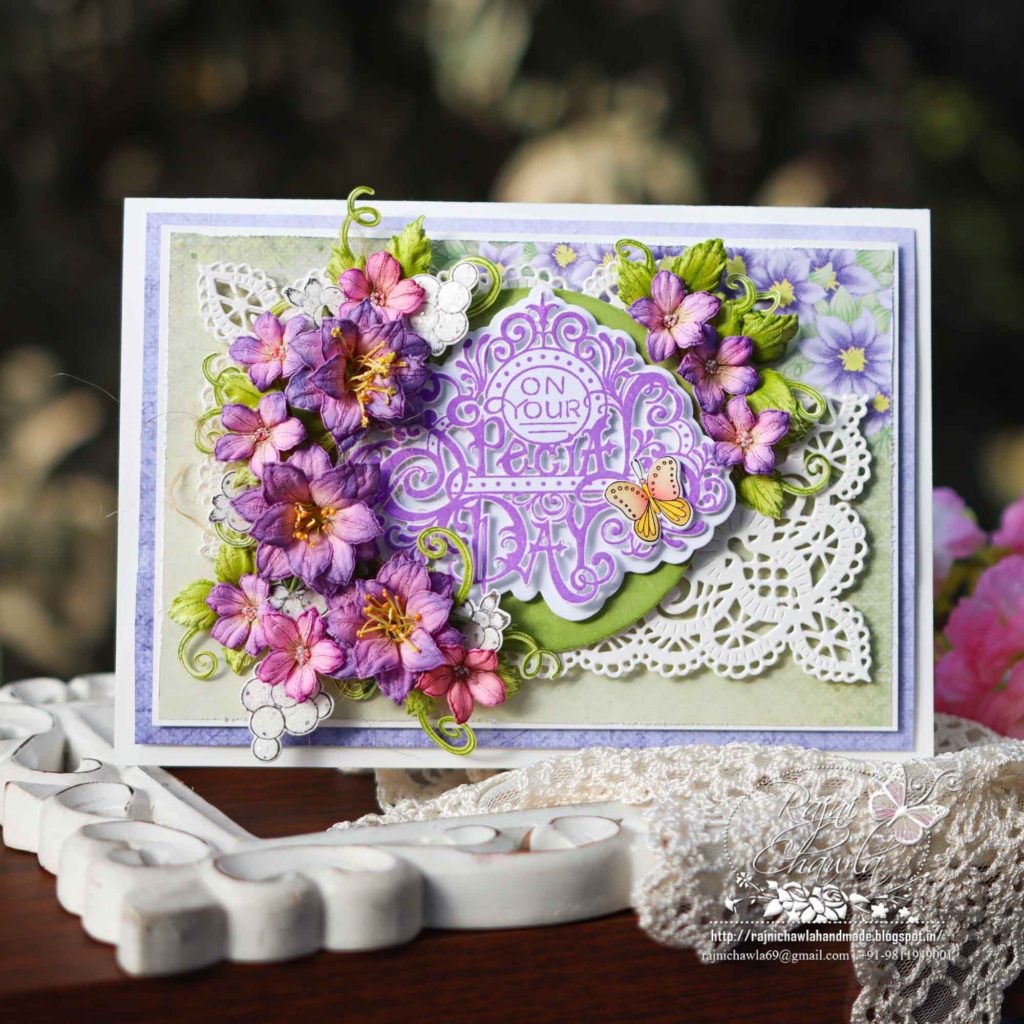
Instructions: The ready top fold card measures 8″ by 6″. To prepare the white card base, cut one piece measuring 8″ by 6″ and second piece 8″ by 6 1/2″. Score the second piece at 1/2″ on the 6 1/2″ side and glue the first piece on top. For the top most layer, choose the pattern paper from the paper collection and cut 71/4″ by 5 1/4″ and distress the edges using sharp scissors. Next, glue the panel first on white cardstock and then on the deep purple pattern paper, making the border of 1/18″ on all the sides. Add dimensions using foam tapes.
Diecut 2 pieces of fancy frames from white cardstockusing Eyelet Lace Frame Die. Stack both the die cuts together to add strength. Cut the die cut into 2 halves and arrange on the card panel as shown.
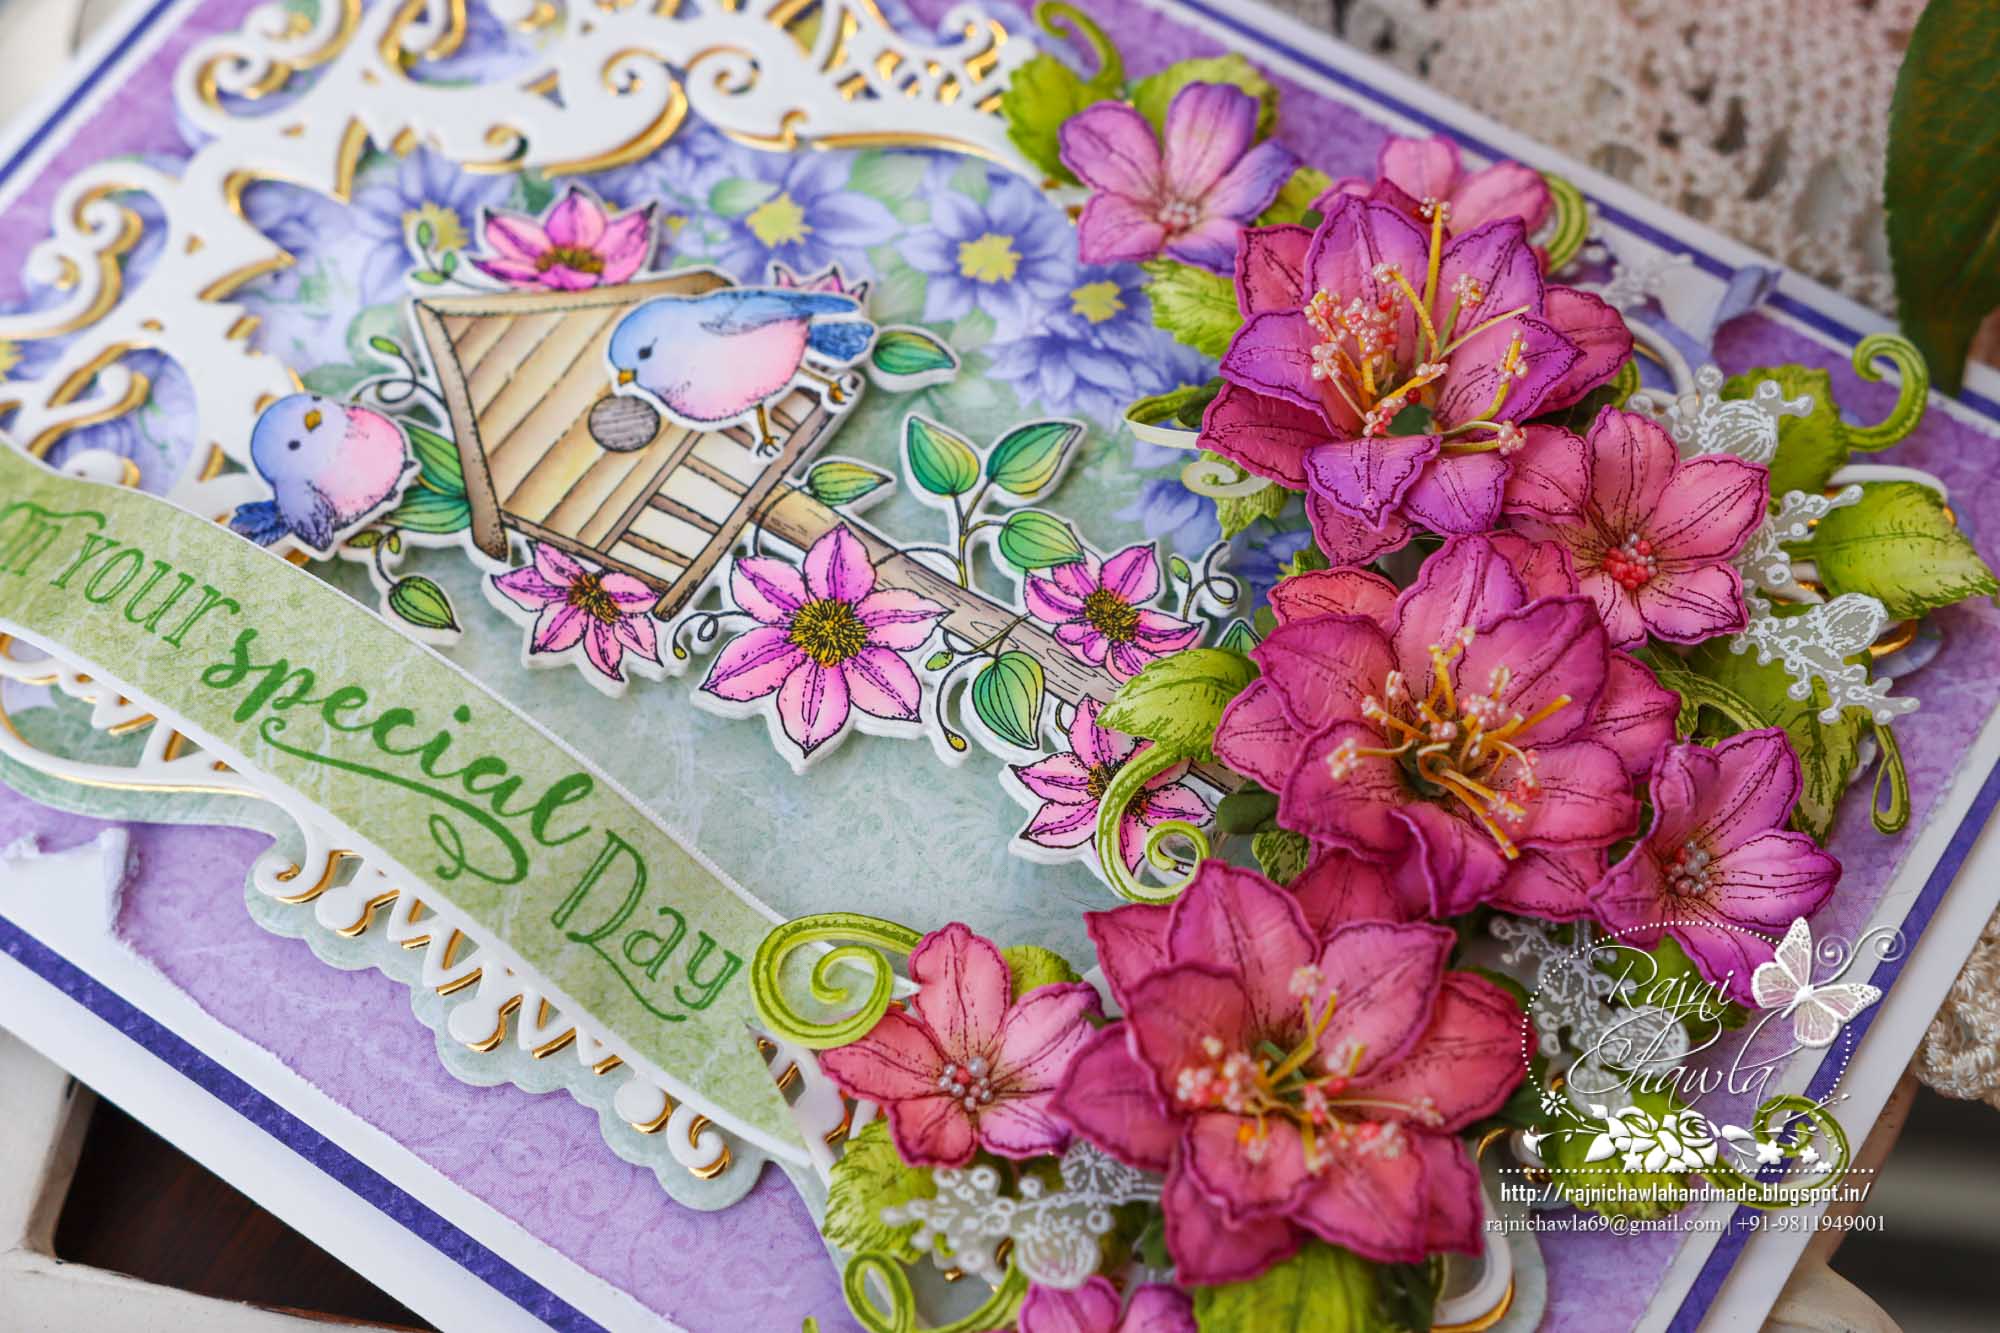
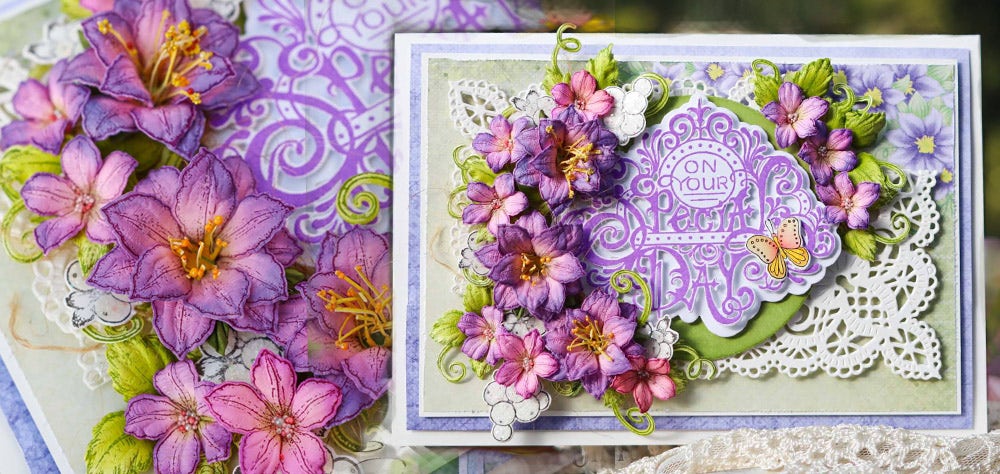
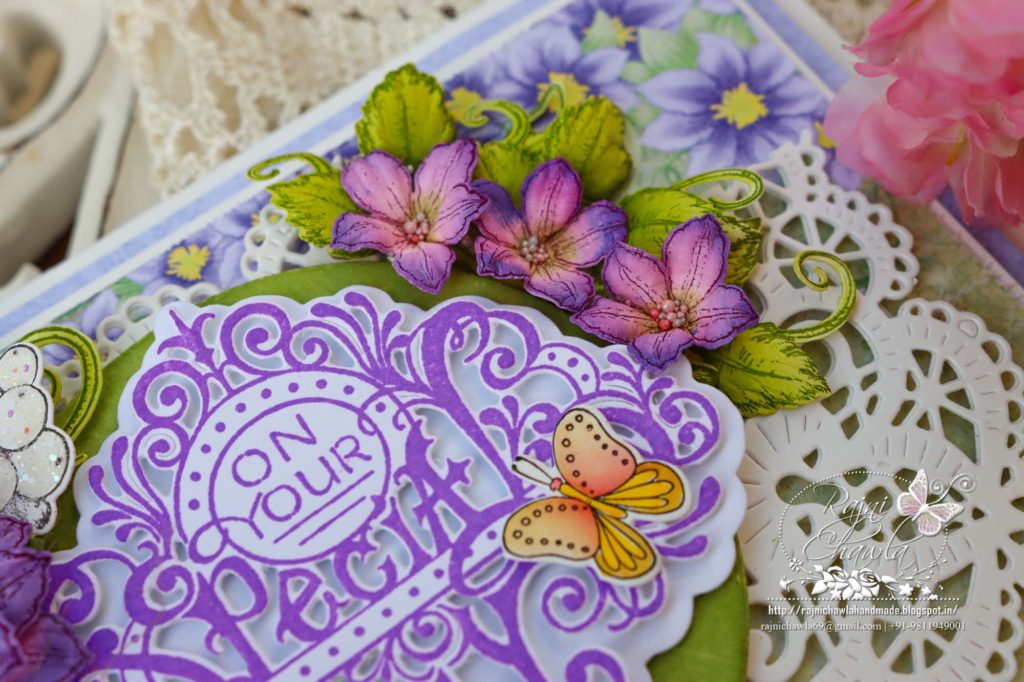
Stamp the special day sentiment from the Fancy Special Day Cling Stamp Set on white cardstock using Cactus Flower Archival ink and cut it using its coordinating die. Layer the sentiment with foam dots on the white solid base, cut using the same die set.
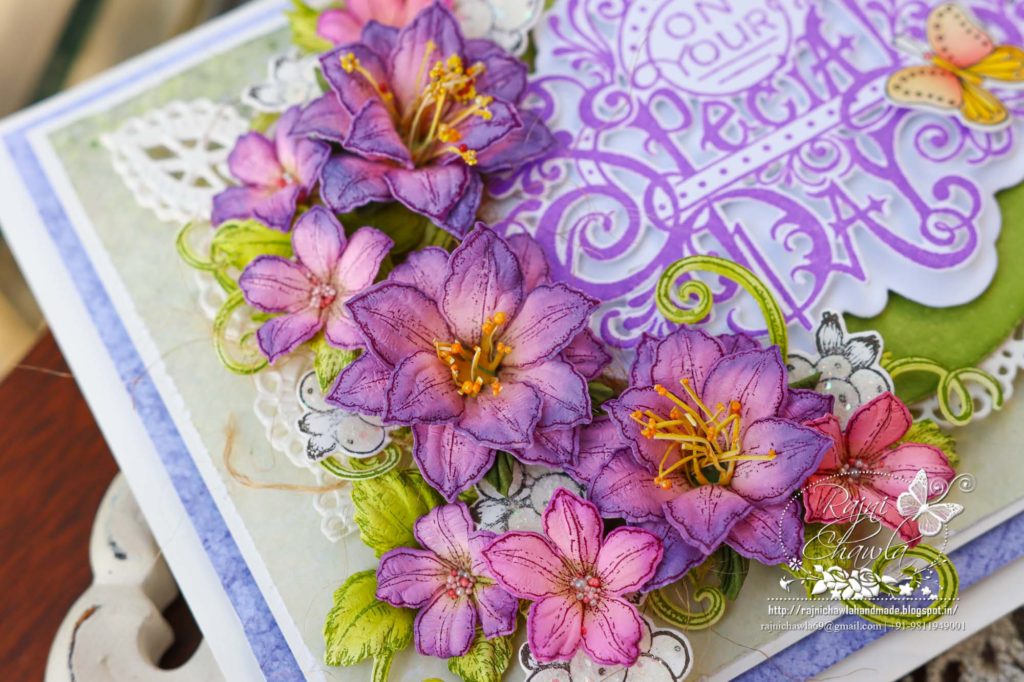
Stamp the florals with Majestic Violet on flower-making paper using Clematis Cling Stamp Set. Cut the florals using its coordinating die set and color the flowers using Magenta Hue and highlight them using Majestic Violet Archival inks. Spritz water and shape the flowers using golf groove tools. Prepare 3 large flowers of 2 petals each and 5-6 filler flowers using the one smallest petal each. For the flower centers, cut a strip of paper, color it using Buttercup Yellow, and thinly fringe the strip using scissors. Roll the fringed strip between your fingers and add prills on the tips using an adhesive that dries clear.
Stamp Leafy foliage from Leafy Accent stamp set with Olive green on flower-making cardstock and cut them using its coordinating die set. Paint the leaves using Leaf Green Archival ink and shape them using golf groove tools.
Stamp 3-4 Large Berry Clusters from Floral Shoppe Accents Cling Stamp Set with black archival ink on white cardstock. Cut the cluster using its coordinating die. Add a drop of glossy accent to each berry and sprinkle Crystal Clear sparkle and put them for drying.
Stamp the butterfly border from Large Floral Butterfly Cling Stamp Set on white cardstock and paint it using Zig Clean Clear Brush Markers. Cut the butterfly border using its coordinating die. Cut apart one tiny butterfly and display it on the fancy sentiment and keep the remaining for your future use.
Once all the elements are ready, assemble small clusters of flowers as shown and finish the card by adding sparkles.