


Good Morning All….
A very warm welcome to my blog again.!!
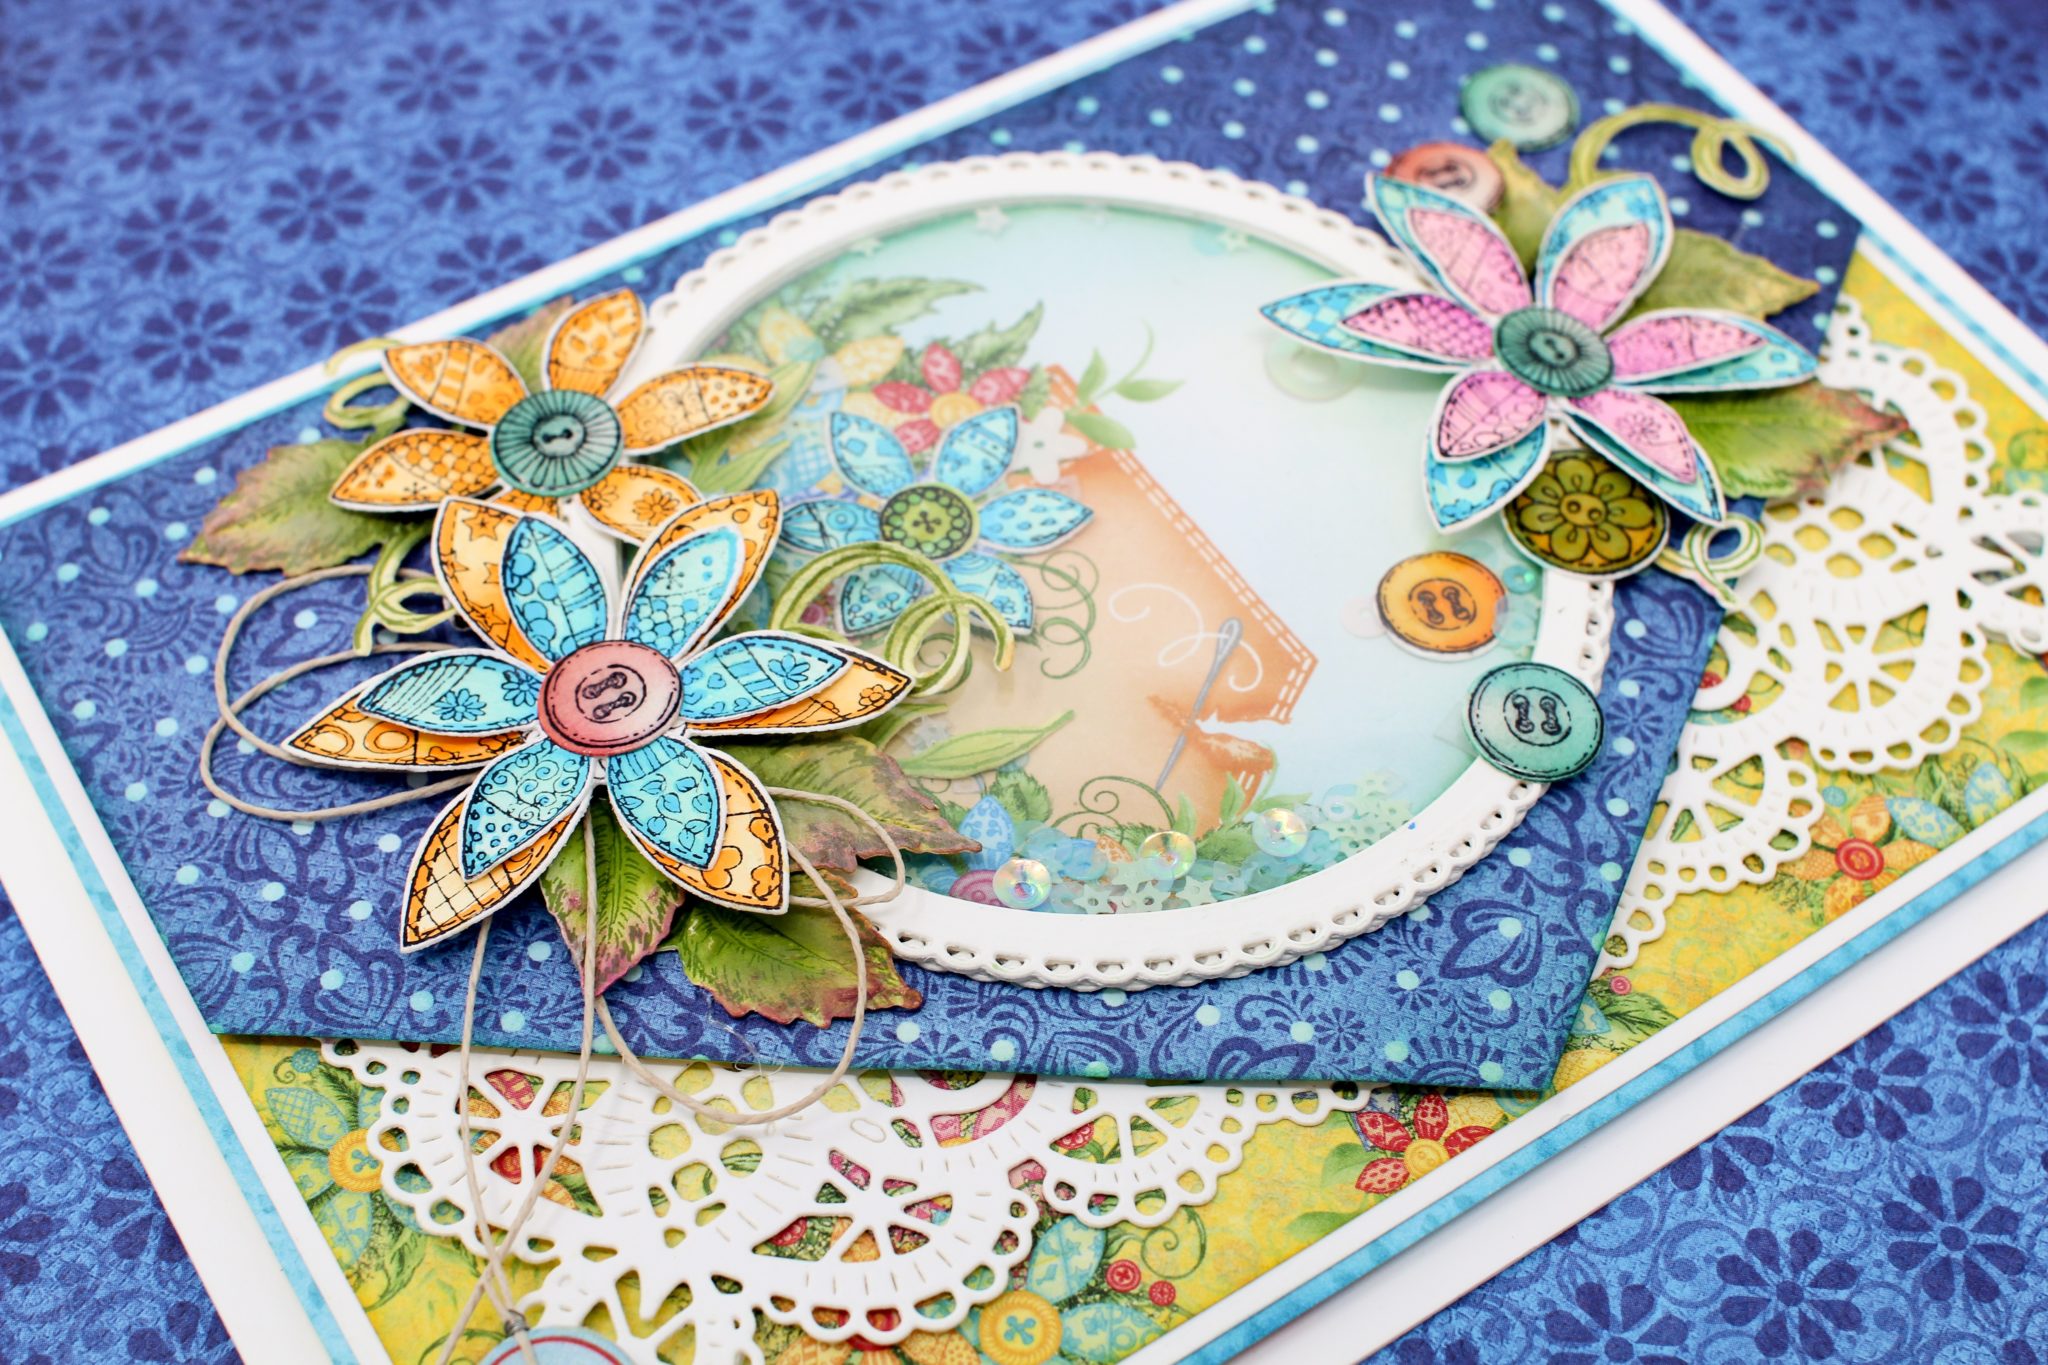
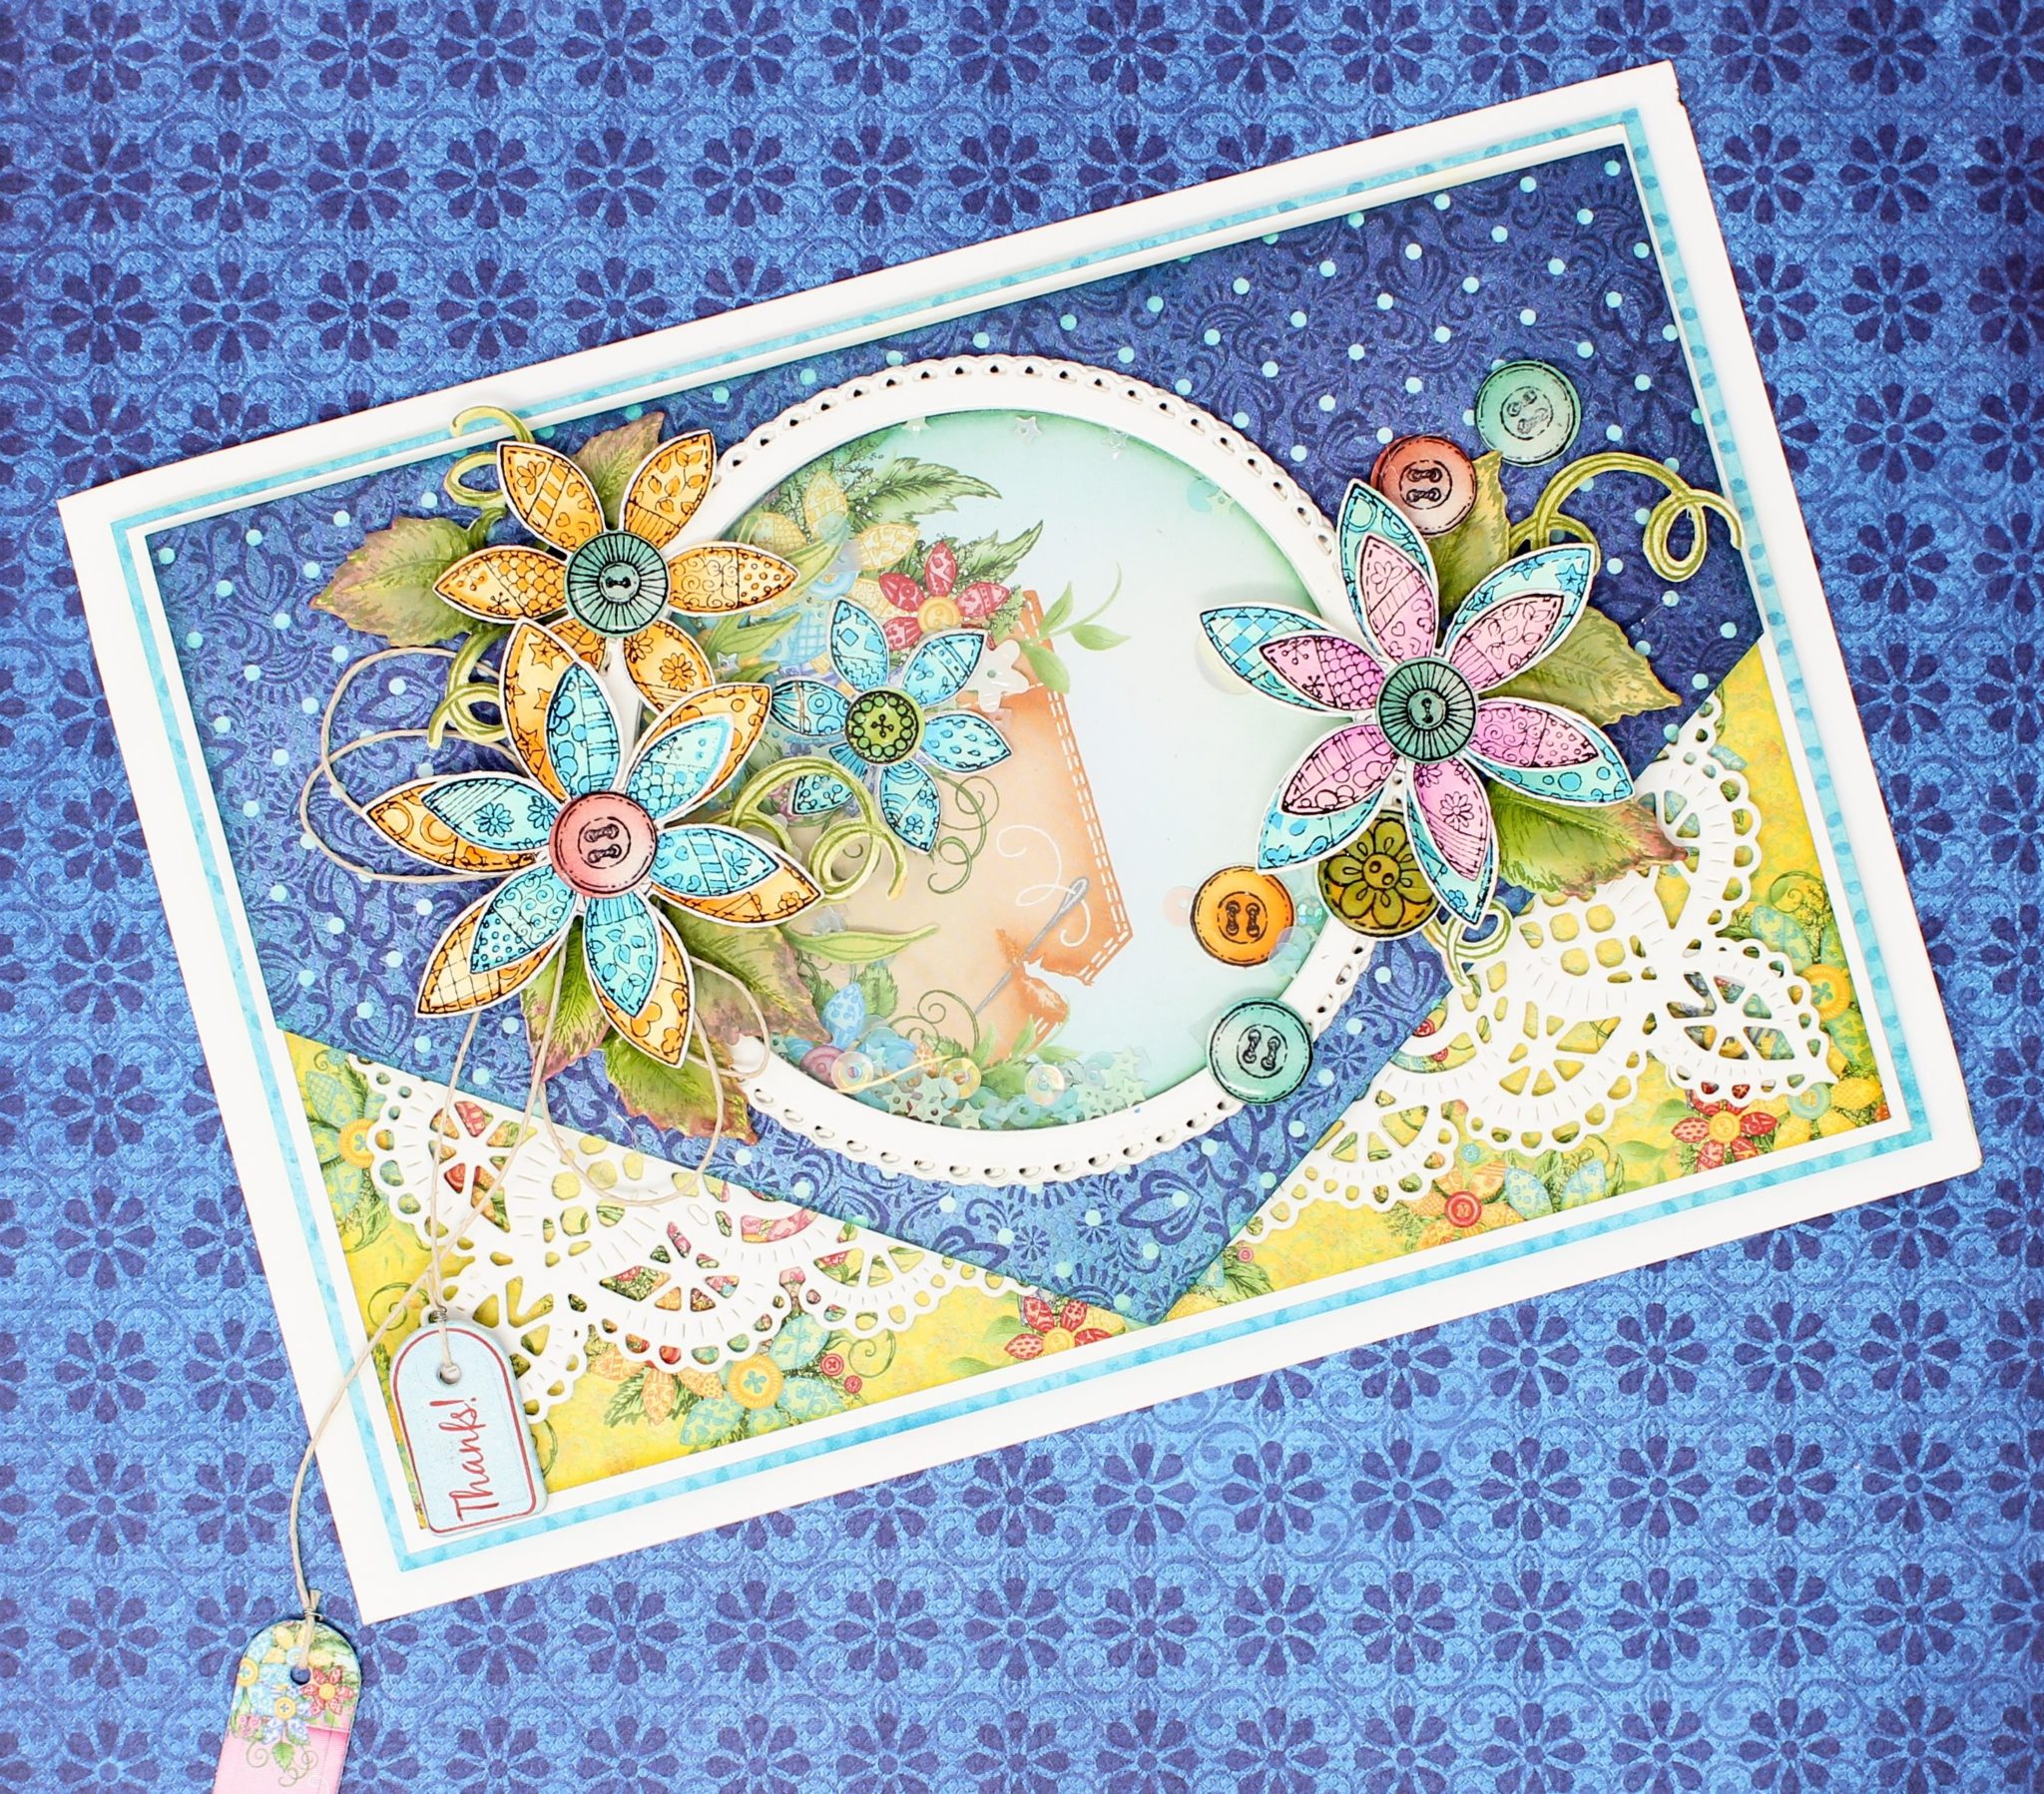
Continuing with Buttons and Blooms Collection, I have a new shaker card to share with you all. Hope you like the card.
Supplies from Heartfelt Creations:
HCD1-7205 Buttons and Blooms Die
HCD1-7206 Patchwork Pocket & Patterns Die
HCD1-7207 Hand-stitched Accents Die
HCPC-3849 Buttons and Blooms Cling Stamp Set
HCPC-3850 Patchwork Pocket & Patterns Cling Stamp Set
HCPC-3851 Hand-stitched Accents Cling Stamp Set
HCDP1-295 Buttons and Blooms Paper Collection
HCD2-7192 Eyelet Lace Frames Die
HCD1-7154 Eyelet Circle & Basics Small Die
HCD1-7110 Classic Rose Die
HCFB1-462 3D Rose Shaping Mold
HCPC-3752 Classic Rose Cling Stamp Set
RACP468 Ranger Archival Ink Pad – Jet Black
RACP482 Ranger Archival Ink Pad – Olive
TSSZ63 StazOn Ink Pad – Teal Blue
RACP436 Ranger Archival Ink Pad – Leaf Green
Other Products Used: Smooth White Cardstock, Sequence, Foam tape, Glossy Accents.
Videos Referred: For more tips on creating with the Buttons and Blooms collection, watch the tutorial at https://youtu.be/WpR2XrSH0U0.
Instructions: The ready top-fold card from white cardstock measures 8 1/4″ by 5 3/4″. To Create the top panel first choose all the papers from the designer paper collection. To start with, yellow printed panel measures, 5” by 7 1/2″. Also cut a dotted blue panel of the same size, 5″ by 7 1/2″. Mark the center on the longer side, and 2 1/2″ from the top right side and bottom right side. Chop the corners as shown. Layer both the panels with foam tape and adhere a white die cut from Eyelet Lace Frames Die in between the layers as shown. Add a layer of white cardstock and then a layer of blue pattern paper to the panel, slightly larger to the prior layer. Once all the layers are glued together, adhere the ready card panel to the card base.
Nest outer 2 dies from the Eyelet Circle & Basics Small Die and cut a frame out of white cardstock. Using second largest die from the same set, Cut a printed circle from 6′ by 6′ card base and light blue pattern paper and adhere to create a window base. To the window add a second smallest flower, painted with blue color Zig Clean Clear Marker and few shaker mix sequence. Close the window with circular acetate and glue another white frame on top.
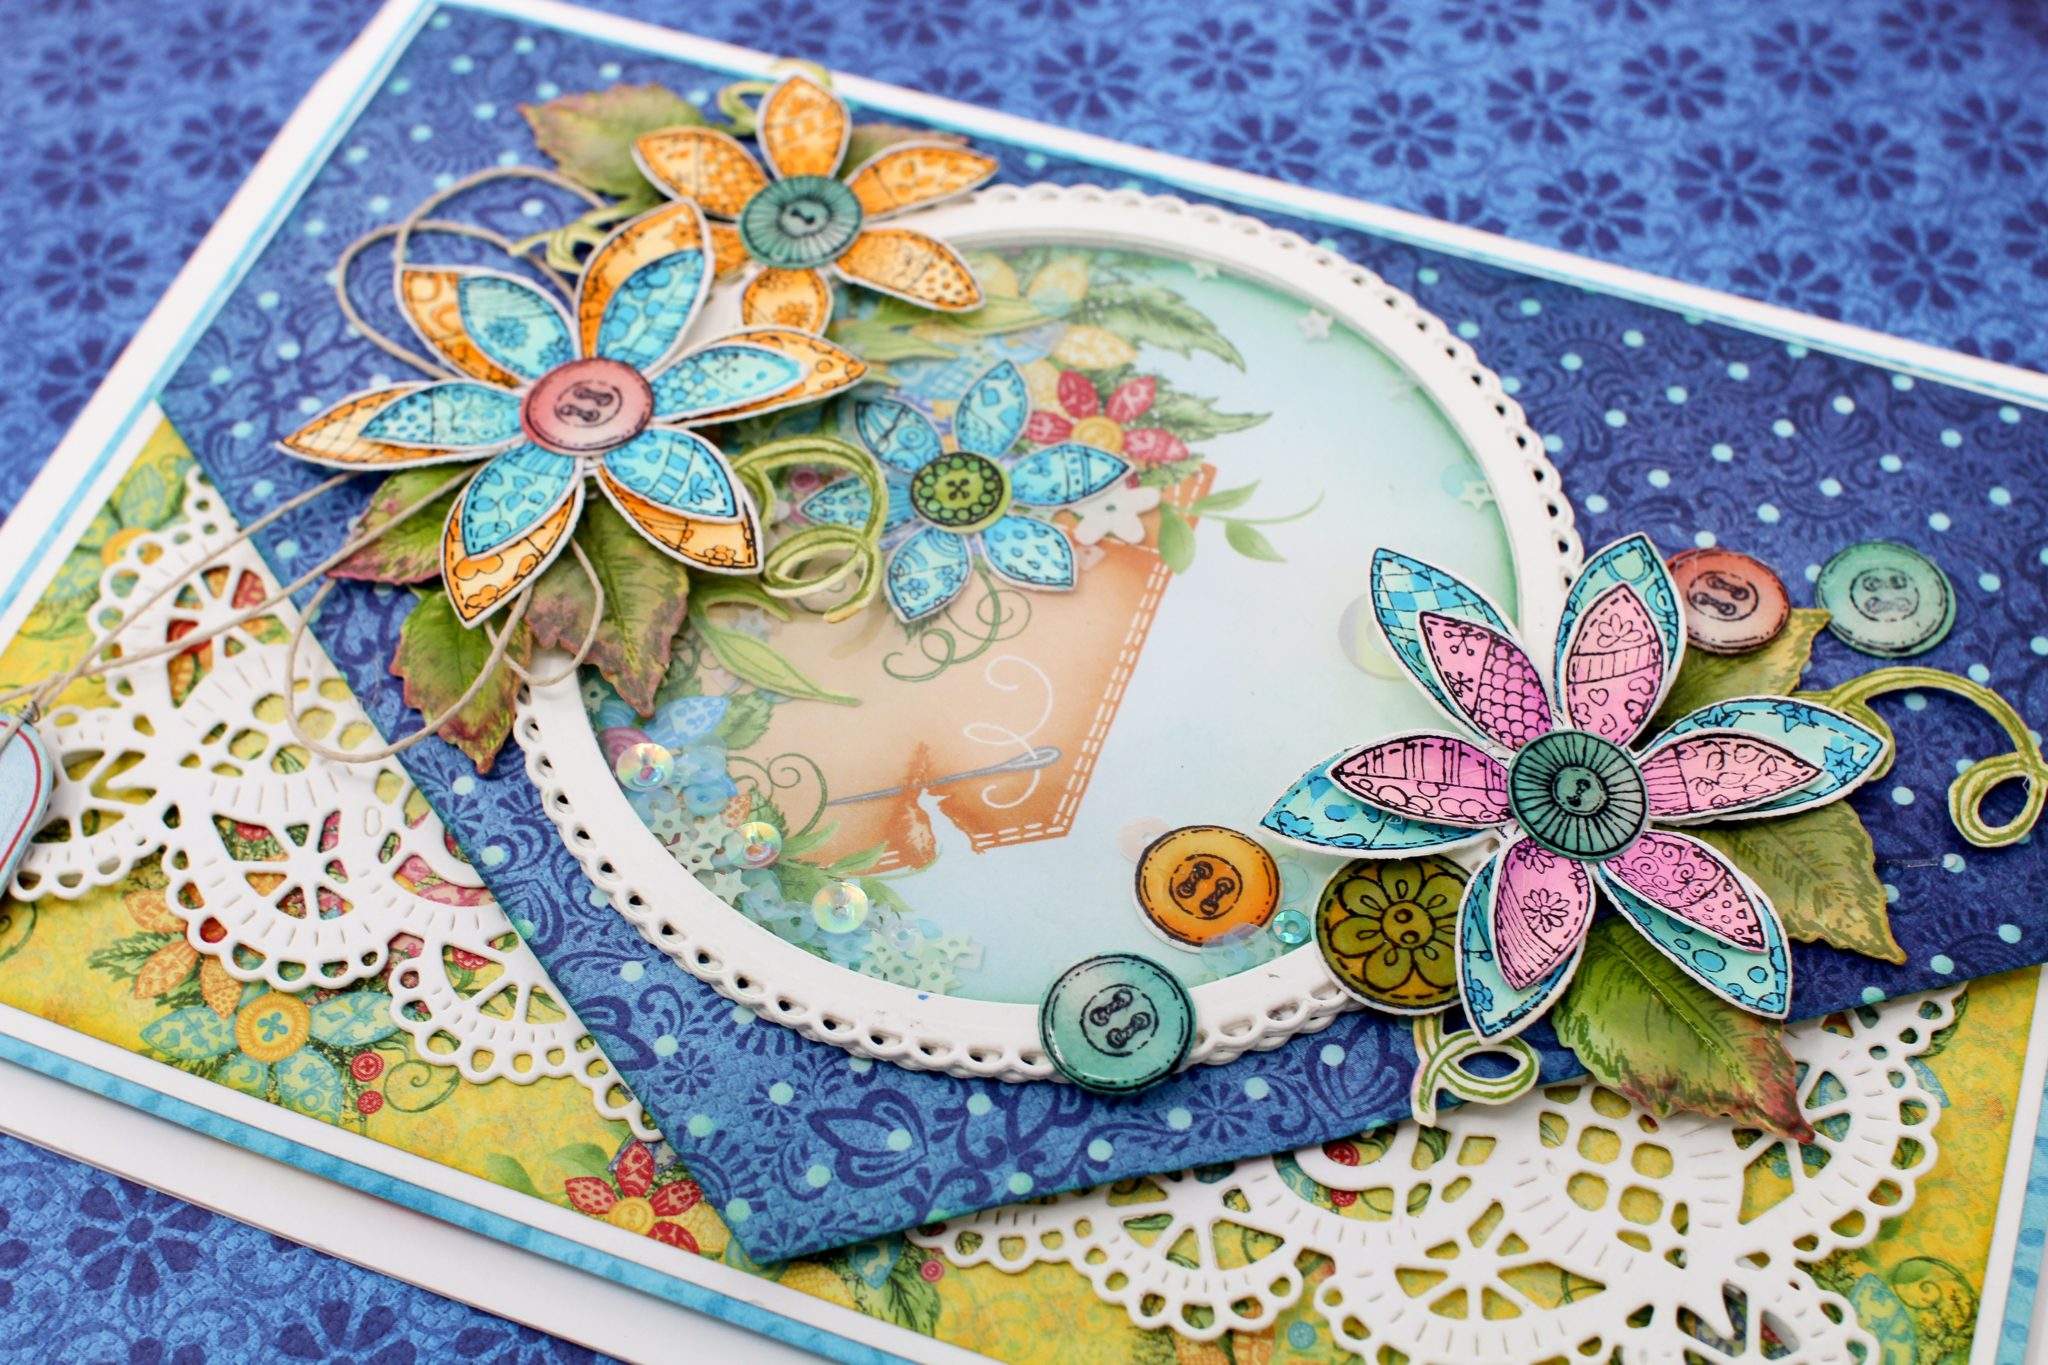
To embellish the card stamp all the needed images from Buttons and Blooms Cling Stamp Set with black archival ink, cut them using their coordinating dies and paint them using Zig Clean Clear Brush Markers. Shape the flowers on needle tool and glue the flowers together as shown.
The leaves from Classic rose Collection are stamped with Olive green, painted using Leaf green and cut using it’s coordinating die. Shape the leaves using Rose Shaping Mold. Once all the elements are ready, assemble the card as shown.
Another gorgeous creation Rajni! I love your shaker cards!