


Happy Wednesday All…
Welcome back again to my blog. We recently relocated to a new place and my craft room is a total mess these days. Blocking out little “Me Time” to nourish my own creative soul in this hectic schedule is a must for me. For Wednesday’s inspiration for Heartfelt Creations, I have this beautiful window Sailing Home card to share.

Supplies From Heartfelt Creations:
HCD1-7266 A Day at Sea Die
HCPC-3892 A Day at Sea Cling Stamp Set
HCD1-7264 Sea Breeze Harbor Die
HCD1-7265 Sand and Sunsets Die
HCPC-3890 Sea Breeze Harbor Cling Stamp Set
HCPC-3891 Sand and Sunsets Cling Stamp Set
HCDP1-2107 Sea Breeze Paper Collection
HCD2-751 Cut Mat Create 2A Die
HCPC-3845 Just For You Sentiments Cling Stamp Set
HCD1-7155 Circle Basics Large Die
478455 Zig Clean Color Real Brush Markers – 36 Pack
409311 Color In Watercolor Brush – Fine
RACP468 Ranger Archival Ink Pad – Jet Black
PGM15016 Rajni Chawla’s Frosting Powder
HCDA2-450 Stack and Store Daubers-Pack of 30
ANC829 Express-O Yourself Prills
Other Products Used: Smooth White Cardstock, Foam Dots, Die Cutting Machine, Score Board, Twine, and Jute.
Videos Referred:
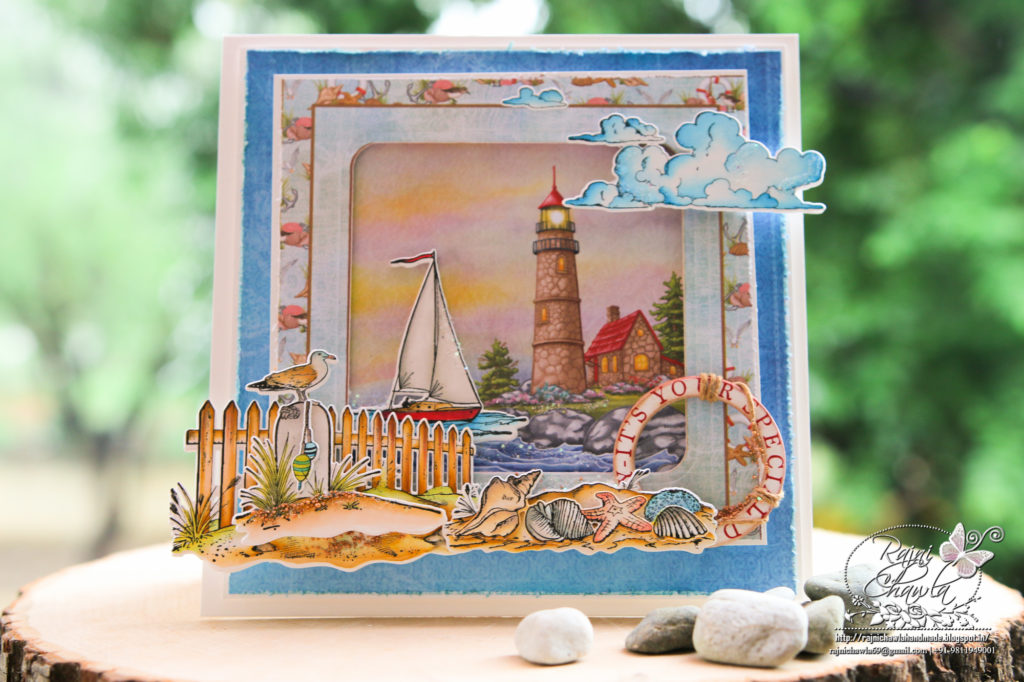
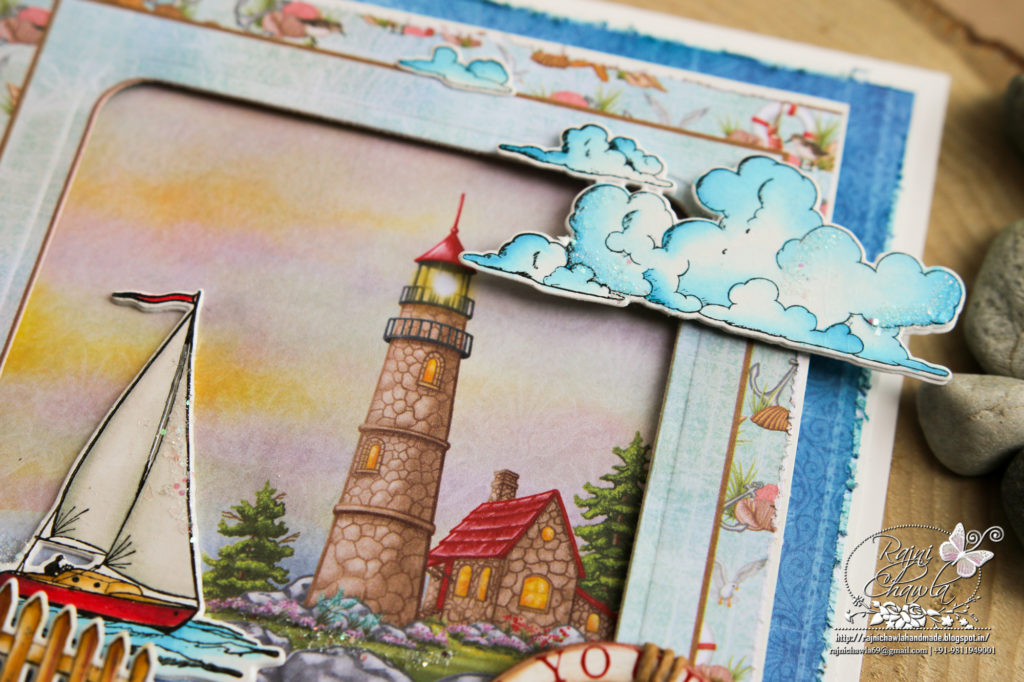
Instructions: The ready top fold card from a smooth white card stock measures, 7″ by 7″. Take a card stock measuring 14′ by 7 “. Score at 7″ on long side and fold. Choose 6″ by 6″ panel from the paper collection, distress all the edges and mat an extra layer of white cardstock creating a delicate border of 1/4″ on all the sides. Cut the window using Cut Mat Create 2A Die. Layer a scenic paper from the back. For the next layer cut a blue color paper from the designer paper collection and cut measuring 6″ 1/2″ by 6 1/2”. Distress all the sides and layer it on the ready card base.
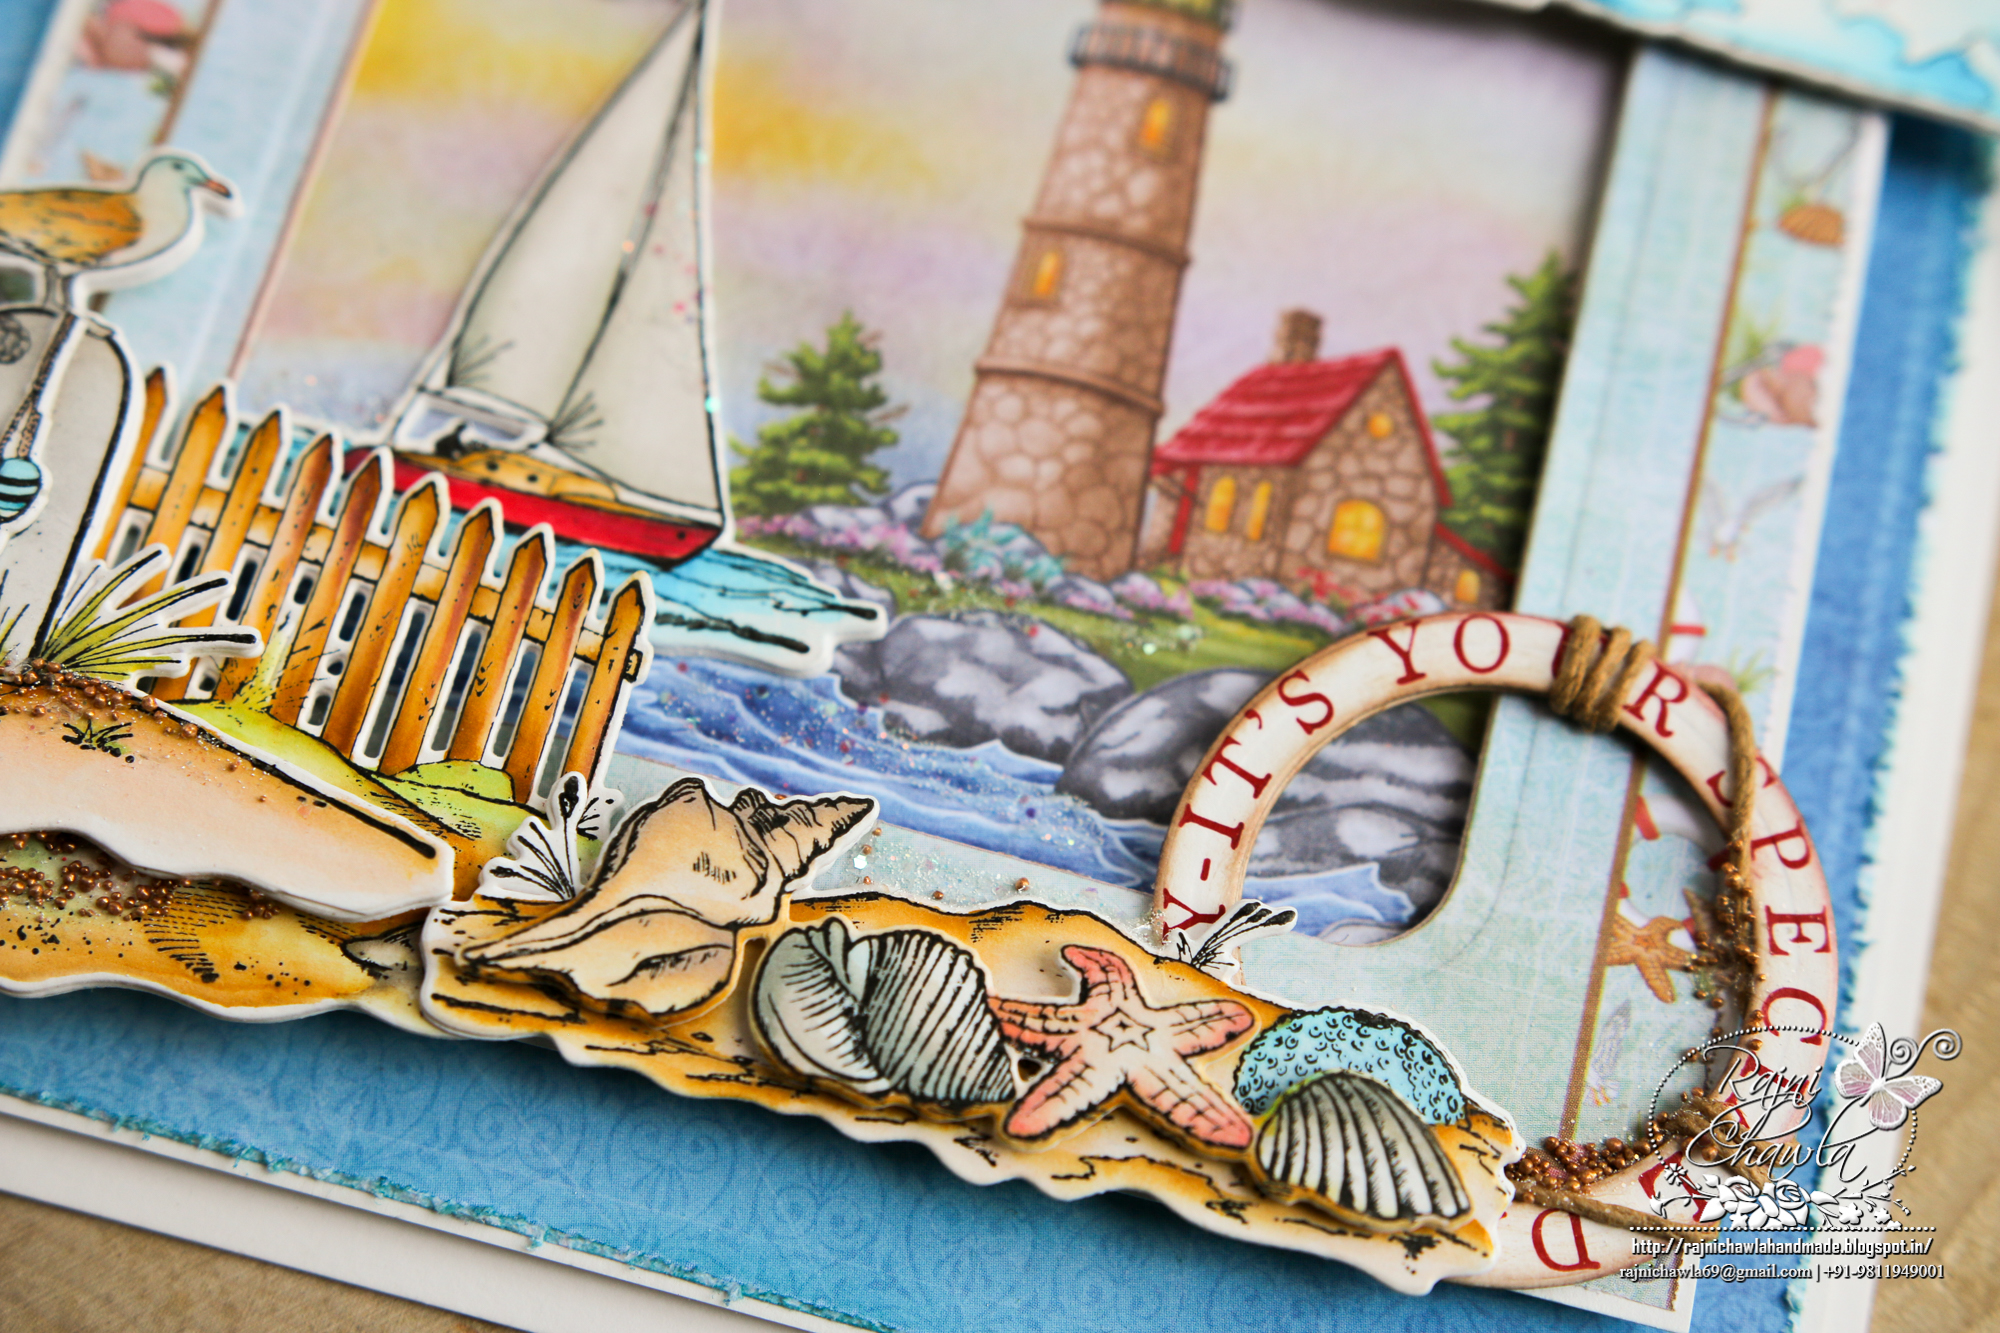
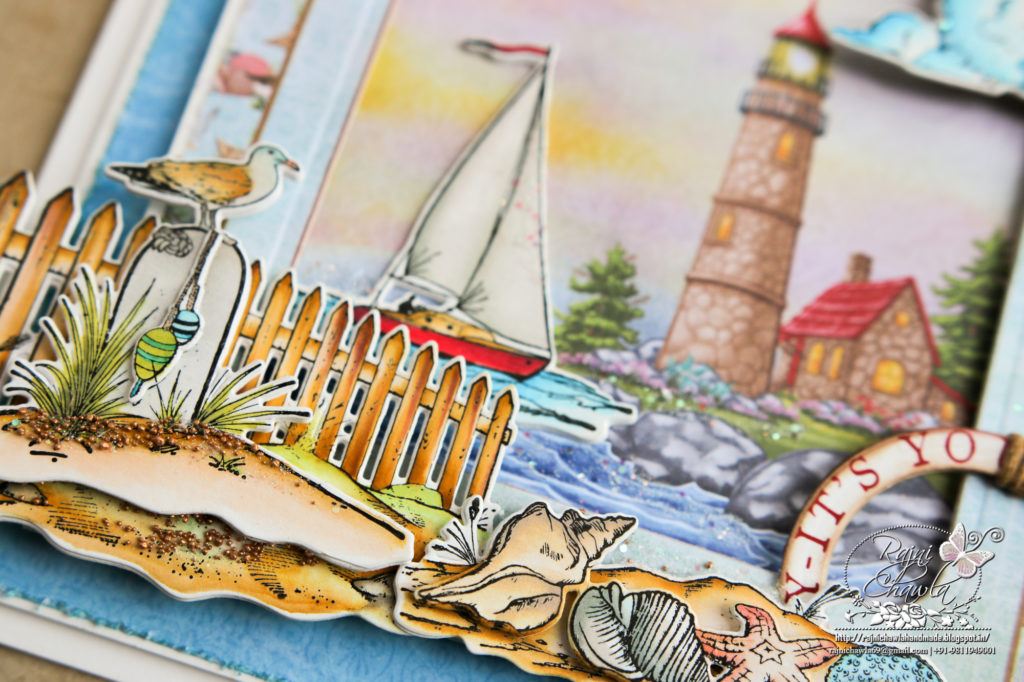
Next, stamp the images from Sea Breeze Harbor Cling Stamp Set, A Day at Sea Cling Stamp Set and Sand and Sunsets Cling Stamp Set on white card stock using archival ink and color the images using Zig Clean Clear Brush Markers. Cut all the images using their coordinating dies. and stack an extra die-cut to all the images to add extra strength. Layer these painted images on the ready card panel as shown by adding dimensions with foam dots.
Stamp the sentiment from Just For You Sentiments Cling Stamp Set and cut it using Circle Basics Large Die. Stack 2 extra die cuts for strength. Tie a natural color twine and secure the ends. Once all the elements are ready, assemble the card as shown and finish the card by adding dry jute, Expresso prills, and Rajni Chawla’s Frosting Powder.
Love this scenic wonder Rajni! So peaceful!