Good Morning Guys…
Do you love preserving beautiful memories??
Yehhhh….if you ask me….I love it and enjoy capturing the moments and try preserving them with my handmade creations. Ctrafting is so theraupetic and when you create something that reminds for all your lovable moments, it becomes your favorites always.
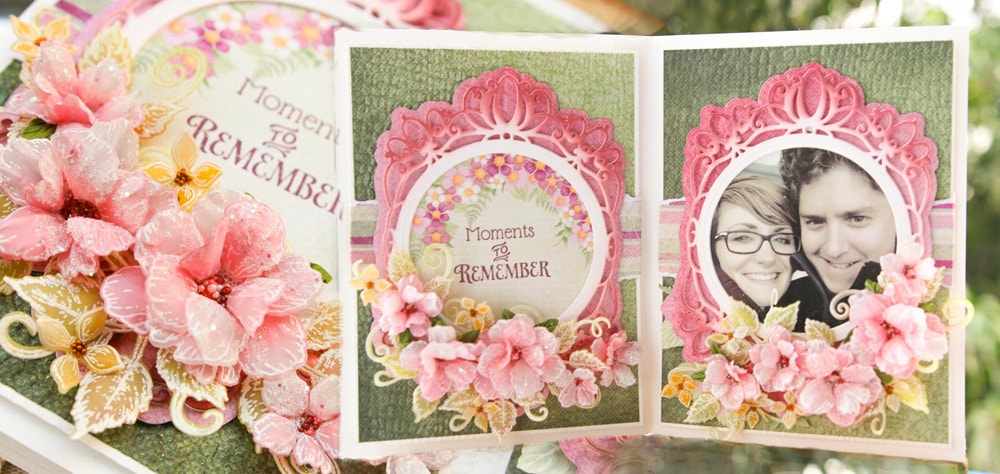
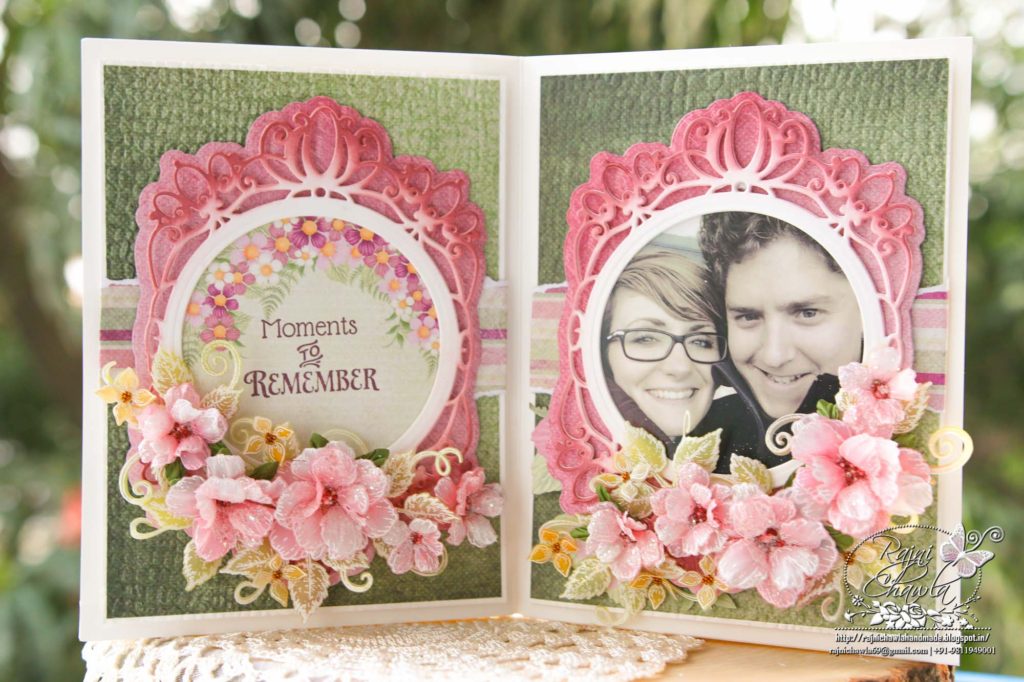
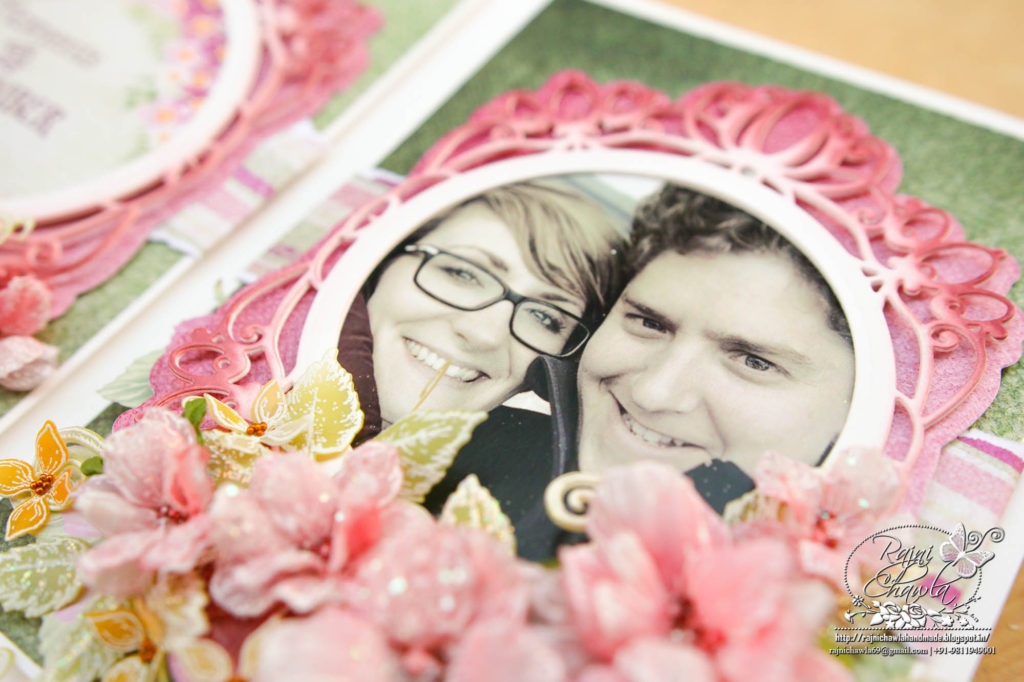
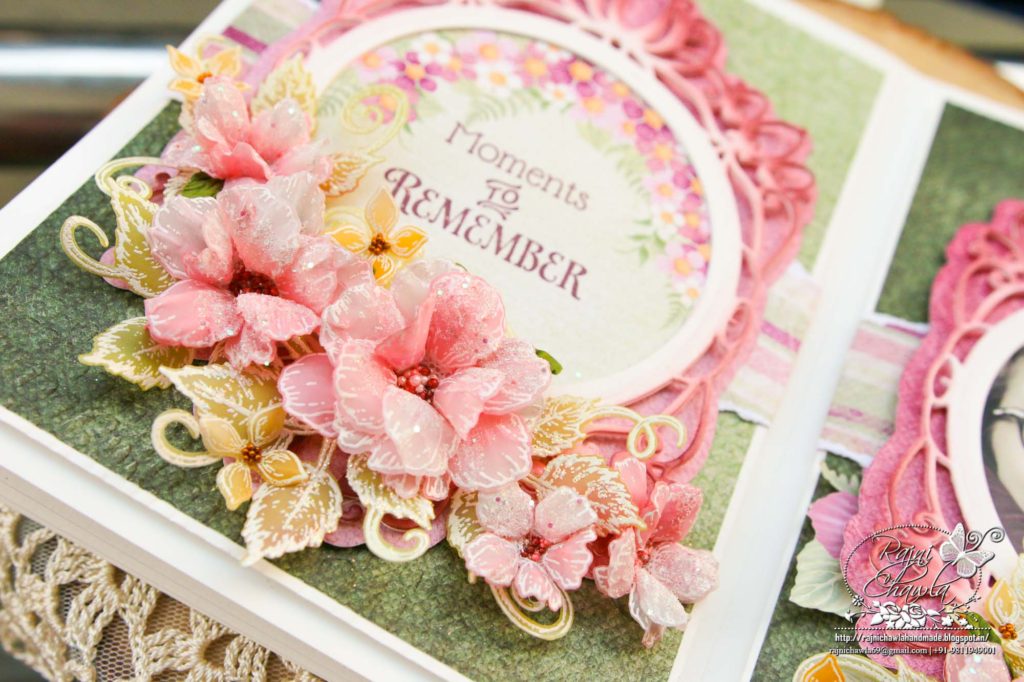
For today’s weekly inspiration, I have this beautiful table display picture frame to share.

HCD1-7289 Small Wild Rose Die
HCD1-7290 Large Wild Rose Die
HCPC-3906 Small Wild Rose Cling Stamp Set
HCPC-3907 Large Wild Rose Cling Stamp Set
HCDP1-2113 Wild Rose Paper Collection
HCFB1-486 Small 3D Wild Rose Shaping Mold
HCFB1-487 Large 3D Wild Rose Shaping Mold
HCD2-7306 Decorative Circle Frames Die
HCD1-7170 Lush Lilac Die
HCPC-3816 Lush Lilac Cling Stamp Set
HCPC-3844 For My Friend Sentiments Cling Stamp Set
HCD1-7193 Leafy Accents Die
HCPC-3835 Leafy Accents Cling Stamp Set
18002 Rajni Chawla’s Vellum Flowerite – 10 Sheets
RAHT Heat It Craft Tool
PGM15016 Rajni Chawla’s Frosting Powder
HCDA2-450 Stack and Store Daubers-Pack of 30
ANC821 Hot Mama Prills
Other Products Used: White Cardstock, White Heat Embossing Powder, Heat Gun, Funnel Tray, Distress Oxides: Rusty Hinge, Worn Lipstick and Peeled Paint, Hero arts White Pigment Ink
Chop 2 white cardstocks measuring 8″ by 12″ On the longer side, score one piece at 6″ and save 1 piece for the back. Prepare 2 hinges by cutting 1 1/2″ by 8″ and score at 3/4″ on the shorter side. Use these hinges in the center to secure the front panel to the back panel at the bottom. Also cut 2 pieces of white cardstock measuring by 4″ and score both at 1/2″ each time. Crease and fold zig-zag to prepare lower hinges. Secure these hinges with strong glue on the lower base between the front and the back panels on both the sides at the bottom of the picture card. This will give support to the picture card to stand on its own.
Choose the paper from the designer paper collection and cut 2 pieces measuring 5 1/4″ by 7 1/4″. Mat a white cardstock to both, a little larger than the pattern paper to make a delicate white border all around. Keep the panels inside the embossing folder one by one and run them through die cutting machine. Hands tear striped pattern paper and create a belly band around the embossed panel. Layer both the panels on the card front using foam dots.
Cut all the required die cuts using Decorative Circle Frames Die and assemble them as shown. Distress the intricate die-cut using Aged Mahogany, Distress ink. Prepare 2 sets, one each for each panel. Stamp the sentiment with Plum archival ink on the left side panel and arrange a picture on the right
panel.
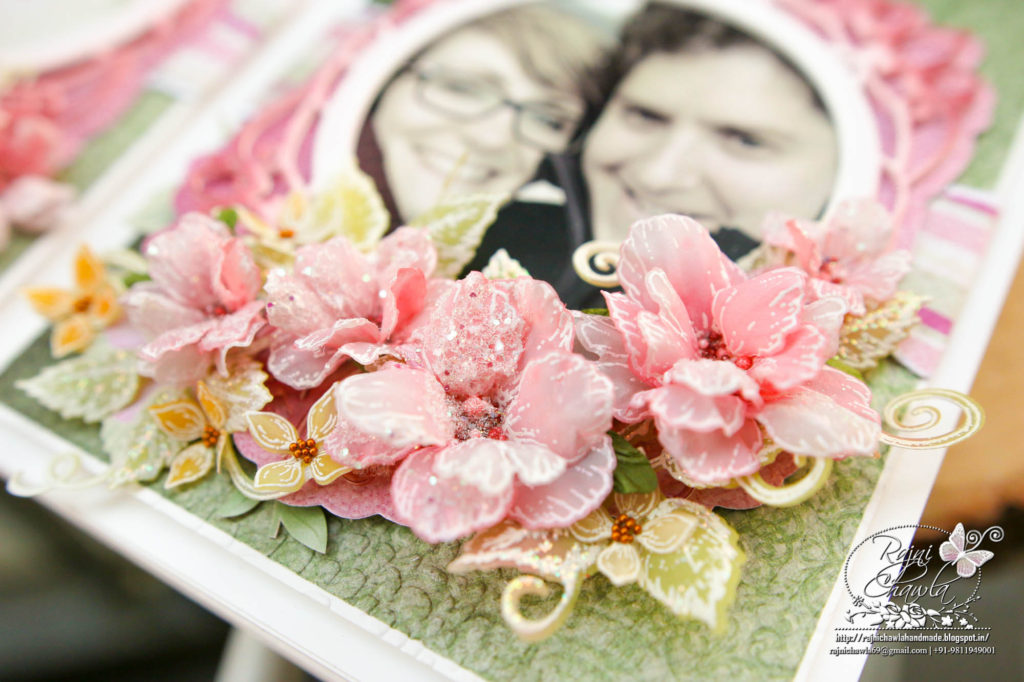
Stamp all the required images from Small Wild Rose, Large Wild Rose, Lush Lilac, and Leafy Accent Stamp sets on Vellum cardstock using Hero Arts white pigment ink, sprinkle white heat embossing powder and dust extra. Next, heat set the images and cut them using their coordinating dies. Color the Roses using Worn Lipstick, Leaves using Peeled Paint, and Lush Lilacs using Rusty Hinge distress oxides. Shape the roses in their coordinating molds, and foliage and Lilacs using needle tool. Add prills to the flower centers.
Form a small bouquet of flowers and assemble the card as shown. Add a little sparkle to the flowers using Rajni Chawla’s Frosting Powder.