


Good Morning All….
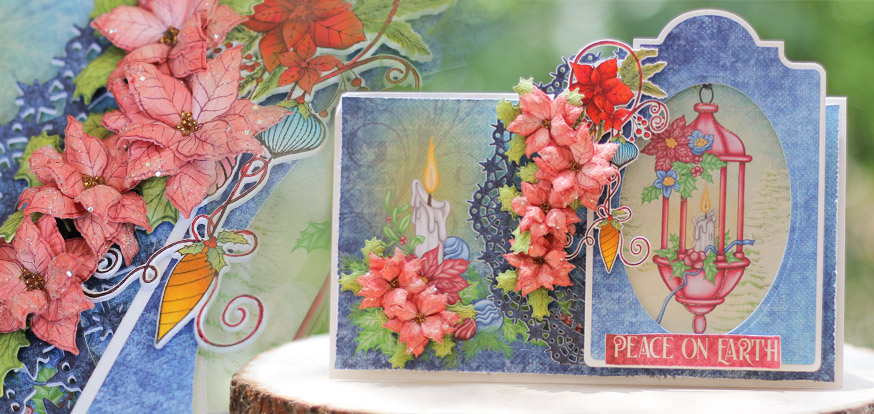
Welcome back to my blog. Here I have another beautiful card using the Heartfelt latest Christmas release, Candlelit Christmas Collection.
HCD1-7249 Christmas Poinsettia & Holly Die
HCD1-7252 Starry Night Decorative Die
HCD1-7251 Glow of Christmas Die
HCPC-3881 Christmas Poinsettia & Holly Cling Stamp Set
HCPC-3883 Glow of Christmas Cling Stamp Set
HCDP1-2104 Candlelit Christmas Paper Collection
HCFB1-478 3D Christmas Poinsettia Shaping Mold
HCD1-7157 Eyelet Oval & Basics Large Die
HCD1-7202 Album Tags and Accents Die
478455 Zig Clean Color Real Brush Markers – 36 Pack
409311 Color In Watercolor Brush – Fine
RACP468 Ranger Archival Ink Pad – Jet Black
159723 Designer Dries Clear Adhesive
PGM15015 Rajni Chawla’s Crystal Clear
HCDA2-450 Stack and Store Daubers-Pack of 30
DDOTS Double Dots 100pc. -3D Foam Circles
RACP461 Ranger Archival Ink Pad – Vermillion
368771 Scor-Tool
Other Products Used: Smooth White Cardstock, Glitter Balls, Acetate Sheet, Heating Tool
Videos Referred: For more tips on creating with the Candlelit Christmas collection, watch the tutorial at https://youtu.be/PJeFD_d3AiM.
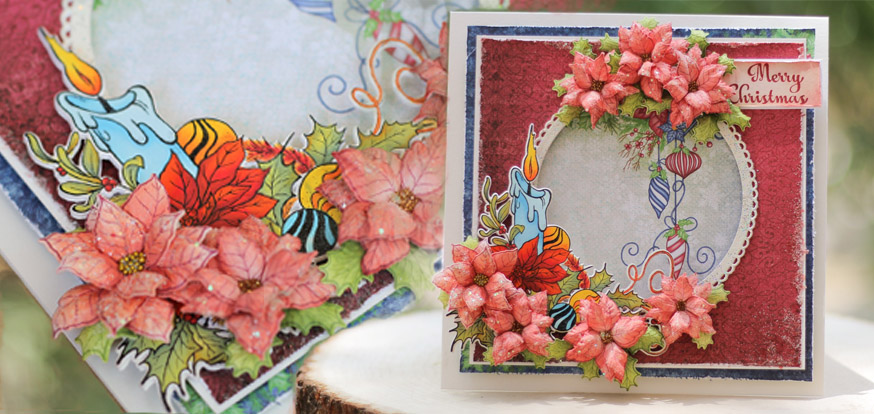
Instructions: The ready top-fold card from smooth white cardstock measures 8 1/2″ by 5″. Choose a paper from the paper collection to create the card front. Cut the designer paper 1/4″ smaller on all sides than the ready card base and distress all the sides using sharp scissors or distressing tool.
To create the top panel, choose the paper from the paper collection and cut a blue tag using Album Tags and Accents Die. Also, cut the large tag using white cardstock and glue the blue tag on top as shown. Once the glue dries, cut an oval window using 2nd largest die from the Eyelet Oval & Basics Large Die. Glue an acetate sheet from behind as well. Choose another paper with a glowing candle lamp to create the base of the window. Highlight the image using delicate glitter and close the window when dry.
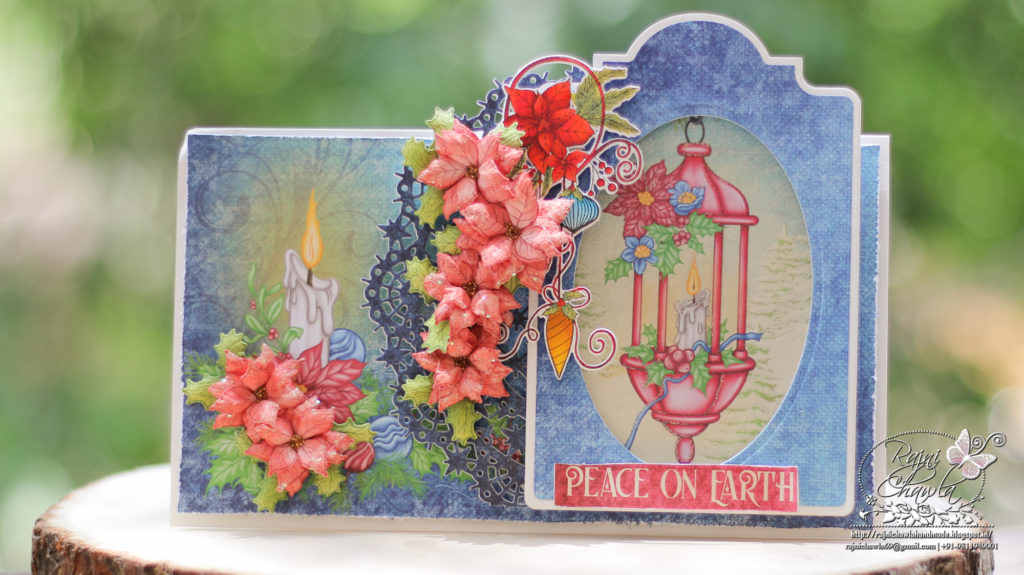
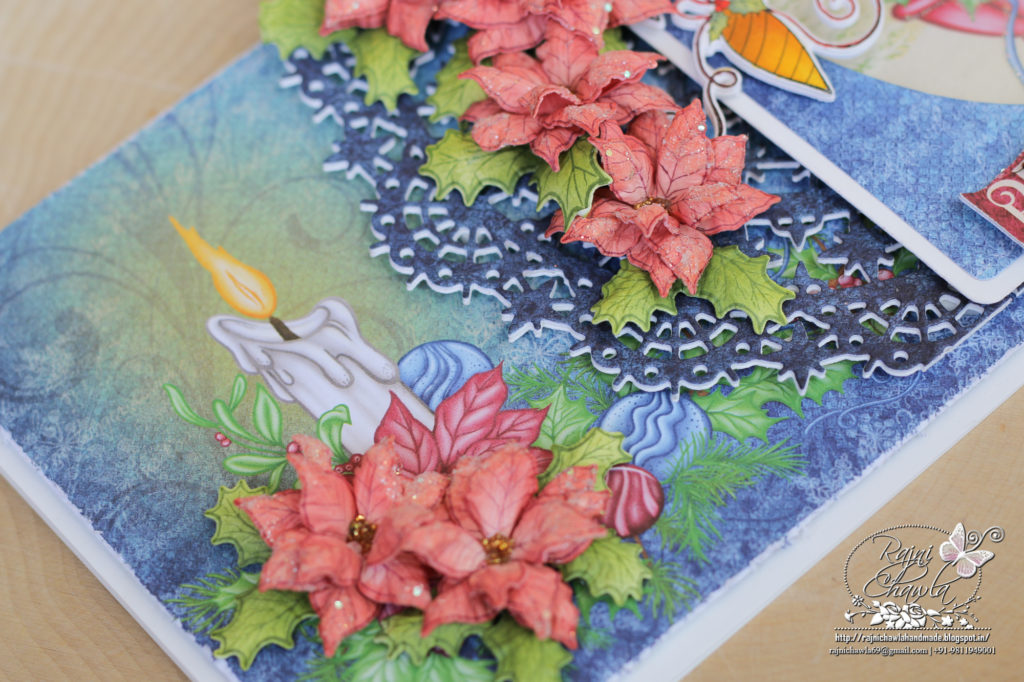
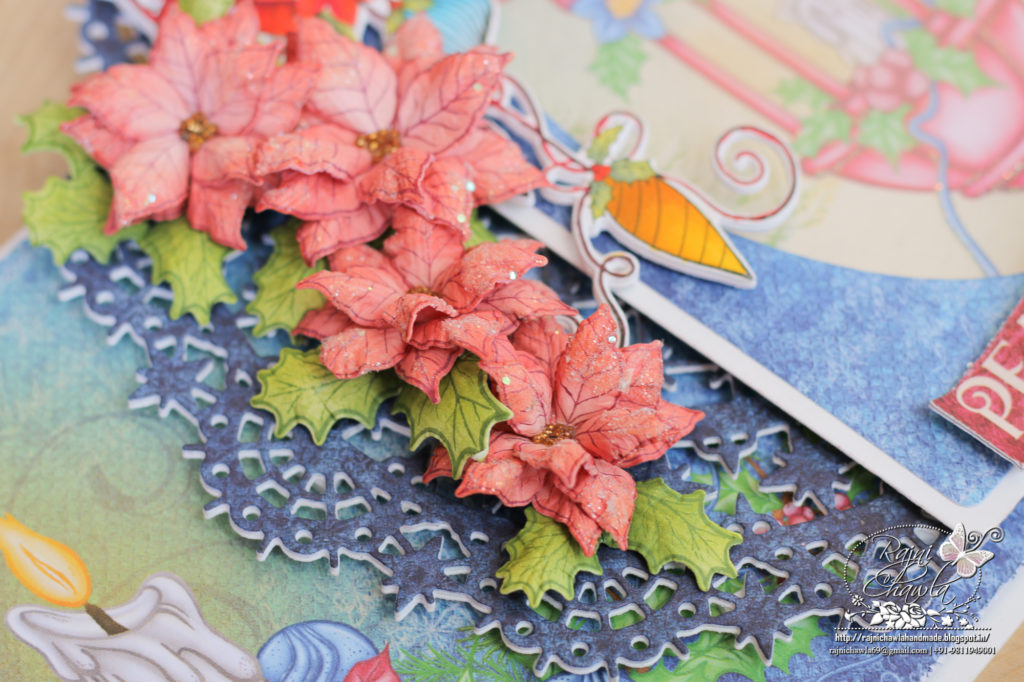
Cut 2 Christmas doilies from white cardstock using Starry Night Decorative Die and one die cut of same from deep blue pattern paper from the same collection. Stack the die cuts together keeping blue on the top. Arrange the tag on the ready card front as shown, keeping the stary night doily on the left side as shown.
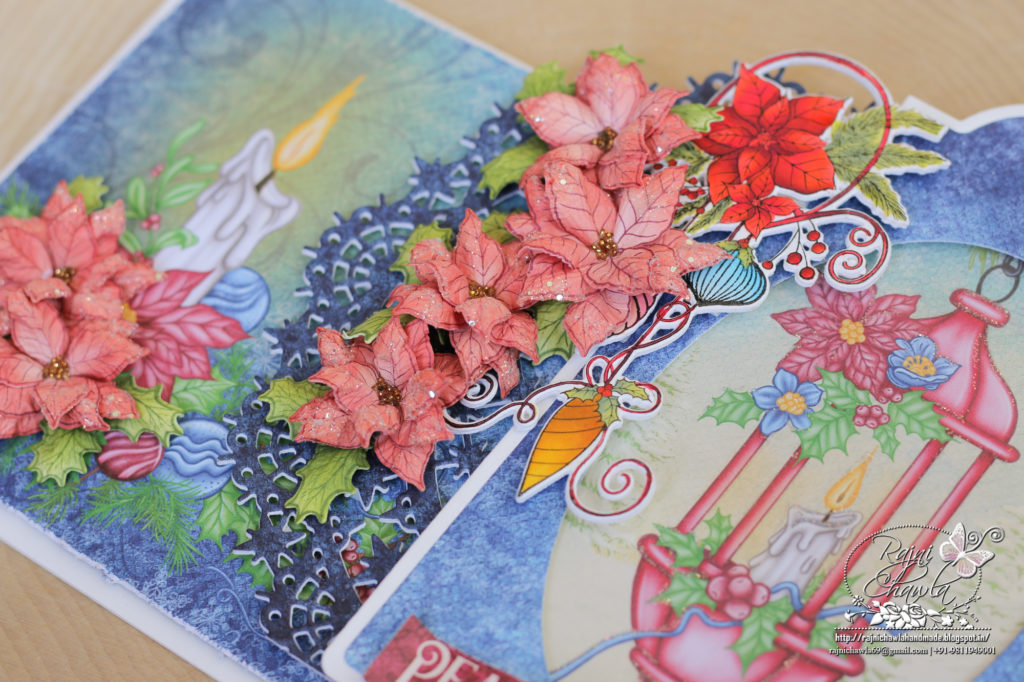
Stamp the image from Glow of Christmas Cling Stamp Set with black archival on smooth white cardstock using black ink and color it using Zig Clean Clear Brush Markers. Die-cut the image using its coordinating die and add an extra die-cut to add little strength.
Stamp a couple of Poinsettias using Christmas Poinsettia and Holly Cling Stamp Set using Geranium red archival ink and cut them using their coordinating dies. Color all the Poinsettias using Vermillion Red Archival Ink and shape them using its coordinating mold. Glue the petals to form beautiful Poinsettias and add golden glitter ball to the center using an adhesive that dries clear. Once all the elements are ready, assemble the card as shown and add a sentiment from the paper collection and glitter the flowers using crystal-clear powder.
Another beauty Rajni! I love how you used the tag and your poinsettias are gorgeous!