Good morning, friends
Welcome back to my blog. It’s inspiration Wednesday with Heartfelt Creations. For today’s inspiration, I created a shaker element using the large ornament from the collection and it turned out beautiful.
Here are the card details.
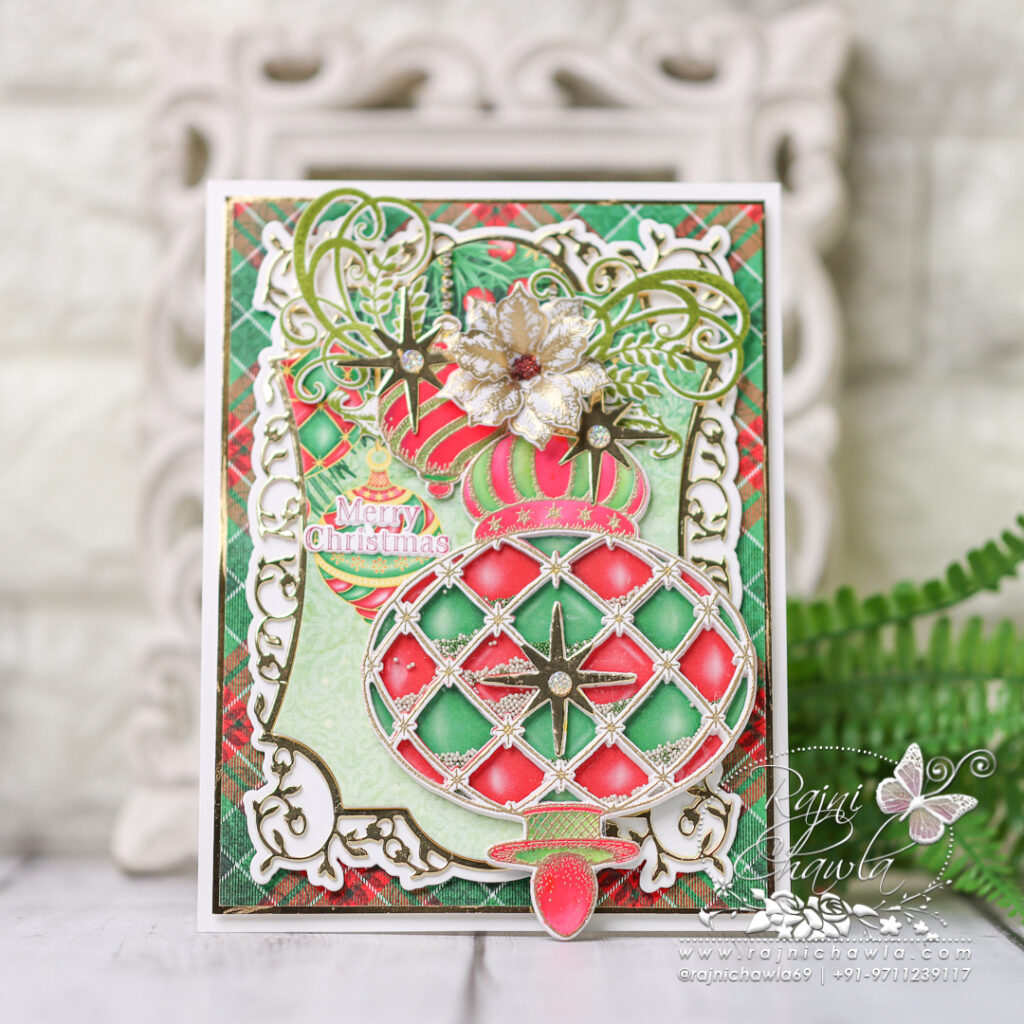
The ready side-fold card measures, 6″ by 8″. Cut a smooth white cardstock measuring 12″ by 8″ and score it at 6″ on the longer side. Crease and score it well using a bone folder.
Choose a pattern paper from the designer paper collection and cut measuring 5 1/2″ by 7 1/2″. Mat it on the Luxe Gold cardstock creating a delicate border of 1/16″ on all sides. Layer the panel on the card base using foam dots.
Cut one shadow from white cardstock, and 2 pieces of die-cuts, one each from smooth white cardstock and Luxe Gold cardstock using Fancy Classic Rectangle Frame Die. Stack and glue both die-cut frames together keeping the gold one on top. Next, adhere the fancy rectangle frame on the solid white shadow die cut. Further, layer the ready frame on the card front using foam dots.
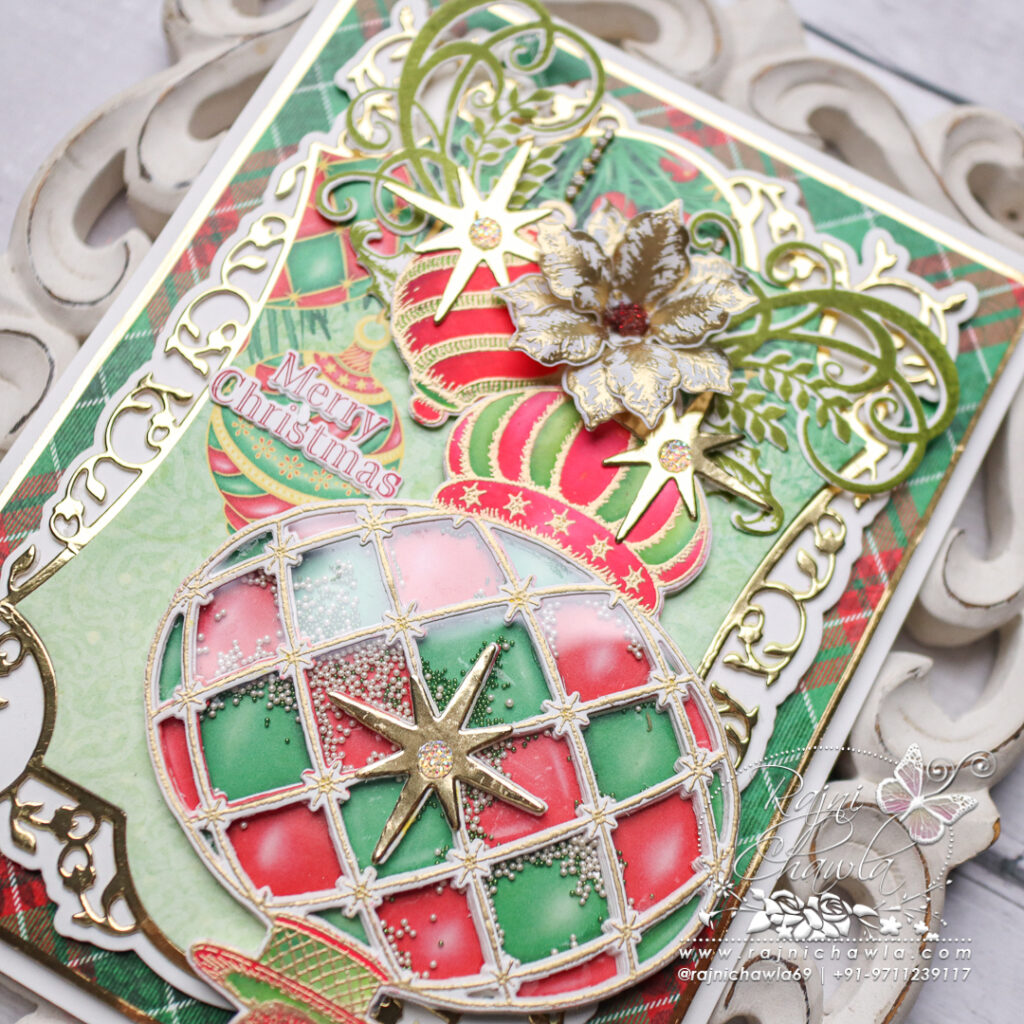
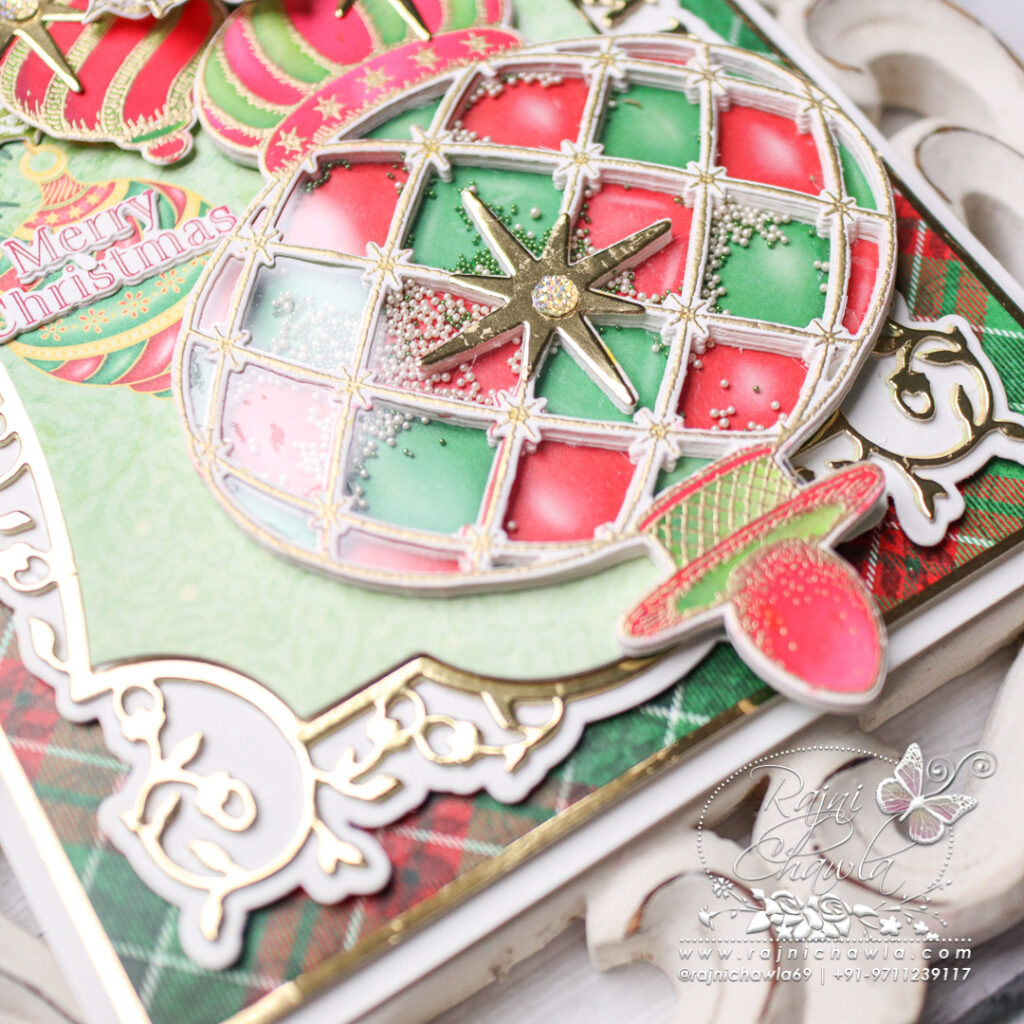
Stamp the required images from Noel Holiday Ornaments and Large Holiday Ornament Stamp set and heat emboss them using Versamark sticky ink and gold heat embossing powder. Paint both images using Zig Clean Clear Brush Markers. Cut the images using their coordinating dies. To the small painted ornament glue extra 2 die cuts on the back for extra strength and keep aside.
To create the shaker ornament, cut 6 extra die cuts and glue them together. Cut the printed image of the ornament from the pattern paper collect and adhere it on the bottom. Cut a solid ornament using an acetate sheet and adhere it to the painted image. Fill the ornament with shaker beads and glue the window on the top using tacky tape. Keep something heavy on the ready ornament and wait till the glue dries.
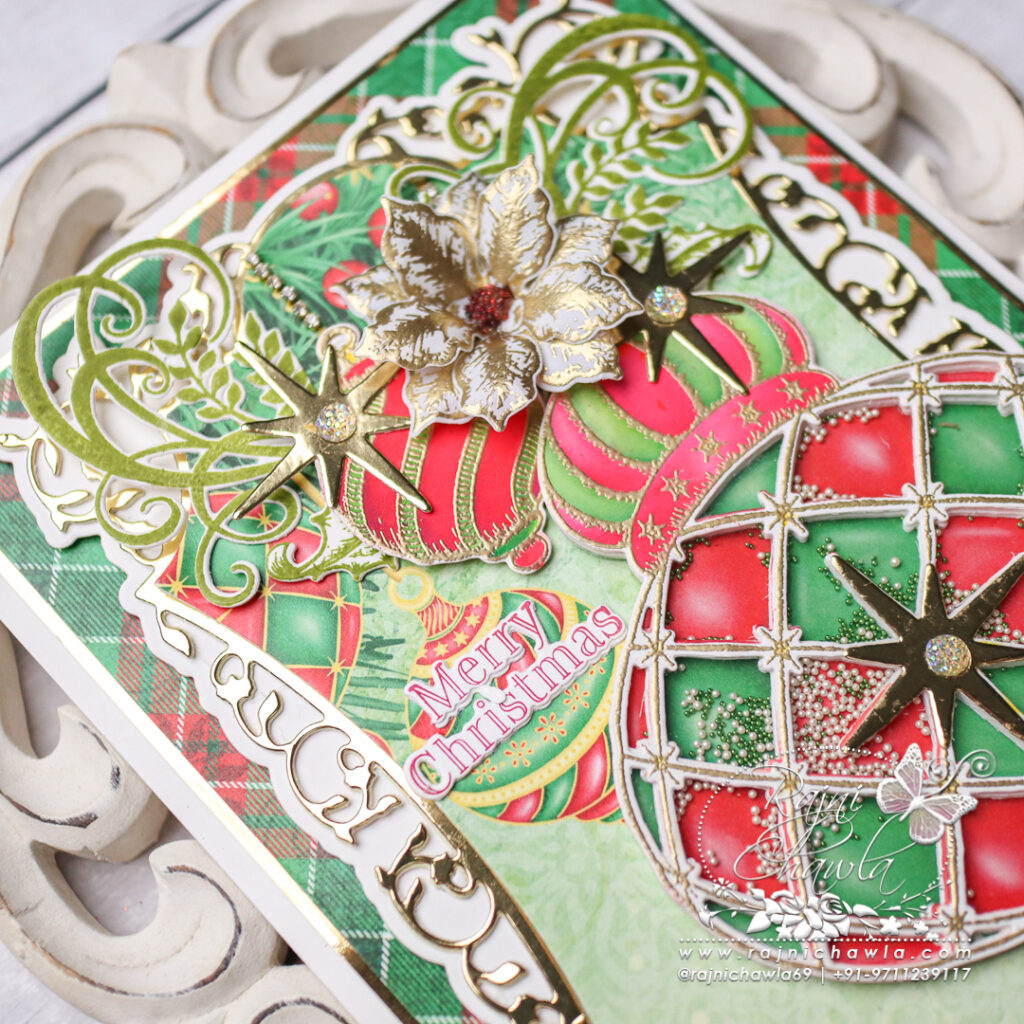
Stamp 2-3 Holly berry sprays using Leaf green Archival ink and Holly Berry Spray Cling Stamp Set and cut it using its coordinating die set. Also, stamp and gold heat emboss Poinsettias using a Large Festive Poinsettia Cling Stamp Set on vellum cardstock. Cut these using a coordinating die set and shape the flower using flower-shaping tools.
Once all the elements are ready, assemble the card as shown and complete the card by adding a stamped and die-cut Christmas sentiment from Christmas Lantern Cling Stamp Set.