Happy Wednesday!!
How are you spending the first days of May…..are you taking time to create something beautiful today? How about getting started on your birthday or special Mother’s Day projects. If you feel stuck and want some ideas to get you started, you are in the perfect spot! Each Wednesday I bring you the completely new inspiration that allows you to jump-start your creativity and inspire you to create something beautiful!
Supplies from Heartfelt Creations:
HCD1-7245 Adorn It Pocket Accents Die
HCD1-7248 Regal Frame & Accents Die
HCPC-3752 Classic Rose Cling Stamp Set
HCPC-3753 Classic Rose Vines Cling Stamp Set
HCD1-7110 Classic Rose Die
HCD1-7111 Classic Rose Vines Die
HCD1-7170 Lush Lilac Die
HCPC-3816 Lush Lilac Cling Stamp Set
HCPC-3845 Just For You Sentiments Cling Stamp Set
HCFB1-462 3D Rose Shaping Mold
HCDP1-297 Floral Fashionista Paper Collection
18002 Rajni Chawla’s Vellum Flowerite – 10 Sheets
TSSZ53 StazOn Ink Pad – Eden Green
RAHT Heat It Craft Tool
PGM15015 Rajni Chawla’s Crystal Clear
HCDA2-450 Stack and Store Daubers-Pack of 30
CB80 ColorBox Pigment Ink Pad – Frost White
HCST1-401 Deluxe Flower Shaping Kit
HCS1-459-2 Assorted Pearl Stamens-Medium
Other Supplies Used: Smooth white card stock, Green color glitter sheet, Sea Foam Pearlescent Sheet, Gold Foil Heavy Cardstock, Golden ribbon, Acetate Sheet, Distress oxides Seedless Preserves, Carved Pumpkin, Peeled Paint and Twisted Citron.
Videos Referred:
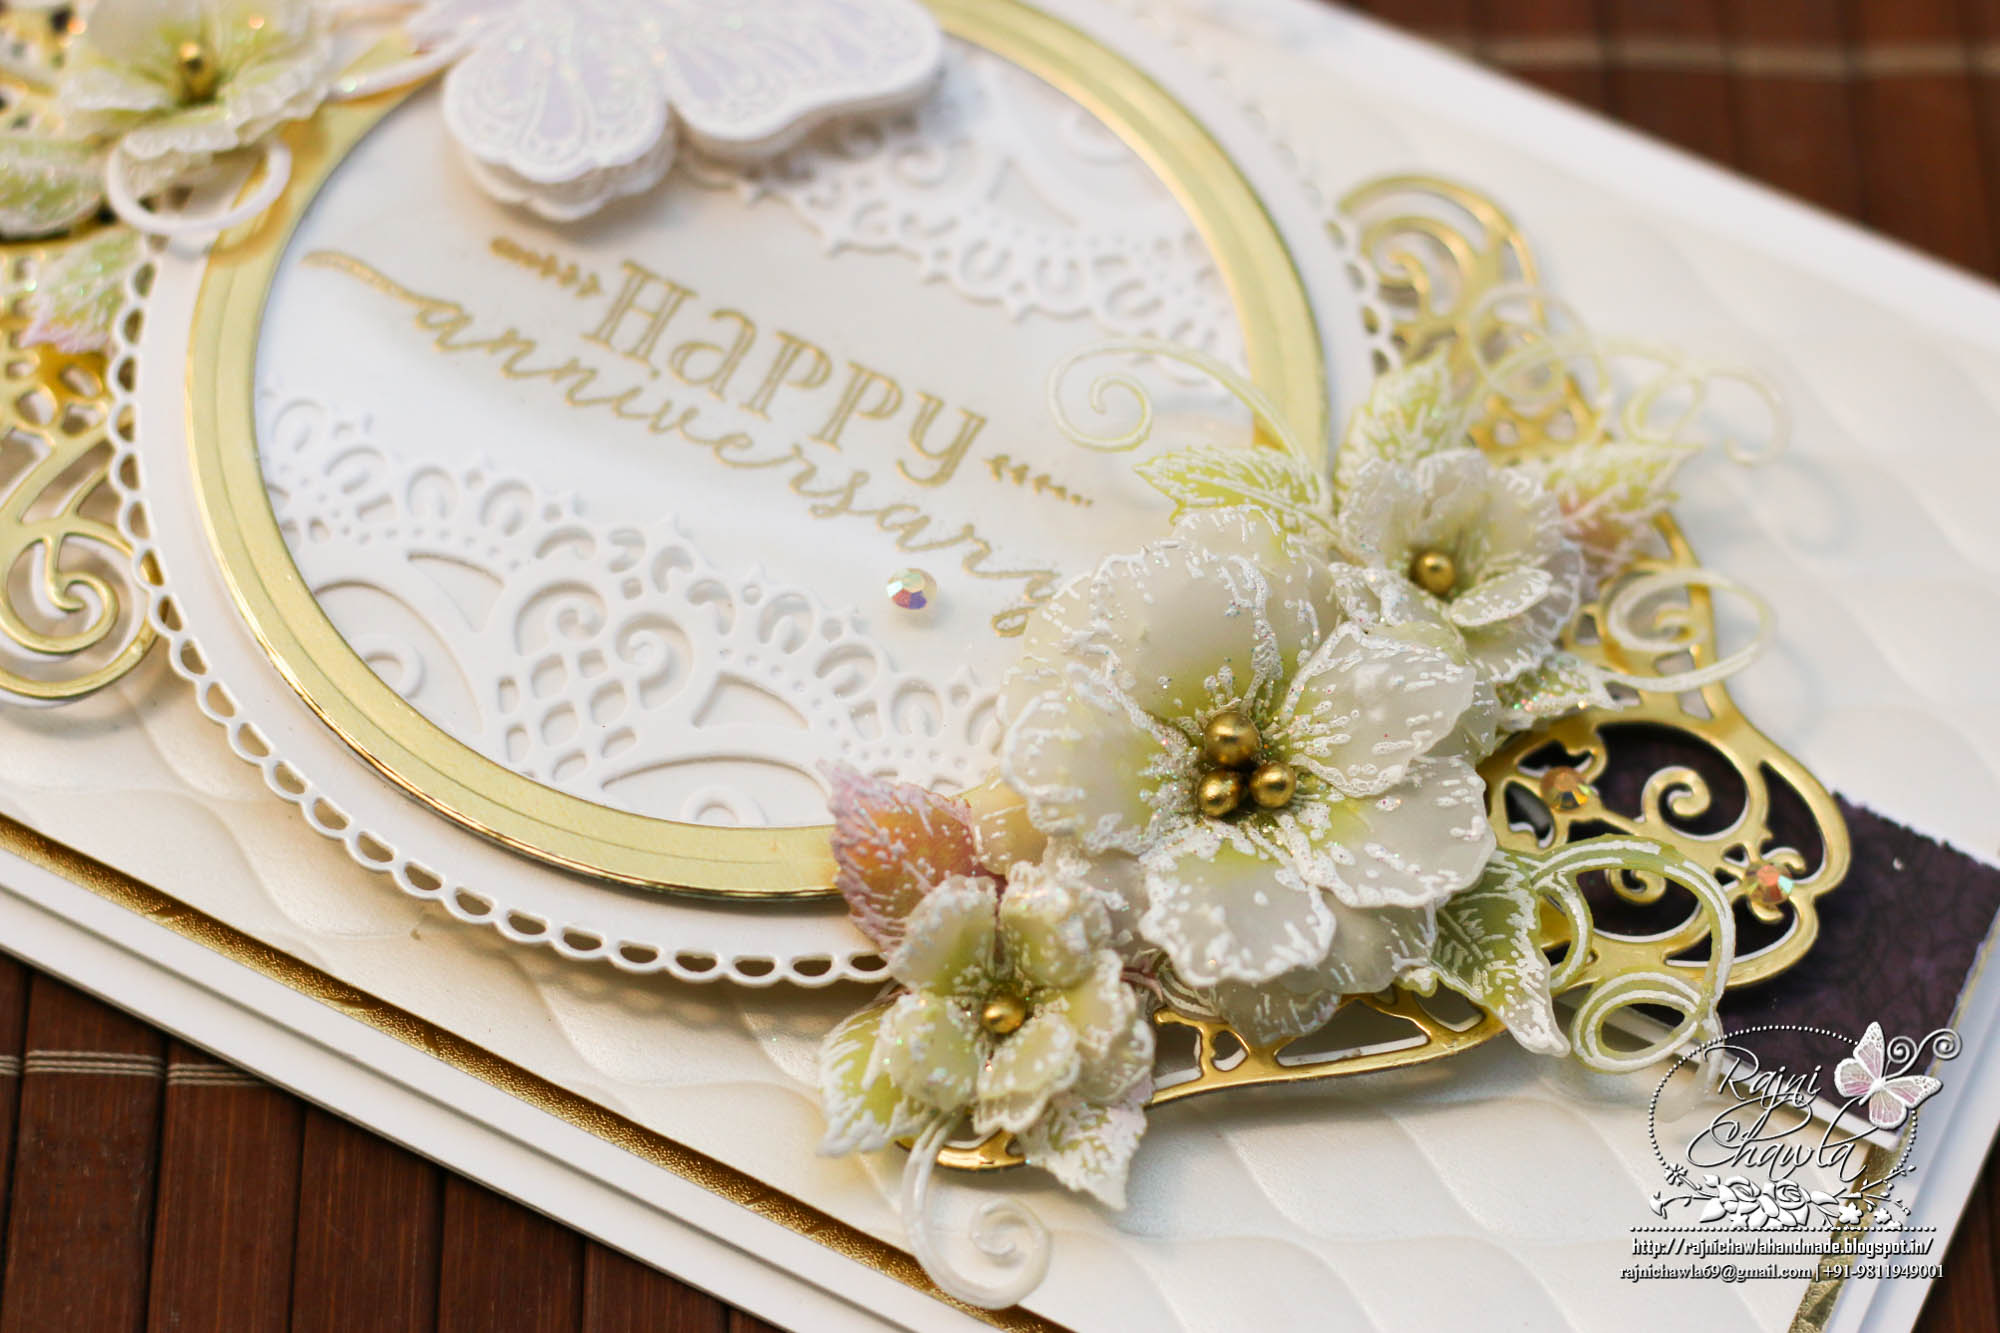
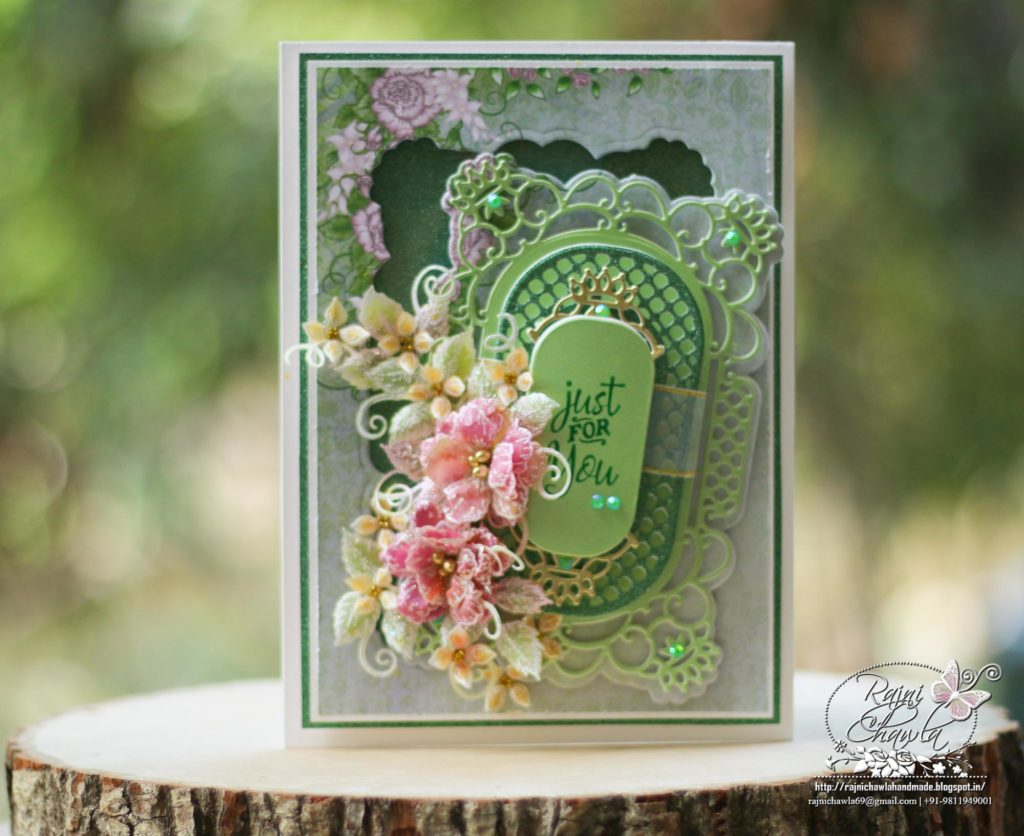
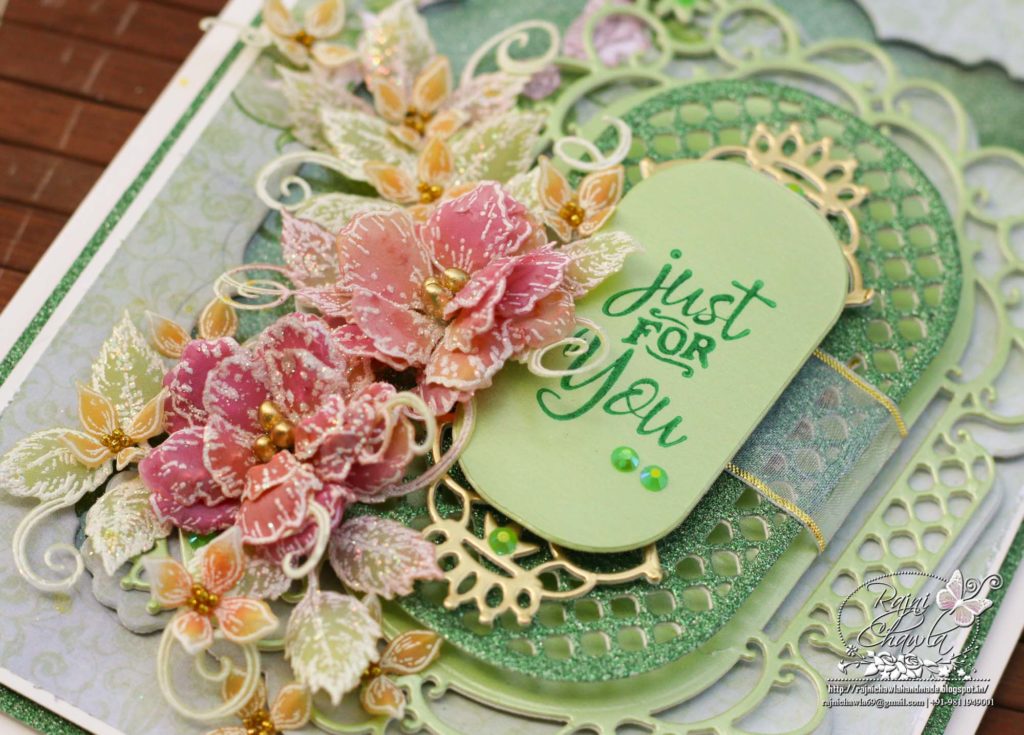
Instructions: The ready top-fold card from smooth white cardstock measures, 6″ x 8″. To create the top panel, choose the paper from the Floral Fashionista Collection and cut to size measuring 5″ x 7″. Distress all the edges using sharp scissors. and glue it on white cardstock, creating 1/16″ white border all around the pattern paper. Next, secure the shadow die from Regal Frame & Accents Die set exactly in the center and run it through die cutting machine. Cut a piece of acetate sheet a little smaller to 5″ x 7″ and adhere it behind the top panel creating a see-through window. Cut green color glitter sheet and layer it behind the window and further layer it on white cardstock and finally on the ready card stock.
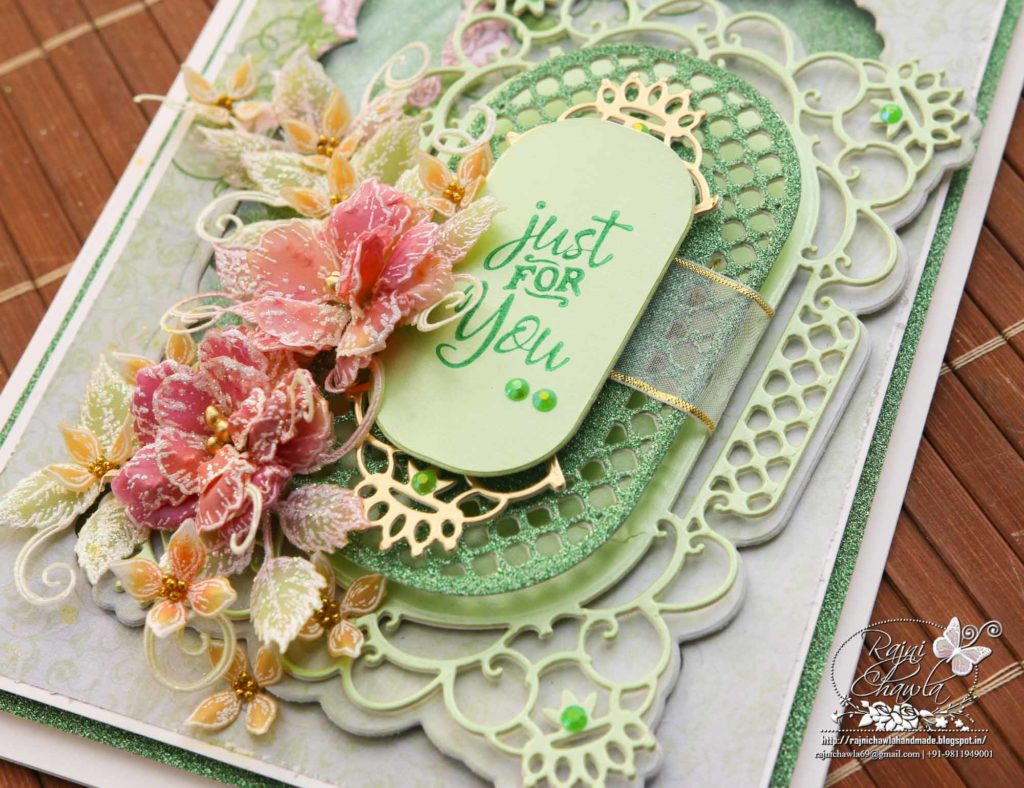
Using Regal Frame and Accents Die, cut a fancy frame from Sea Foam Pearlescent cardstock, Also cut 2 corners using Adorn It Pocket Accents Die Set from gold foiled heavyweight cardstock and a fancy die from the green glittered sheet using Regal Frame Die Cut. Layer all the die cuts as shown, including the ribbon between the layers. Once the panel is all ready, layer it on the ready card base a little on the right side corner.
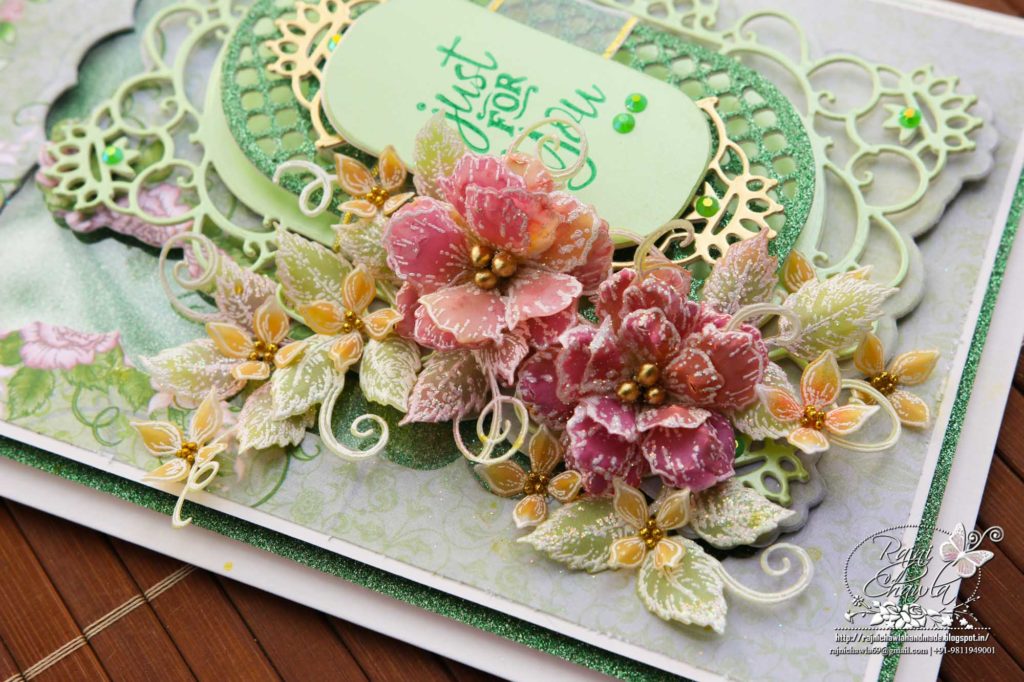
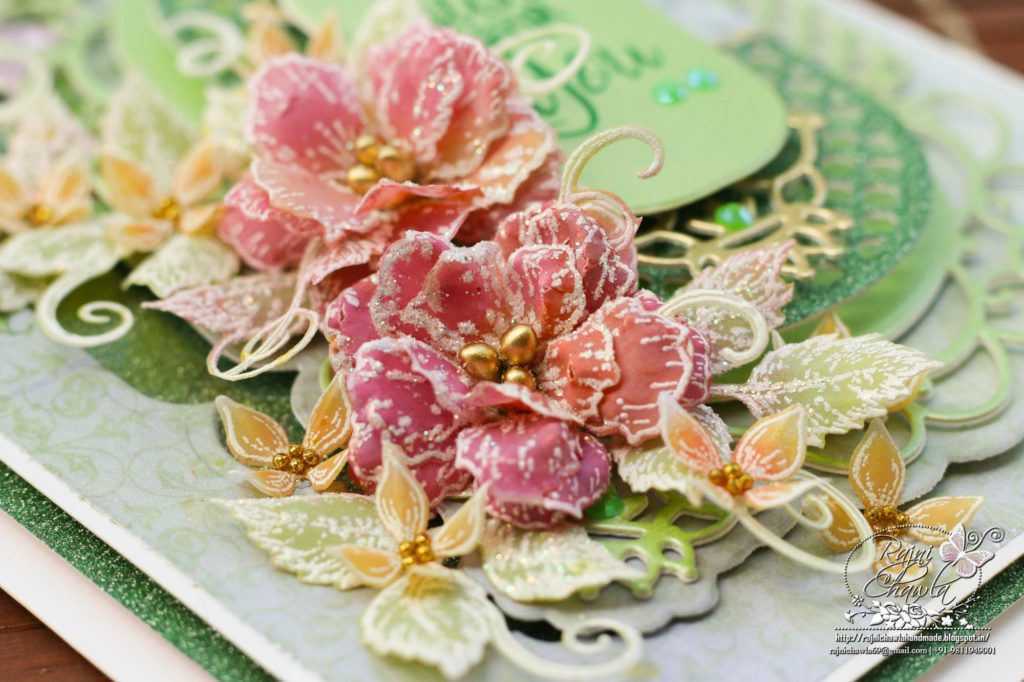
For Vellum Roses and leaves, Stamp the images from Classic Rose Stamp set, Classic Rose Vines Cling Stamp Set and Lush Lilac Cling Stamp Set with white Color Box ink on Vellum, Sprinkle white heat embossing powder and dust extras in the funnel tray and heat set. Color the flowers using Distress Oxide Seedless Preserves, Carved Pumpkin, Peeled Paint and Twisted Citron. Die cut all the images using their coordinating dies. Shape the flowers using a shaping mold. Press the centers and glue them together to form beautiful flowers. Pick the flower centers using needle tool and secure golden color pearl stamens using tacky glue. To the tiny Lilacs, add golden glitter balls using an adhesive that dries clear.
Once all the elements are ready, assemble a small flower bouquet and complete the card by adding a sentiment from Just for You Sentiment Stamp Set. For extra sparkle add Rajni Chawla’s Crystal clear.