


Good Evening Friends…
It’s 2 days hardly that we relocated to a new house and my house is all in mess and omg my craft room….all packed and me not in action past 2 weeks. It might take another week to get started again.
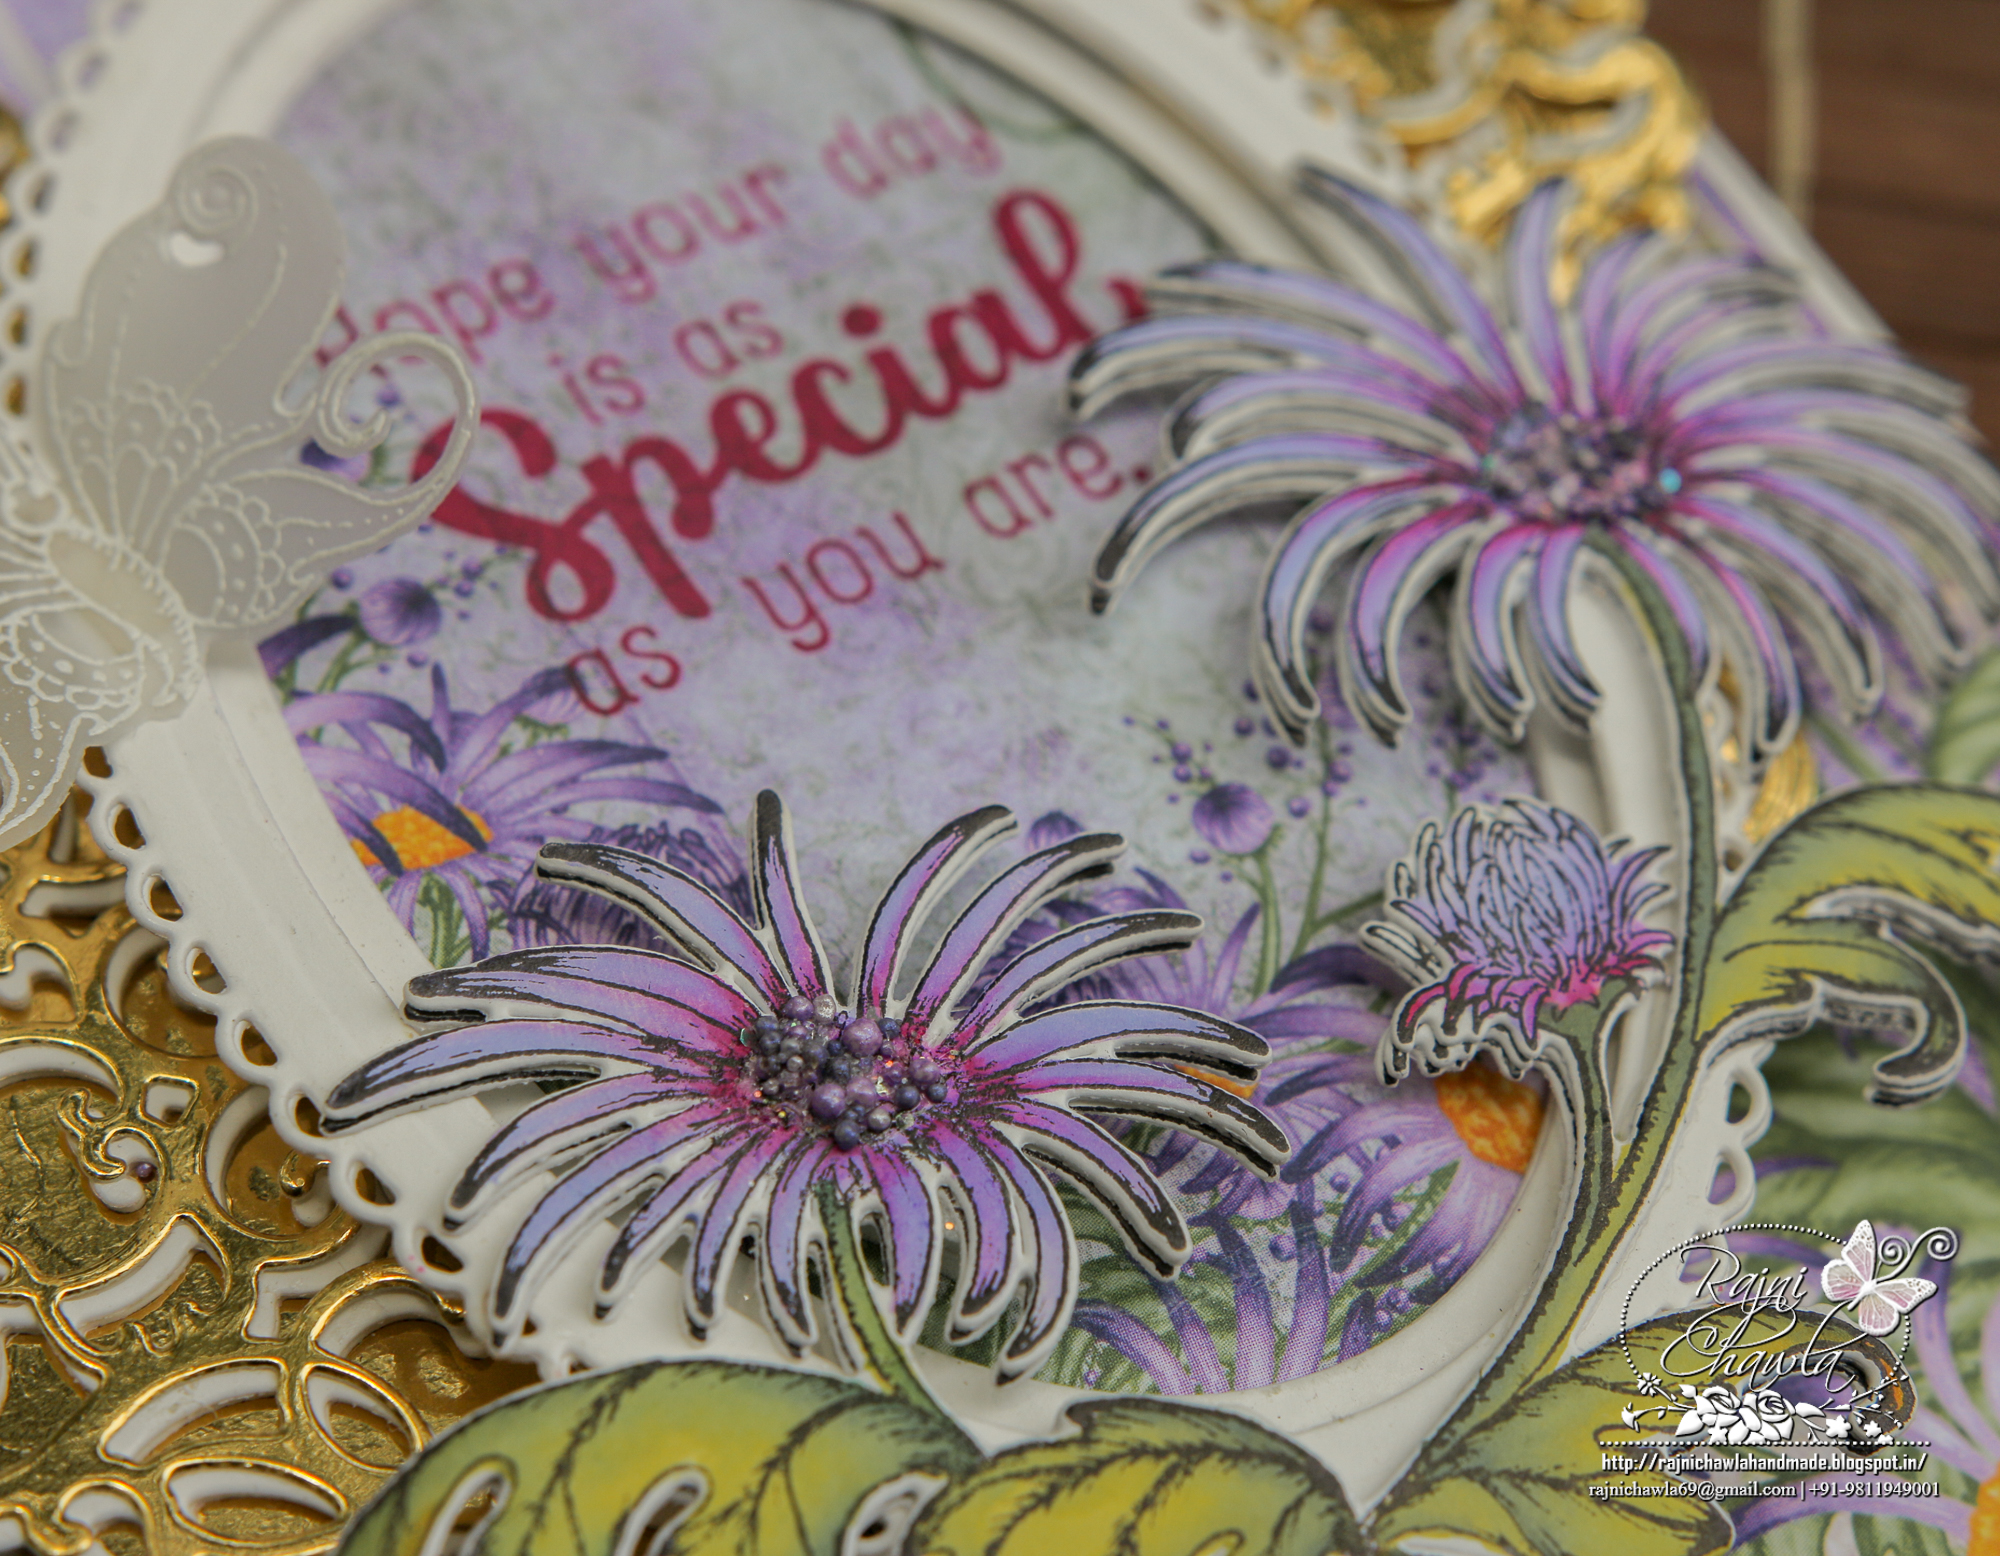
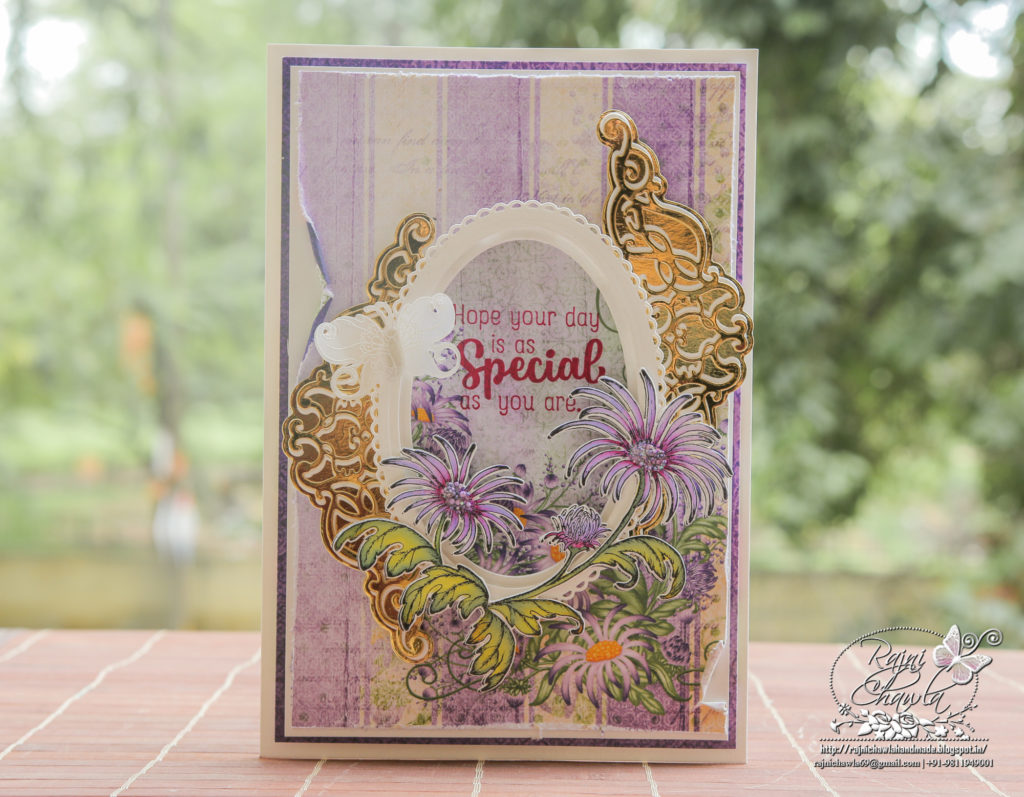
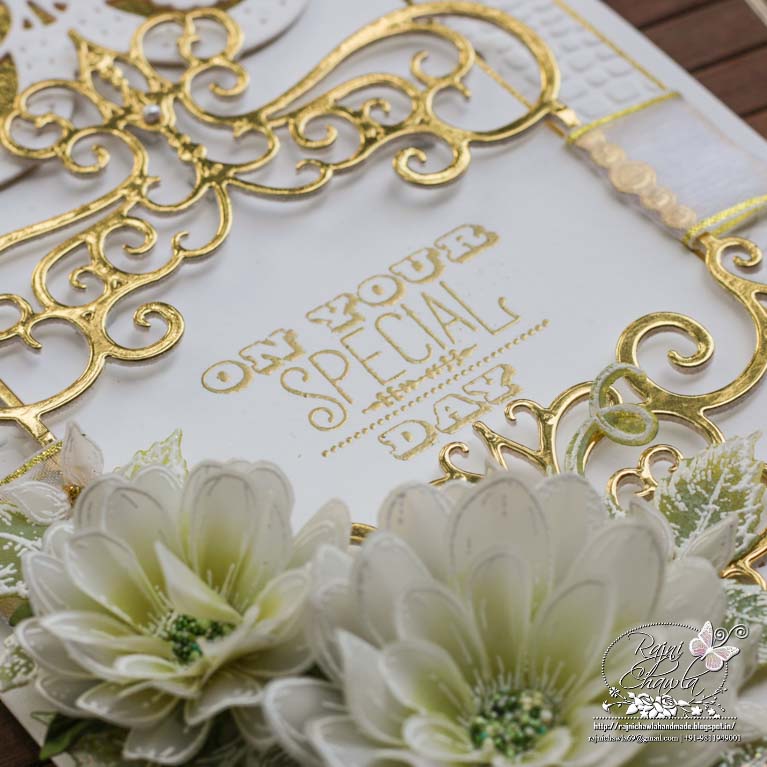
Once again it’s an inspiration Wednesday and I have this beautiful special wishes card to share.
Supplies From Heartfelt Creations:
HCDP1-2106 Wild Aster Paper Collection
HCD1-7258 Wild Aster Spray Die
HCPC-3888 Wild Aster Spray Cling Stamp Set
HCD1-7262 Swirly Border Accents Die
HCD1-7156 Eyelet Oval & Basics Small Die
HCD1-7157 Eyelet Oval & Basics Large Die
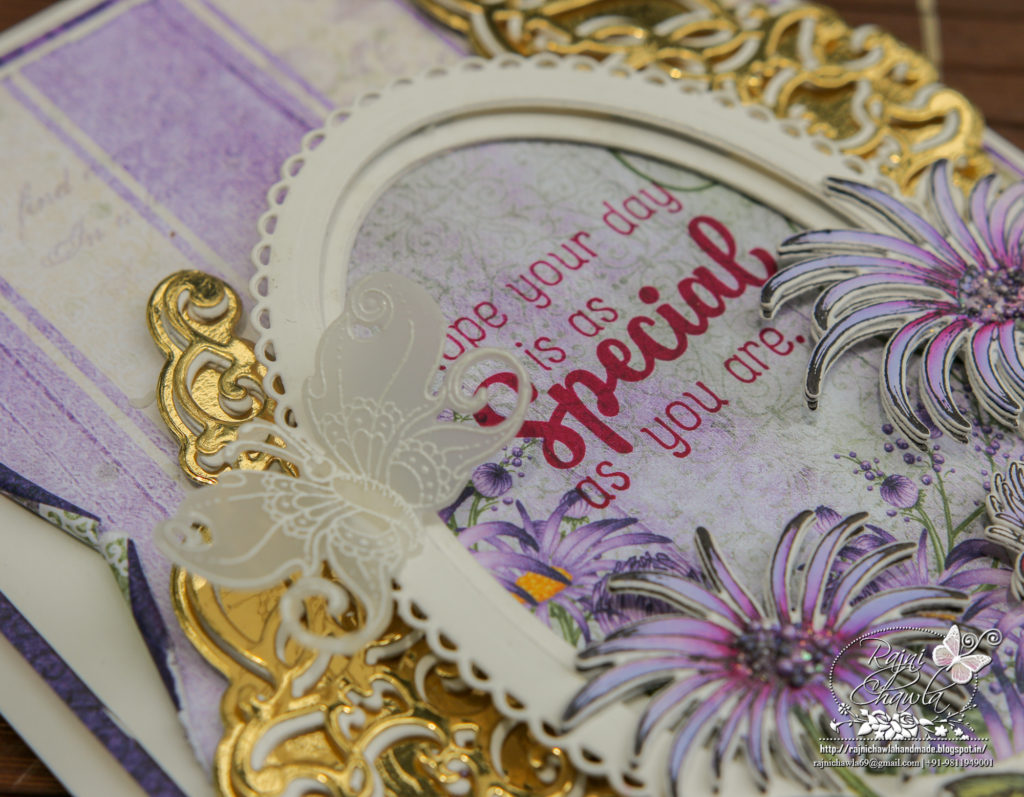
HCD1-7177 Butterfly Dreams Border Die
HCPC-3823 Butterfly Dreams Border Cling Stamp Set
HCPC-3845 Just For You Sentiments Cling Stamp Set
HCD1-7202 Album Tags and Accents Die
RACP614 Ranger Archival Ink Pad – Magenta Hue
478455 Zig Clean Color Real Brush Markers – 36 Pack
409311 Color In Watercolor Brush – Fine 159723
Designer Dries Clear Adhesive RACP468
Ranger Archival Ink Pad – Jet Black
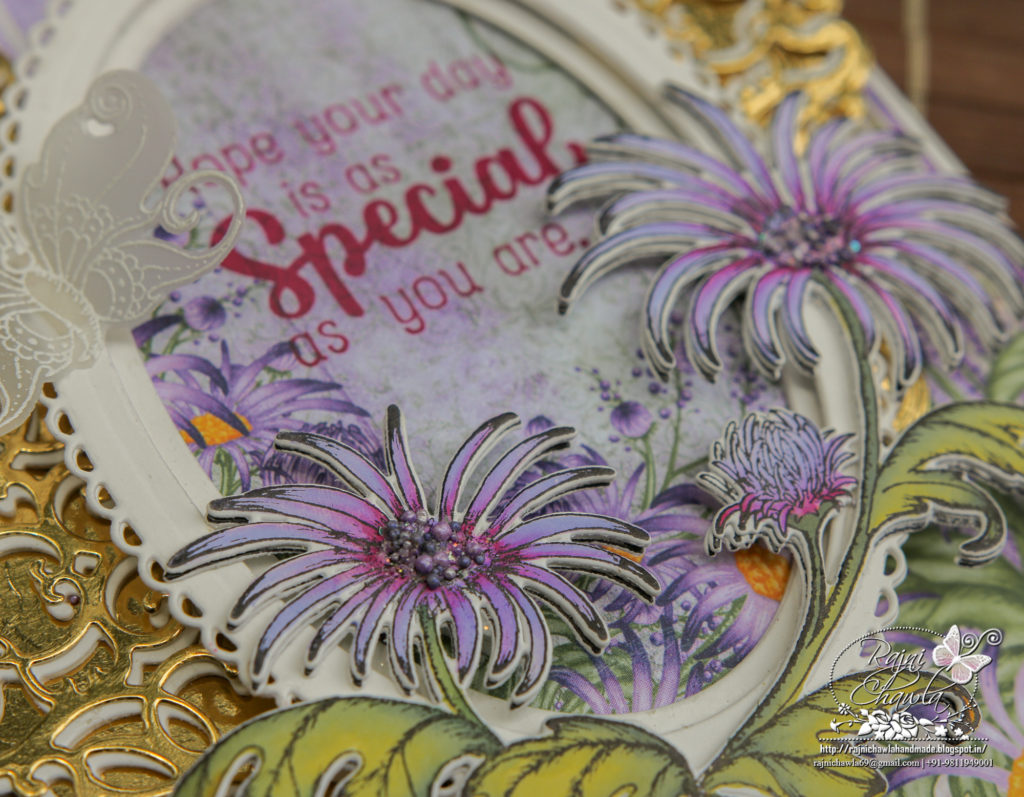
ANC822 I Cannot Tell A Lilac Prills
18002 Rajni Chawla’s Vellum Flowerite – 10 Sheets
Other Supplies Used: Smooth White Cardstock, Superfine White Heat Embossing Powder by Get Inspired, Hero Arts White Pigment Ink. Foam Dots, Sharp Scissors, Die Cutting Machine, and Score Board.
Videos Referred: For more tips on creating with the Wild Aster Collection watch the tutorial at https://youtu.be/1mriCKqh-Ac.
Instructions: The ready side – fold card from smooth white card stock measures, 6″ by 8 1/2″. To prepare the first layer, choose a deep purple paper from the designer paper collection and cut measuring 5 1/2″ by 8 “. The top layer measures 5″ by 7 3/4″ and is distressed on all the sides. Partial tear to create more interest. Mat white card stock creating a border of 1/16” on all the sides. Layer this on the deep purple paper and further layer it on the ready card base.
To create the oval window, cut 2 frames each from white cardstock using Eyelet Oval Smal and Eyelet Ovals Large dies. Stack the die cuts to make them bit sturdy and layer larger frame on the top of the smaller frame as shown. Next cut an oval using the same die from the pattern paper and stamp the sentiment. Glue this behind the ready window oval frame.
Cut 2 white and 2 golden die cuts using Swirly Border Accents Die. Prepare 2 sets of die cuts by gluing one each of white and golden little offset to each other as shown. Further mat these on the golden die-cut bases cut using same die set.
Stamp the image from Wild Aster Spray Cling Stamp Set using black archival ink on white cardstock, cut it using its coordinating die and paint it using Zig Markers. Add extra die cuts to give little strength as the floral spray will hang out of the window frame. Add prills to the flower centers.
Once all the elements are ready, assemble the card as shown.
A beautiful work of art Rajni! Love it!