Happy Wednesday!!
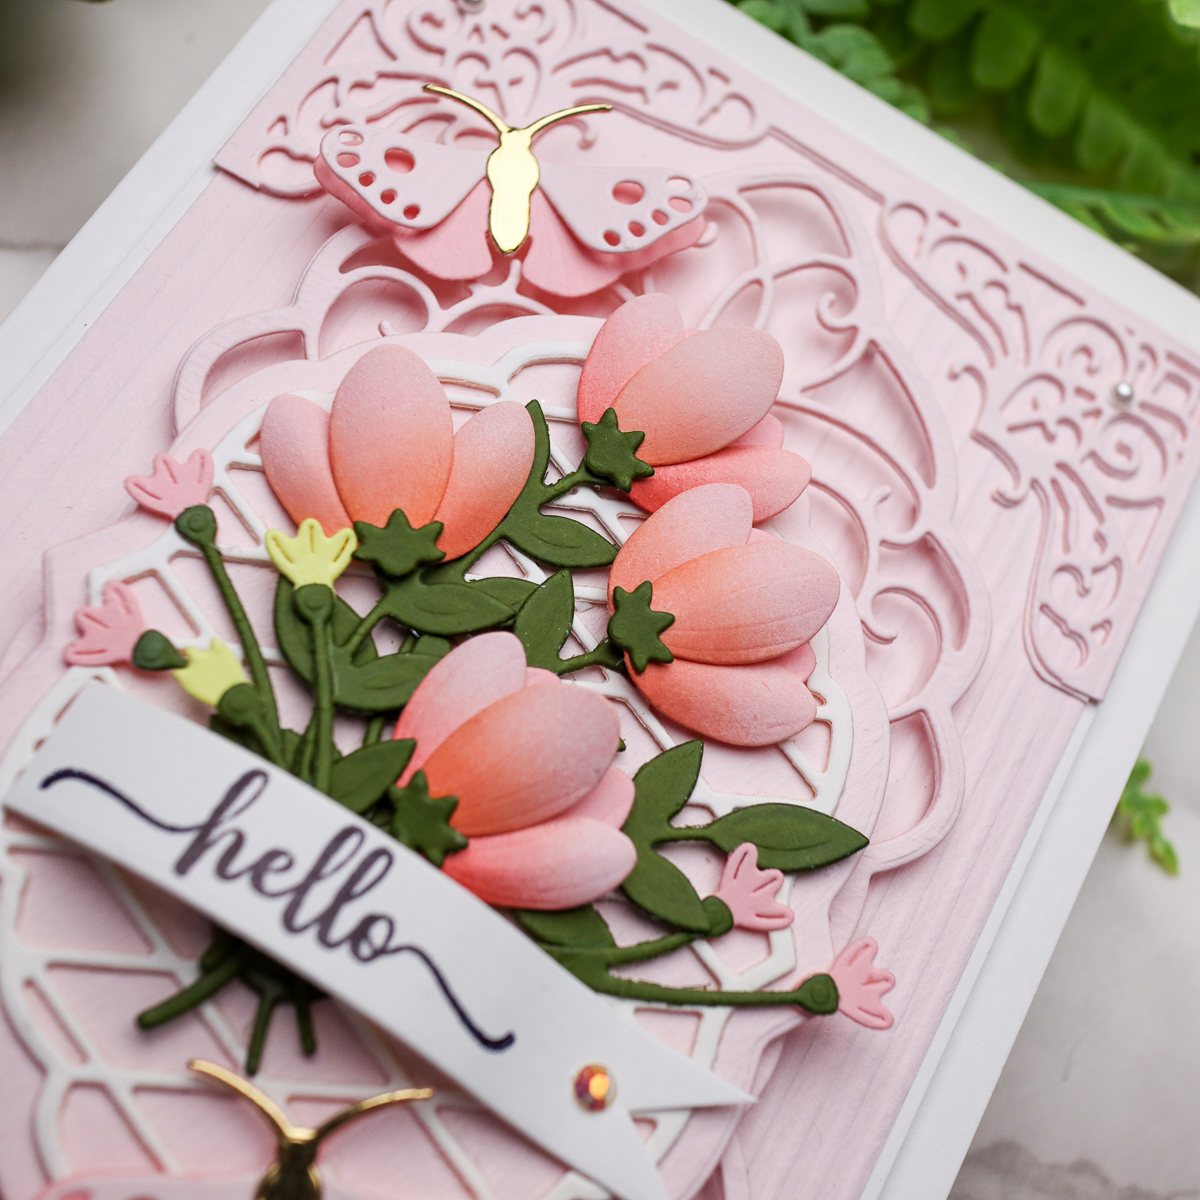
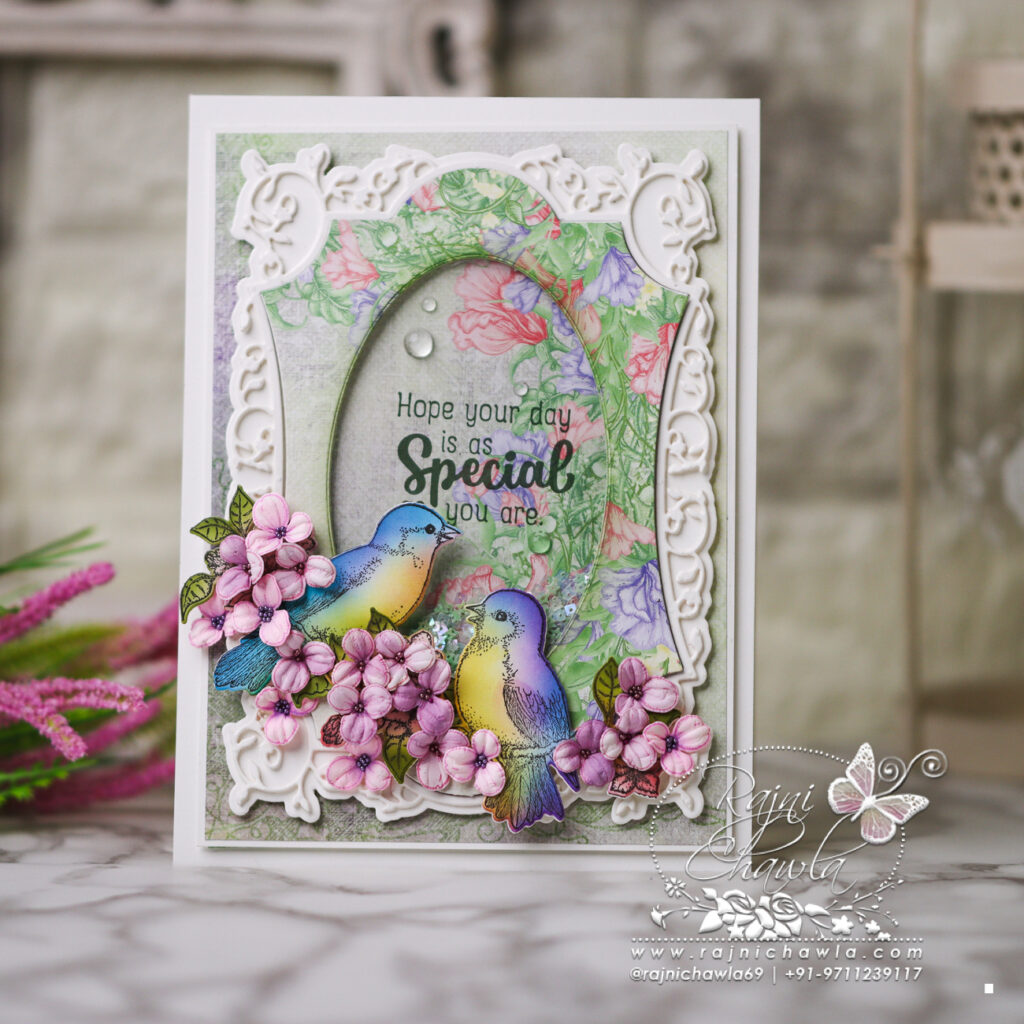
Its an inspiration day for Heartfelt Creations. Today, I have this singing birds floral card to share.

List of Supplies from Heartfelt Creations:
HCD2-7384 Fancy Classic Rectangle Frame Die
HCD2-7382 Simply Classic Oval Frame Die
HCD1-7297 Floral Song Die
HCPC-3913 Floral Song Cling Stamp Set
HCDP1-2137 Sweet Pea Paper Collection
HCPC-3845 Just For You Sentiments Cling Stamp Set
HCPC-3911 Wisteria Petals Cling Stamp Set
HCD1-7295 Wisteria Petals Die
HCST1-401 Deluxe Flower Shaping Kit
HCPP1-475 Deluxe Flower Shaping Paper Pack of 50 – White
ANC822 I Cannot Tell A Lilac Prills
HCGP1-488 Luxe Gold Cardstock
478594 Zig Clean Color Real Brush Markers – 48 Pack
RACP468 Ranger Archival Ink Pad – Jet Black
RACP985 Ranger Archival Ink Pad – Cactus Flower
Other Supplies Used: Smooth White Card stock, Scoreboard, Double-sided tape, Adhesive that dries clear, Clear Droplets.
Instructions: The ready side fold card measures, 6″ by 8″. Cut a smooth white cardstock measuring 12″ by 8″ and score it at 6″ on the longer side. Crease and score it well using a bone folder.
Choose a pattern paper from the designer paper collection and cut measuring 5 1/2″ by 7 1/2″. Mat it on the white cardstock creating a delicate white border of 1/16″ on all sides. Layer the panel on the card base using foam dots.
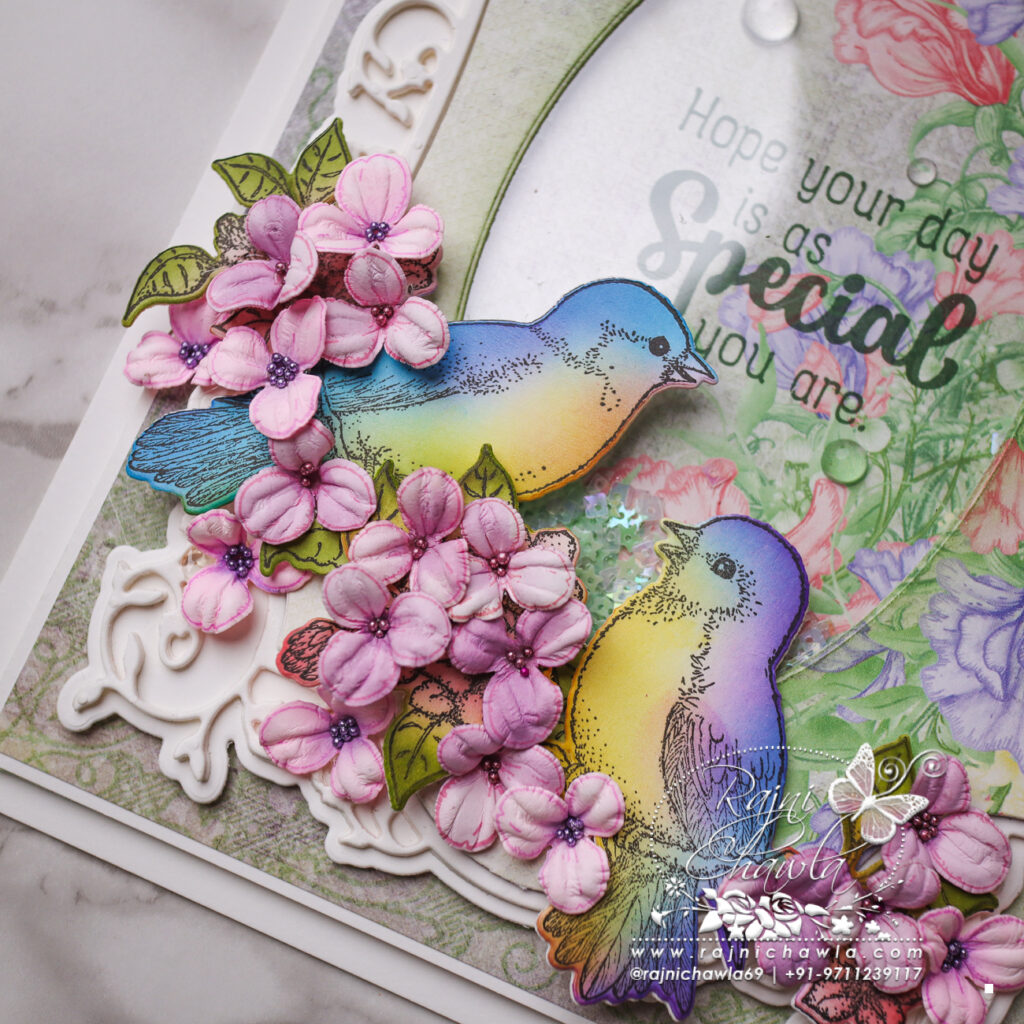
Cut the one shadow from white cardstock, and 1 each lacy frame from white and Luxe gold cardstock using Fancy Classic Rectangle Frame Die. Glue the golden frame behind the white one, creating a delicate shadow. Layer the fancy frame on the solid base. Choose the pattern paper from the designer paper collection and cut the fancy frame, stacking the inside window. Use the inside panel to decorate the center and stamp the sentiment using Leaf Green Archival ink. Glue some mixed-size glass droplets for extra interest. Secure the oval die from the Simply Classic Oval Frame Die set and cut a window panel from the other sheet from the designer paper. Distress the edges a little using Leaf Green Archival ink and glue an acetate sheet behind the window. Finally, add some shaker elements and close the window as shown.
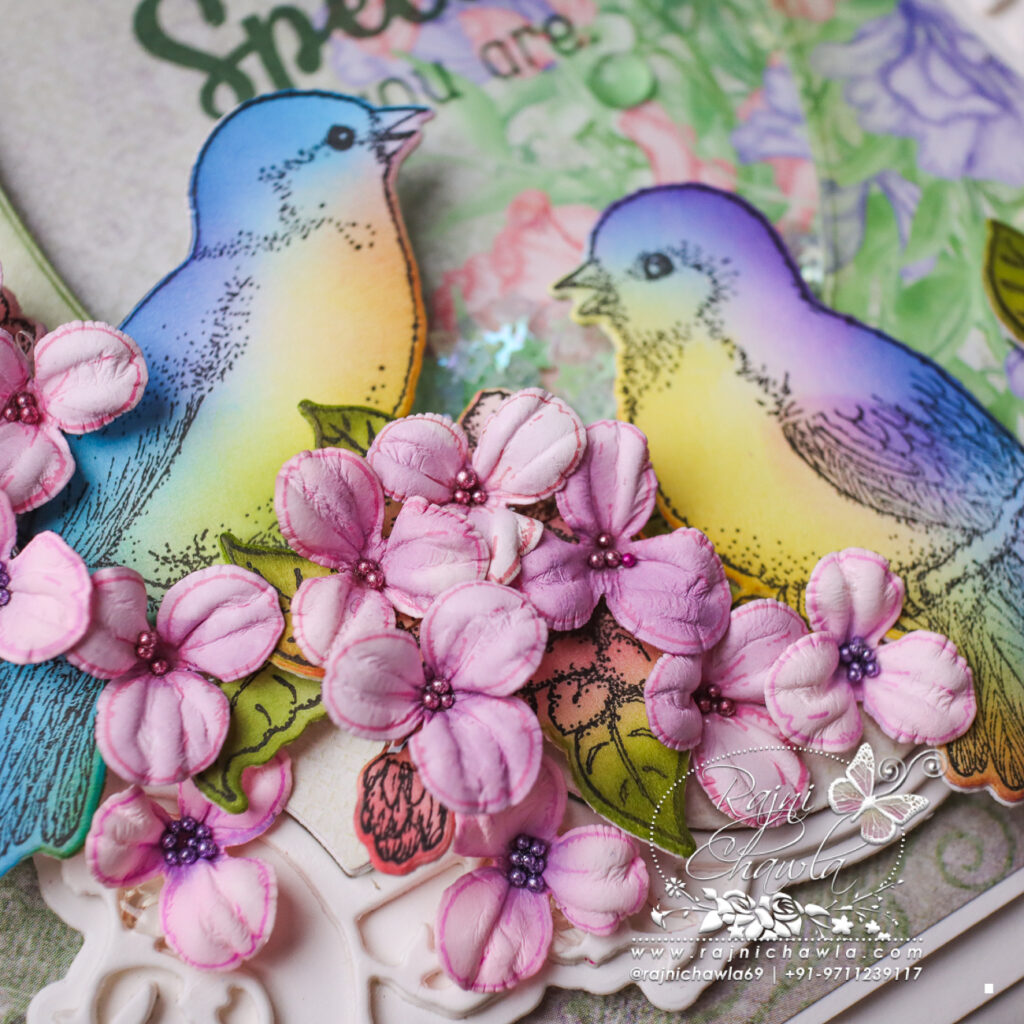
Stamp the required images from Floral Song Cling Stamp Set using black archival ink and paint them using Zig Clean Clear Brush Markers. Next, cut the painted images using their coordinating dies. Glue an extra die cut behind the painted image to add extra strength. Layer the painted images on the card front as shown.
Stamp, color and cut a few wisteria flowers using Cactus Flower Archival ink and shape them using a flower shaping kit. Add flower prills using a glossy accent and use these flowers to create a floral twig.