Happy Wednesday, Friends!!
Many crafters all over the world experience this same Christmas card crunch each year. But this year, you have help… this year, you’ll be creating stunning cards with a classic Christmas touch by using the timeless beauty of holiday poinsettias! No matter the size, style, or shape of your Christmas cards, they’ll come to life when you add the new Festive Poinsettias!
Supplies from Heartfelt Creations:
HCD1-7358 Large Festive Poinsettia Die
HCD1-7359 Small Festive Poinsettia Die
HCD1-7360 Holly Berry Spray Die
HCPC-3957 Large Festive Poinsettia Cling Stamp Set
HCPC-3958 Small Festive Poinsettia Cling Stamp Set
HCPC-3959 Holly Berry Spray Cling Stamp Set
HCDP1-2129 Festive Poinsettia Paper Collection
HCD2-7328 Lattice Swirl Gateway Die
HCPC-3882 Candlelit Poinsettia Cling Stamp Set
HCGP1-488 Luxe Gold Cardstock
HCPP1-475 Deluxe Flower Shaping Paper Pack of 50 – White
DMCT4185 Groove Golf Tool Set
RACP499 Ranger Archival Ink Pad – Plum
RACP993 Ranger Archival Ink Pad – Red Geranium
RACP436 Ranger Archival Ink Pad – Leaf Green
RACP962 Ranger Archival Ink Pad – Fern Green
RACP475 Ranger Archival Ink Pad – Library Green
RACP632 Ranger Archival Ink Pad – Buttercup
PGM15016 Rajni Chawla’s Frosting Powder
RPEJ446 Embossing Tinsel – Bridal
RAHT Heat It Craft Tool
159723 Designer Dries Clear Adhesive
Other Supplies Used: Smooth White Cardstock, Versamark Clear Ink, Scoreboard, Paper Trimmer, Die Cutting Machine, Sharp Scissors and Scale.
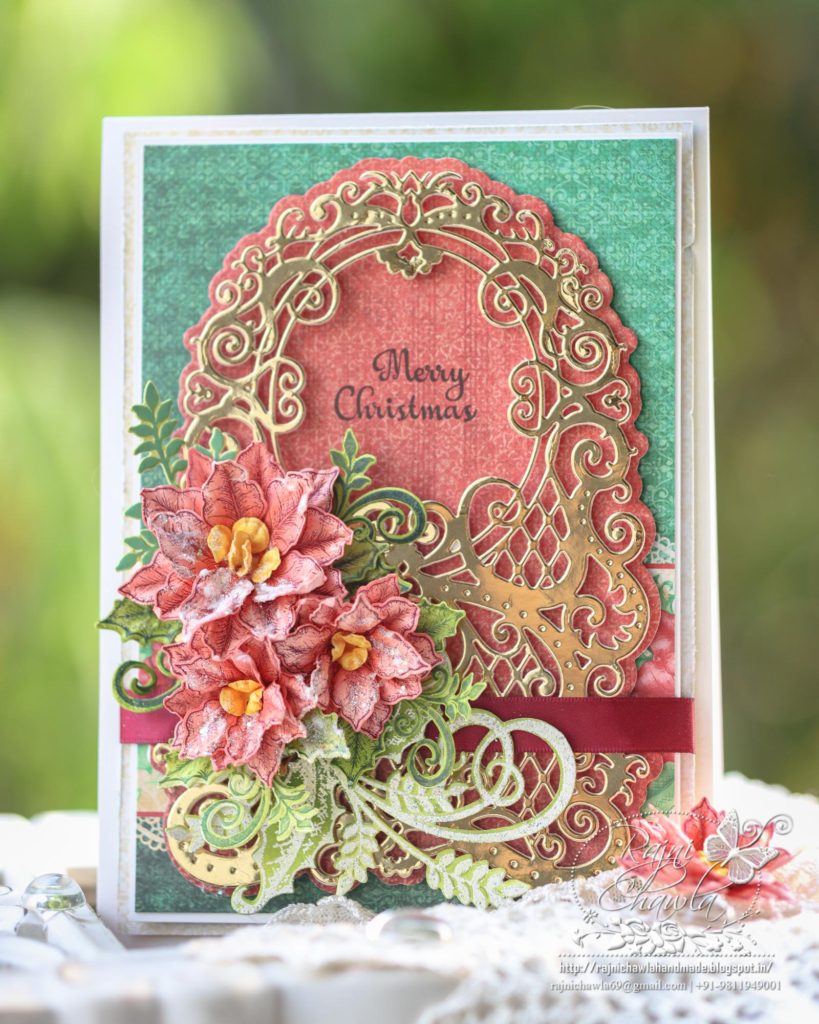
Instructions: The top-fold ready card measures 8″ X 5 1/2″. To prepare the card base, cut one piece of 8″ X 5 1/2″ and the other piece measuring 8 1/2′ X 5 1/2″. Score the second piece on 1/2″ on 8 1/2″ side, fold and crease well. Use this 1/2″ hinge to glue the other piece on top. . Next, cut green color paper from the designer paper collection, measuring 7 1/2′ by 5″. Distress all the sides using sharp scissors and mat the paper on the ready card base using an adhesive that dries clear.
Choose the coordinating paper from the designer paper collection, measuring 7″ by 5″. Distress the edges with sharp scissors and mat it on white cardstock, creating a white border of 1/16′ on all the sides. This will make the second layer of the card panel that holds die cut frame.
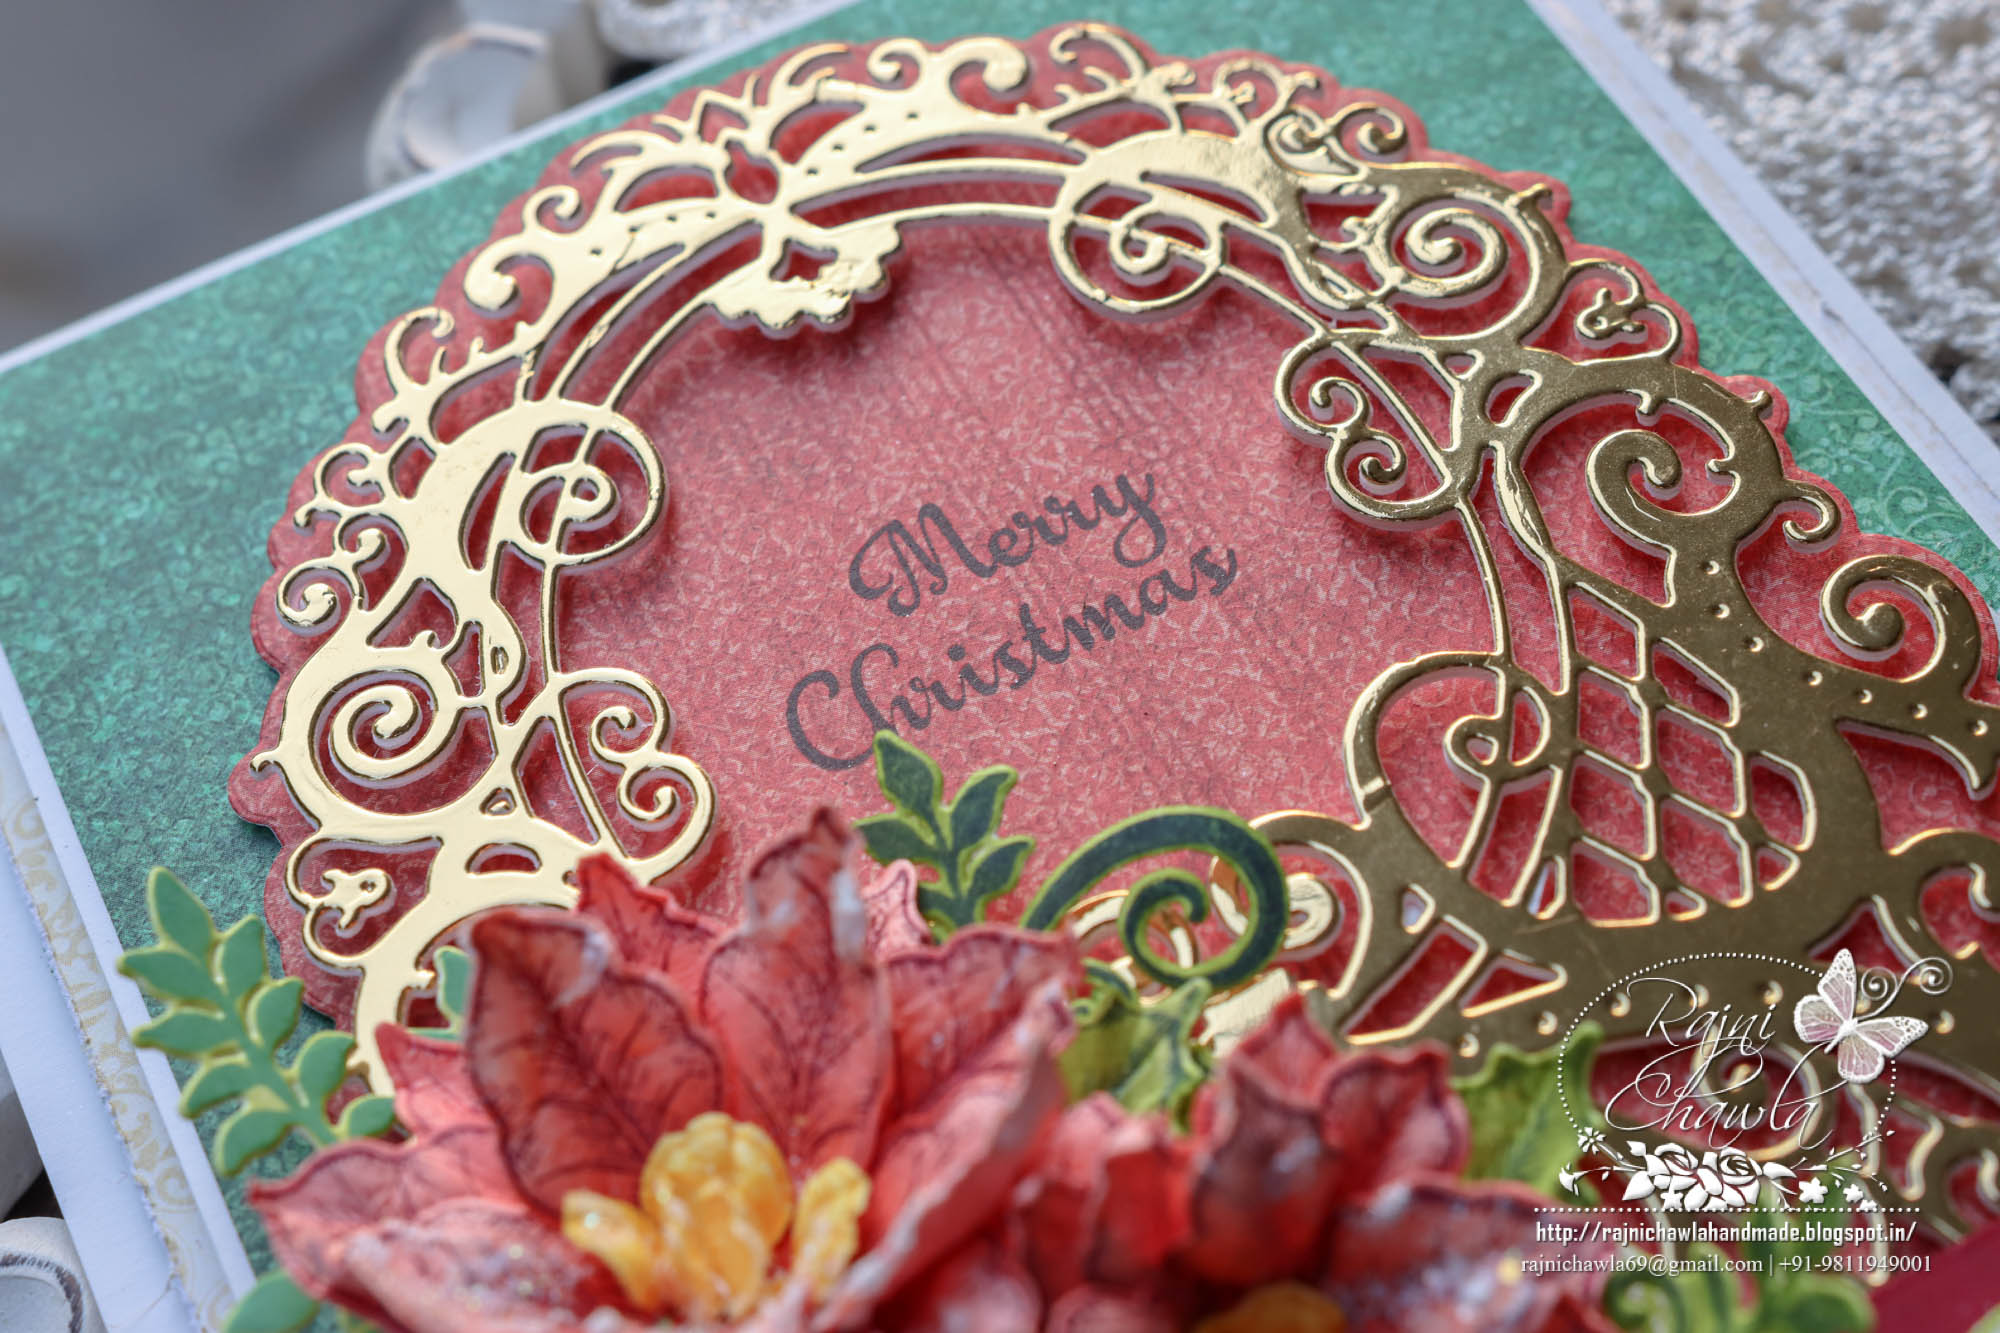
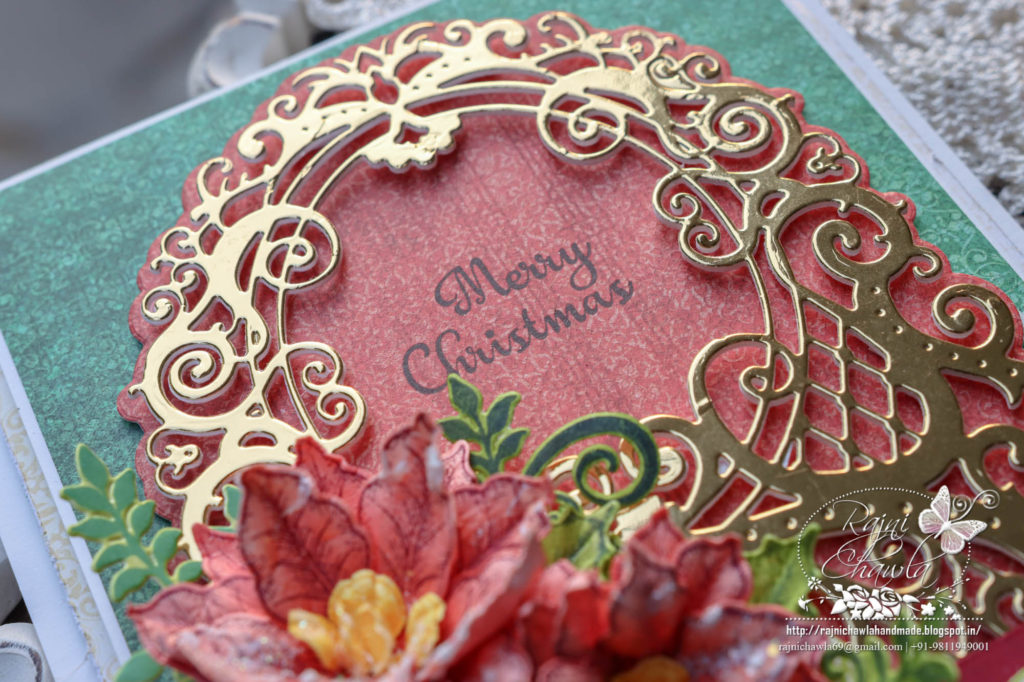
Cut one frame each from Luxe Gold cardstock and white cardstock using Lattice Swirl Gateway Die and glue them together keeping the gold one on top. Layer the die-cut frame on the prepared card front and wrap a maroon ribbon on the bottom. Secure the ribbon from the back using hot glue. Cut the solid gate using the same die from red pattern paper and layer it under the beautiful gold frame.
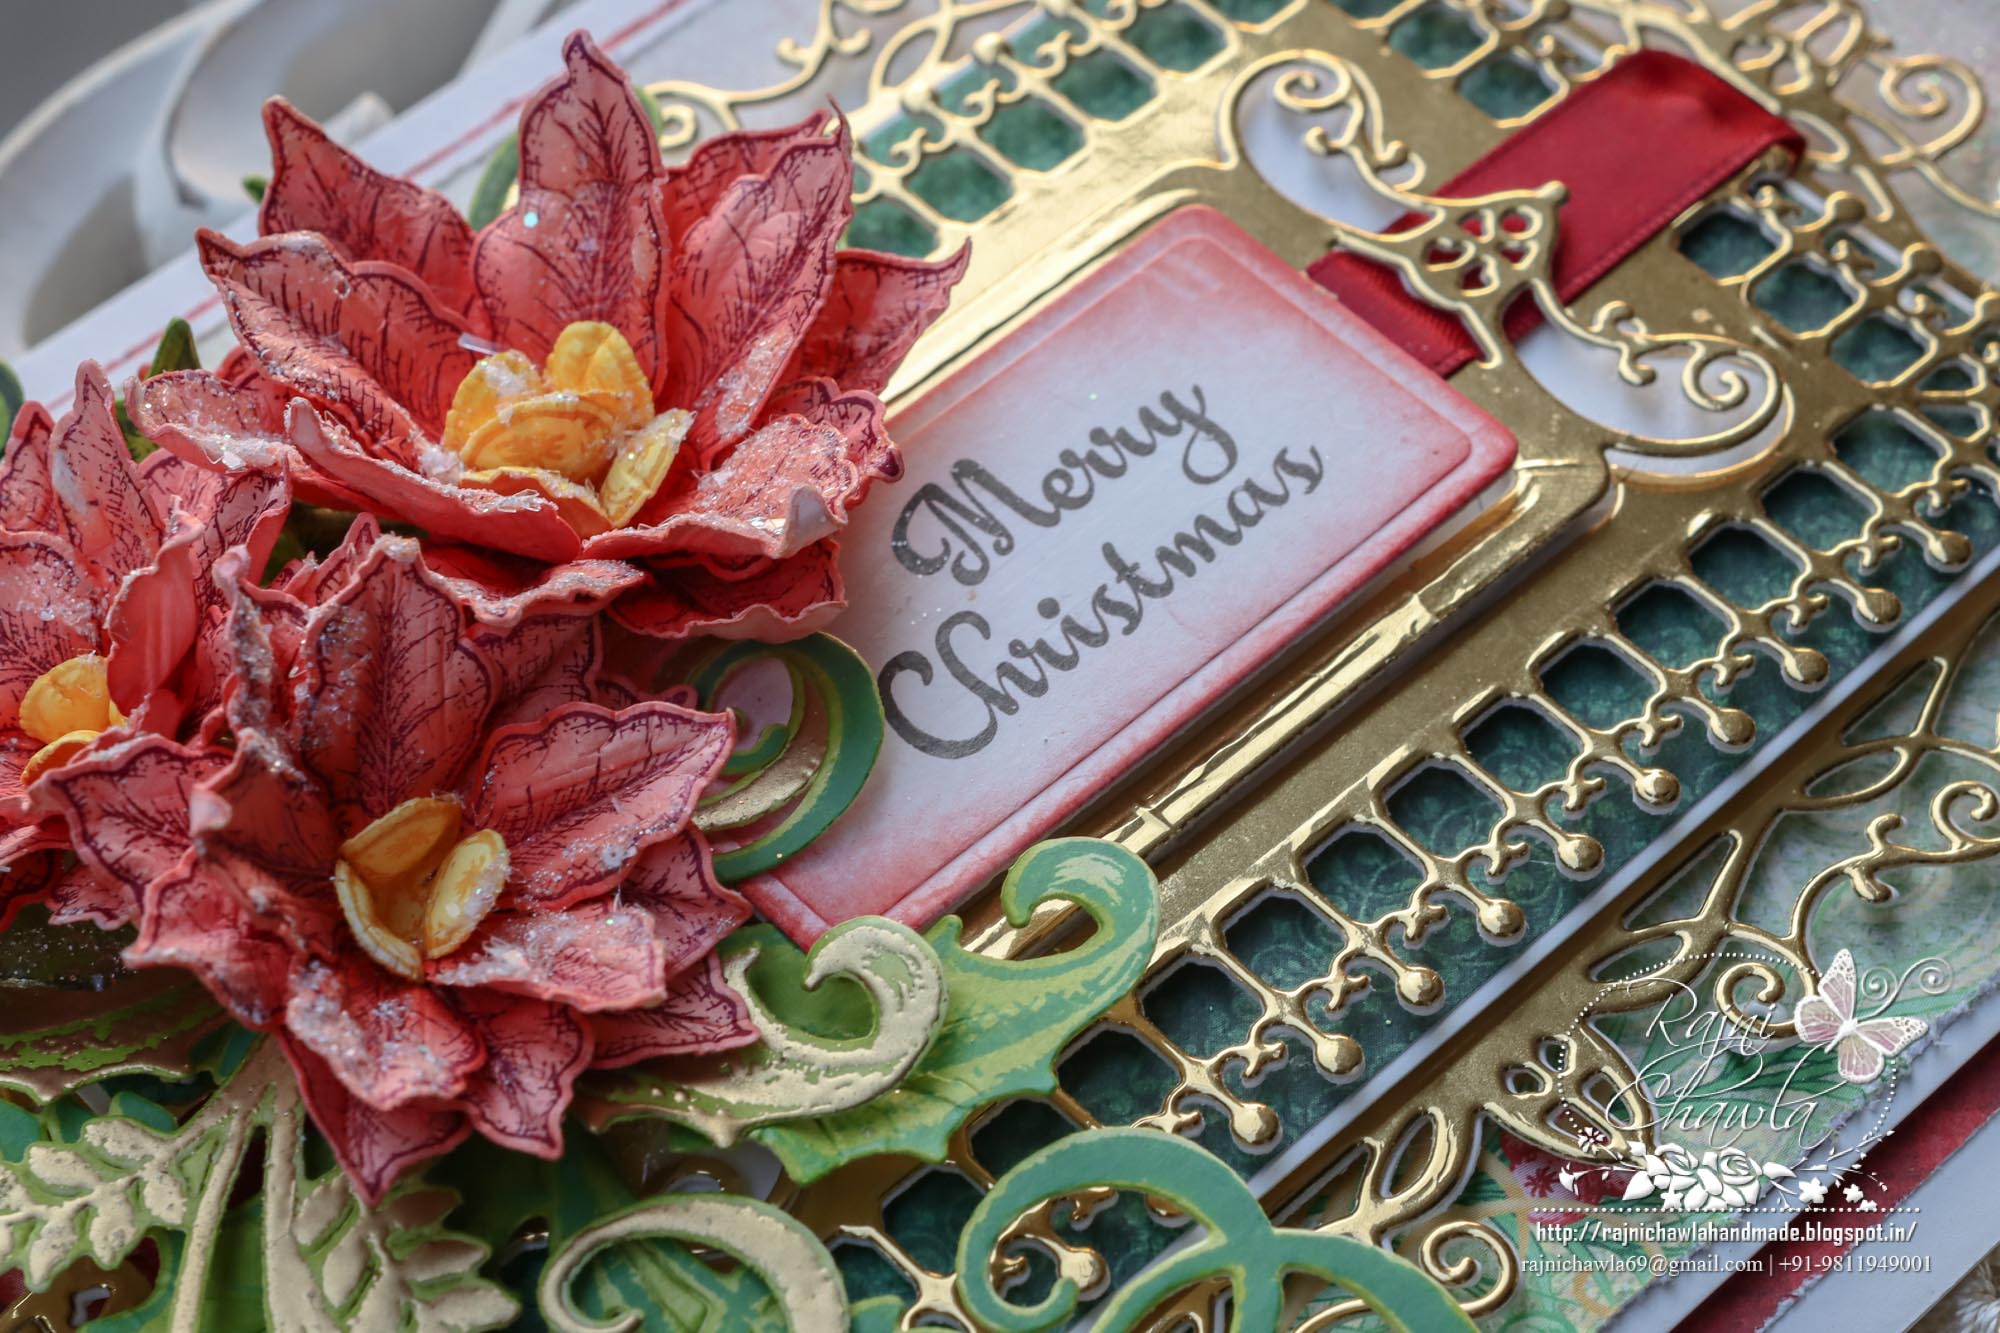
Stamp the Christmas sentiment from Candlelit Poinsettia Cling Stamp Set with Red Geranium Archival ink in the window space provided using Misti stamp positioner tool.
Stamp one large swirly foliage image from Holly Berry Spray Cling Stamp using Versamark clear ink and sprinkle Tinsel heat embossing powder. Dust extras and heat emboss it using a heating tool. Cut the swirl using its coordinating die. Ink it softly using leaf green archival ink. Also stamp the small filler thrice from the same set, this time using Library Green and cut it using its coordinating die. Ink it using Leaf green archival ink. Also, stamp cut and ink one leafy branch from the same set using Fern green archival.
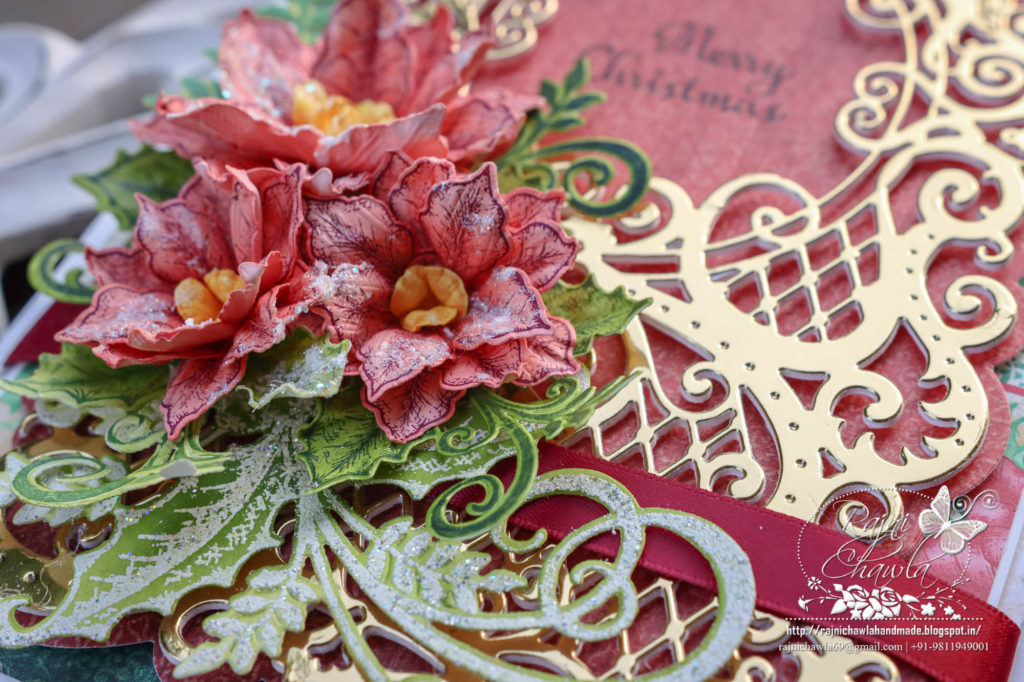
To prepare Poinsettias, Stamp 6 pieces of smallest and 3 pieces of second smallest Poinsettias on Deluxe Flower Shaping Cardstock using Plum archival ink and cut them using their coordinating dies. Next, ink the flowers using Red Geranium and shape the Poinsettias using Golf Groove tools. For Flower centers, stamp with Buttercup, cut the same and color them with the same ink on both sides and shape them and glue them in the flower centers. Glitter the flowers using Rajni Chawla’s Frosting Powder. Once all the elements are ready assemble a small bouquet of poinsettias as shown with the help of hot glue.