


Good Morning all…
Happy Wednesday and a warm welcome to my blog again!!
It’s hard to believe it’s mid of October already and the year 2017 is about to end in next two months. The year has just flown by. New opportunities, new ideas, and new launches…..
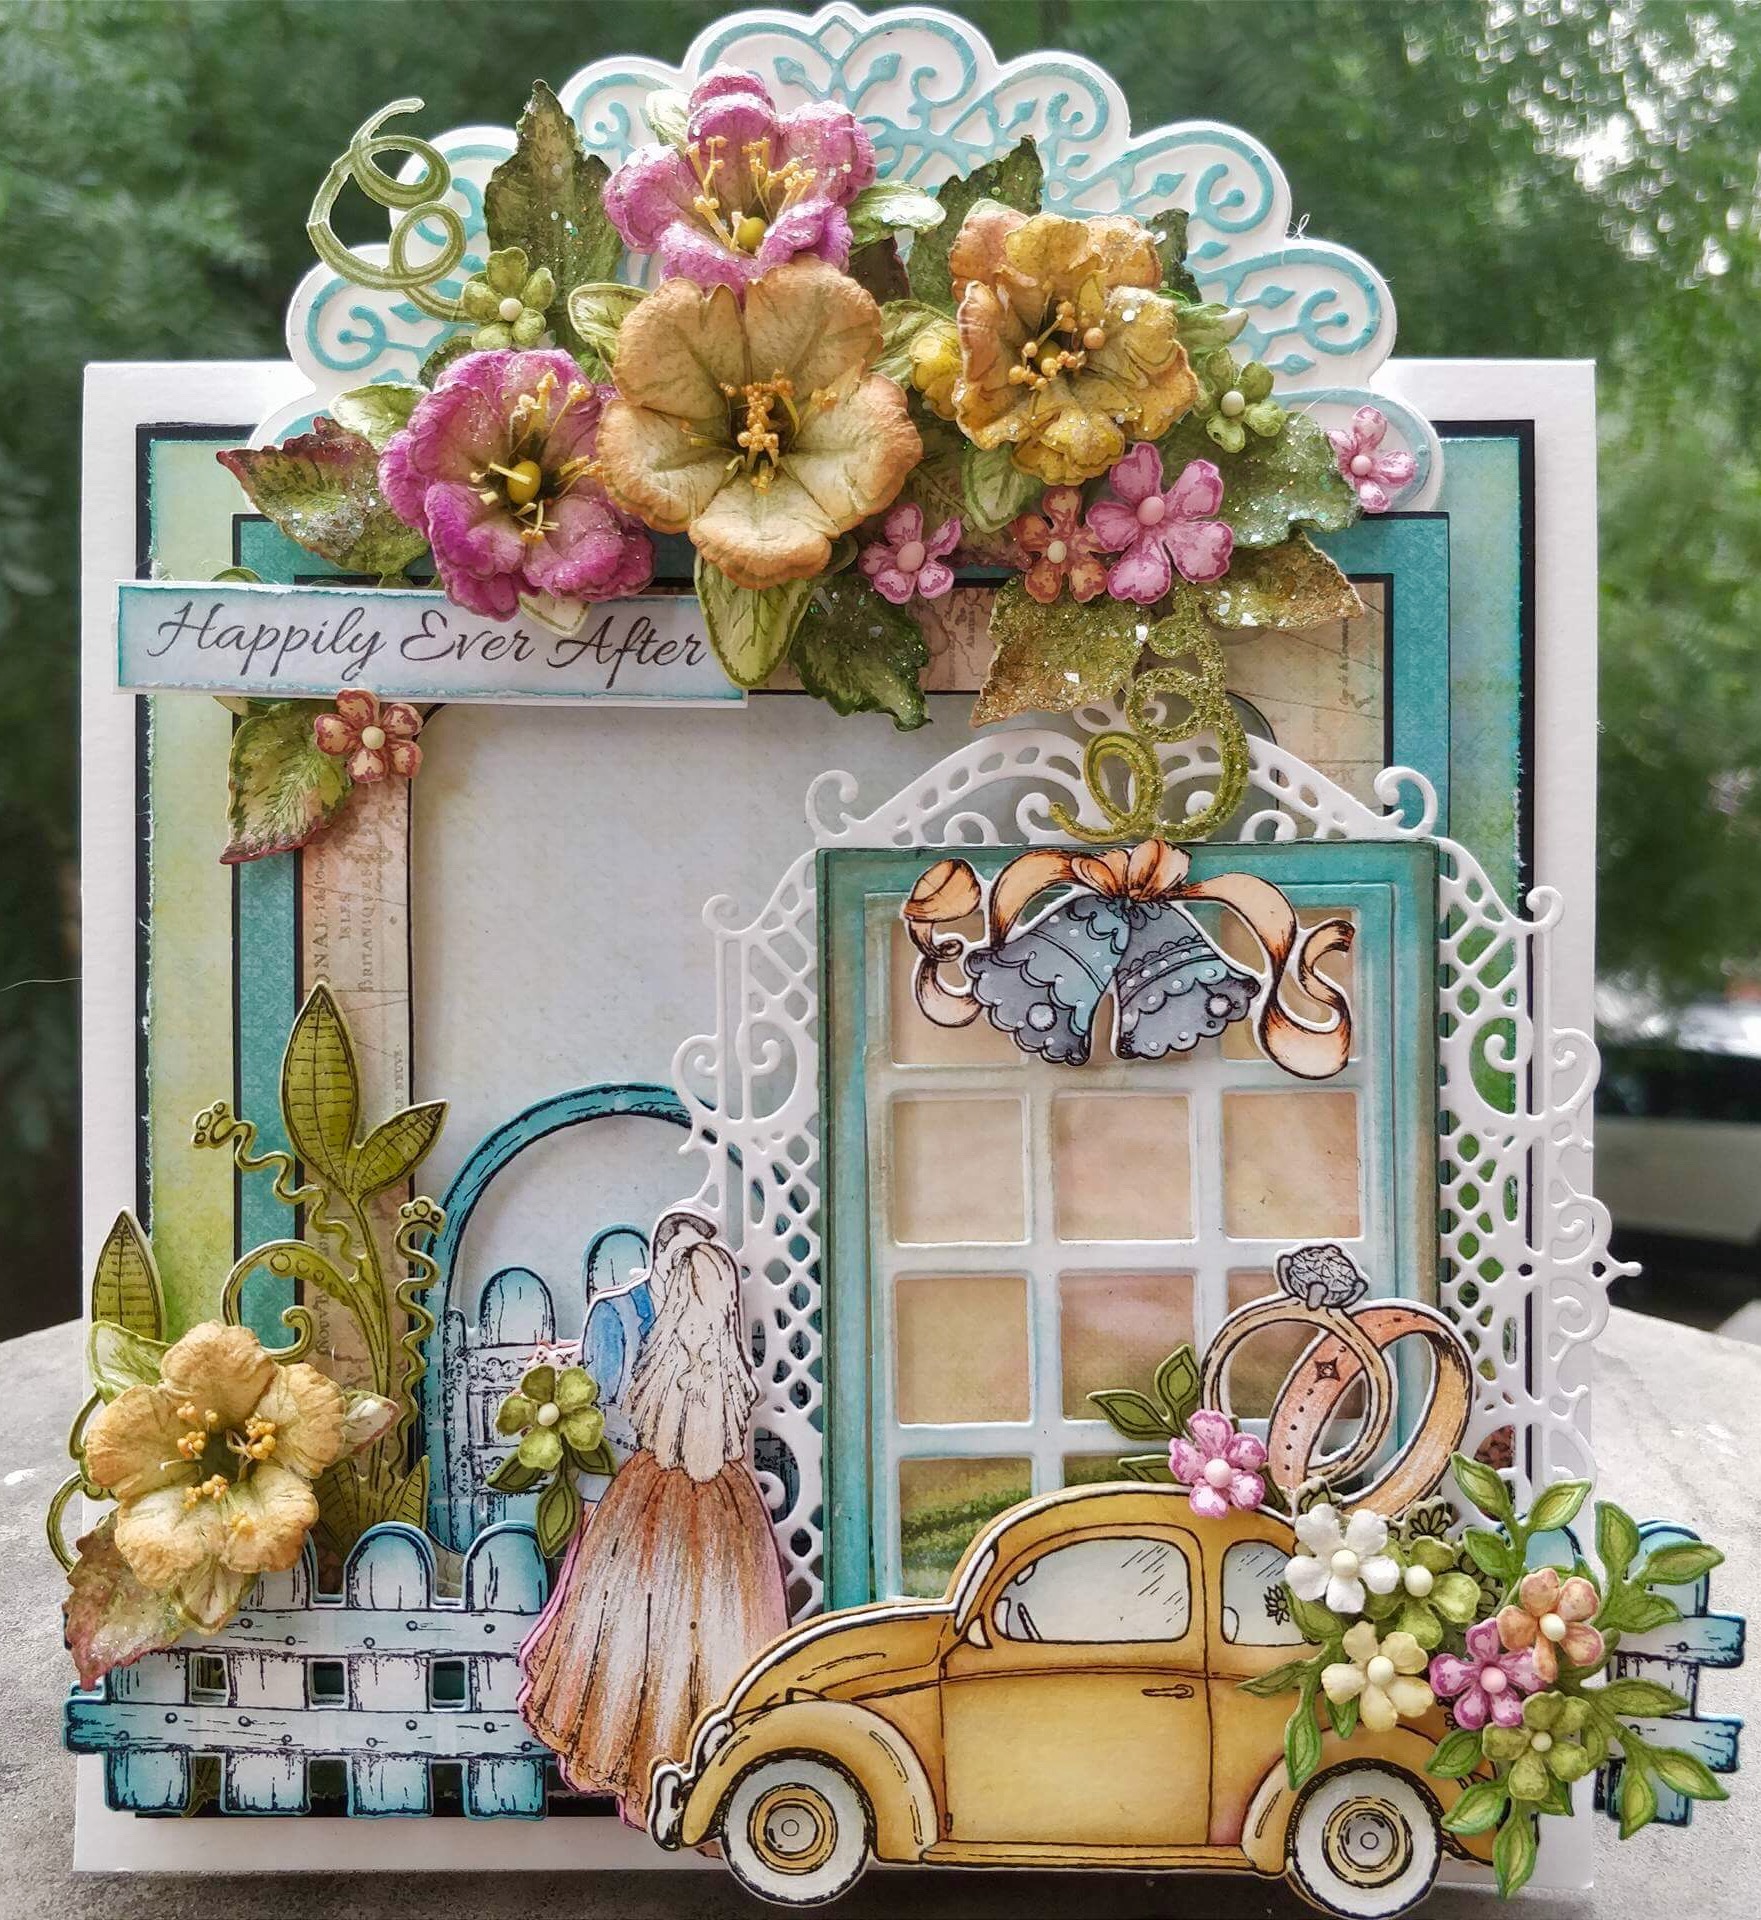
Today, I have a card to share using Heartfelt Creation’s latest release, Young at Heart. I have combined this collection with Classic wedding Collection, Wildwood Cottage Collection, and Petunia Collection. Everything Mix and matched so well when I designed this retro style card for a newly wedded couple. Her is the card….
Products from Heartfelt Creations:
HCD1-7159 Simply Classic Die
HCPC-3801 Simply Classic Stamp Set
HCDP1-283 Young At Heart Paper Collection
HCD1-7150 Window Box Elements Die
HCPC-3794 Window Frame Cling Stamp Set
HCD1-7148 Window Frame Die
HCPC-3789 Classic Wedding Bells Cling Stamp Set
HCD1-7143 Classic Wedding Bells Die
HCD1-7144 Decorative Medallion Die
HCD1-7139 Small Classic Petunia Die
HCD1-7140 Large Classic Petunia Die
HCPC-3786 Large Classic Petunia Cling Stamp Set
HCPC-3785 Small Classic Petunia Cling Stamp Set
HCD1-7137 Tropical Paradise Die
HCPC-3783 Tropical Paradise Cling Stamp Set
HCD1-7128 Wildwood Cottage Accents Die
HCPC-3772 Wildwood Cottage Accents Cling Stamp Set
HCPC-3752 Classic Rose Cling Stamp Set
HCD1-7110 Classic Rose Die
HCD2-751 Cut Mat Create 2A Die
HCDA2- 450 Stack and Store Daubers Pack of 30
HCSTI-401 Deluxe Flower Shaping Kit
PGM15015 Rajni Chawla’s Crystal Clear
Other Products Used: White cardstock, Black cardstock, Distress inks Peacock Feather, Vintage Photo, Peeled Paint, Archival Inks Black, Coffee Brown, Olive Green, Fern Green and Library Green, Foam tapes, Acetate paper, Tacky glue, Versamark, Heat gun, Clear UTEE, Wired pollens, Zig clean clear brush markers.
Instructions: The ready card measures 6 1/2″ by 61/2″. The first top layer is from black cardstock which has a mat of pattern paper from the designer paper collection. Choose a 6″ by 6 ” card panel from the paper collection and trim off the outer frame. Also, using Cut mat n create 2A die, cut the window out. Layer this window on the card front using foam tapes. To embellish the card collect all supplies listed above.
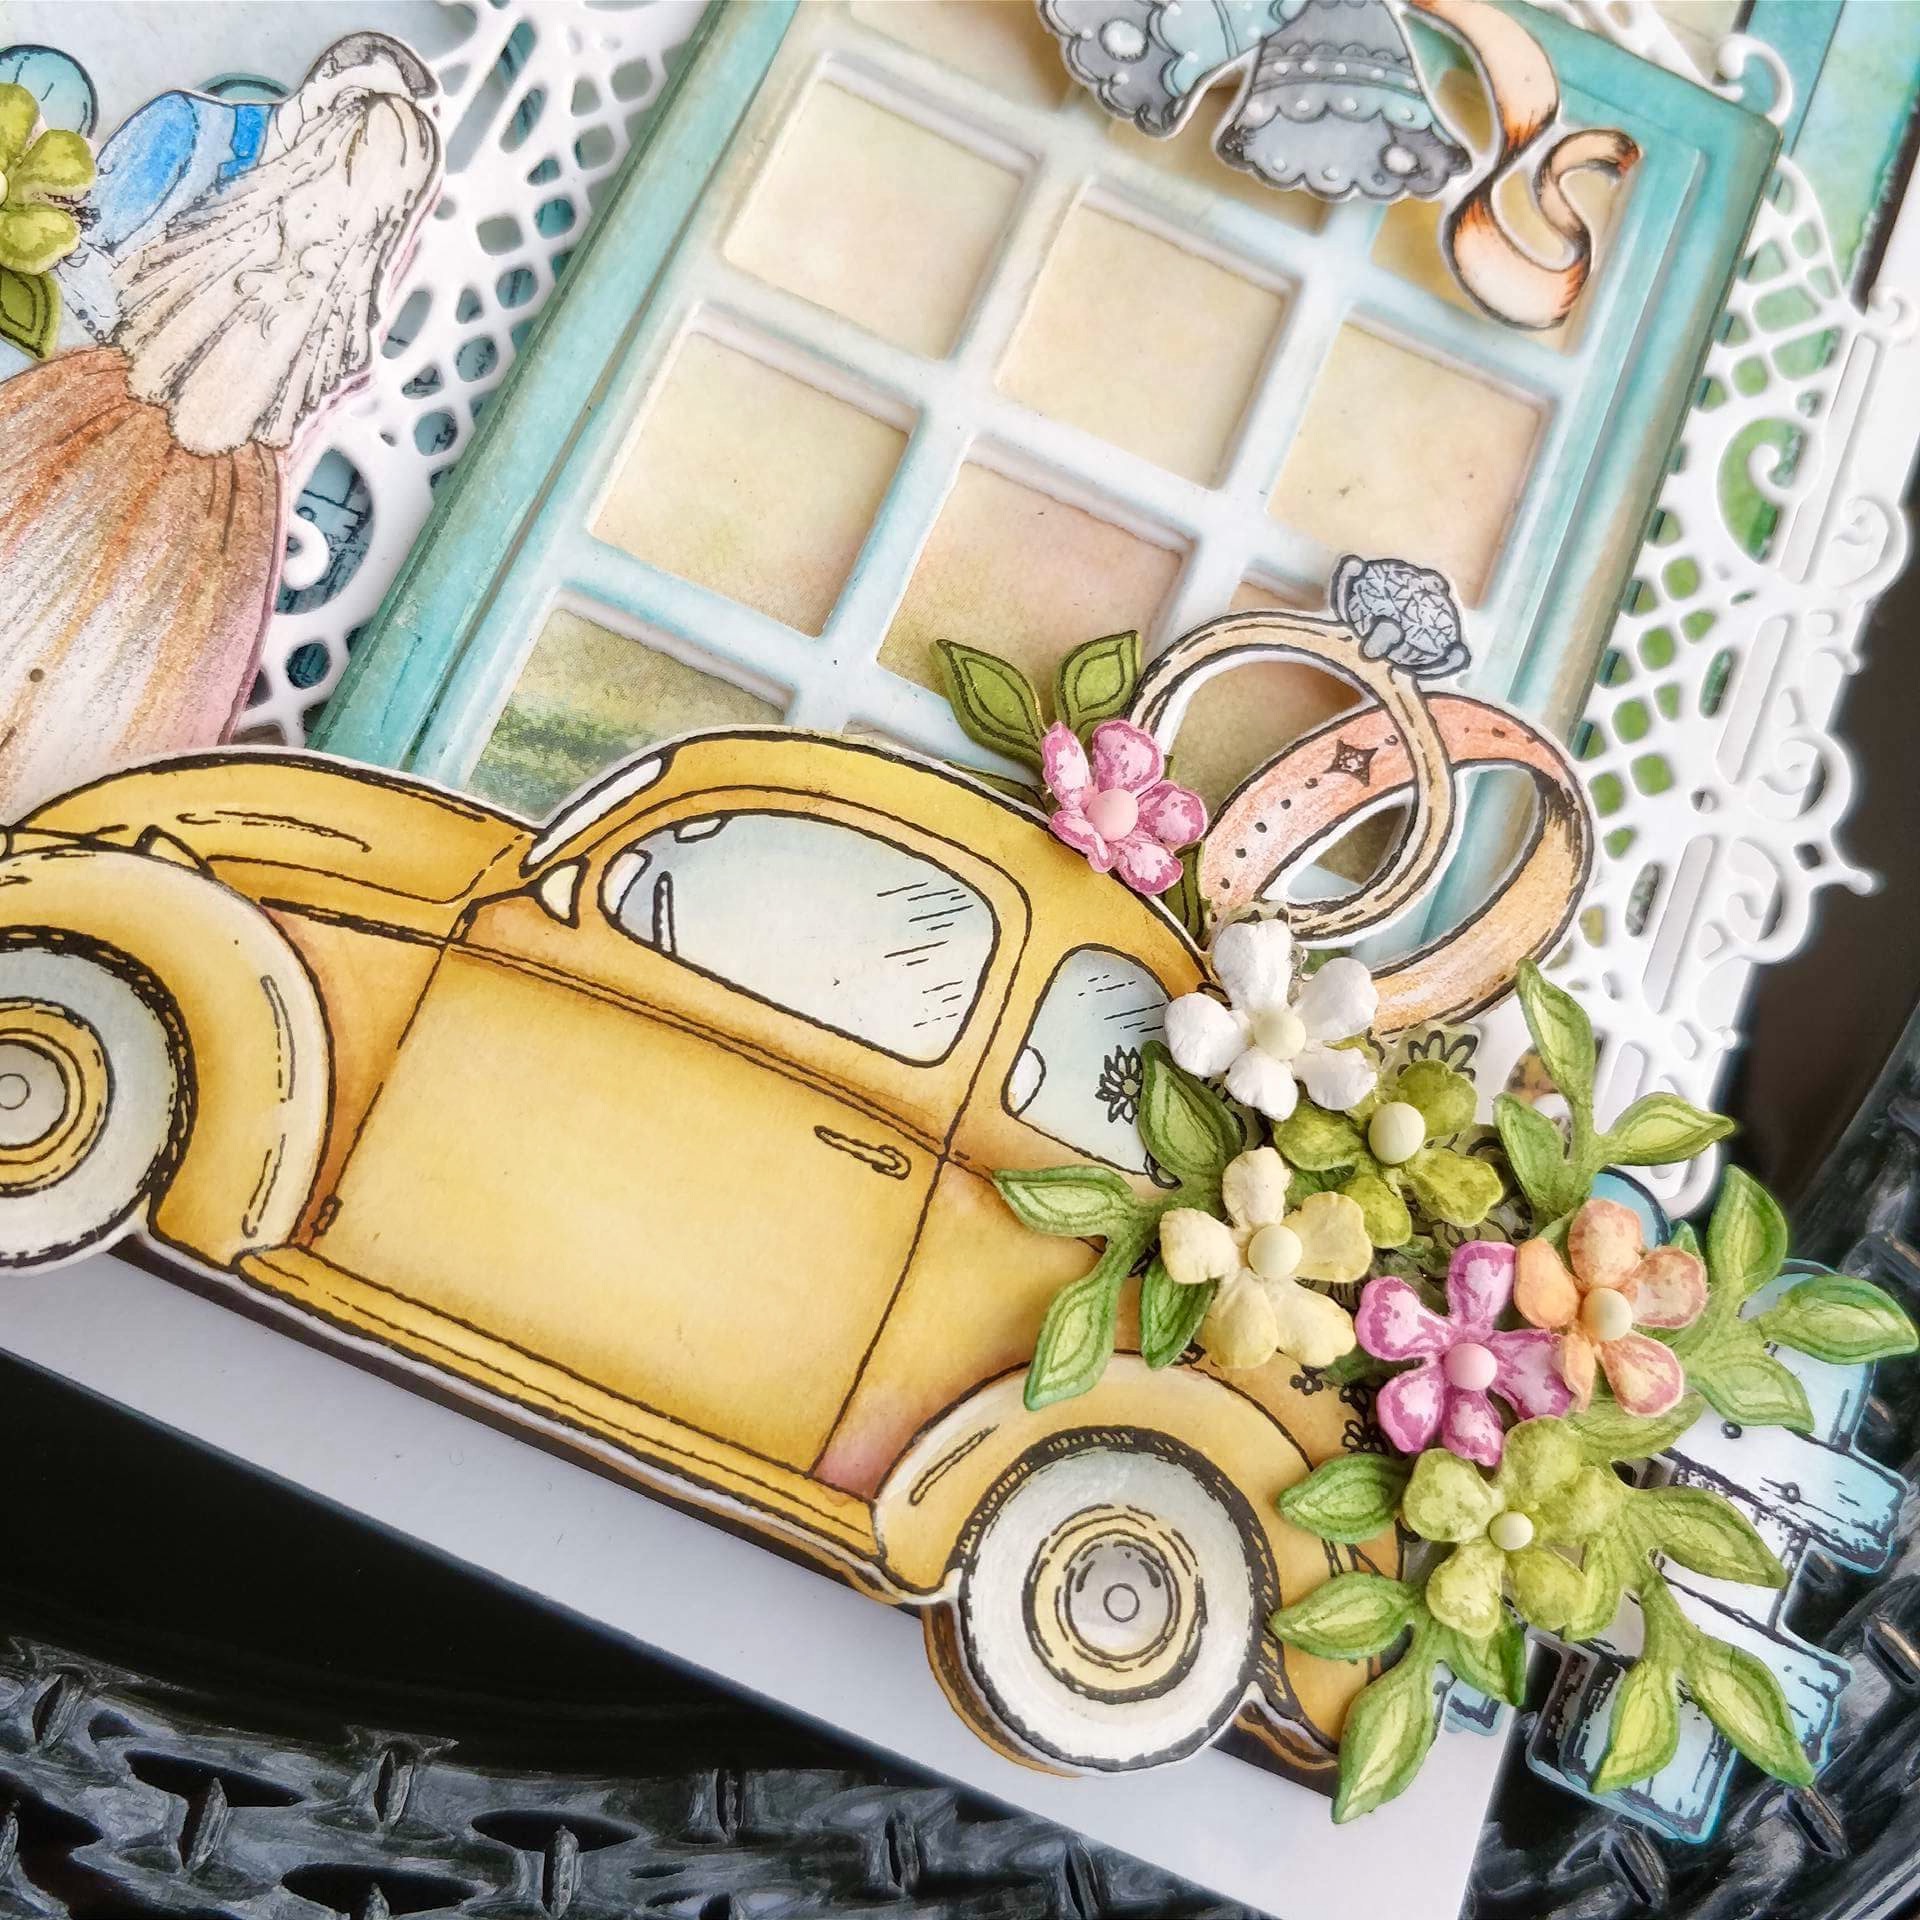
For the window, stamp Window Frame Cling Stamp Set from Winter’s Eve Collection and cut using it’s coordinating die. Adhere an acetate sheet behind the window and distress the whole window with Peacock Feather and Vintage Photo. Layer the window on pattern paper using foam tapes. Adhere decorative elements, cut with white cardstock from Window Box Elements Die and decorate the window.
For the vintage car, stamp the image with black archival ink, cut using it’s coordinating die and paint the image using Zig Clean Clear Brush Markers. Decorate the car with tiny fillers from Wildwood Cottage Collection. Also, images of a bride n groom and Wedding bells from Classic Wedding Collection are stamped with black archival, cut using their coordinating dies and painted using Zig Markers.
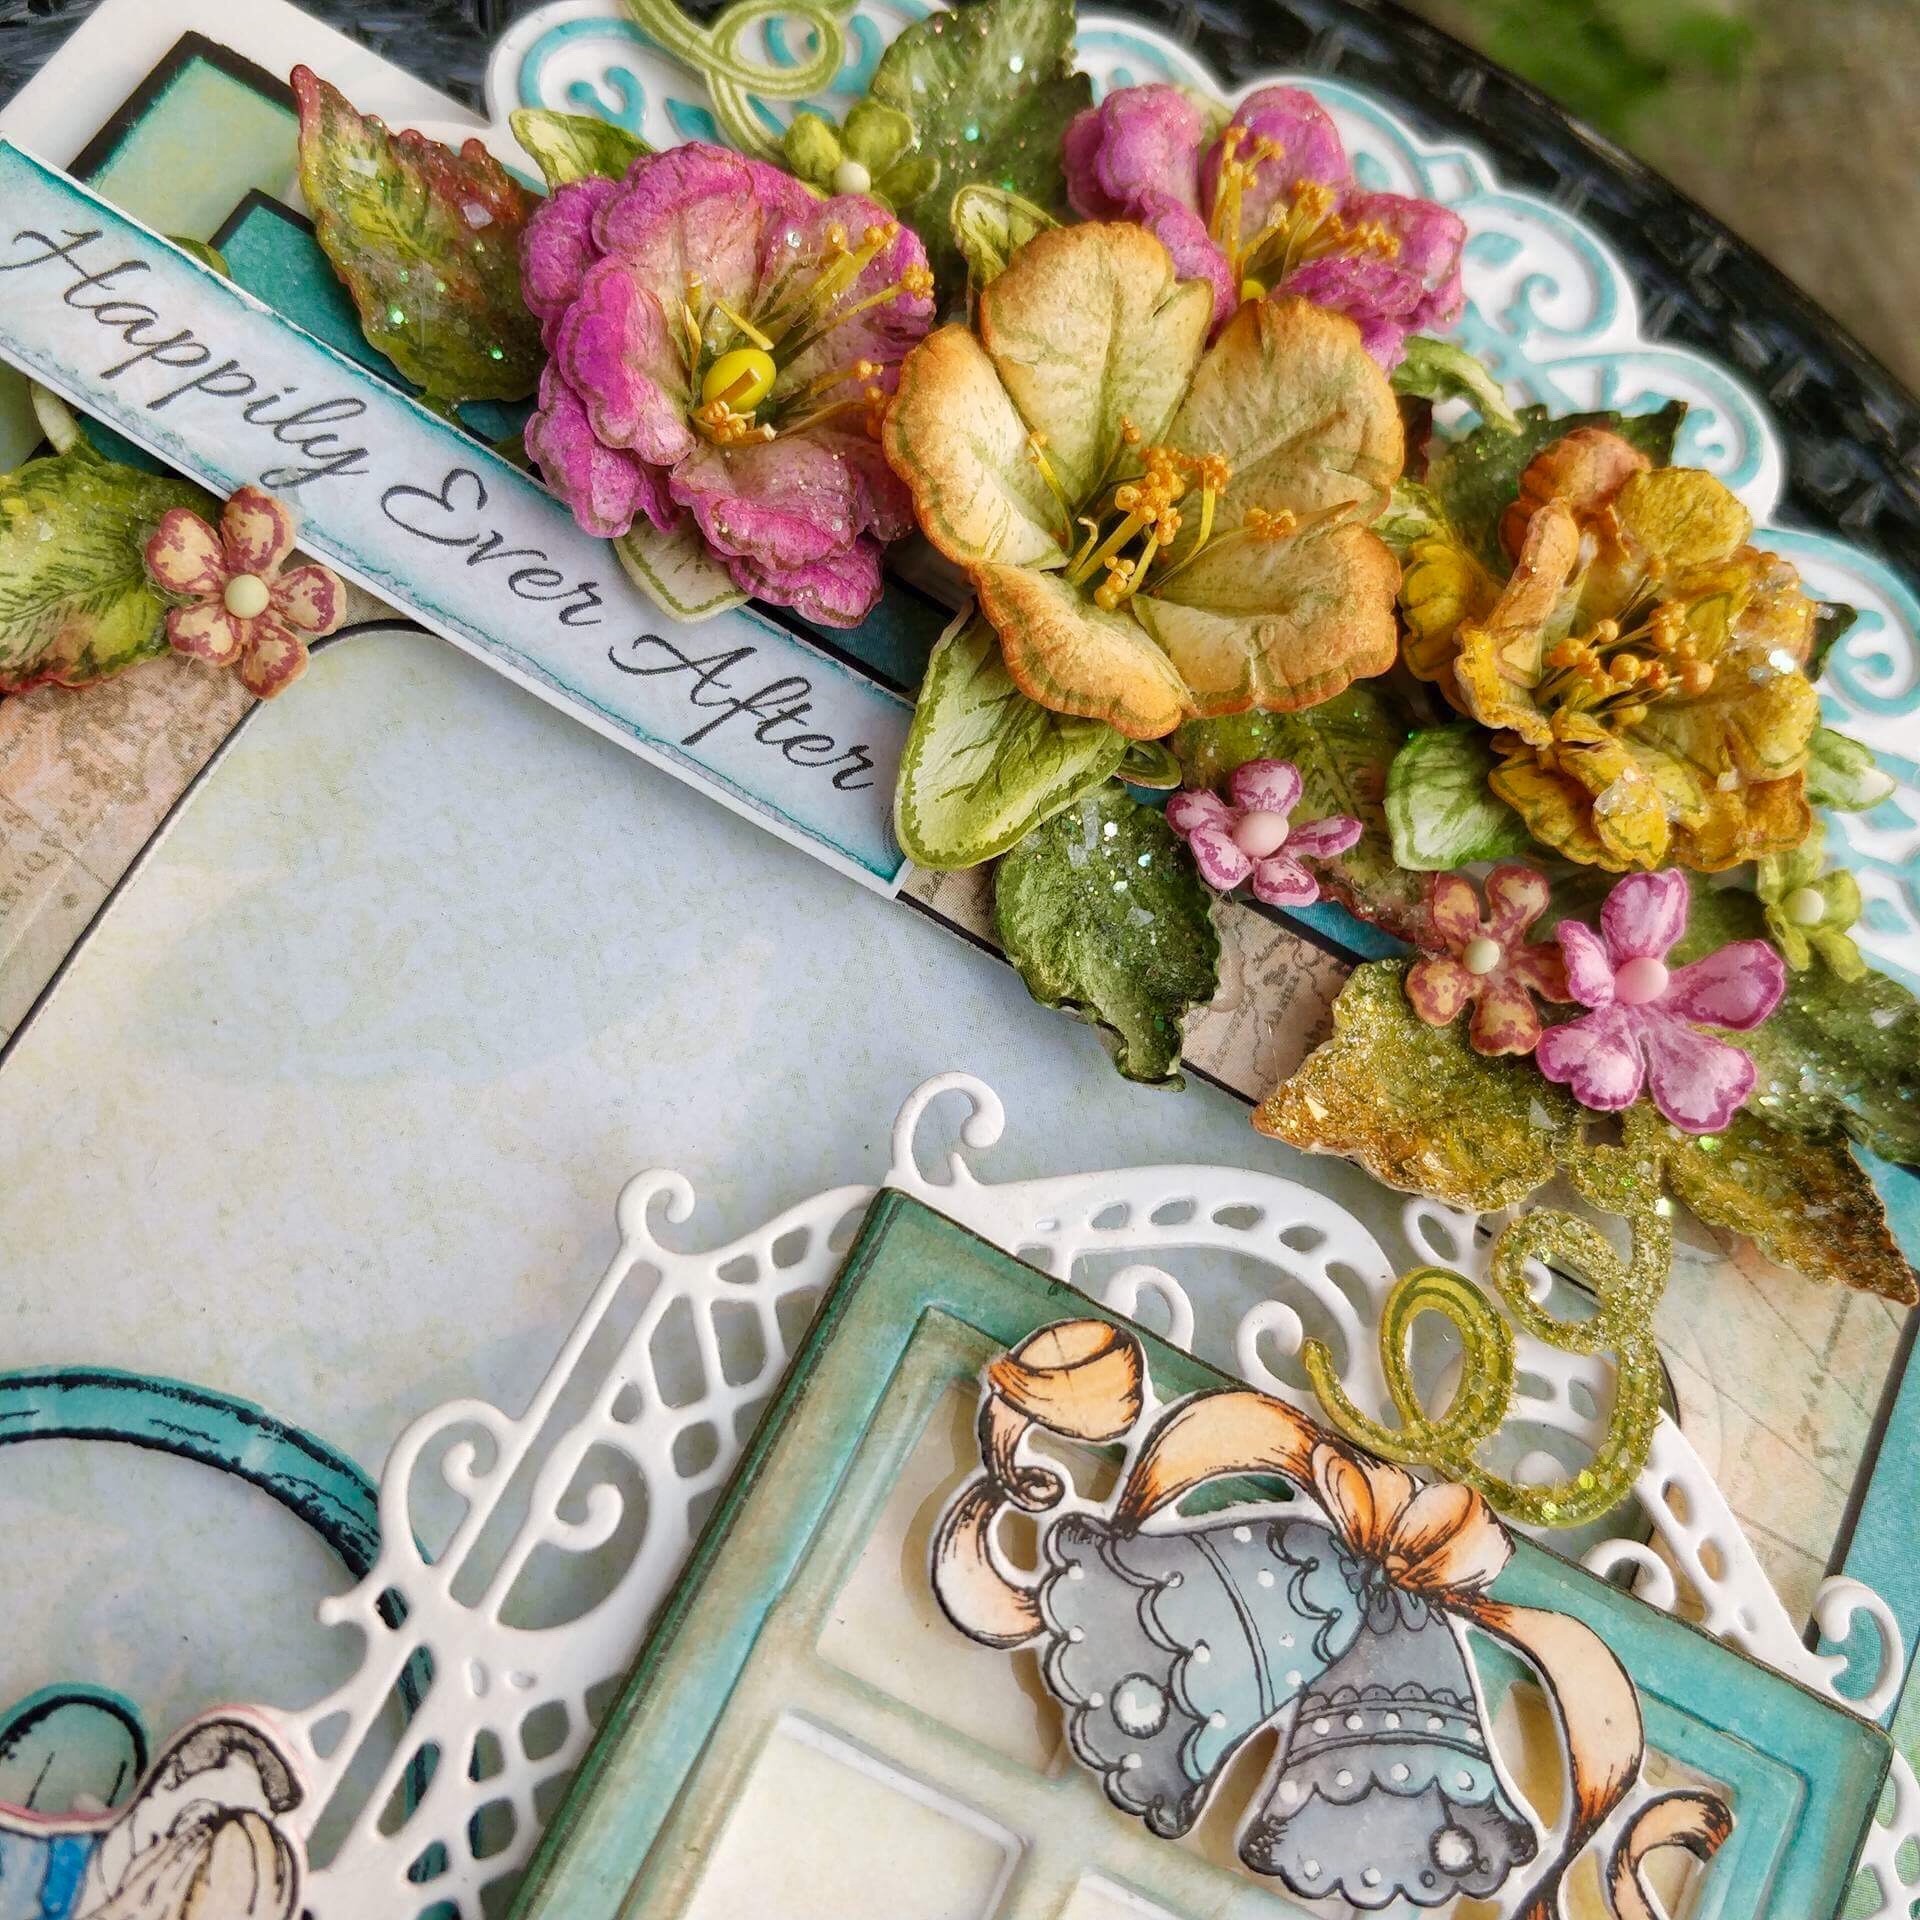
For Petunias, stamp multiple images of medium Petunias and small petunias, cut using their coordinating dies and color them using Magenta Hue and Tea Rose. Shape the flowers using Deluxe Flower Shaping Kit and add Crystal Clear to sparkle the flowers.
The fence and the gate from Wildwood Cottage Collection is stamped, cut and then colored using Peacock Feather Distress Ink.
Two pieces of foliage leaves from Tropical Paradise Collection are stamped, cut and then colored using Peeled Paint and glazed with clear UTEE. Once all the elements are ready, assemble the card as shown. The flower bouquet on the top has lacy Medallion die as a base. To finish the card cut a senr\timent from the paper collection and add it on the top left side corner of the card.

This is an amazing card and I love love love your flowers! Thank you for sharing! xxx
Absolutely beautiful card Rajni! You’re flowers are beyond gorgeous!