


Good Morning All….
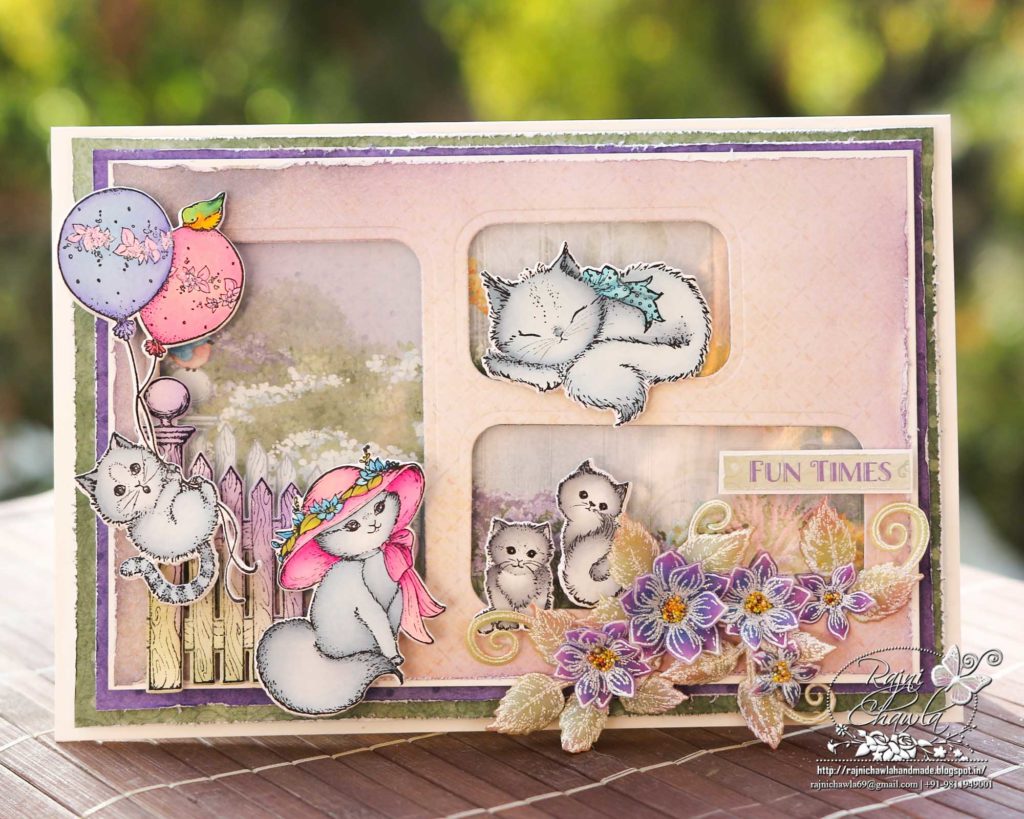
Continuing with Purr-fect Posies Collection, today I have a window card to share. The Cut , Mat and Create Die Collection has become my favorite dies for creating windows.

Supplies From Heartfelt Creations:
HCD1-7238 Purr-fect Posies Die
HCPC-3874 Purr-fect Posies Cling Stamp Set
HCD1-7240 Purring and Playful Die
HCPC-3876 Purring and Playful Cling Stamp Set
HCD1-7241 Playful Miss Kitty Die
HCPC-3877 Playful Miss Kitty Cling Stamp Set
HCDP1-2102 Purr-fect Posies Paper Collection
HCPC-3753 Classic Rose Vines Cling Stamp Set
HCD1-7111 Classic Rose Vines Die
HCD1-7119 Classic Border Basics Die
HCPC-3861 Tulip Cart & Fence Cling Stamp Set
HCD1-7221 Tulip Cart & Fence Die
478455 Zig Clean Color Real Brush Markers – 36 Pack
18002 Rajni Chawla’s Vellum Flowerite – 10 Sheets
RACP985 Ranger Archival Ink Pad – Cactus Flower
HCDA2-450 Stack and Store Daubers-Pack of 30
PGM15015 Rajni Chawla’s Crystal Clear
ANC818 Go Man Go Prills
CB80 ColorBox Pigment Ink Pad – Frost White
159723 Designer Dries Clear Adhesive
Other Supplies Used: Smooth white cardstock, Ranger’s White heat embossing powder, Heat gun, Die Cutting Machine, Score Board, Distress Oxides Peeled Paint and Wilted Violet, Funnel Tray, Acetate Sheet, Foam Dots.
Videos Referred:
For more tips on creating with the Purr-fect Posies collection, watch the tutorial at https://youtu.be/88KR6a5RRmg.
Instructions: The ready top-fold card from smooth white cardstock measures 6″ by 8 1/2″. To create the top panel, choose a paper from the designer paper collection and cut to size 5″ by 7 1/2″. Distress all the sides using Wilted Violet and then further distress them with sharp scissors. Glue the paper on a white card stock making a border of 1/16th of an inch all around. The large and the medium window is cut using Cut Mat Create 1A die set and the smaller window using Cut Mat Create 1B die set. Secure an acetate sheet from the back. Cut the scenic paper from the paper collection and layer them using foam dots and close the window. Create 2 more layers using purple and green papers from the collection and then layer them under the window panel. Finally, glue the panel on the ready card base.
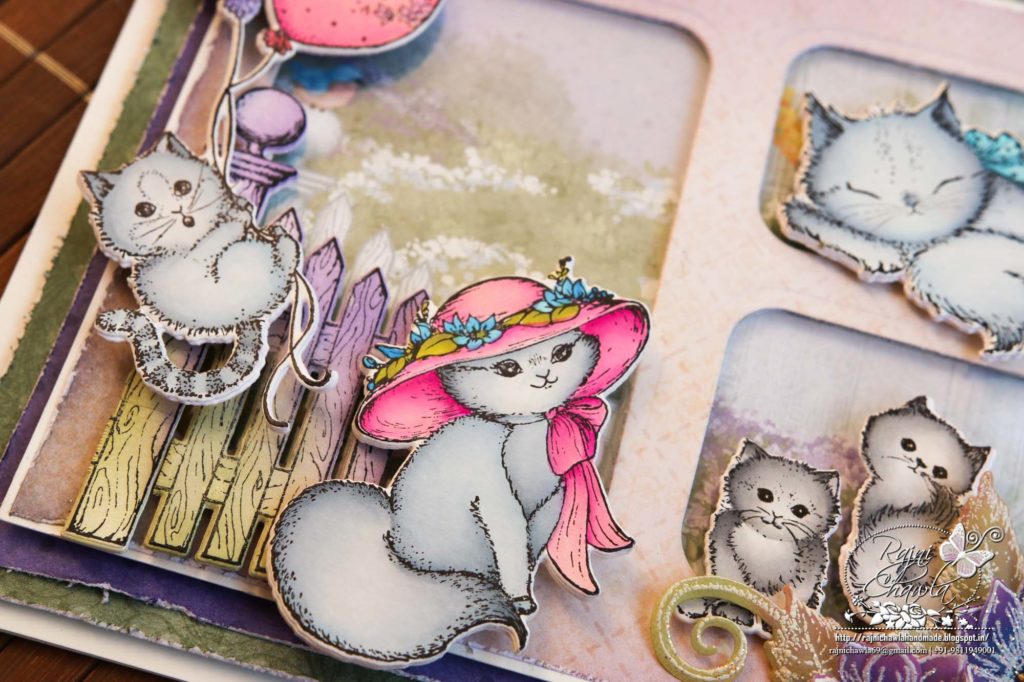
Stamp the images from Playful Miss Kitty Cling Stamp Set and Playful Miss Kitty Cling Stamp Set with black archival on white cardstock. Color the images using Zig Markers and cut them using their coordinating dies. Add extra die-cuts to the painted images to give them little extra strength (optional). Also, stamp and color the fence from Tulip Cart & Fence Cling Stamp Set and cut it using it’s coordinating die. Add 2 extra die cuts to add extra strength.
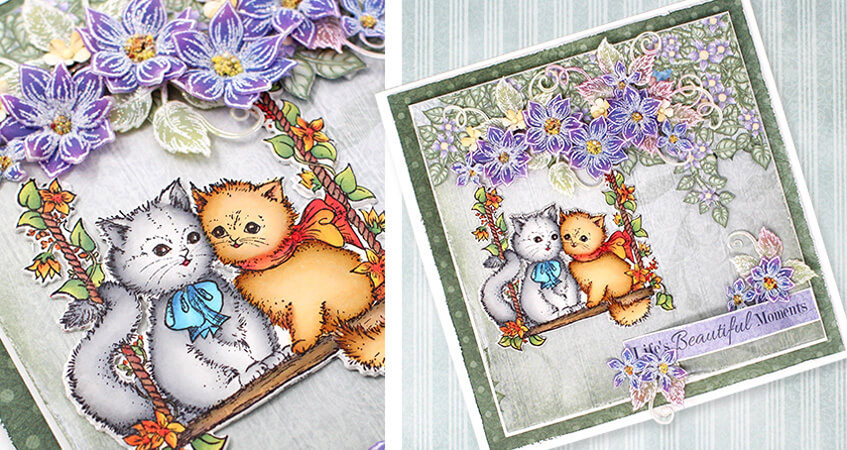
For Vellum Posies, Stamp multiple images of flowers from Purr-fect Posies Cling Stamp Set using Frost White Color Box ink on Vellum Sheet. Sprinkle white heat embossing powder and dust extras in funnel tray. Heat set all the images using a heat gun. Color the flowers using Wilted Violet Distress Oxide. Cut all the flowers coordinating dies. Also, white heat emboss the leafy vines from Classic Rose Collection and color them using Peeled Paint Distress Oxide. Shape the flowers and leaves using needle tool. Press the centers and prepare different size flowers.
Once all the elements are ready, glue the painted embellishments on the card as shown and create small flower bouquet as shown. Finish the card by adding a sentiment from the paper collection.
I love all the little kittens in the windows Rajni! Of course, your coloring is just gorgeous!