Good Morning, Friends
I have been really busy lately, prepping for my son, Shray’s marriage which finally happened last week after postponing twice due to a pandemic. It was a very happy, satisfying, and blessed moment to see my kids starting with their new life journeys. A big thank you to all of you who specially took the time to bless the newlywed couple. I surely was missing in action to reply back to all the messages and comments poured on social media and WhatsApp.
Also, I missed inspiring you all with my weekly crafty inspirations. To start with I have this beautiful Wednesday inspiration for Heartfelt Creations.
Suppliess from Heartfelt Creations:
HCD1-7353 Floral Butterfly Accents Die
HCD1-7354 Small Floral Butterfly Die
HCPC-3952 Floral Butterfly Accents Cling Stamp Set
HCPC-3953 Small Floral Butterfly Cling Stamp Set
HCDP1-2127 Floral Butterfly Paper Collection
HCD2-7339 Regal Lattice Gateway Die
HCPC-3844 For My Friend Sentiments Cling Stamp Set
478594 Zig Clean Color Real Brush Markers – 48 Pack
409311 Color In Watercolor Brush – Fine
18002 Rajni Chawla’s Vellum Flowerite – 10 Sheets
Other Products Used: Smooth White Cardstock, Stazon Teal Blue, Score Board, Paper Trimmer, Sharp Scissors, Bone Folder
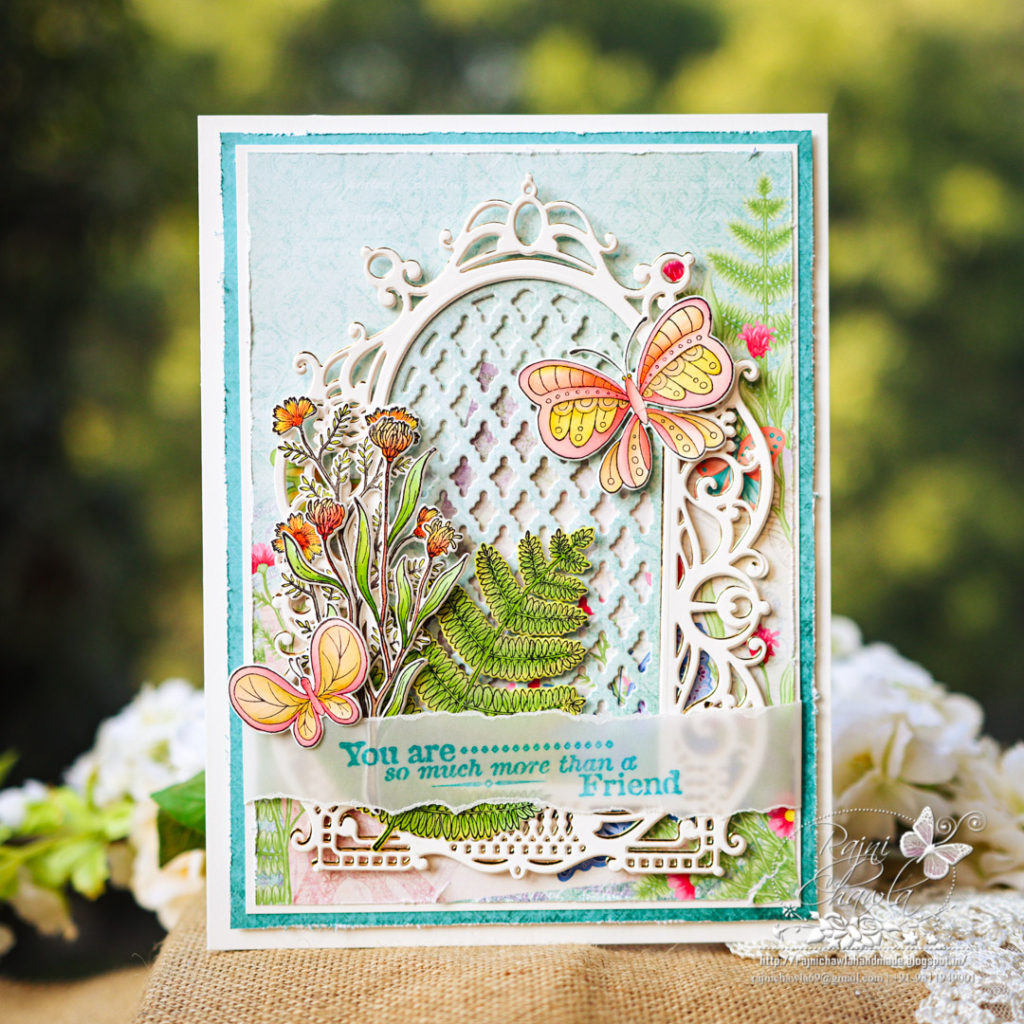
Instructions: The ready side fold card measures, 5 ½” X 8”. Cut a decorative gate in white using Regal Lattice Gateway Die. Choose a teal color pattern paper from the designer paper collection to create the very first layer of the card front. Cut the paper measuring 5″ X7 1/2″. Distress the edges using sharp scissors and layer it on the card front using foam tape. For the next layer, choose coordinating paper from the same paper collection and cut measuring 4 1/2″ X7″. Distress the edges and mat it on the white cardstock making a white border of 1/16th” on all the sides. Layer it flat on the card front using foam dots.
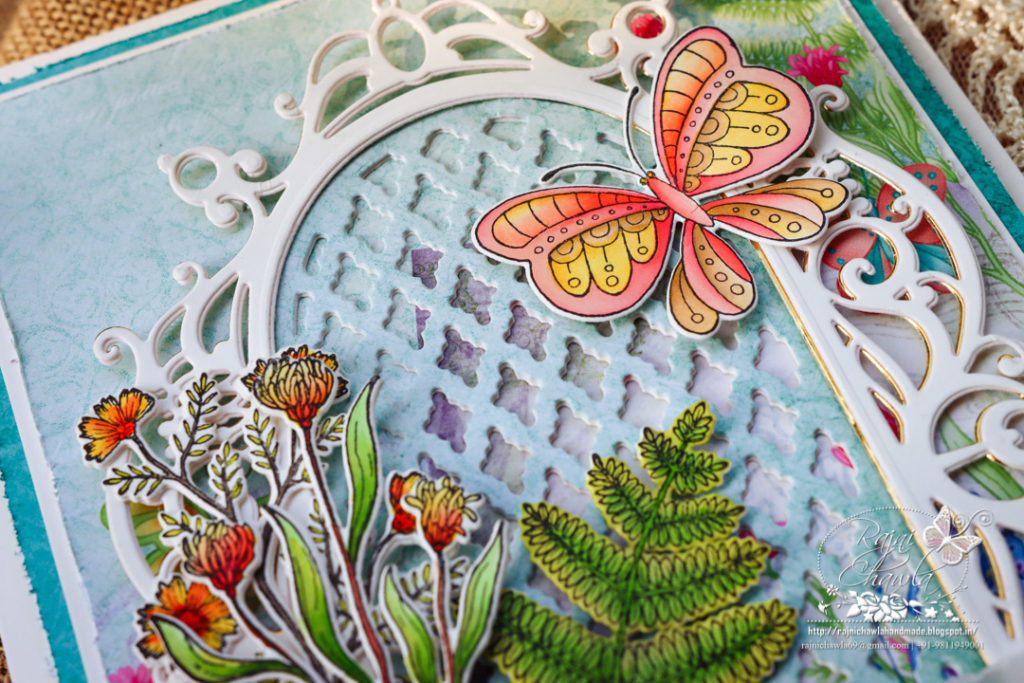
Cut the decorative gate using Regal Lattice Gateway Die, once in Luxe Gold card-stock and once in white card-stock. Glue a golden die-cut, behind the white one to create little shadows. Layer the decorative frame on the card front using glue dots and cut a centerpiece using the same die with pattern paper and glue it flat in the window area.
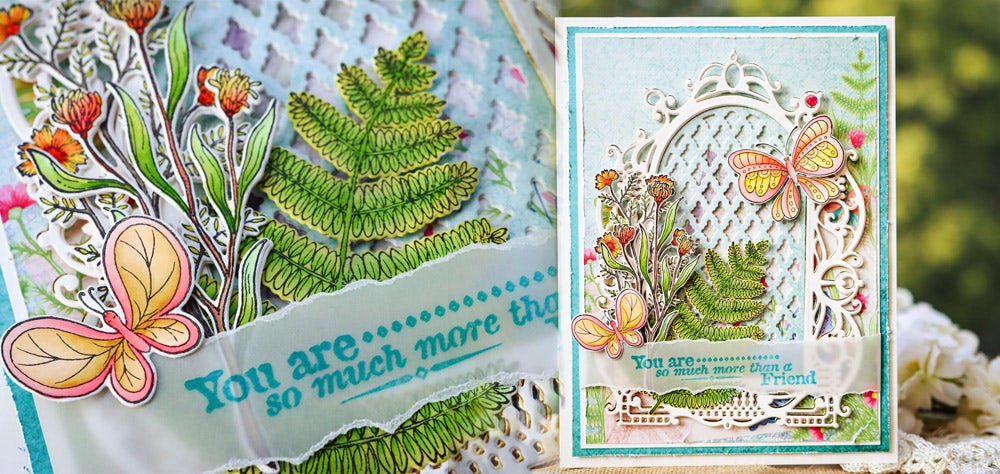
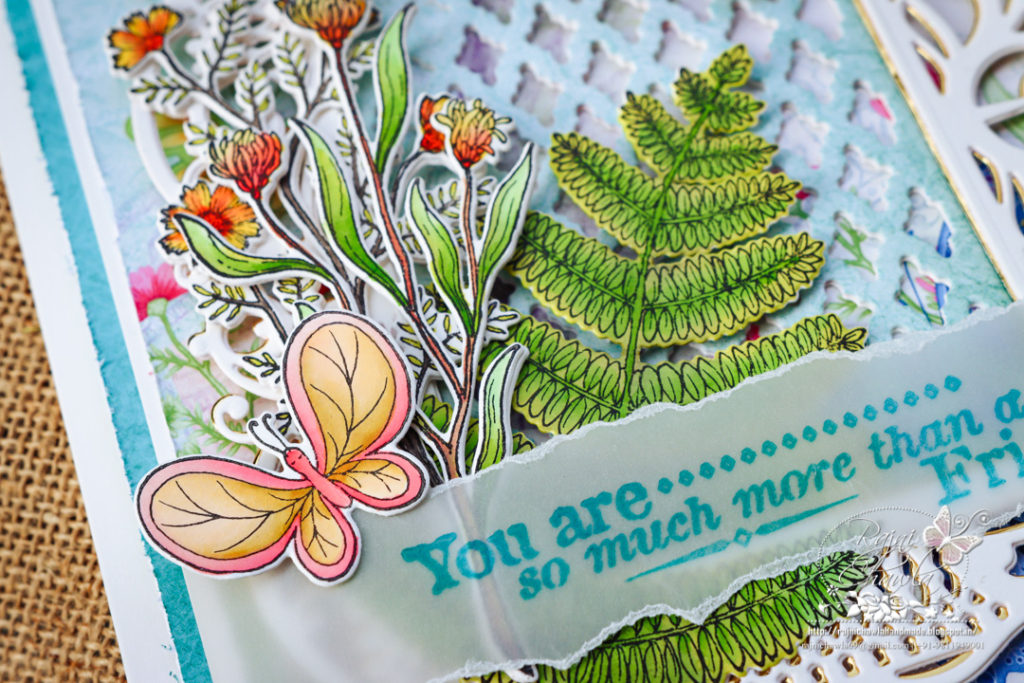
Stamp all the required elements from Floral Butterfly Accents Cling Stamp Set and Small Floral Butterfly Cling Stamp Set with Black Versafine ink on smooth white cardstock and cut them using their coordinating dies. Paint all the elements using Zig Clean Clear Brush Markers.
Once all the elements are ready, form a bunch of twigs using all the painted images on the left side of the card. Add dimensions using glue dots.
Finally, take a strip of vellum cardstock, stamp the sentiment from For My Friend Sentiments Cling Stamp Set and hand tear the top and the bottom edges and wrap it around the panel and then secure it from the behind using the tacky tacky tape.