Good Morning, Friends…
There are so many beautiful reasons to be happy…and flowers are just one!!
Anddd if that happens to be my handmade flowers, it’s cheery on top. Handmade flowers are such simple things, but they can bring about so much happiness and the beautiful handmade cards can help brighten people’s days and make any heart bloom.
Here is my inspiration for today!!
Supplies from Heartfelt Creations
HCD1-7271 Rounded Window Frame Die
HCD1-7313 Festive Snowglobe Die
HCD1-7295 Wisteria Petals Die
HCPC-3911 Wisteria Petals Cling Stamp Set
HCPC-3906 Small Wild Rose Cling Stamp Set
HCD1-7289 Small Wild Rose Die
HCDP1-2113 Wild Rose Paper Collection
HCD1-7193 Leafy Accents Die
HCPC-3835 Leafy Accents Cling Stamp Set
18002 Rajni Chawla’s Vellum Flowerite – 10 Sheets
HCPP1-475 Deluxe Flower Shaping Paper Pack of 50 – White
RACP436 Ranger Archival Ink Pad – Leaf Green
RACP524 Ranger Archival Ink Pad – Vibrant Fuchsia
PGM15015 Rajni Chawla’s Crystal Clear
ANC814 Lettuce Entertain You Prills
HCST1-401 Deluxe Flower Shaping Kit
HCFB1-486 Small 3D Wild Rose Shaping Mold
Other Products Used: Smooth white cardstock, Hot Glue, Die Cutting Machine, Score Board, Twine, Double Sided Tapes, Glue that dries clear, Hero Arts White Pigment Ink, White Heat Embossing Powder, Heat Gun, Funnel Tray.
Videos Referred: For more tips on creating with the Wild Rose Collection watch the tutorial at https://youtu.be/2ALPhFnT-qI.
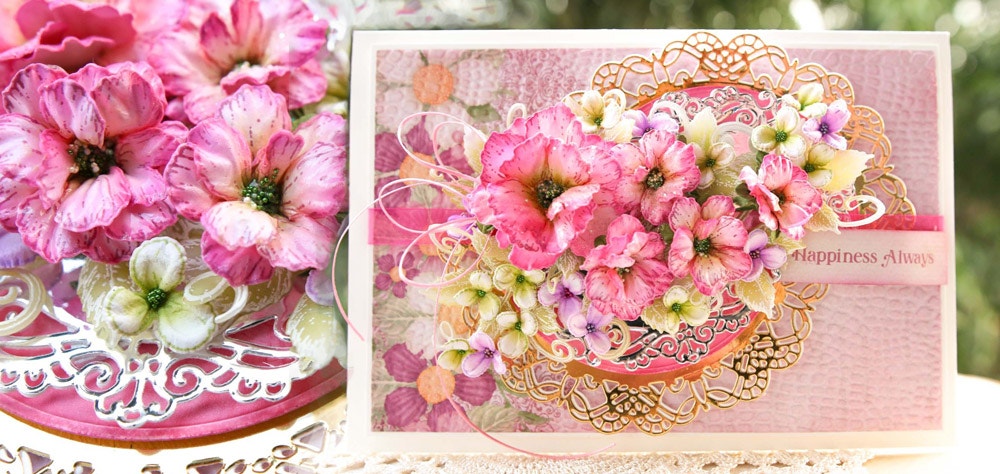
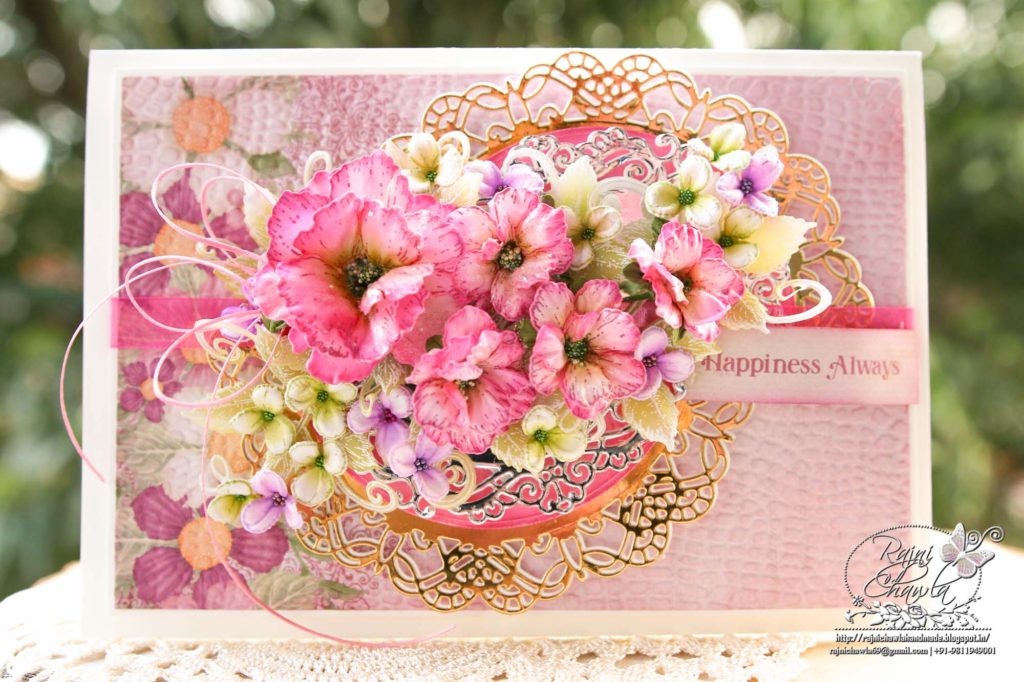
Instructions: The ready side fold card from smooth white cardstock measures, 5 3/4″ by 8 1/4″. Choose the paper from the Wild Rose designer paper collection and cut measuring, 5″ by 7 1/2″. Distress the edges and glue it on the white cardstock making the border of 1/16″ on all sides. Dry emboss the panel using the embossing folder from Cuttle Bug.
Cut 2 die cuts, one from gold and one from white cardstock using largest die from Rounded Window Frame Die and stack them together using an adhesive that dries clear. Cut 2 die cuts, one from white and one from silver cardstock using the second frame from the same die set. Stack these together too. Cut the second largest circle die from the Festive Snowglobe Die and distress it using Vibrant Fuschia Archival Ink. Cut these doilies in halves and layer them as shown, little sideways to each other. Cover the center with the organza ribbon.
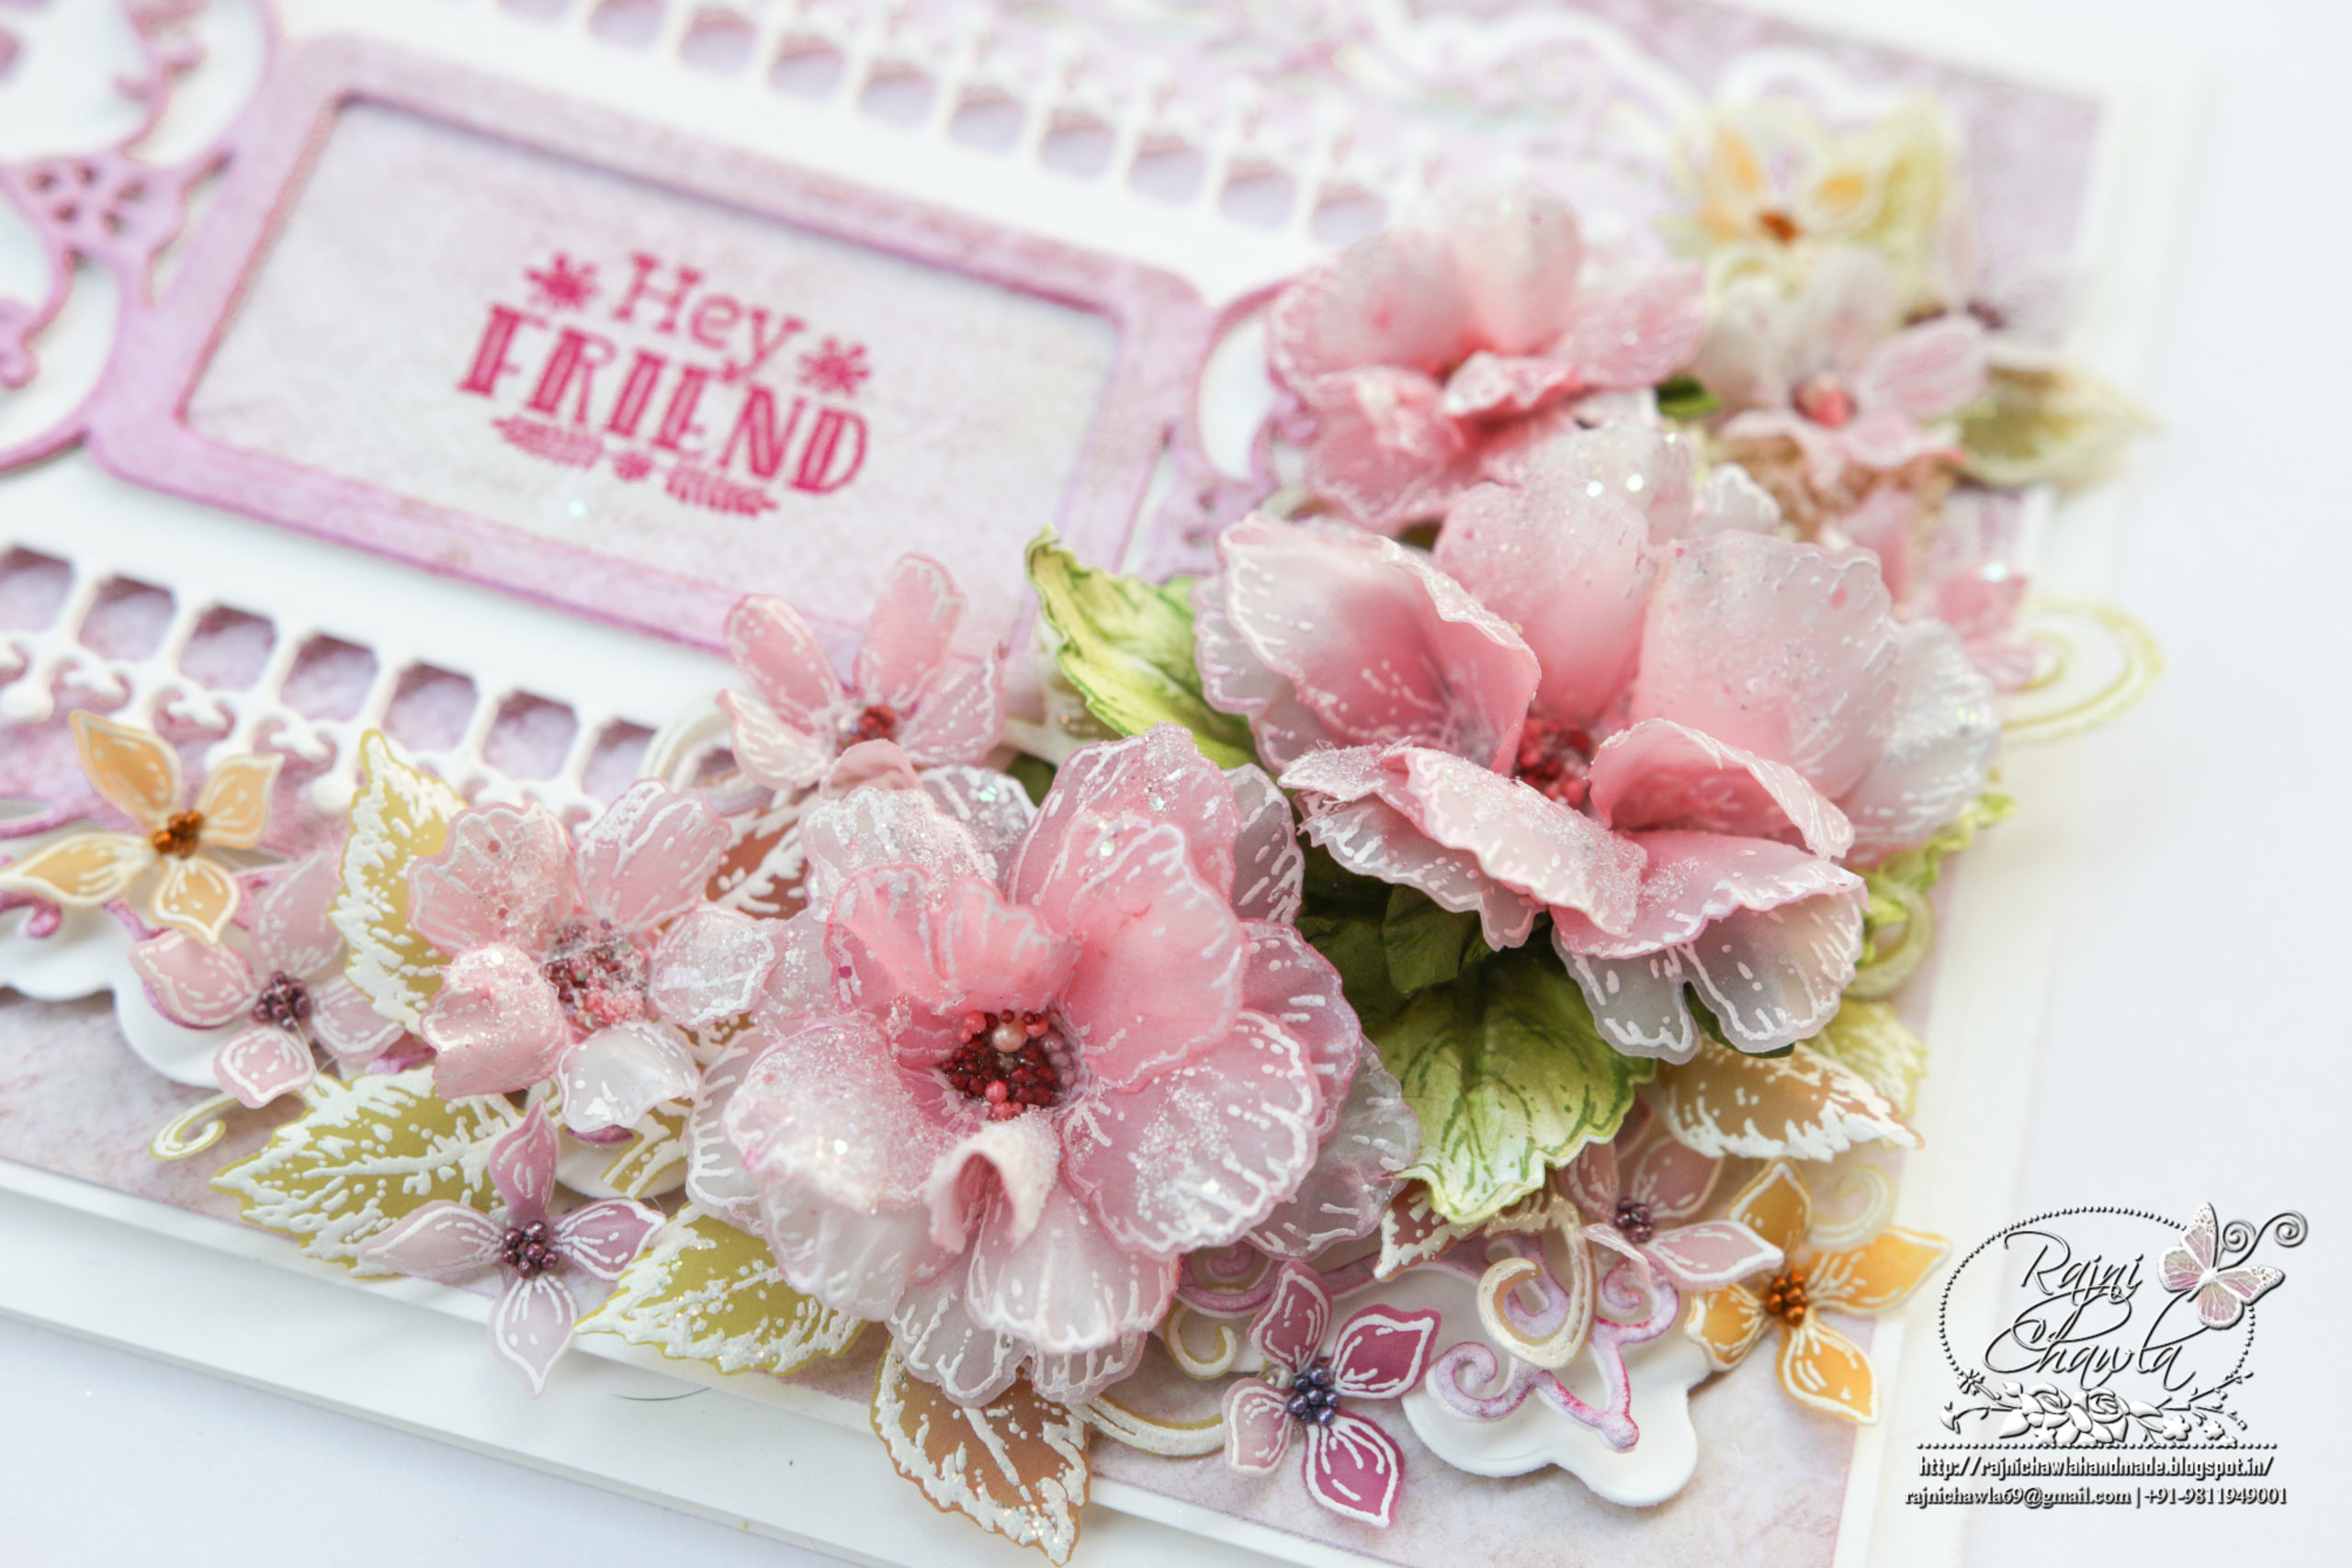
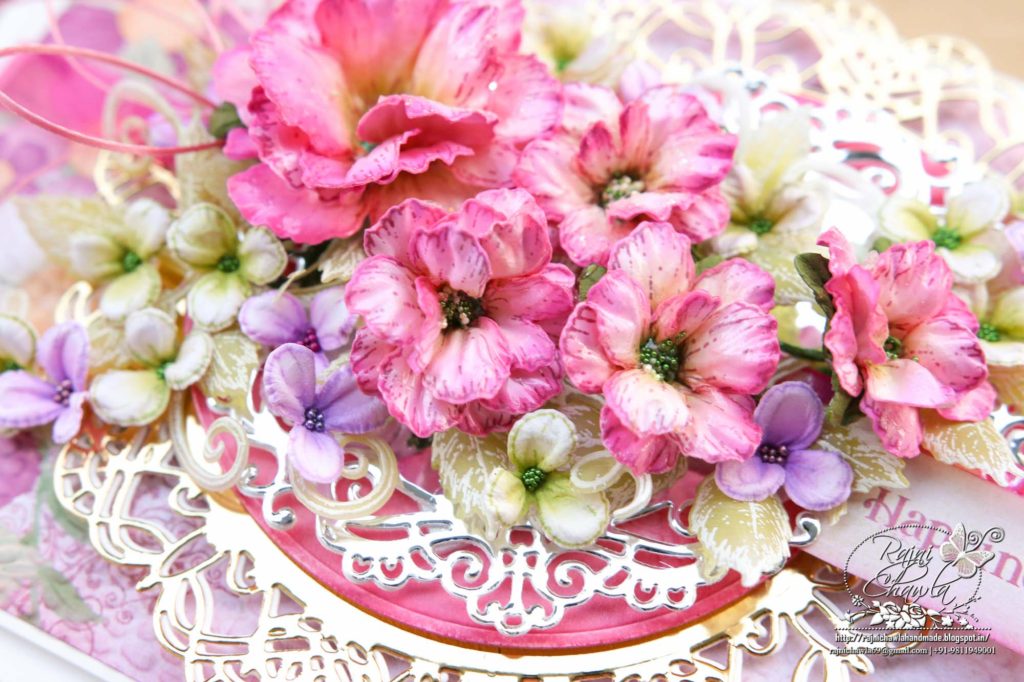
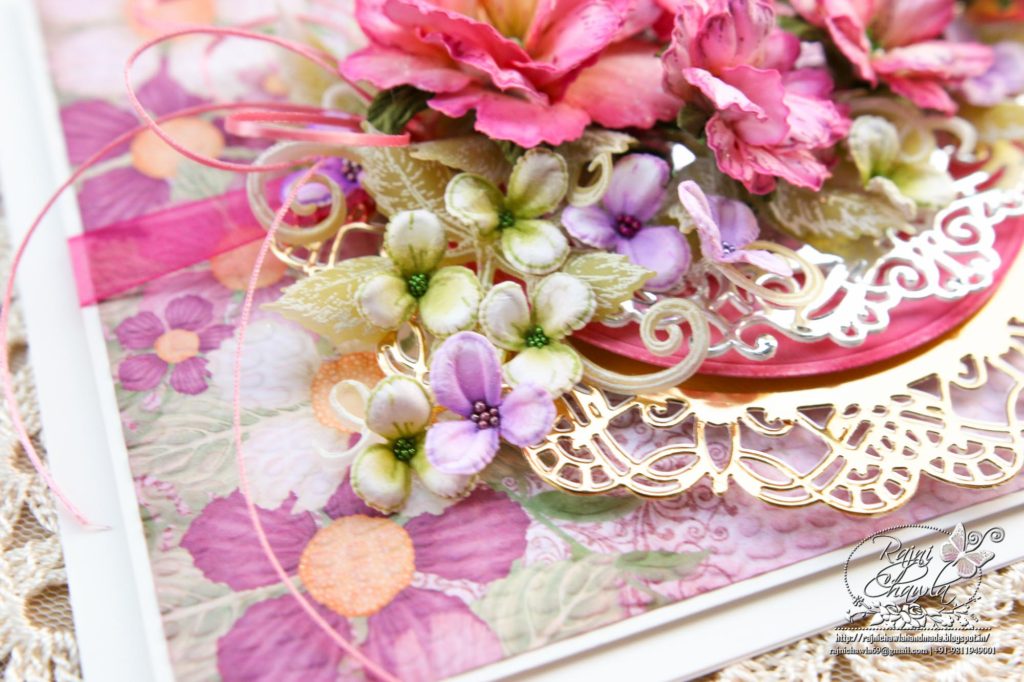
Stamp a few Wisterias with leaf green and Cactus Flower Archival ink and cut them using coordinating dies. Color the centers and shape them using Deluxe Flower Shaping Kit. Add Delicate glitter beads to the centers.
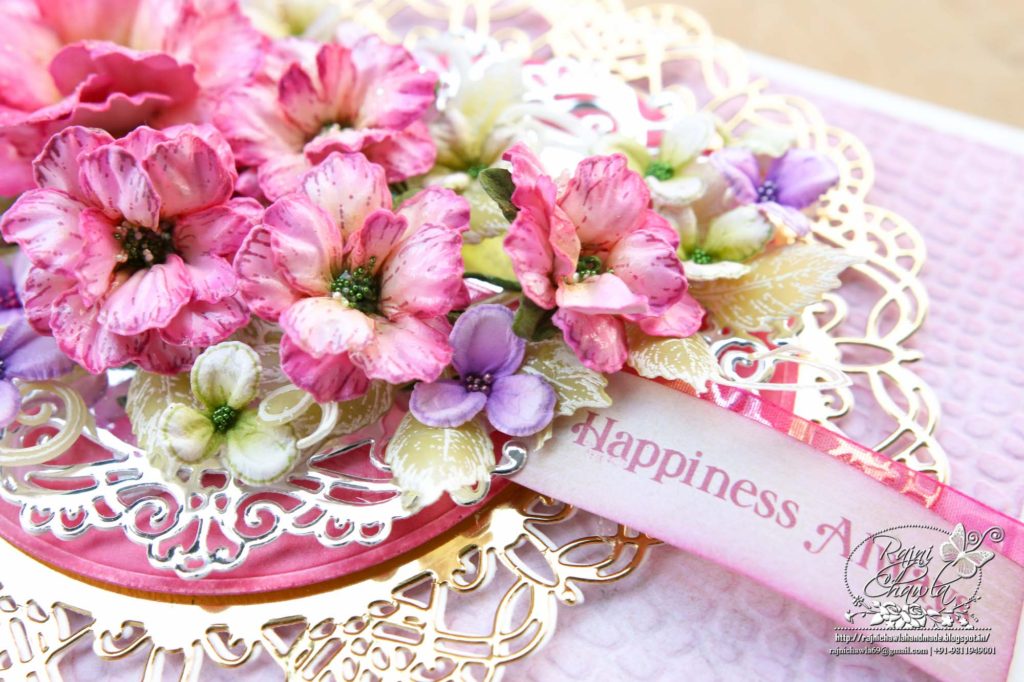
For the wild roses, stamp the flower petals using Vibrant Fuschia Archival ink and Small Wild Rose Stamp set and cut them using it’s coordinating dies. Ink the flowers using Vibrant Fuschia and Leaf green and shape them it’s coordinating mold. Once the shaping is done, assemble few flowers using ball tools from the shaping kit and add prills to the flower centers.
For vellum leaves, stamp 2-3 images with white pigment ink on the vellum, sprinkle white heat embossing powder, dust extras, and heat set. Cut the images using a coordinating die set and color them using leaf green distress oxide. Also, shape them using needle tool.
Once all the flowers are ready, form a bouquet of flowers using Wisterias and Wild Roses. Randomly add glitter to enhance the entire project and finish the card using a sentiment from the same collection. Add small bow using twine on the left side peeking through the flowers.
This is all from me today. If you would like to see more of my work using Amazing Paper Grace Dies, do follow my Instagram page – @rajnichawla69
Thank you so much for your visit to my blog today!