


Happy Wednesday all…
Summers, here in India are on their peak and we all are restricted to stay indoors these days. I am a one person who love spending my maximum of time in my craft room. Past many days I have been busy creating vellum flowers. How amazing and delicate these look on the projects….I love them all!!
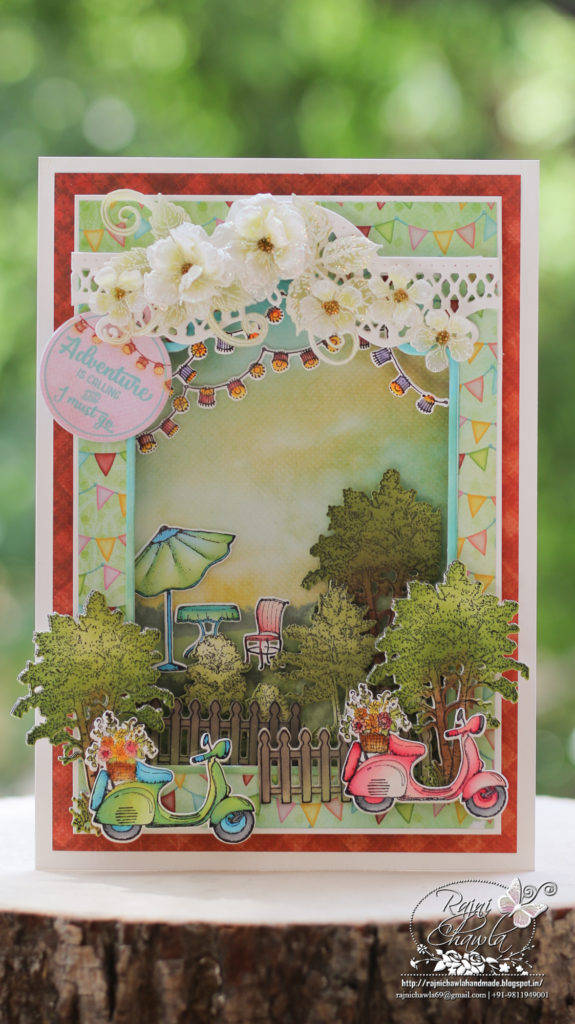
Continuing with Happy Campers Collection, I again have a beautiful window card to share.
Productes from Heartfelt Creations:
HCD1-7243 My Happy Place Die
HCD1-7244 Elements of Home Die
HCPC-3879 My Happy Place Cling Stamp Set
HCPC-3880 Elements of Home Cling Stamp Set
HCDP1-2103 Happy Camper Paper Collection
HCD1-7202 Album Tags and Accents Die
HCD1-7122 Woodsy Landscape Die
HCPC-3766 Woodsy Treescape Cling Stamp Set
HCD1-7212 Petite Pocket Accents Die
HCD1-7110 Classic Rose Die
HCPC-3752 Classic Rose Cling Stamp Set
HCFB1-462 3D Rose Shaping Mold
HCST1-401 Deluxe Flower Shaping Kit
478455 Zig Clean Color Real Brush Markers – 36 Pack
18002 Rajni Chawla’s Vellum Flowerite – 10 Sheets
RACP468 Ranger Archival Ink Pad – Jet Black
RACP436 Ranger Archival Ink Pad – Leaf Green
RACP962 Ranger Archival Ink Pad – Fern Green
HCS1-459-1 Assorted Pearl Stamens-Small
PGM15015 Rajni Chawla’s Crystal Clear
HCDA2-450 Stack and Store Daubers-Pack of 30
159723 Designer Dries Clear Adhesive
Other Products Used: Smooth white cardstock, Acetate Sheet, Foam Dots, Die Cutting Machine, Scoreboard, Paper Trimmer, Hero Arts White Pigment Ink, Rangers White Heat Embossing Powder, and Distress Oxide Peeled Paint.
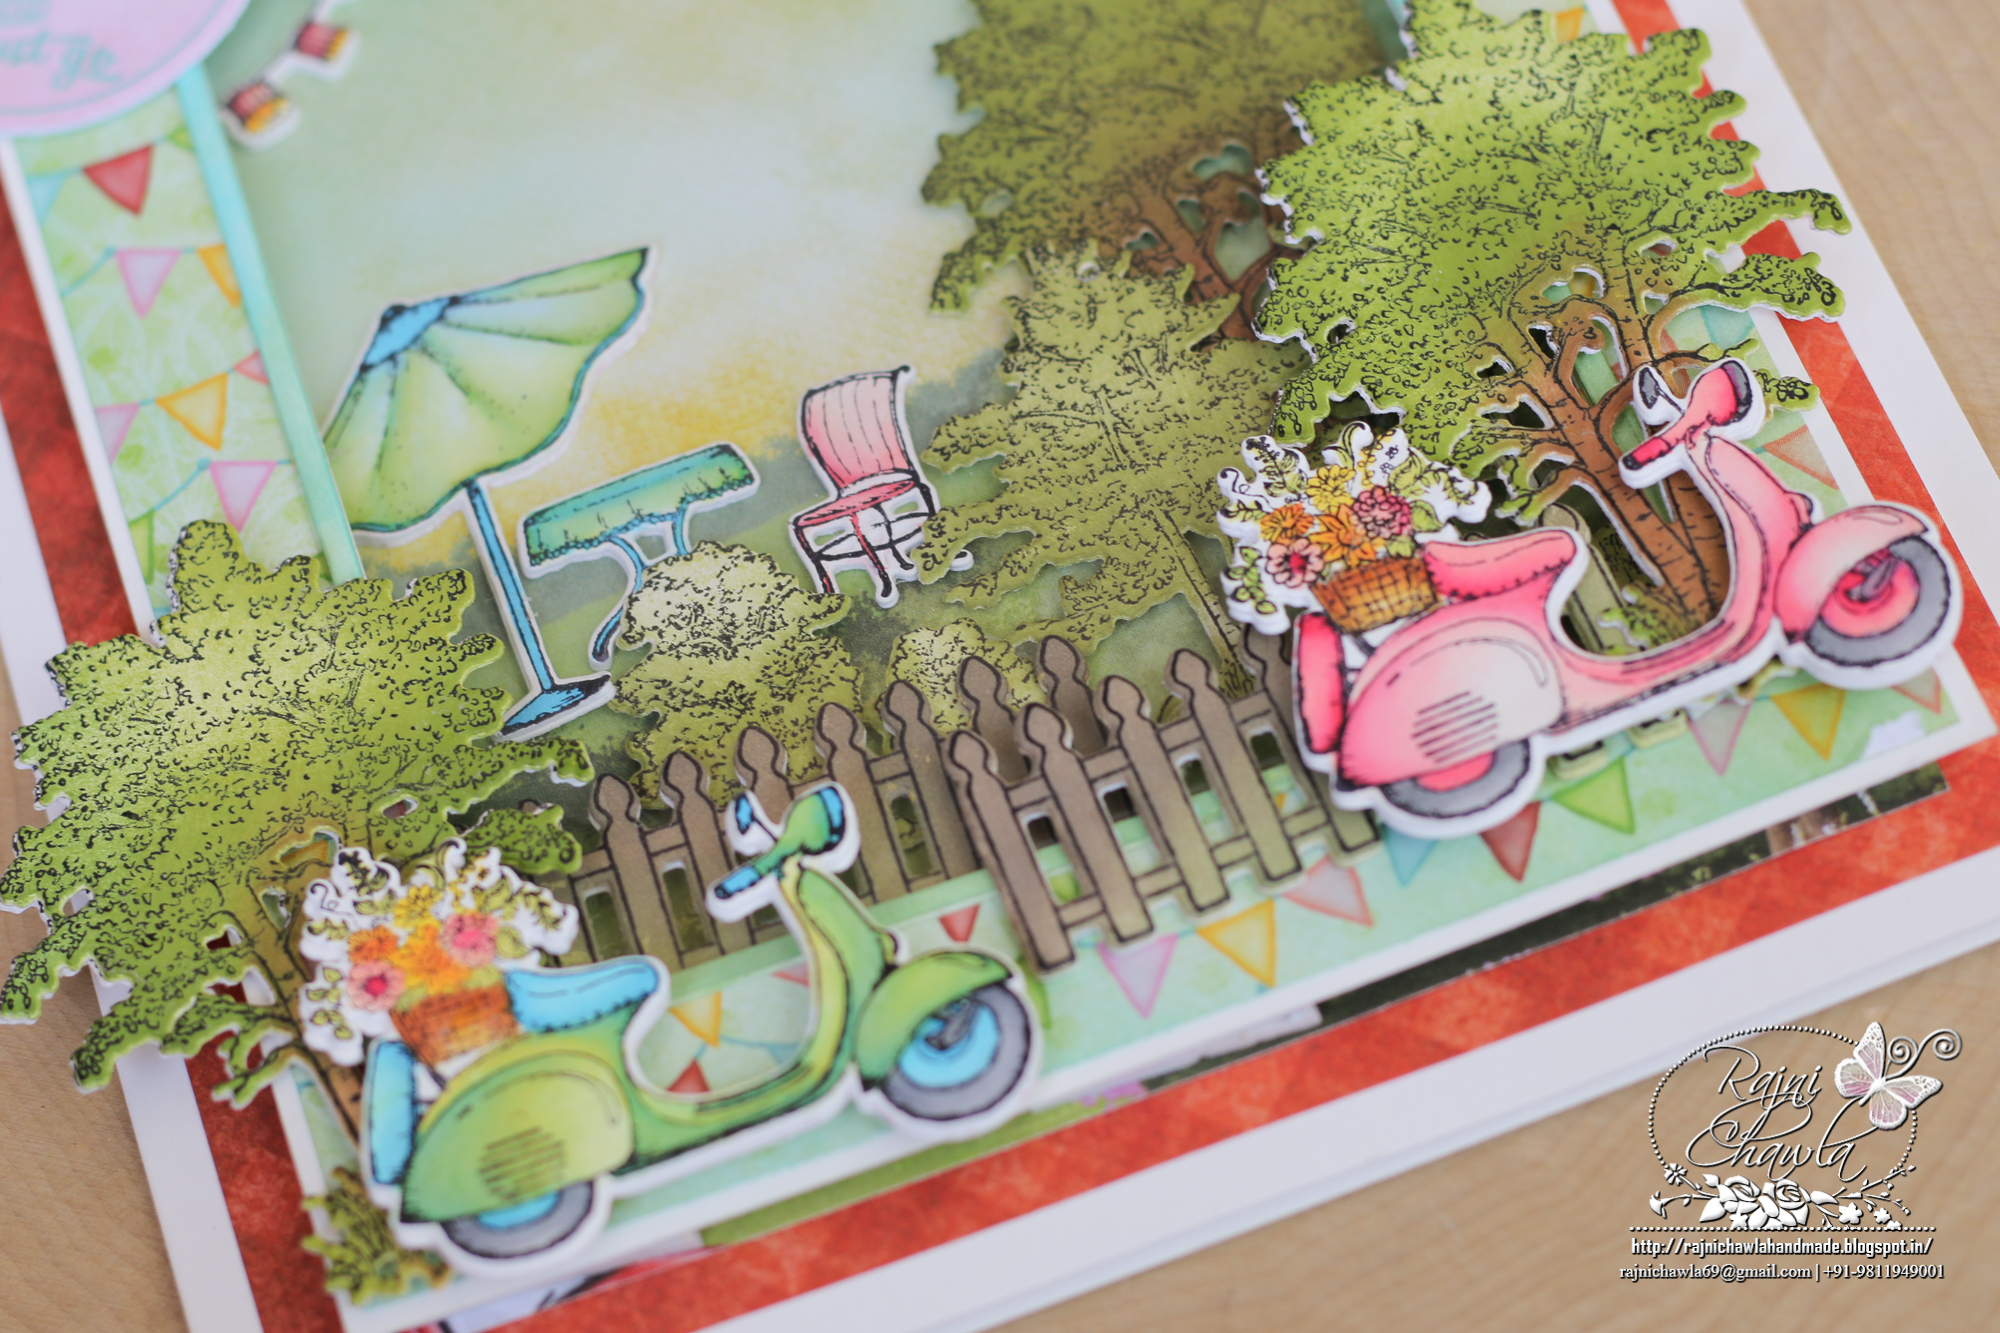
Instructions: The ready top-fold card from smooth white cardstock measures, 6″ by 8″. To create the top panel, choose the paper from the designer paper collection, measuring 5″ by 7″ and mat it on a white cardstock making a border of 1/16″ on all the sides. Next, cut the window using Album Tags and Accents Die. Nest both the tag dies and cut a thin frame and color it using Peacock Feather Distress Ink. Glue the frame as shown. Cover the window panel with acetate sheet from the back. Choose a scenic paper from the same paper collection which measures, 5 1/2″ by 7 1/2″ to layer it behind the window as shown. Before closing the window, prepare the elements for the card.
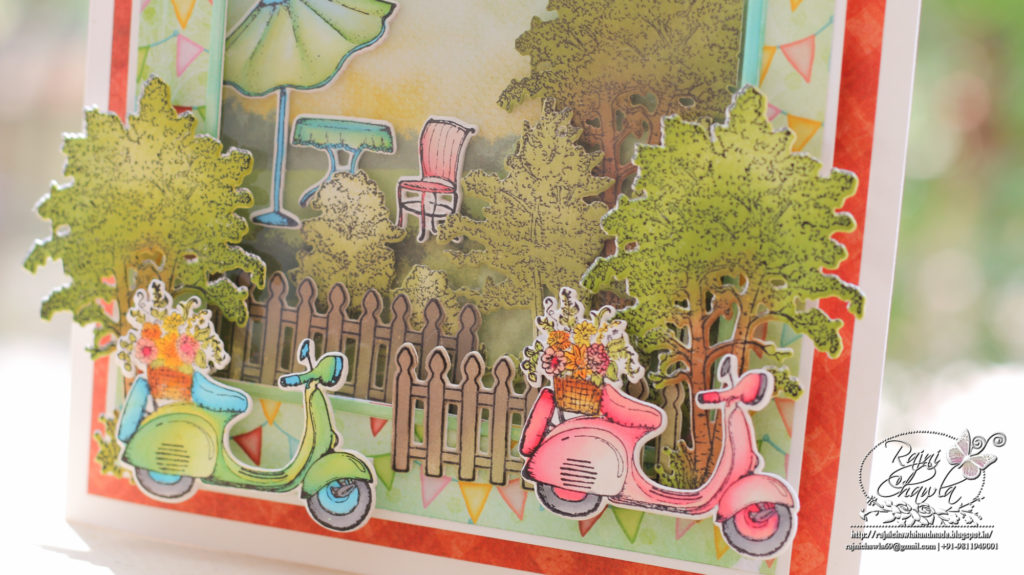
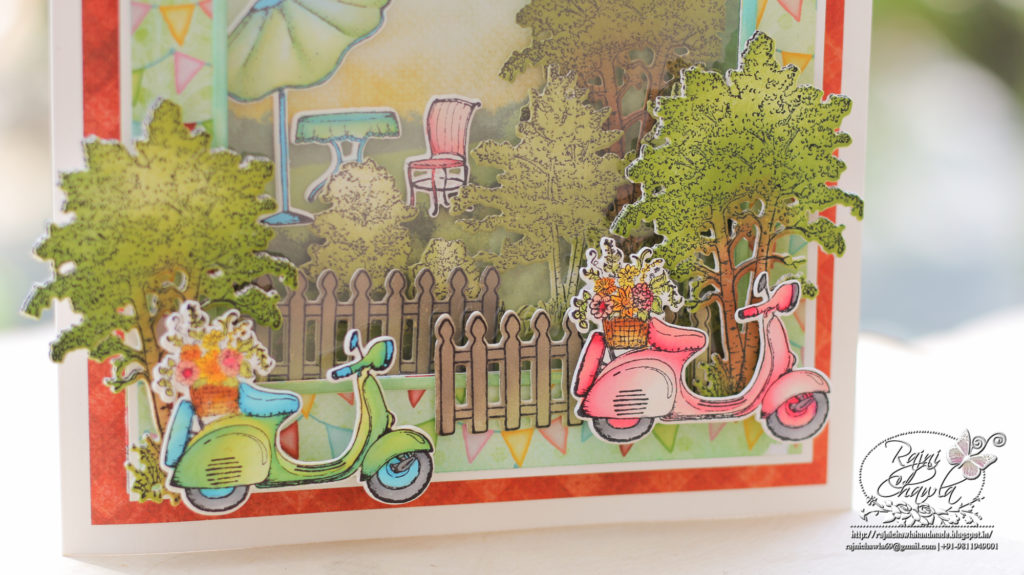
Stamp the elements from My Happy Place Cling Stamp Set and Elements of Home Cling Stamp Set using black archival ink on white cardstock, cut them using their coordinating dies and paint them using Zig Clean Clear Brush Markers. Stamp trees from Woodsy Treescape Cling Stamp Set using Olive Green Archival ink and cut them using it’s coordinating die. Color them using Leaf Green and Olive Green Archival inks. Once all the elements are ready, assemble the inside of the window by placing all the elements using foam dots.
Layer the complete panel on red pattern paper from the same collection making the border of 1/4th inch on all sides and further layer the panel on the top fold card base.
For Vellum Roses and leaves, Stamp the images from Classic Rose Stamp set and Classic Rose Vines Cling Stamp Set with white Color Box ink on Vellum, Sprinkle white heat embossing powder and dust extras in the funnel tray and heat set. Color the flowers using Distress Oxide Peeled Paint in the center. Also, white heat emboss the 2 butterflies from Butterfly Kisses Cling Stamp Set. Die cut all the images using their coordinating dies. Shape the flowers using a 3D flower shaping mold. Press the centers and glue them together to form beautiful flowers. Pick the flower centers using needle tool and secure golden color pearl stamens using tacky glue. Assemble a small bouquet as shown and finish the card by adding a sentiment tag from the paper collection.
I love your 3 Dimensional scene Rajni! So gorgeous!