

Good Morning friends,
Welcome back to the blog land. Hope the New Year celebration hangover is over now and you all are back to crafting. Once again it’s a special Wednesday when Heartfelt Creations launch their new product collection. Their very first collection of 20 17, Wildwood Cottage Collection is now up for sale and I am sure yoou are all going to love it.
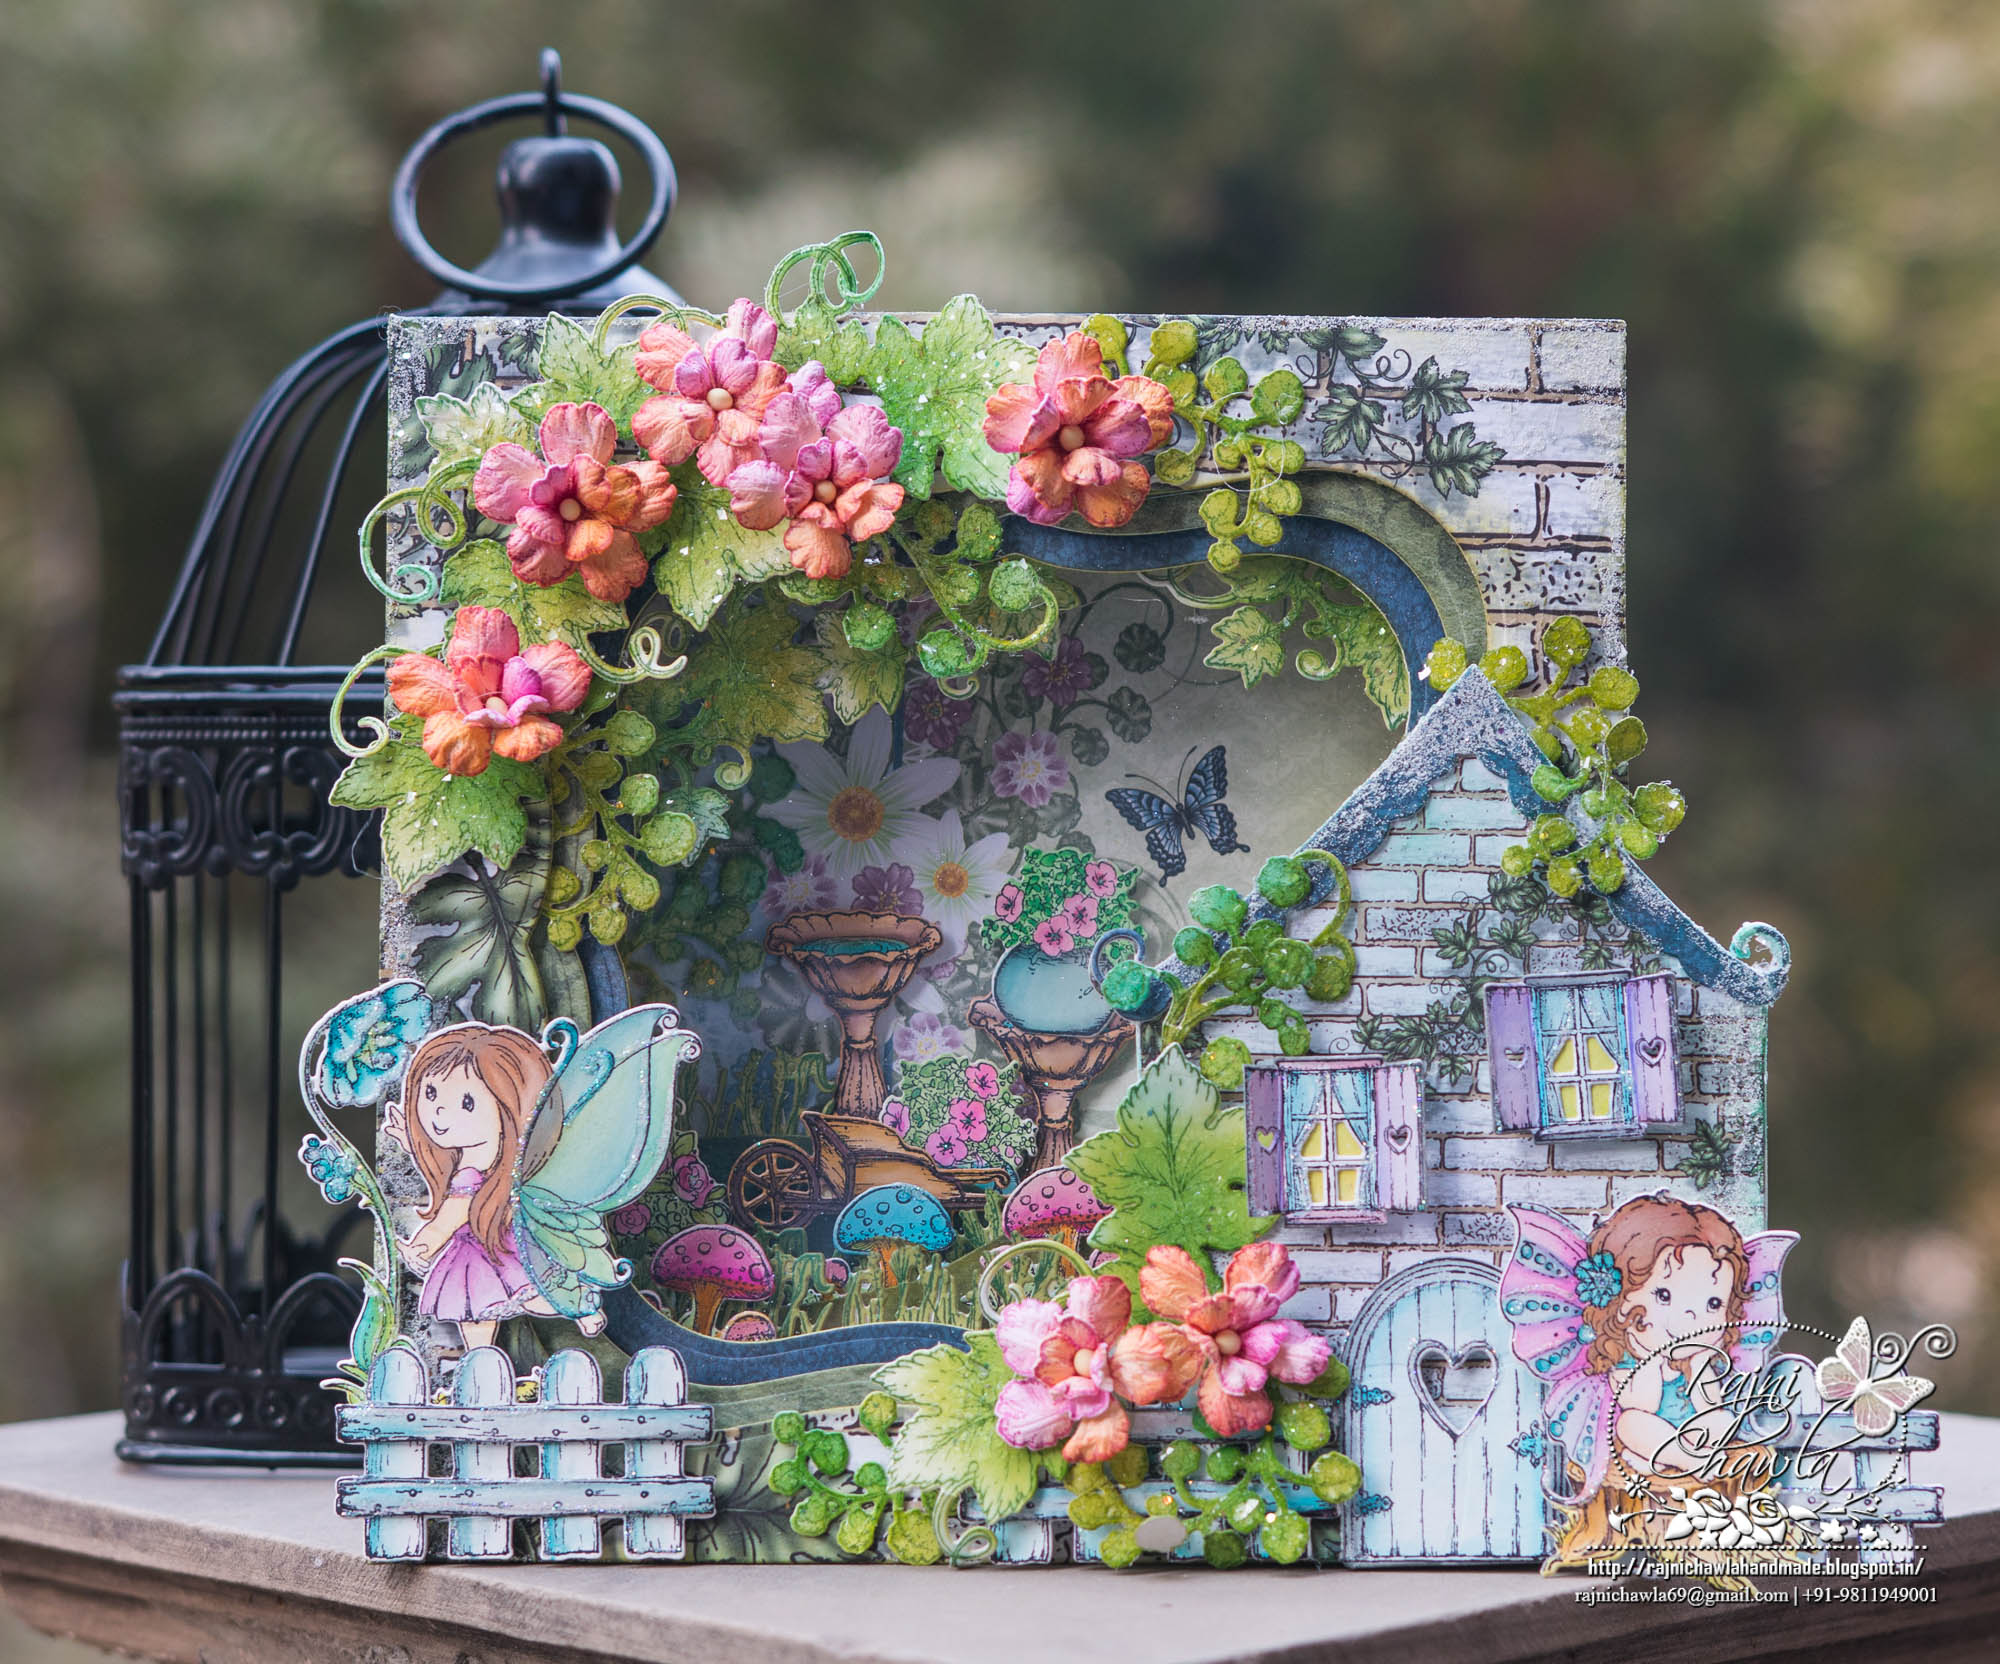
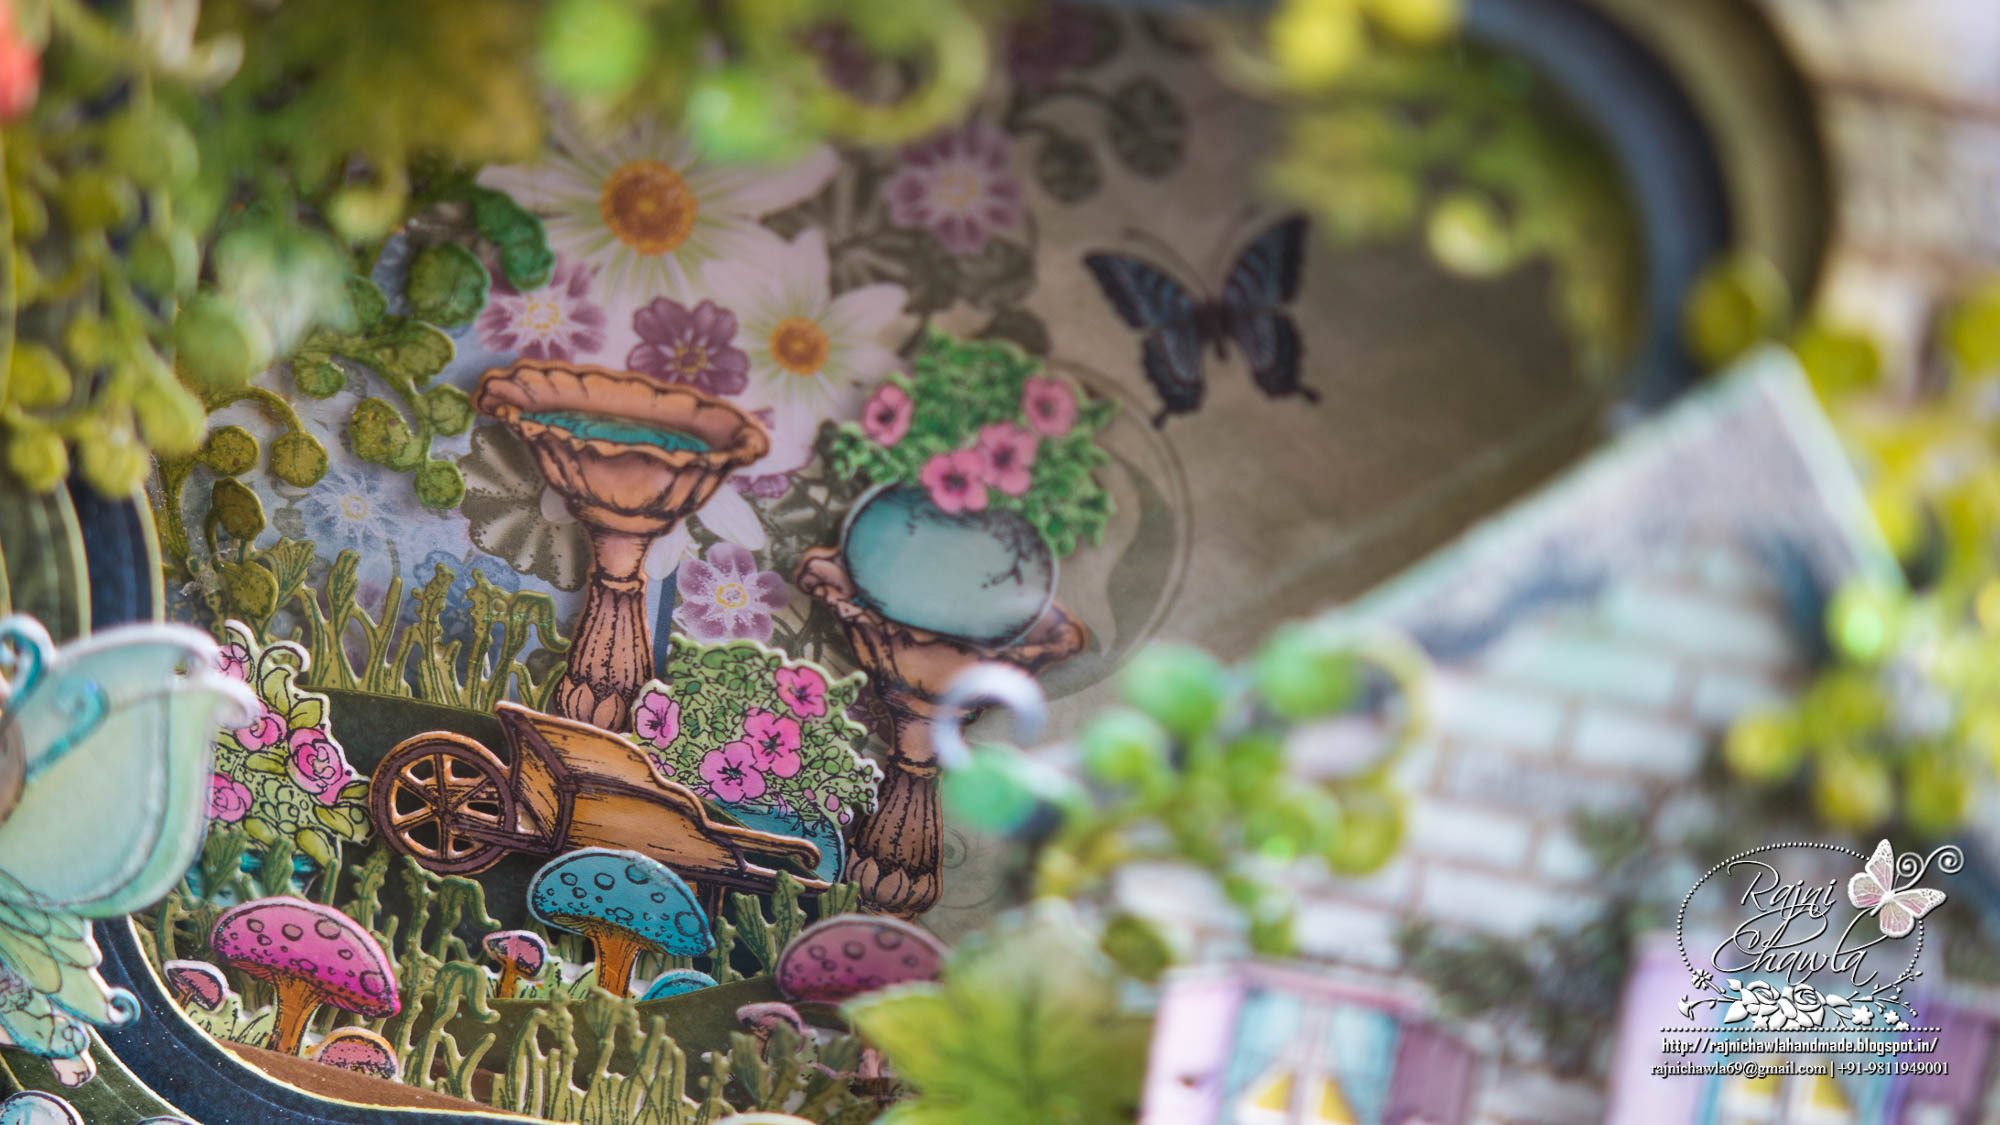
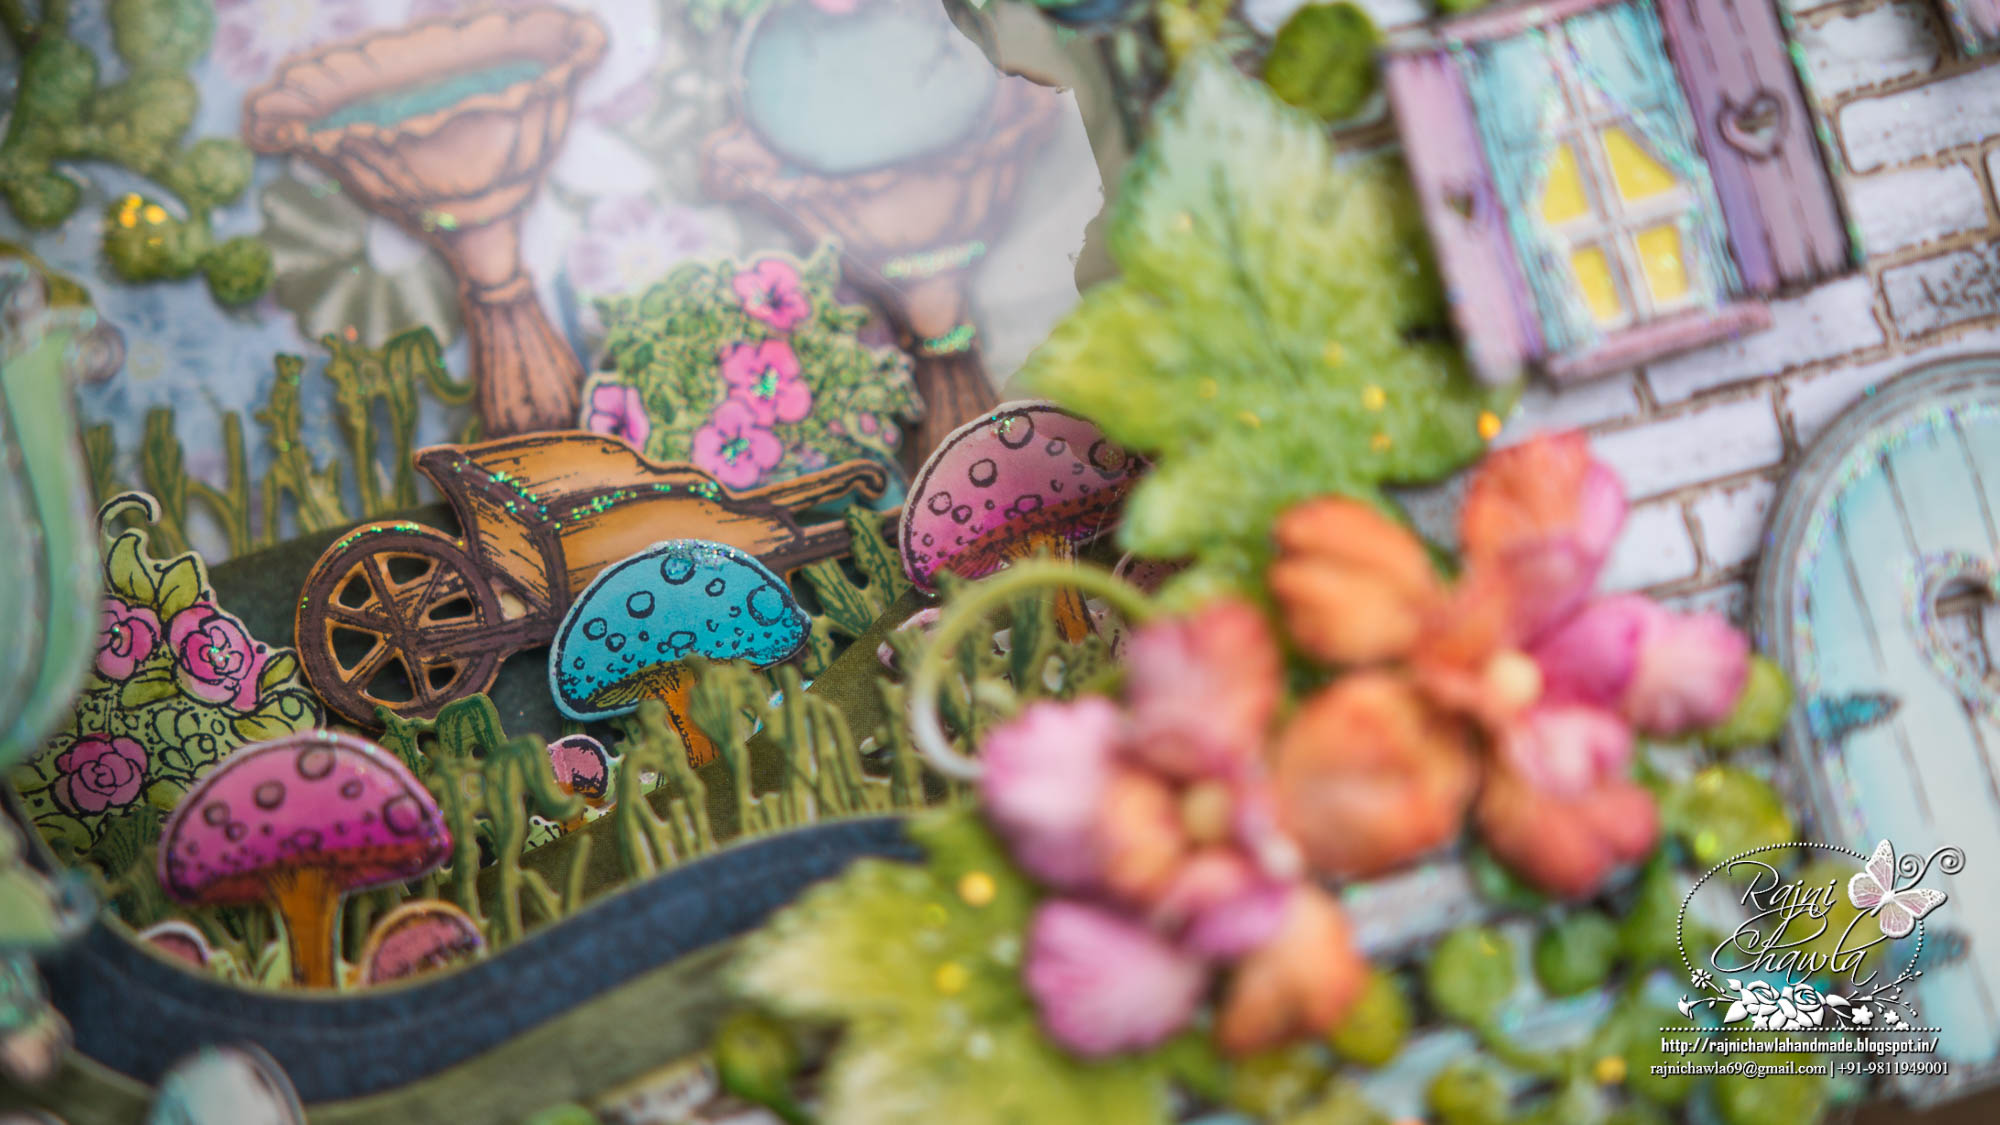
Come away with us and discover the whimsical world of Wildwood Cottage, the newest collection by Heartfelt Creations. Unleash your imagination and explore magical gardens filled with light and airy florals, chirping birds, fluttering butterflies and of course the playful and enchanting sprites that call these gardens home. Create your very own captivating fairy garden with this extraordinary collection featuring four beautifully illustrated cling stamp sets and coordinating dies! Fill your fanciful garden scenes with playful fairies, dimensional garden accents, cheery florals and of course enchanting cottages for the spirited sprites to call home. The softly hued paper collection is sprinkled with pretty garden shades resembling moss like greens, lilac lavenders, pansy purples and hydrangea blues accented with daisy-like yellows, whites, and petunia pinks! Delicate chevrons, ornate floral swirls, along with dainty polka dots and eyelet lace like designs are just a few of the graceful finishes showcased among this decorative paper collection and have been incorporated into heartwarming full page cottage and garden scenes ideal for scrapbook layouts, as well as various sized premade card front panels ideal for quick and easy card bases! The perfect collection to add a touch of sunshine, and bring smiles to the faces of friends and loved ones during those long winter days!


Products from Heartfelt Creations
HCD1-7125 Wildwood Florals Die
HCD1-7126 Wildwood Cottage Darlings Die
HCD1-7127 Wildwood Cottage Die
HCD1-7128 Wildwood Cottage Accents Die
HCDP1-274 Wildwood Cottage Paper Collection
HCPC-3769 Wildwood Florals Cling Stamp Set
HCPC-3770 Wildwood Cottage Darlings Cling Stamp Set
HCPC-3771 Wildwood Cottage Cling Stamp Set
HCPC-3772 Wildwood Cottage Accents Cling Stamp Set
Italiana Grapevines Die HCD1-772
Italiana Grapevines Cling Stamp Set HCPC-3696
6″x 6″ Foldout Cards-Kraft HCCF1-445-3
Deluxe Flower Shaping Kit
Other Products Used; Zig Clean Clear Brush Markers, Distress Inks, Crystal Clear glitters, Archival Ink Plum, Leaf Green, Olive Green, Magenta Hue, Tea Rose, Spellbinder’s Grand Label One, Acetate sheet, Adhesive that dries clear.
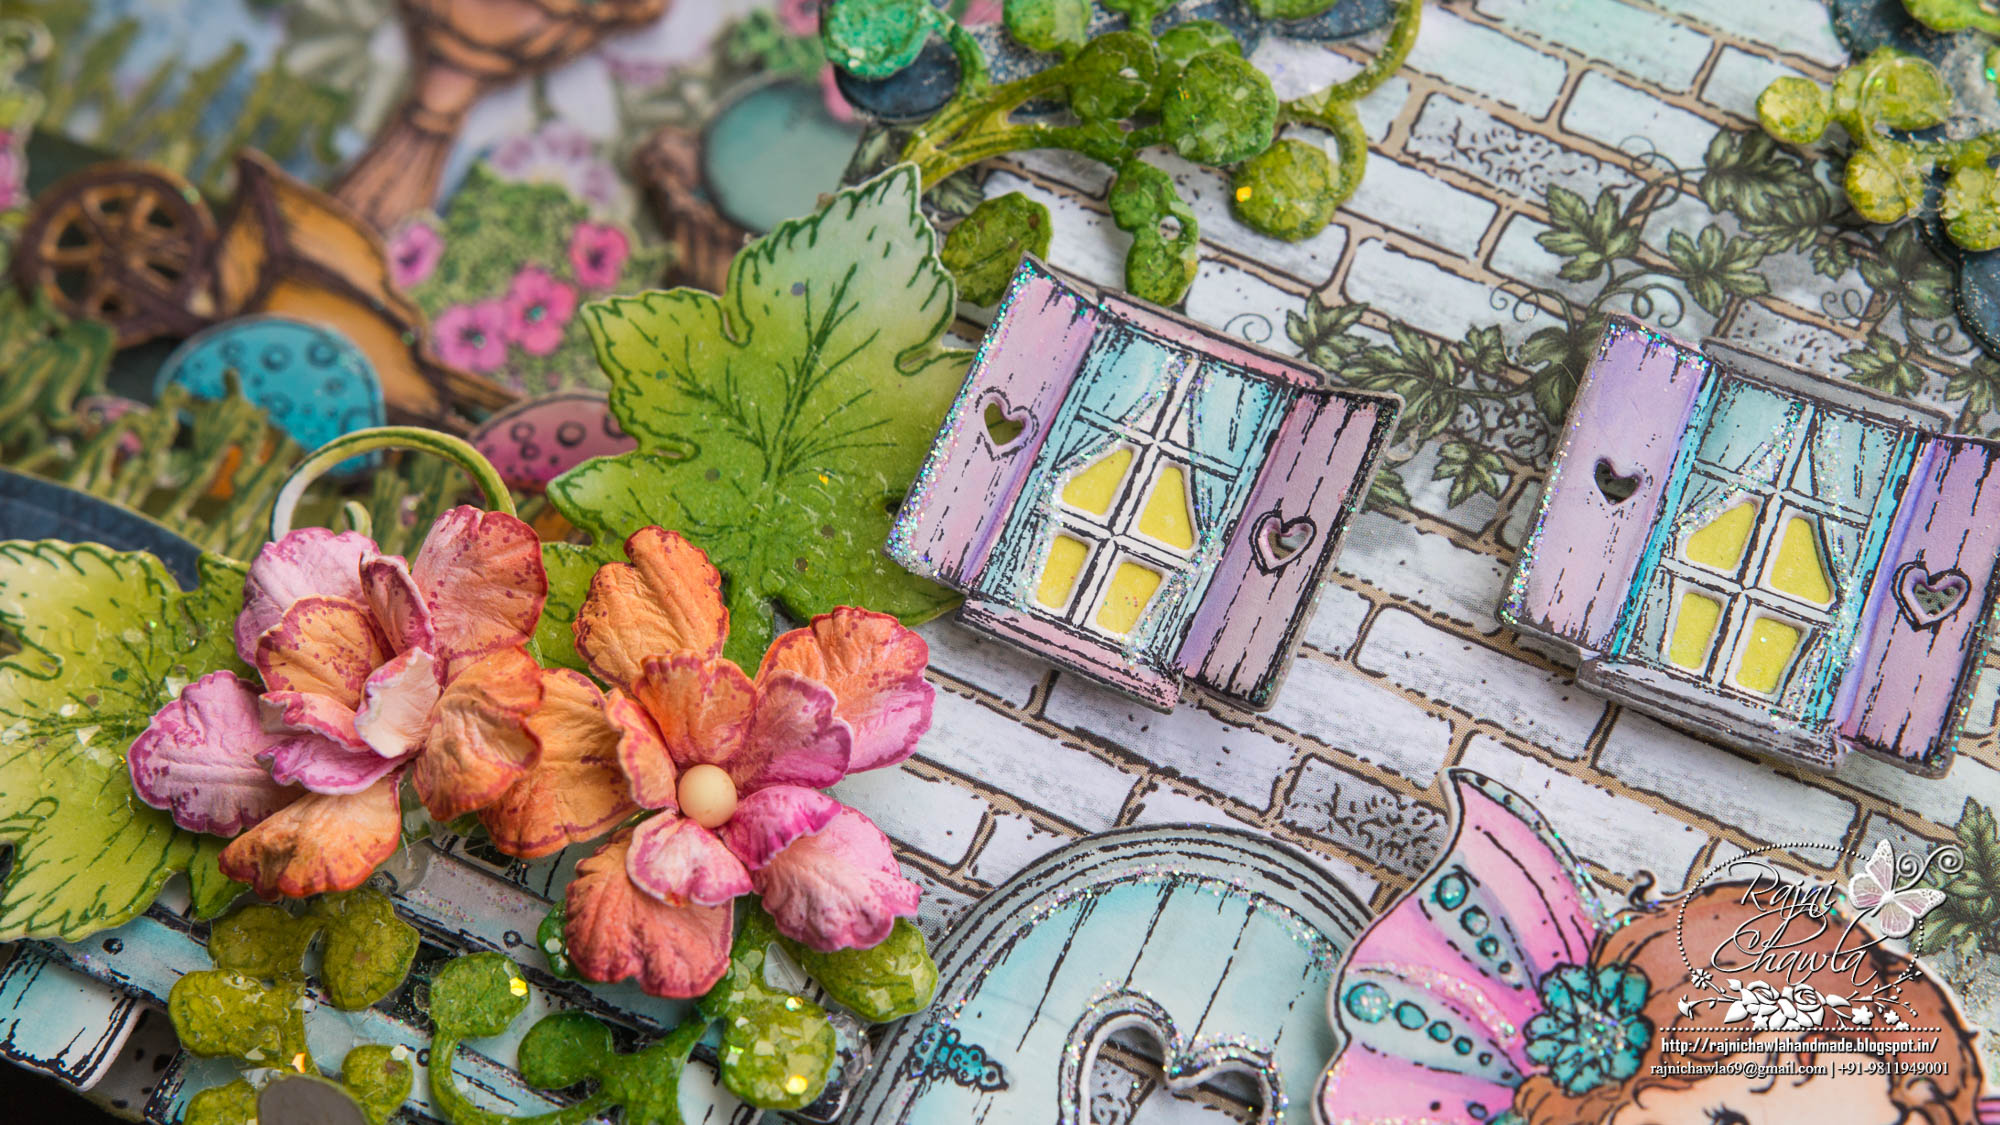
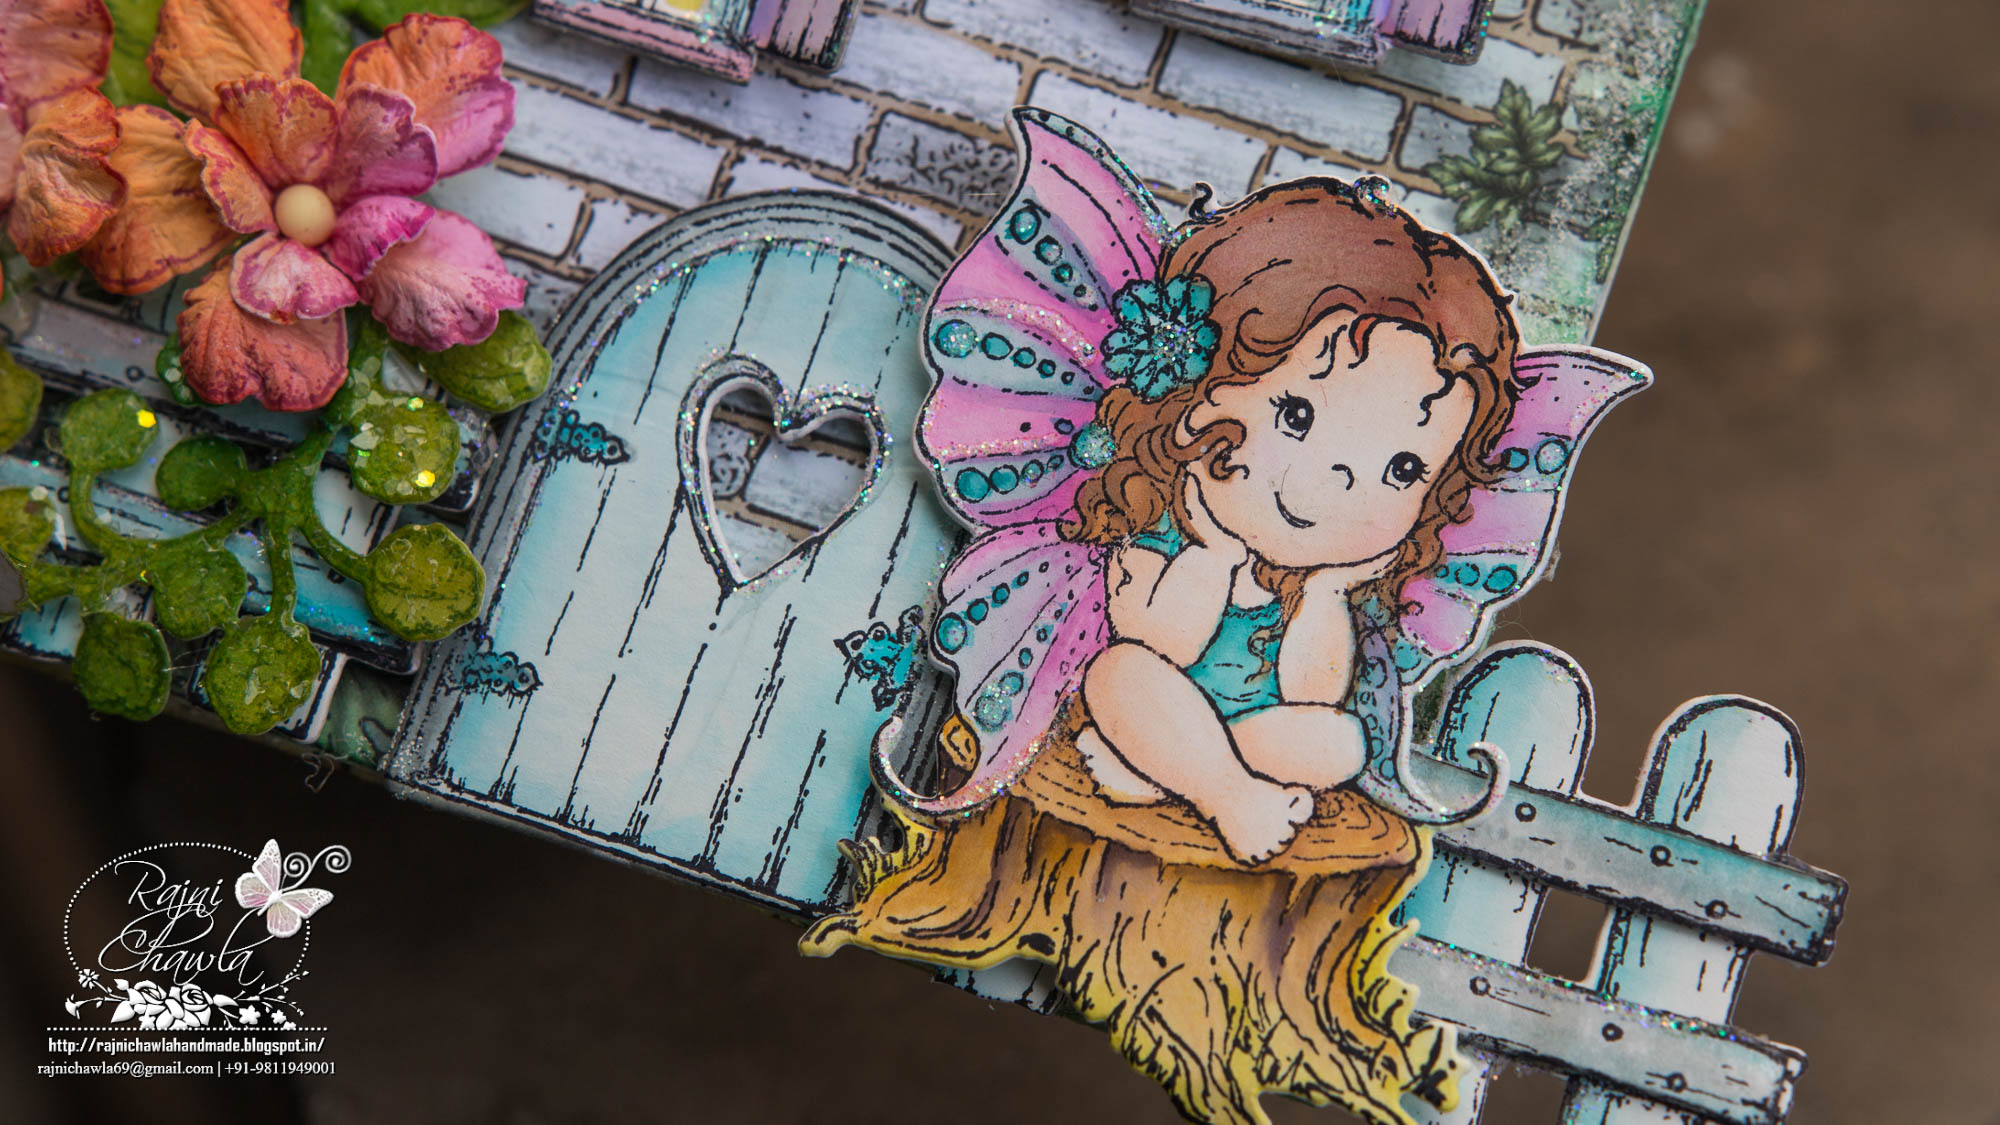
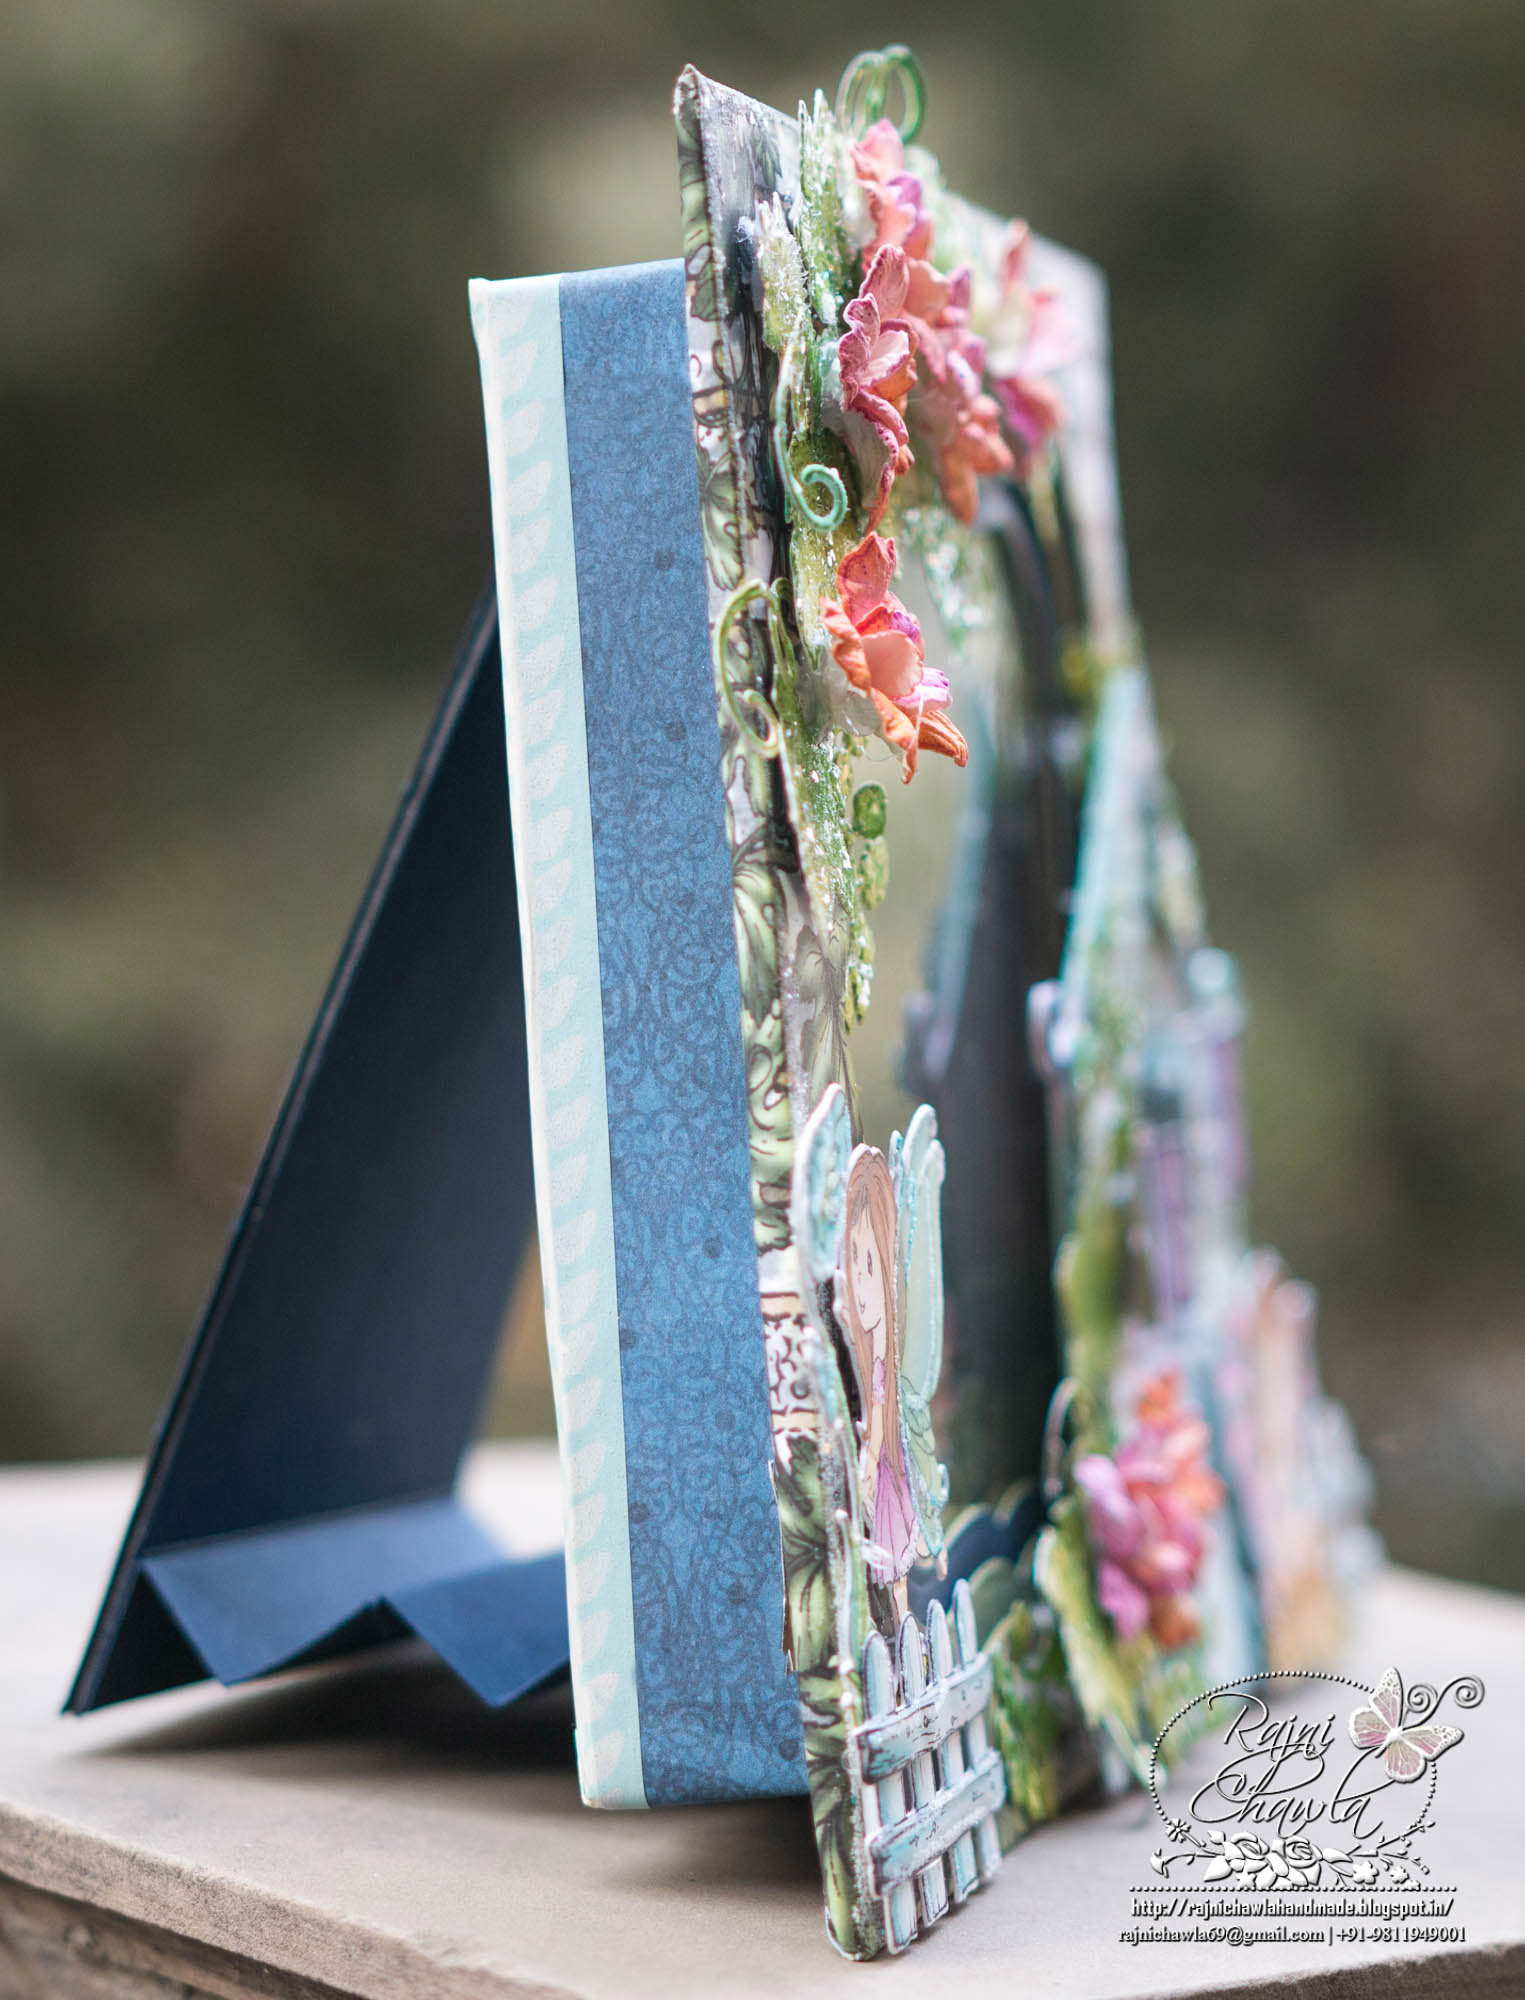
Instructions: To start with, choose three different designs of pattern papers from the Wildwood Paper Collection and cut outer 3 different dies out of it. We will be using the negatives to create the window for the project. Keep extra 1 1/2 inches larger paper for the top most layer. Layer all the negatives with foam tapes. Neatly score on the edges of the top layer and fold it on the back of the frame and stick them with glue. Stick an acetate sheet on the inside of the frame and keep aside. For the box, I have used 6″x 6″ Foldout Cards-Kraft HCCF1-445-3. Choose a 6 x 6 designer paper from the same collection and paste it on the inner front panel of the box. For all embellishments, I have stamp[ed various images from different stamps from the same collection with black archival ink on smooth white card stock. All the images were painted using Zig Clean Clear Brush Markers. The shades used are…003, 025, 026, 027, 034, 036, 037, 045, 046 and 031. Add a little glitter to all the embellishments. Cut a long strip of a green strip of card stock and die cut multiple times using Icicles die from Snow Kissed Collection. These are used to give a look of grass to cover the empty spaces between all the embellishments. Create a beautiful scene inside the box using all painted images. Once you decide how to place the elements layer them using foam dots. Glue down the whole box. Now cover all the sides of the box with designer paper from the same collection. Once all the inside placing is done, glue down the front window on the front of the box. For flowers, I have stamped multiple images from Wildwood Florals Die with Plum Archival and cut them using its coordinating die. The leaves are all stamped with Library Green Archival inks and painted using Leaf Green and Olive Green Archival. The flowers are shaped using Delux flower shaping kit and the leaves and vines are kept flat without embossing. The leaves are simply glittered using an adhesive that dries clear. Decorate the outer of the shadow box with all the ready embellishments, painted fairies, fairy house and fence. The fairy house is constructed using Wildwood Cottage Die from Designer Paper. The windows of fairy house are stamped with black archival and then painted with Zig markers. Cut a small paper and paint it with yellow distress ink and stick it on the back side of the windows. Stick the windows giving little dimensions using foam dots. For Making the frame stand on its own, I have created a stand on the back. For the stand, I have used a chipboard piece cut from 3″ by 6″ . For the shape, check the side view of the box. The stand is attached with the single hinge on the top and the flip fold hing on the bottom.

Gorgeous work ma’am!! Love each and every detail of this shadow box! And that lovely coloring!! Such a wonderful scene <3
Wow!! Simply stunning. Love the beautiful flowers and colors and all the details!!
Omg so so beautiful , gorgeous love all the details mam ur so so talented n creative
This is absolutely gorgeous my friend. Your flowers always take my breathe away with their beauty!
This is so pretty!!
Absolutely gorgeous! I LOVE those flowers, the color is amazing!!!!